 So far I built the wheels
for my new bandsaw and tried a blade on them.
So far I built the wheels
for my new bandsaw and tried a blade on them.
So far I built the wheels
for my new bandsaw and tried a blade on them.
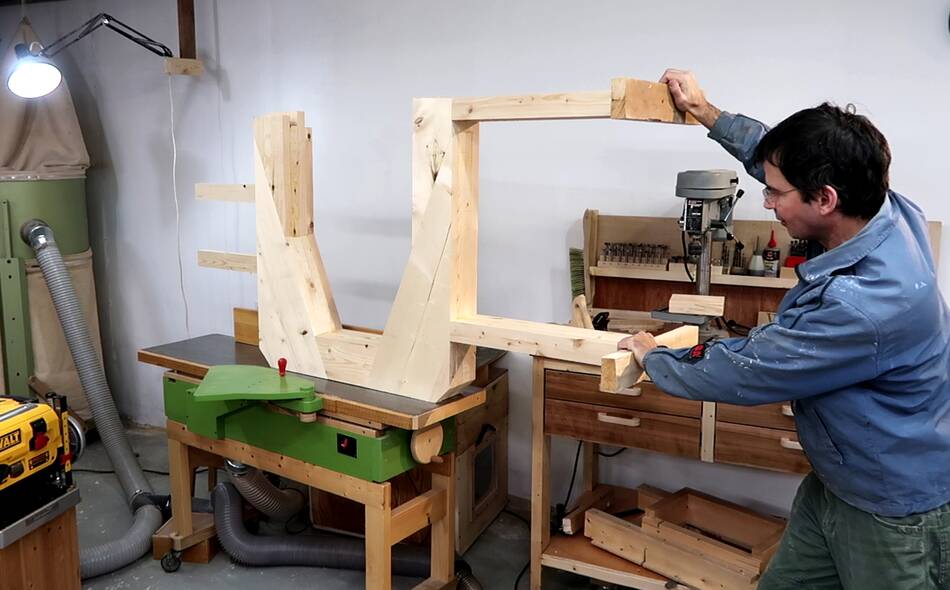
The wheels are close together for their size, with less than 40 cm between them. But I figure that should leave enough space for a reasonable amount of resaw height. It's the same distance between the wheels as on my 20" bandsaw
The reason they are this close together is to not make the machine so tall that it won't fit through a doorway.
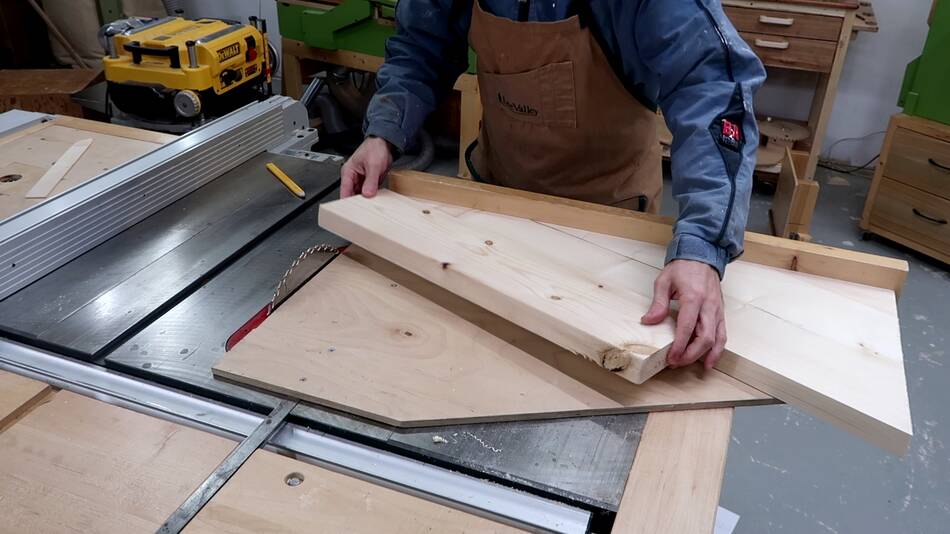
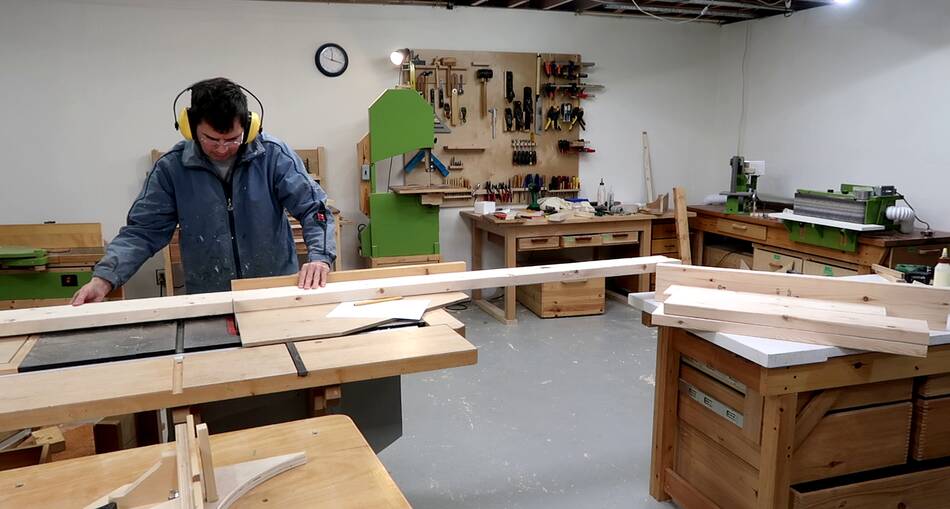 I started by cutting pieces of 2x6 (38x140 mm) to the appropriate lengths.
This will make jointing and planing any bow and twist out of the pieces
easier without losing too much thickness.
I started by cutting pieces of 2x6 (38x140 mm) to the appropriate lengths.
This will make jointing and planing any bow and twist out of the pieces
easier without losing too much thickness.
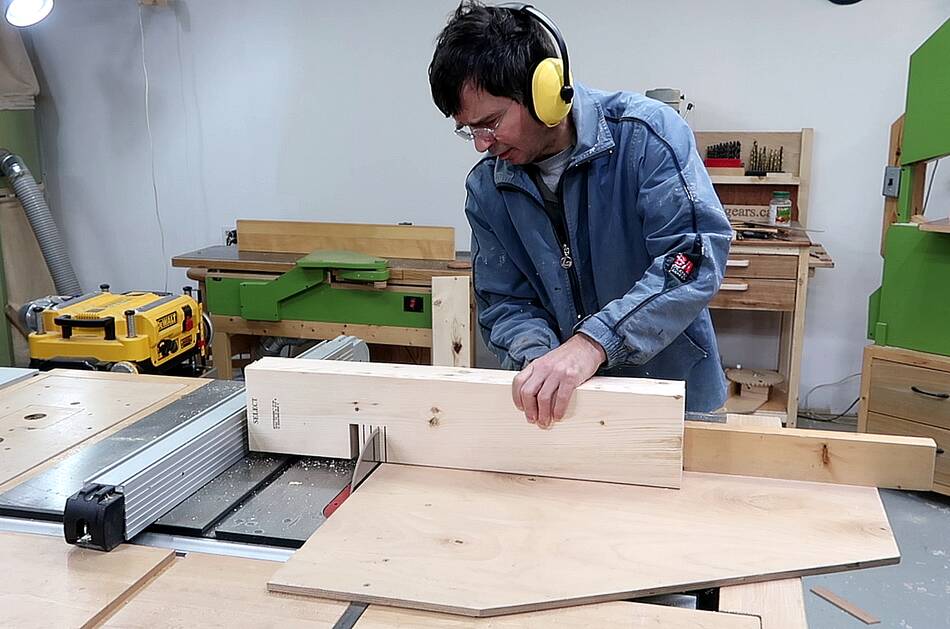
 Then notching some of the parts for the prongs that will stick out the
top for the upper wheel mount, and for joning the legs.
Then notching some of the parts for the prongs that will stick out the
top for the upper wheel mount, and for joning the legs.
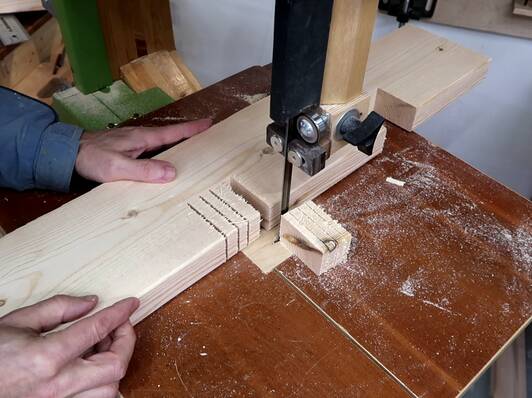
I finished those cuts on my 16" bandsaw, which is now over ten years old
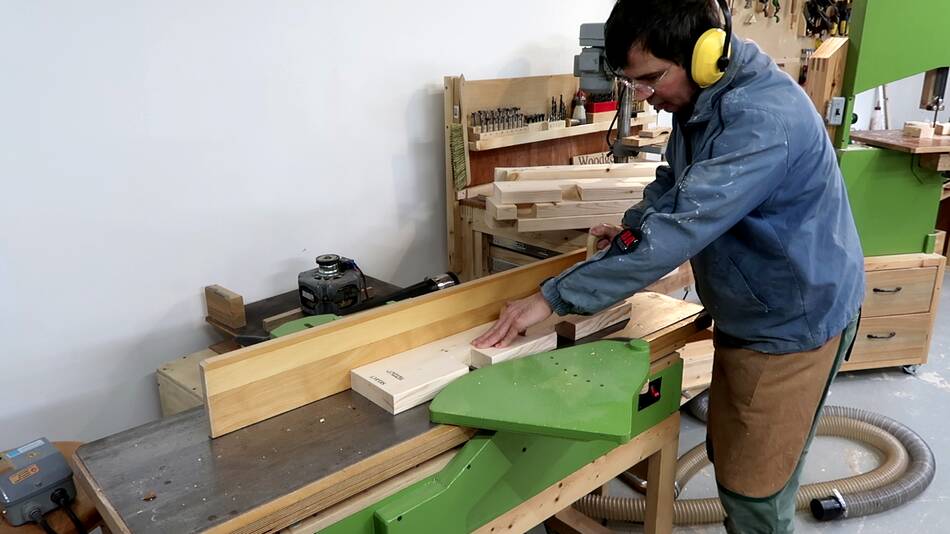 After that I jointed one face flat on my jointer...
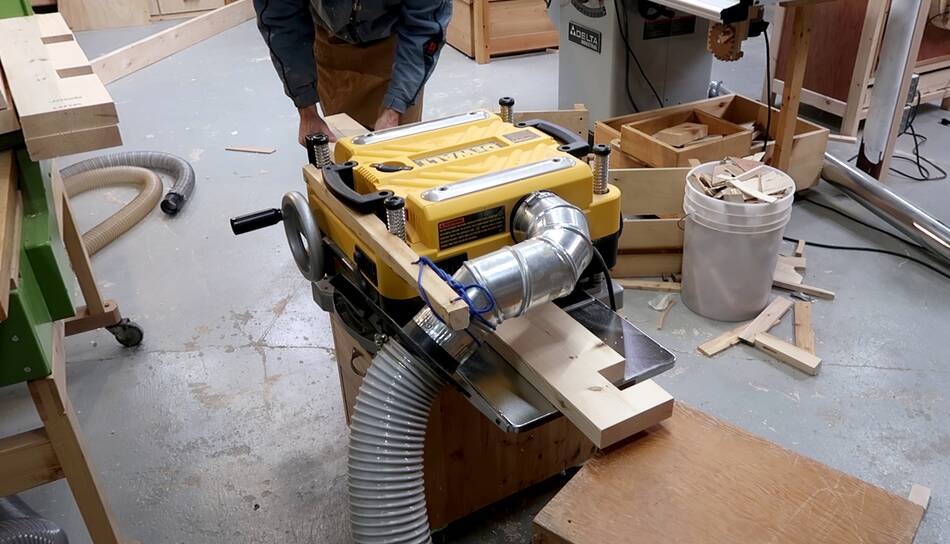 ... and planed them all to the same thickness.
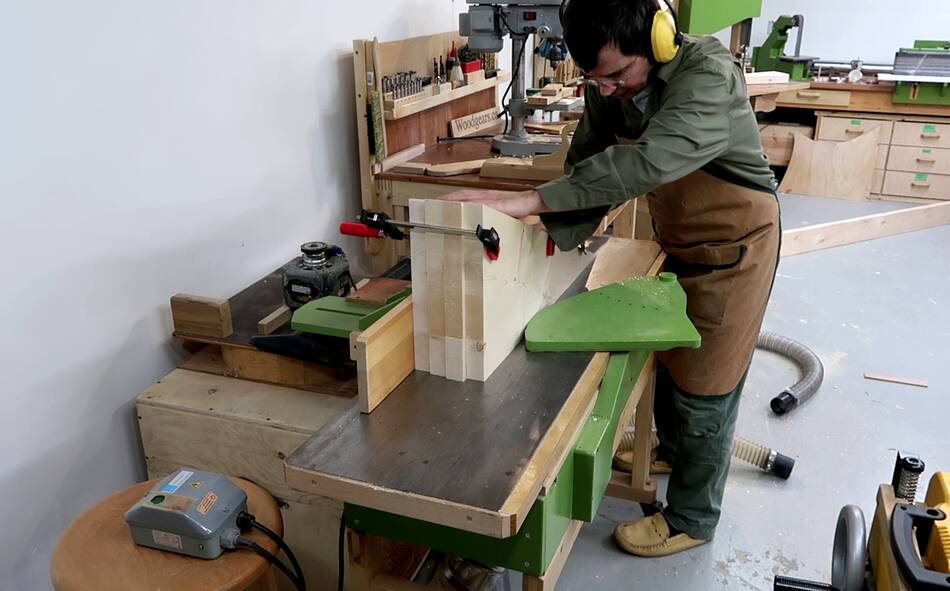 There are four big triangular sections that go into the frame.
These were made by gluing pieces side-by-side, then planing
and jointing, then cutting out the shape with a bandsaw.
There are four big triangular sections that go into the frame.
These were made by gluing pieces side-by-side, then planing
and jointing, then cutting out the shape with a bandsaw.
I'm trimming them together on the jointer to make sure they are smooth and consistent with each other.
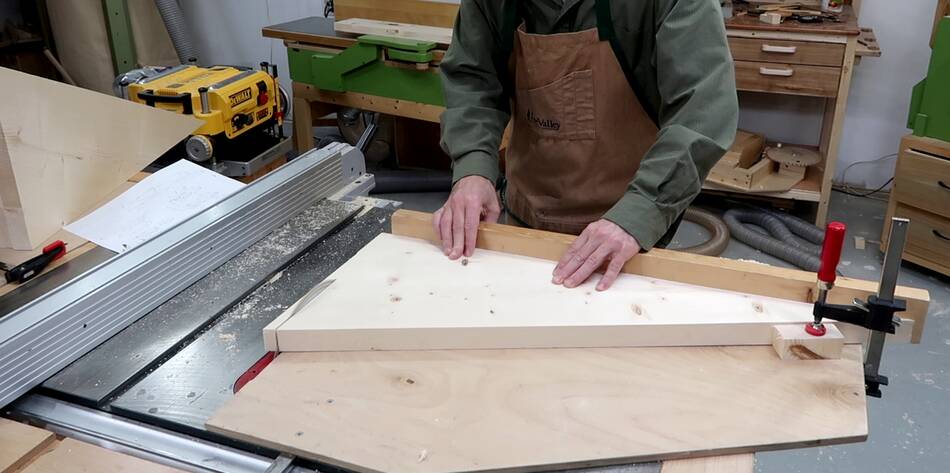 Trimming the triangles to size. I clamped a block to my big table
saw sled, going against the angled part.
Trimming the triangles to size. I clamped a block to my big table
saw sled, going against the angled part.
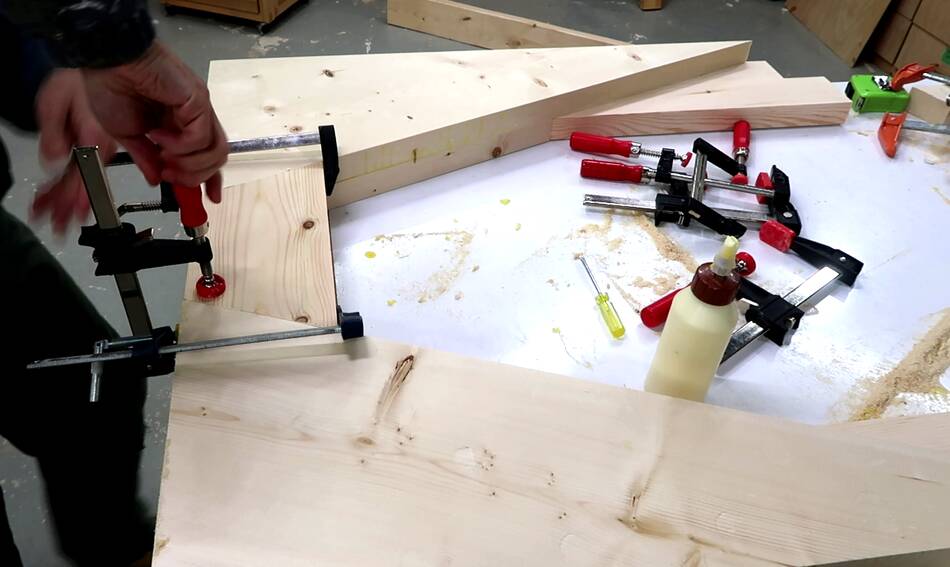
 Then gluing the first two big triangle pieces to what will be the
post on the left side of the bandsaw.
Then gluing the first two big triangle pieces to what will be the
post on the left side of the bandsaw.
 I used one of the triangles to cut the miters on the part that goes
between them on the post.
I used one of the triangles to cut the miters on the part that goes
between them on the post.
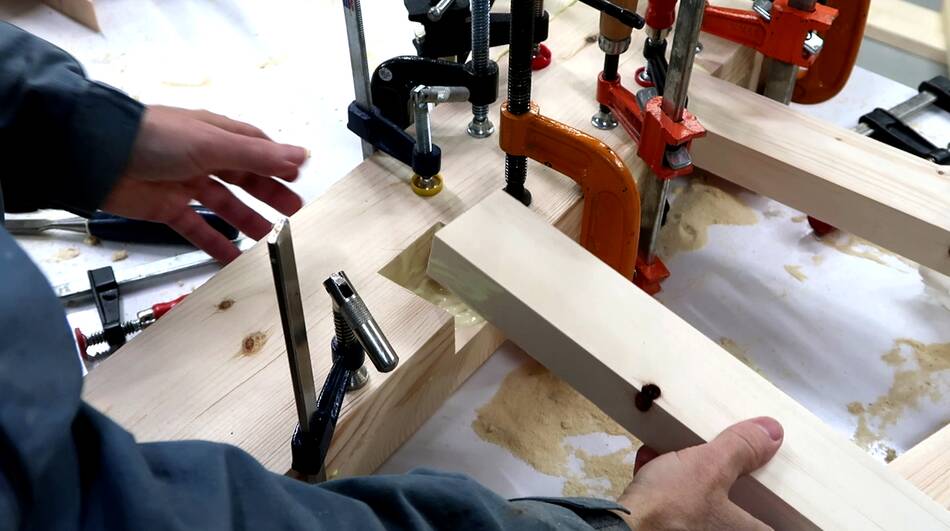
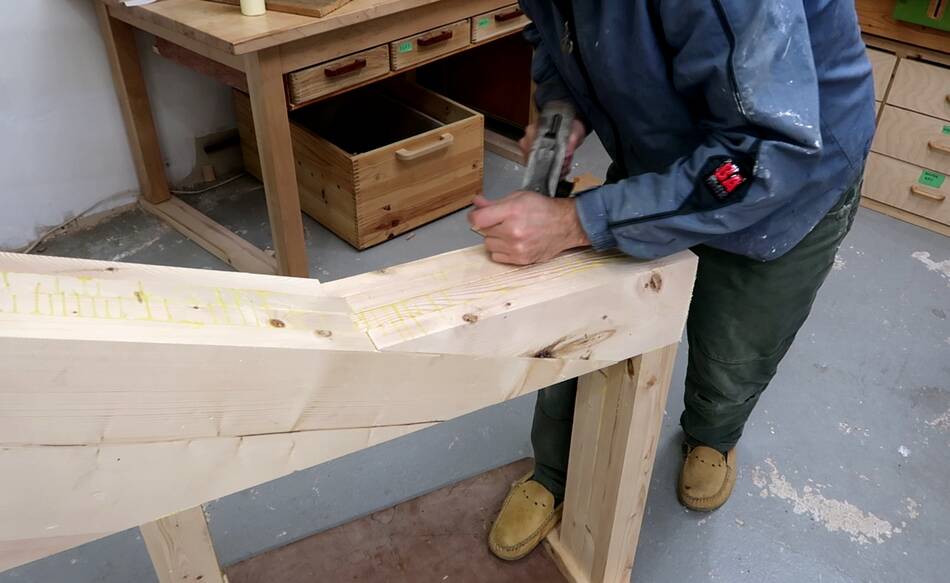
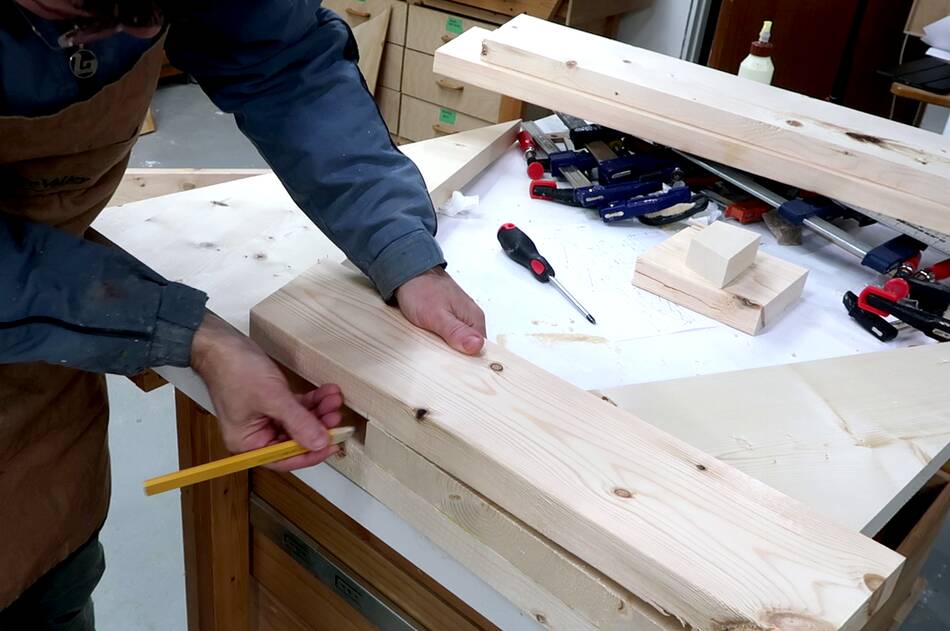 Here I'm about to mark where the second cut needs to be made for that
piece to fit between the triangles.
Here I'm about to mark where the second cut needs to be made for that
piece to fit between the triangles.
 Gluing on one of the horizontal pieces to the triangles I glued
on before. This piece has two notches cut out of it for the
legs to fit into.
Gluing on one of the horizontal pieces to the triangles I glued
on before. This piece has two notches cut out of it for the
legs to fit into.
 A smaller triangle fills the space not taken up by the post and
horizontal pieces.
A smaller triangle fills the space not taken up by the post and
horizontal pieces.
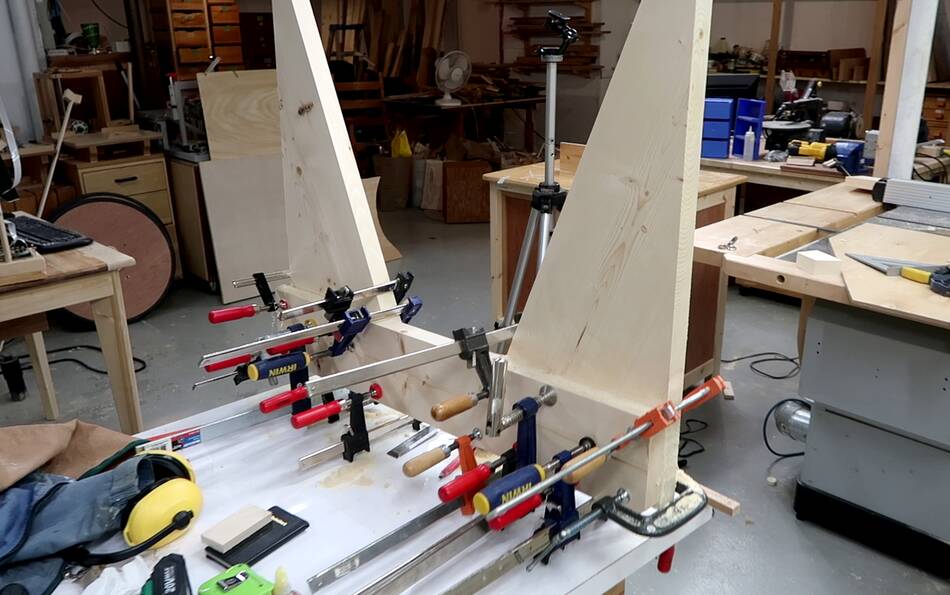
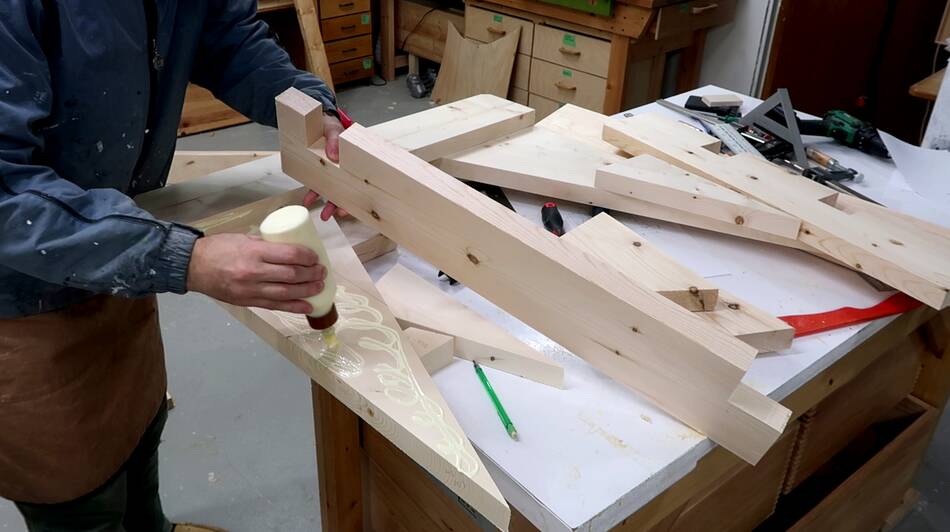
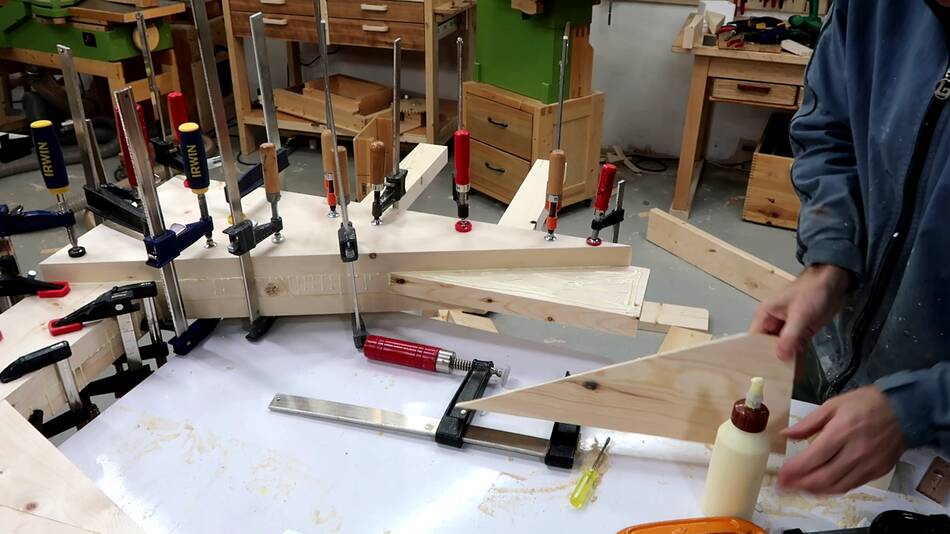
 I always used lots of glue and clamps to make sure I have a fully
bonded joint. I only applied glue to one side, figuring that sliding
the other piece back and forth a bit will spread the glue on both.
Then clamping it with lots of clamps.
I always used lots of glue and clamps to make sure I have a fully
bonded joint. I only applied glue to one side, figuring that sliding
the other piece back and forth a bit will spread the glue on both.
Then clamping it with lots of clamps.
 Adding one of the "prongs" that stick out of the top horizontal piece.
The top wheel mount will attach to these prongs.
Adding one of the "prongs" that stick out of the top horizontal piece.
The top wheel mount will attach to these prongs.
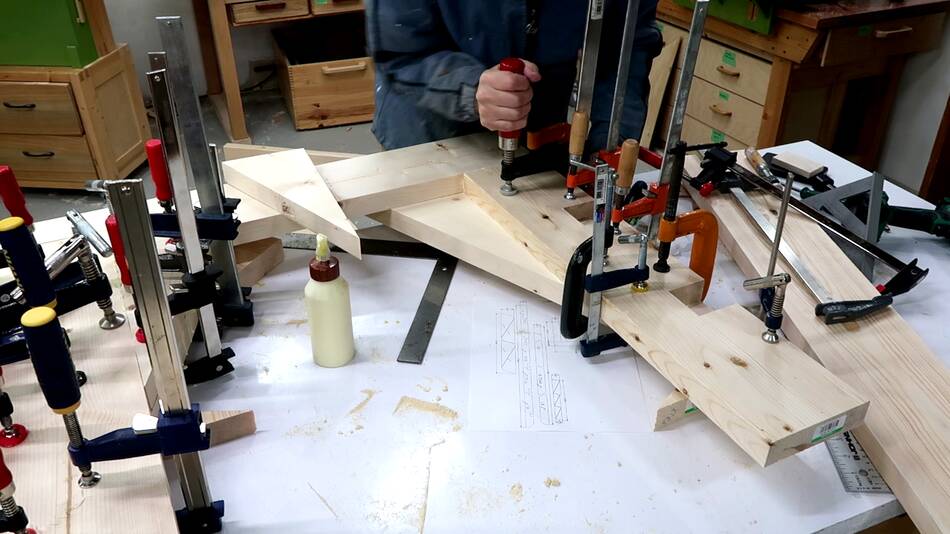
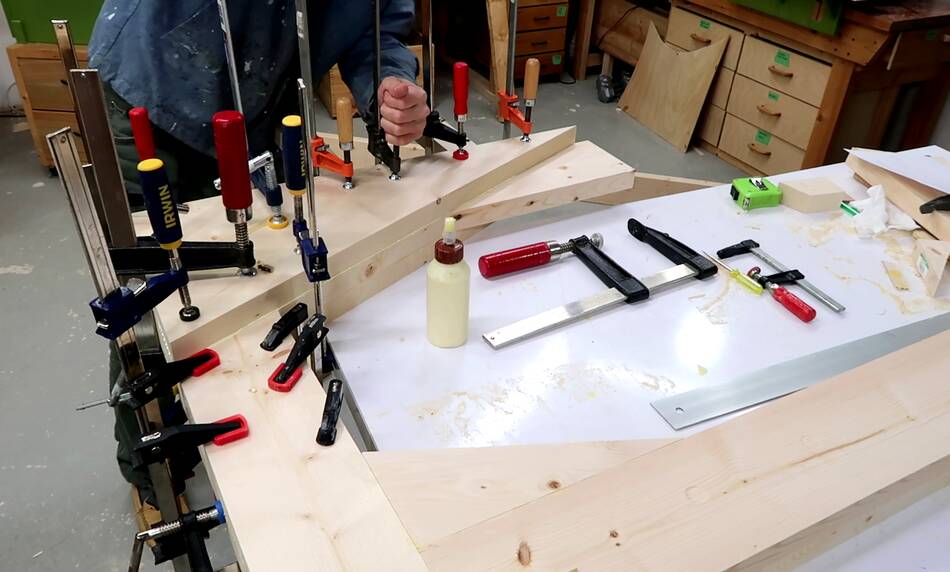
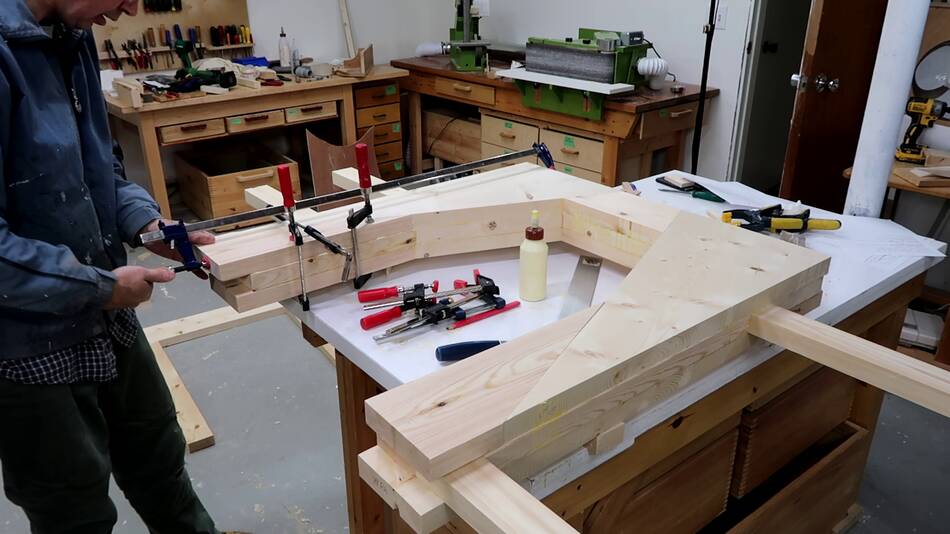
 Attaching the second piece that goes between the triangles. Note the clamps
pulling it sideways to get it to press against the triangles on either end.
Attaching the second piece that goes between the triangles. Note the clamps
pulling it sideways to get it to press against the triangles on either end.
 I wanted to be sure the glue was really dry before taking the clamps off.
Any force I applied to get the joints fully closed needs to be taken up
by the glue once the clamps are removed, so I wanted it to be set good.
I wanted to be sure the glue was really dry before taking the clamps off.
Any force I applied to get the joints fully closed needs to be taken up
by the glue once the clamps are removed, so I wanted it to be set good.
Not being able to work mornings or evenings because of kids, this meant I could only do two glue and clamp cycles per day, so the glue-up stretched out over several days.
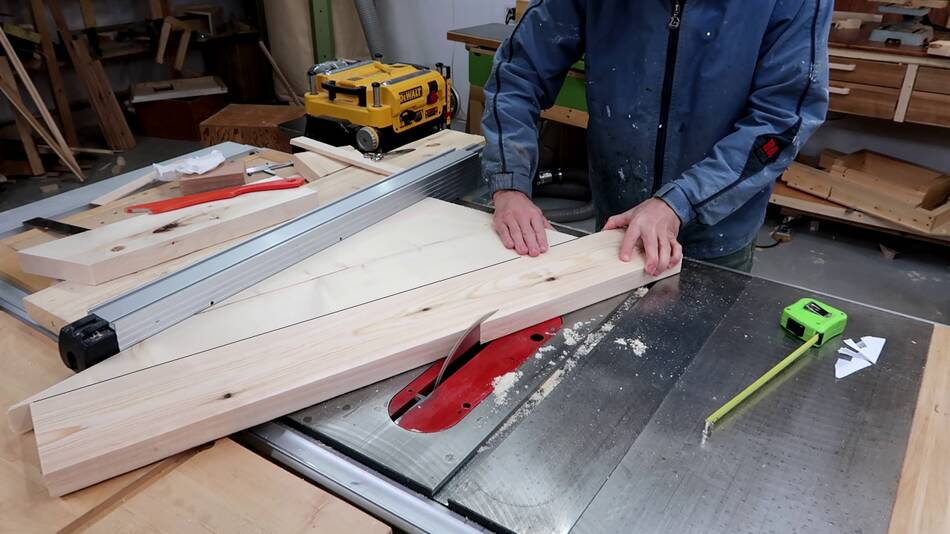 Using the last of the four big triangles to cut a 2x6 at an angle to make
pieces that extend the top and bottom horizontals past the triangles.
This wasn't a very safe arrangement. I recommend cutting these angles
with a taper jig or with a bandsaw instead.
Using the last of the four big triangles to cut a 2x6 at an angle to make
pieces that extend the top and bottom horizontals past the triangles.
This wasn't a very safe arrangement. I recommend cutting these angles
with a taper jig or with a bandsaw instead.
 This is where the piece I just cut goes.
 I used clamps across the horizontal, and along the whole length to get
that piece I'm adding to press against the big triangle.
I used clamps across the horizontal, and along the whole length to get
that piece I'm adding to press against the big triangle.
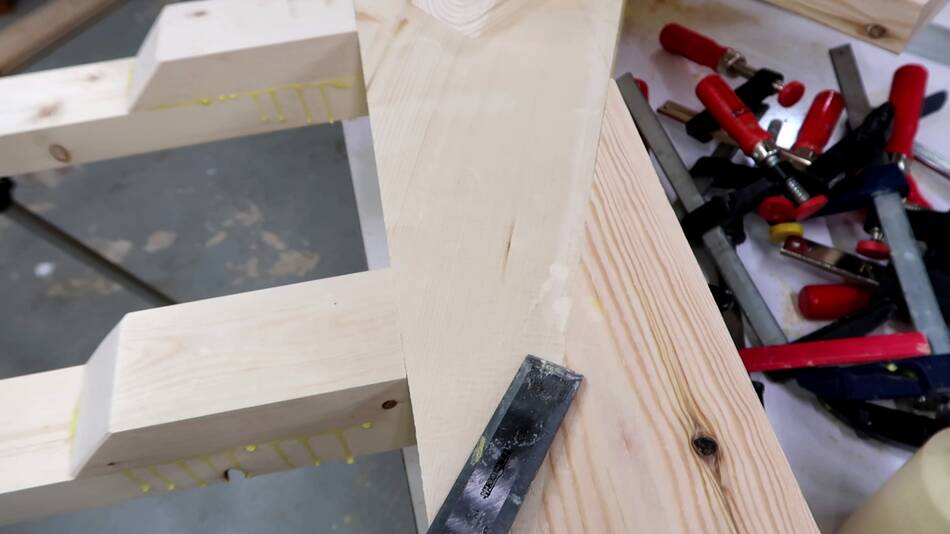 Between adding layers, I always went over the glue lines to clean up an
dried up glue squeeze-out. I also shaved down any slight step there
might be. Though on this glue up, I didn't have to resort to using
a hand plane to even things out.
Between adding layers, I always went over the glue lines to clean up an
dried up glue squeeze-out. I also shaved down any slight step there
might be. Though on this glue up, I didn't have to resort to using
a hand plane to even things out.
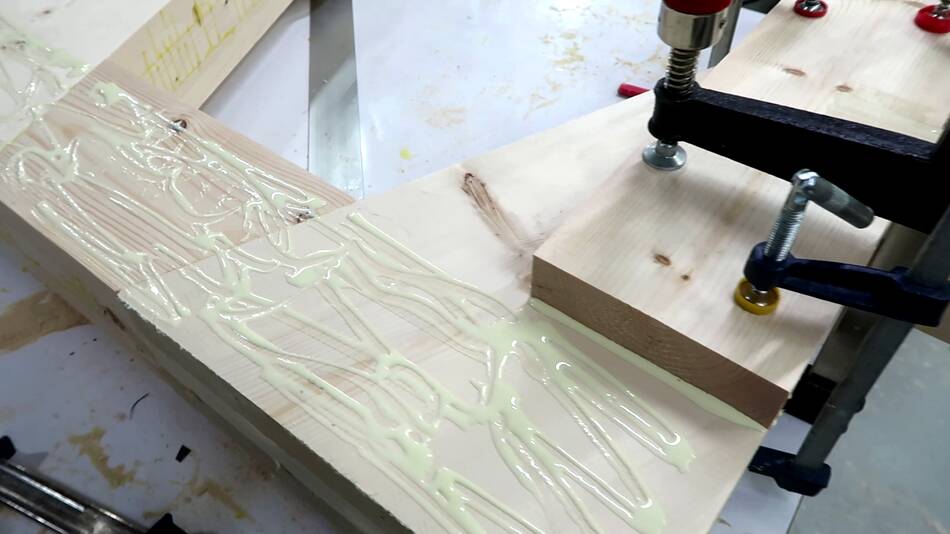 Glue applied for adding another layer to the post. You can see the large
overlap between the post piece to be added and the big triangle.
Glue applied for adding another layer to the post. You can see the large
overlap between the post piece to be added and the big triangle.
On my previous bandsaw builds I had small triangles as gussets between the horizontal and vertical beams, with alternate layers protruding about 3 cm into the post and the horizontal part to get a better joint. But with the layers twice as thick on this one, such a small overlap wouldn't be enough. So this time I decided to extend the triangle gussets all the way through the post and horizontal members to get more glue area. That makes the diagonally grained gusset the main structural member.
 When gluing on the pieces, I often put the clamps on at an angle to help
slide the pieces sideways against previous pieces of the same layer.
When gluing on the pieces, I often put the clamps on at an angle to help
slide the pieces sideways against previous pieces of the same layer.
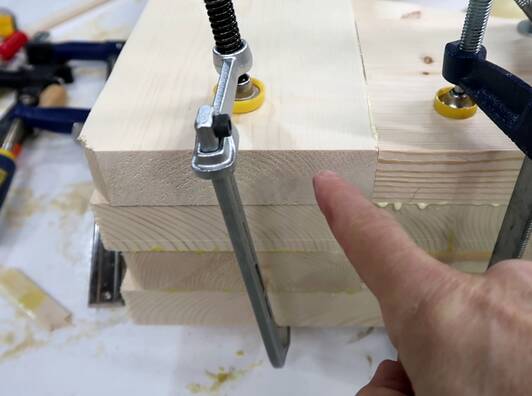
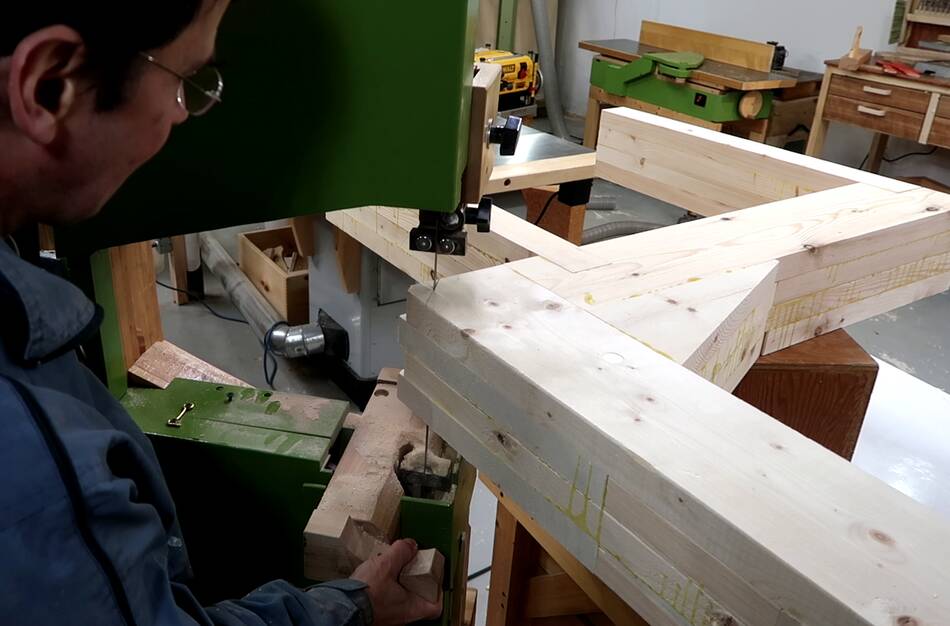
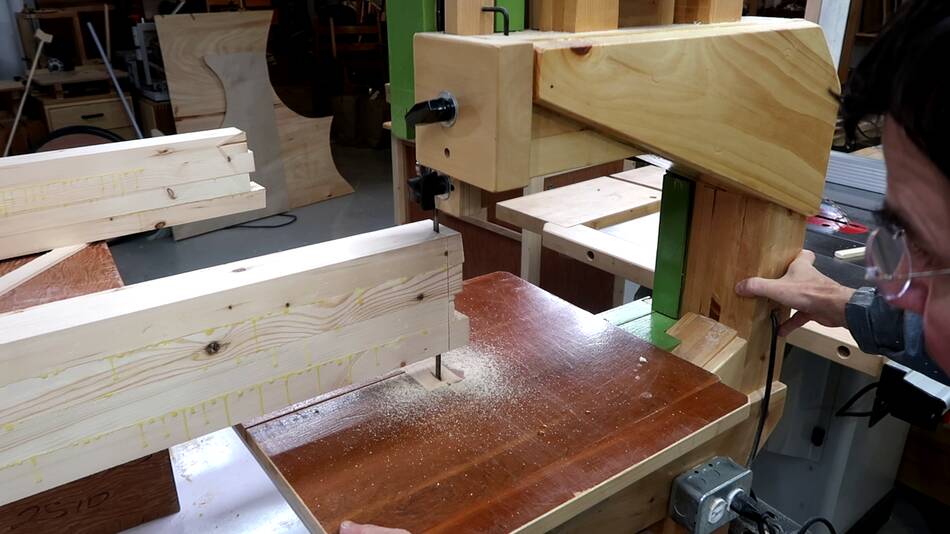 I left some of the pieces a bit long with the intention of
trimming them all together later. My thought had been to do that with
a circular saw, but rolling my bandsaw along the frame was easier
and less risky.
I left some of the pieces a bit long with the intention of
trimming them all together later. My thought had been to do that with
a circular saw, but rolling my bandsaw along the frame was easier
and less risky.
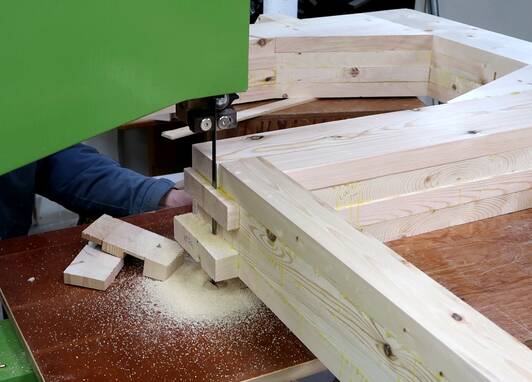 And some of these cuts could only have been partially be made with a
circular saw anyway, so I would have had to finish them with a hand saw.
And some of these cuts could only have been partially be made with a
circular saw anyway, so I would have had to finish them with a hand saw.
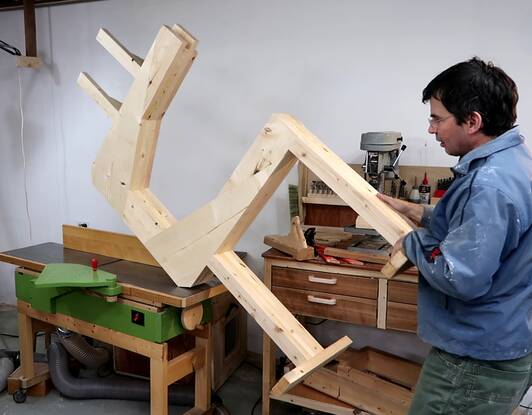
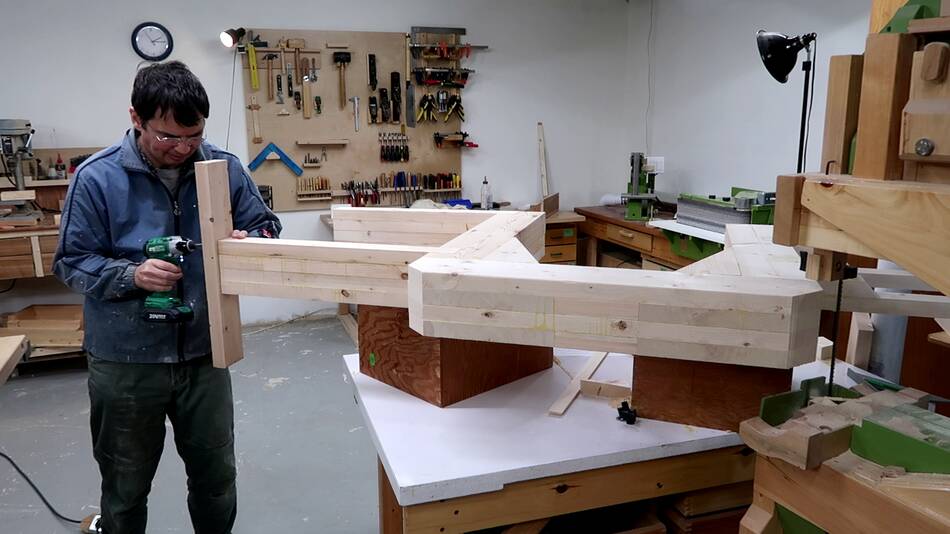 Screwing some pieces of 2x4 to the bottom of the legs.
These bandsw frames are always a bit tippy stood up, especially this one because I didn't make the legs wider on the bottom. I haven't quite decided how the bottom of this will be when it's done, but being able to stand it up will be handy for working on other parts in the mean time.
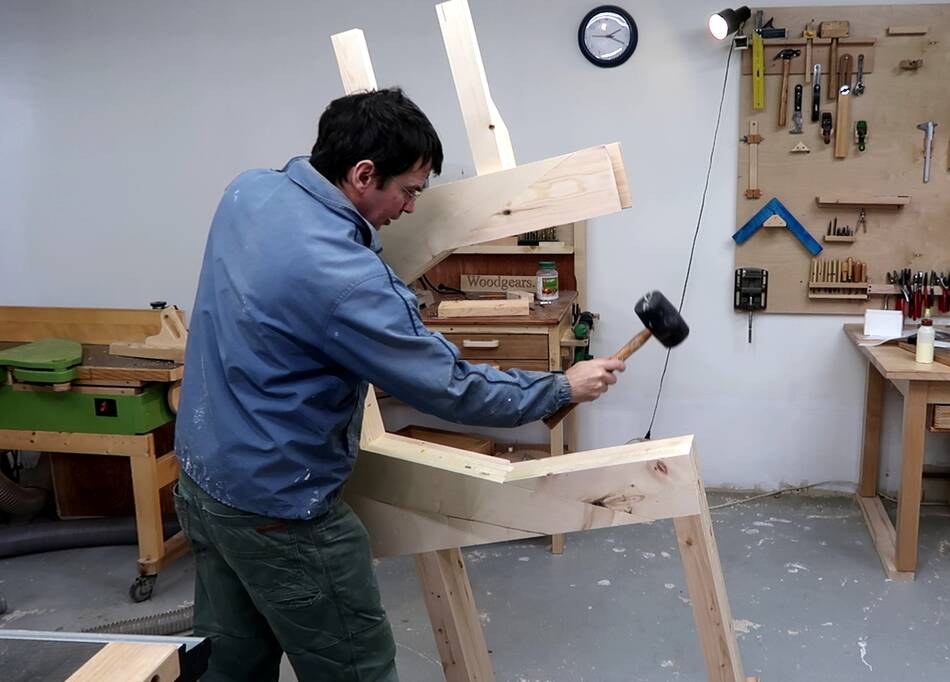 Banging the frame with a mallet. The frame as a nice ring to it when hit
in some places. If there was a problem with the glue up, I think that
would affect the sound.
Banging the frame with a mallet. The frame as a nice ring to it when hit
in some places. If there was a problem with the glue up, I think that
would affect the sound.
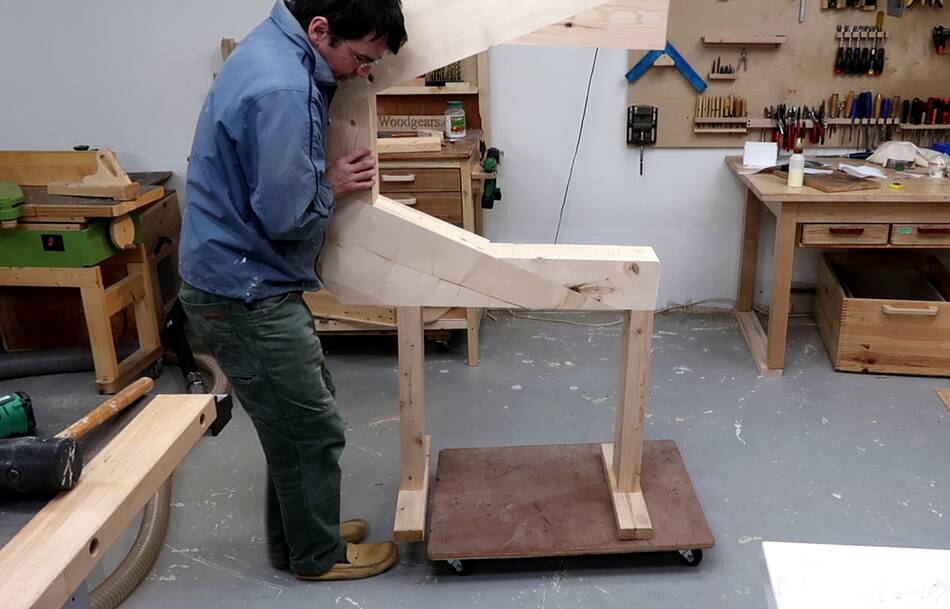 The frame is sized so that it will be at about the right height when it's
on a wheeled dolly.
The frame is sized so that it will be at about the right height when it's
on a wheeled dolly.
 Cleaning up some of the glue squeeze-out and flush trimming with a hand plane.
 I put the frame up on the jointer to trim the back of it flush.
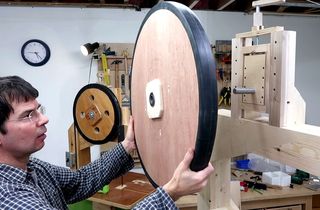
 Then clamping a wheel to the top, just to get a sense of the size of
the finished saw.
Then clamping a wheel to the top, just to get a sense of the size of
the finished saw.
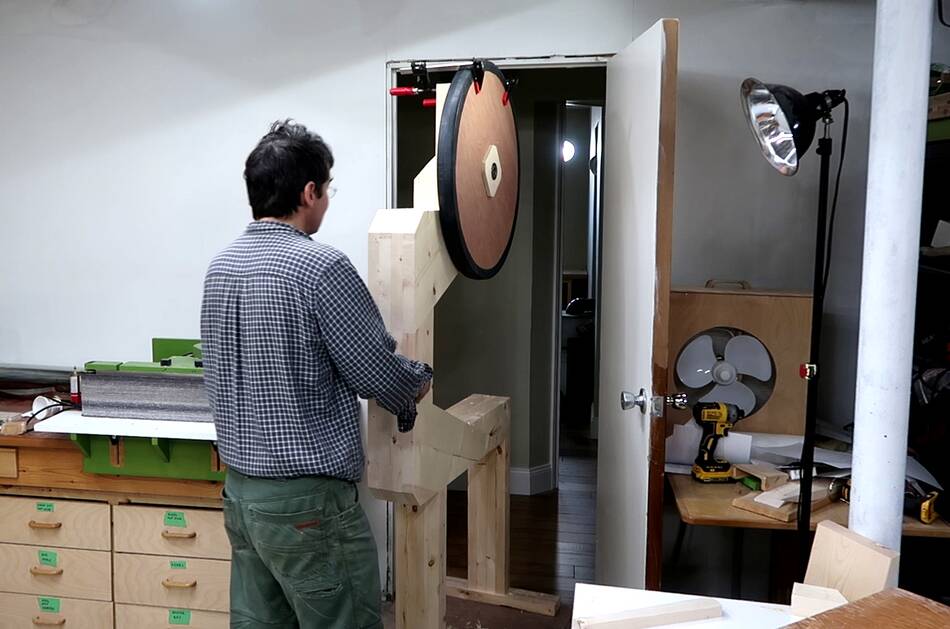 As it turns out, it just fits through this door now, but the enclosure and
crank will add more height. I designed the saw to still fit through a door
when completed, but this door is less than standard height.
As it turns out, it just fits through this door now, but the enclosure and
crank will add more height. I designed the saw to still fit through a door
when completed, but this door is less than standard height.
Next: Mounts for the bandsaw wheels
With tracking, alignment and tension adjustments
 26" bandsaw wheel mounts
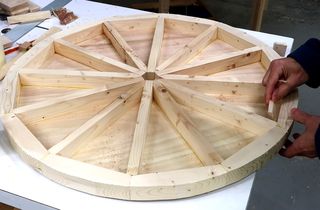 Hollow 26" bandsaw wheels
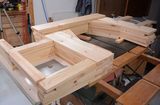 20" bandsaw frame