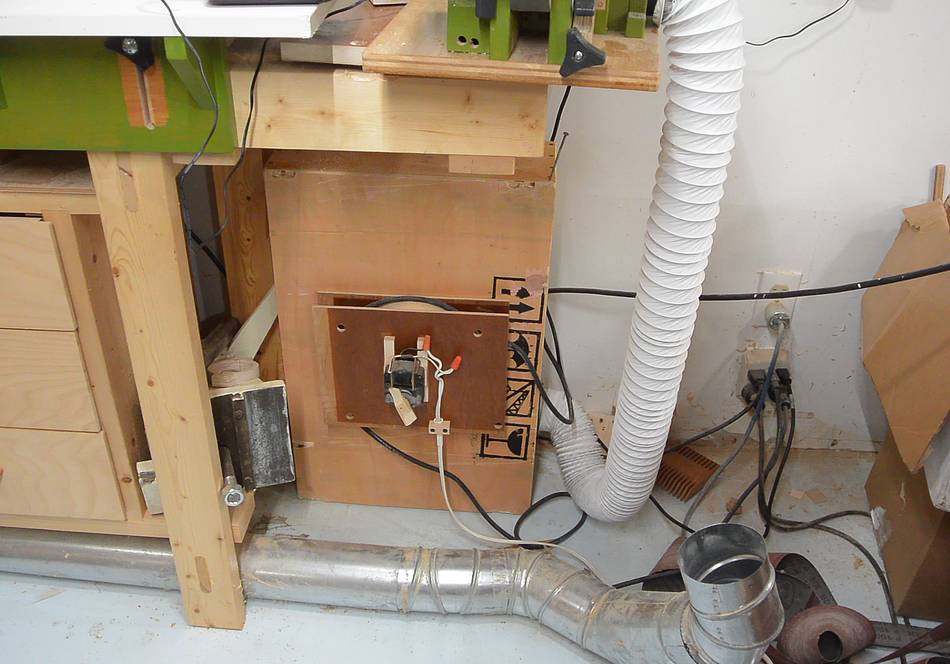
When I built my mini dust collector,
it was partly an experiment. It wasn't very powerful, but just enough
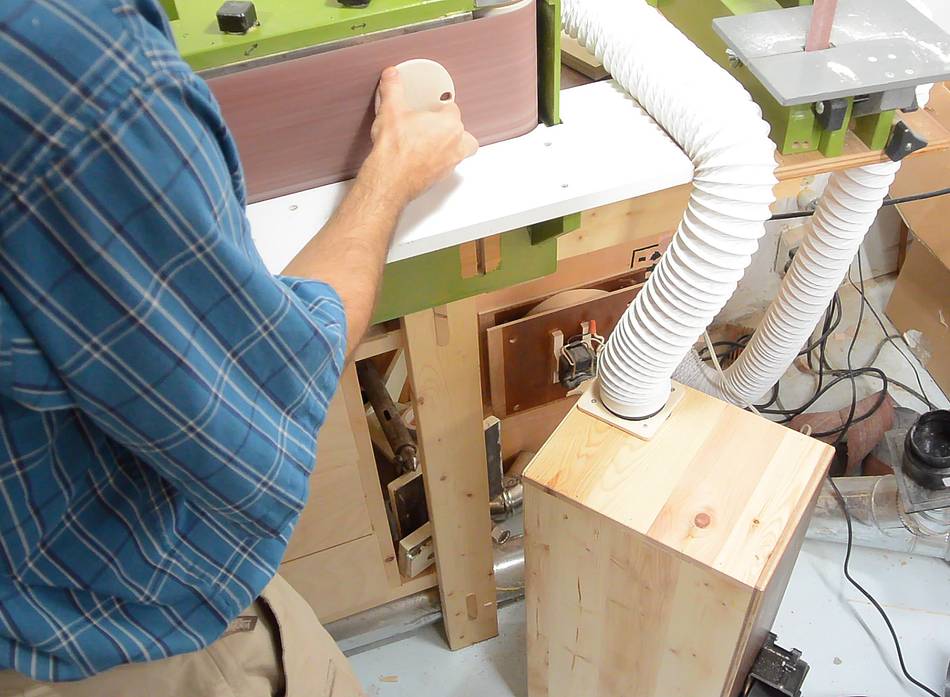
to suck up the dust from my strip sander.
 This made dust collection on the strip sander super convenient. No separate
dust collector to turn on, no blast gates to open.
I ended up using the strip sander a lot because I'd only have to turn it
on and it was ready.
This made dust collection on the strip sander super convenient. No separate
dust collector to turn on, no blast gates to open.
I ended up using the strip sander a lot because I'd only have to turn it
on and it was ready.
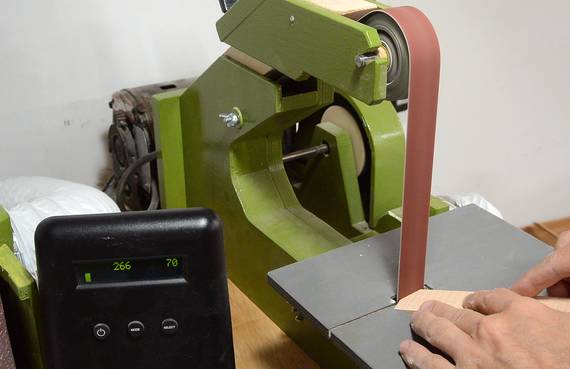
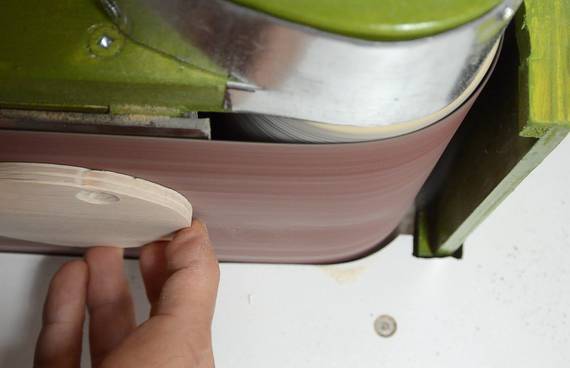
When sanding straight on the table, my Dylos particle counter hardly registered increases in airborne dust levels even standing right next to the sander.
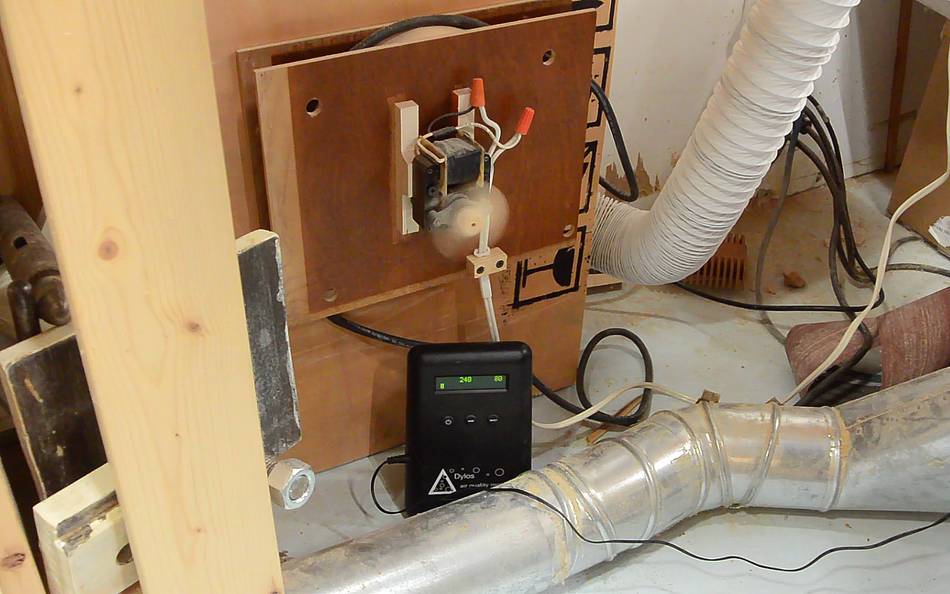 And measuring airborne dust near the dust collector exhaust, the air was
also surprisingly clean.
And measuring airborne dust near the dust collector exhaust, the air was
also surprisingly clean.
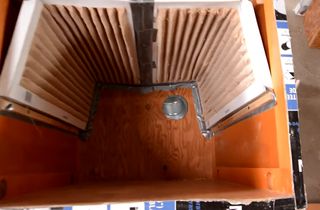
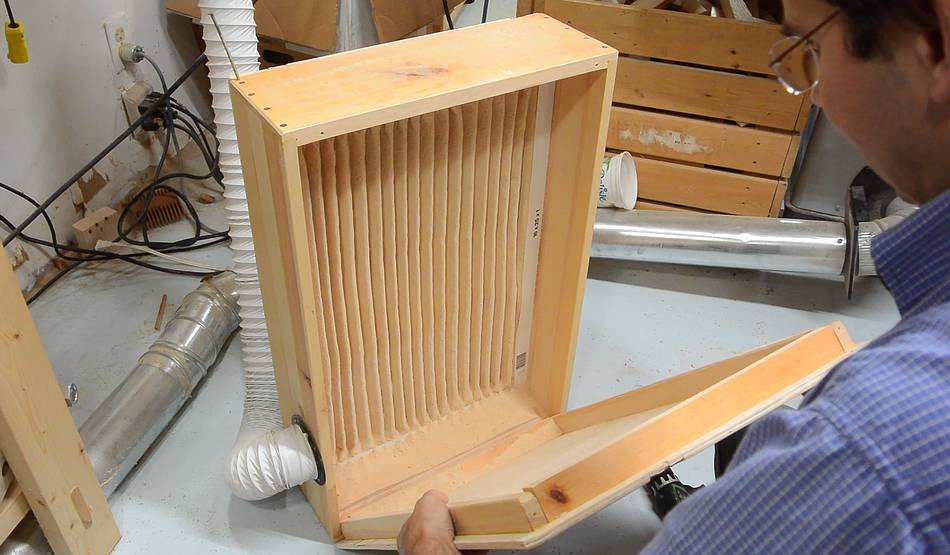 After 8 months, I thought I'd have a look inside it. The filter was
caked with wood dust and there was a pile of fine dust at the bottom.
After 8 months, I thought I'd have a look inside it. The filter was
caked with wood dust and there was a pile of fine dust at the bottom.
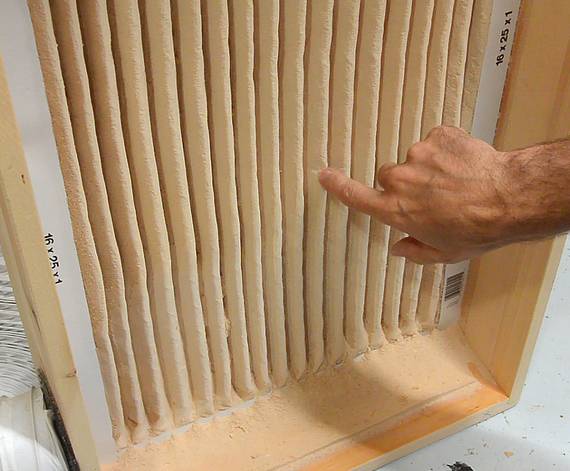 Touching the filter pleats would cause some of the fine dust to fall
down.
Touching the filter pleats would cause some of the fine dust to fall
down.
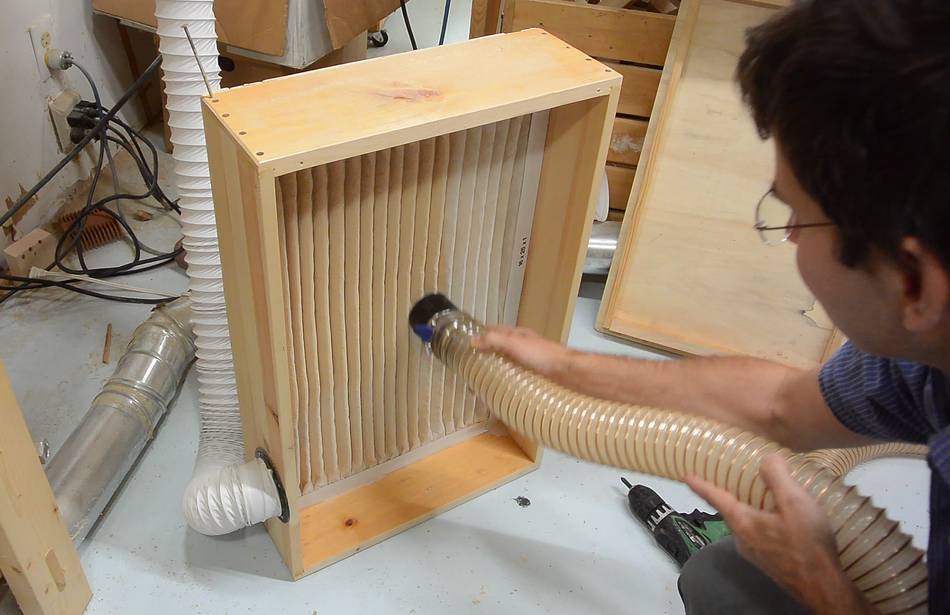
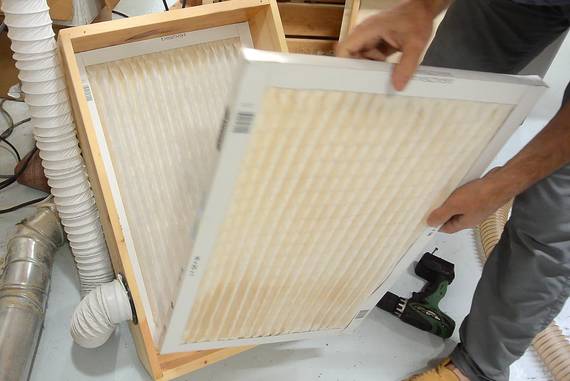 I vacuumed off some of the dust using my
small dust collector, then pulled out the first filter. The second filter
behind it didn't have any noticeable dust on it. So maybe one filter is all
that is necessary.
I vacuumed off some of the dust using my
small dust collector, then pulled out the first filter. The second filter
behind it didn't have any noticeable dust on it. So maybe one filter is all
that is necessary.
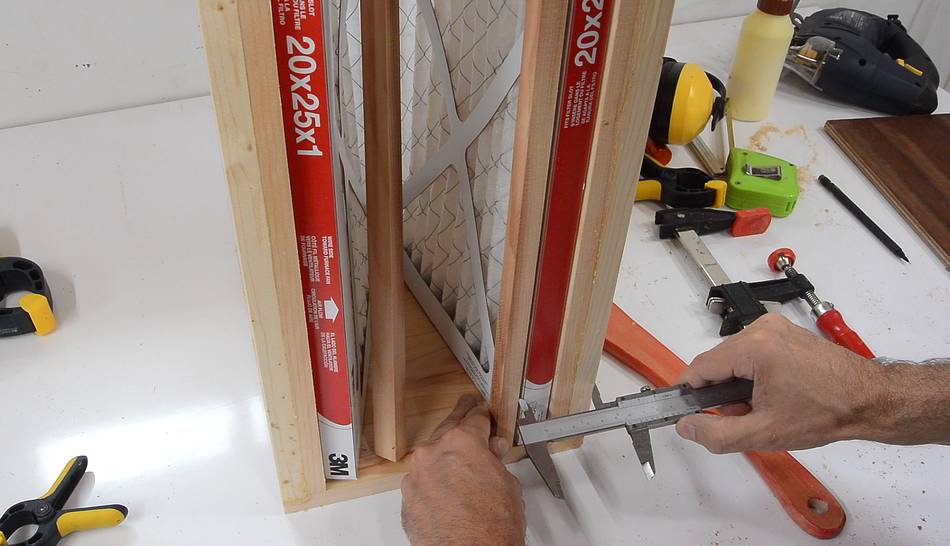
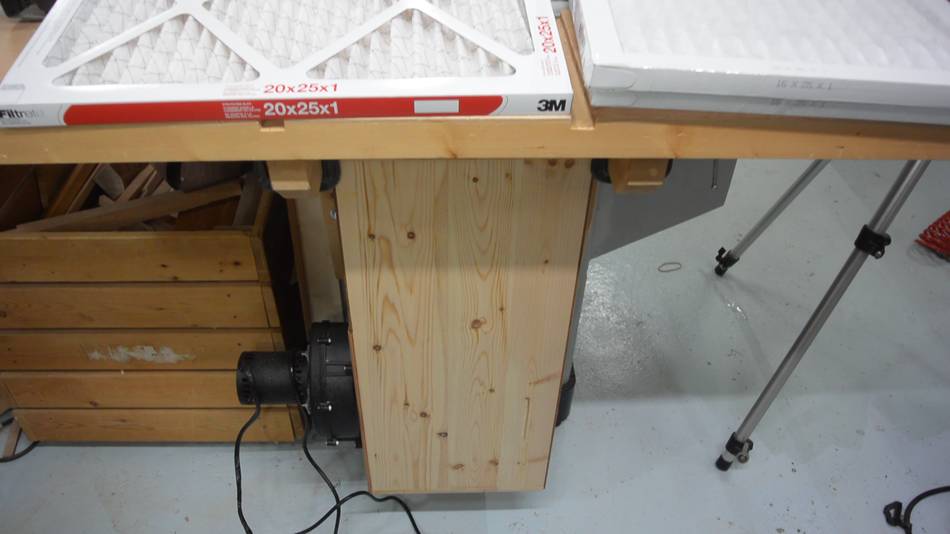
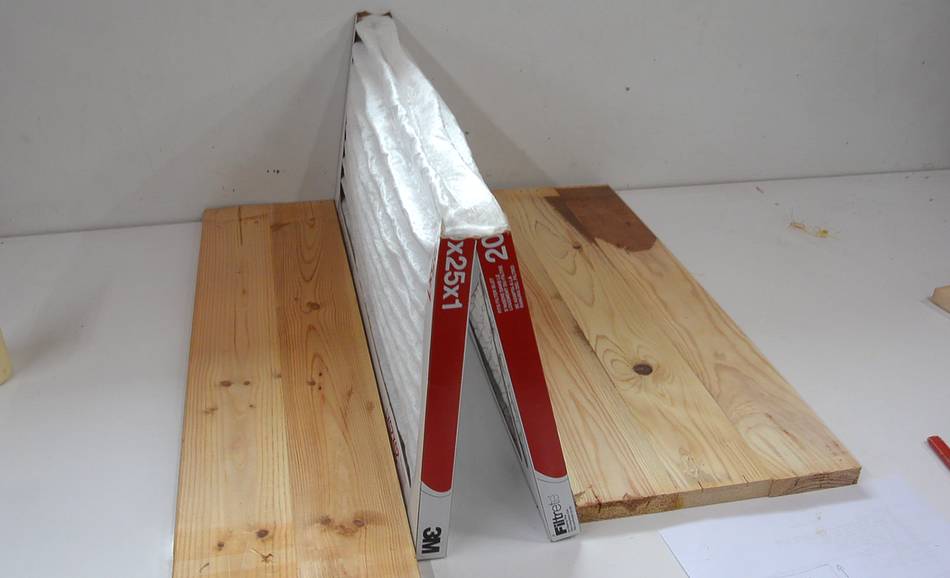 My first mini dust collector had a 16x25" filter, but I had the idea of using
a 20x25" (50x60 cm) filter, folded in half, to get more filter area in a
smaller box. I cut part of the cardboard frame of this filter to allow
it to fold better.
My first mini dust collector had a 16x25" filter, but I had the idea of using
a 20x25" (50x60 cm) filter, folded in half, to get more filter area in a
smaller box. I cut part of the cardboard frame of this filter to allow
it to fold better.
 I had glued up several panels out of boards from old futon frames to make
the box for it.
I had glued up several panels out of boards from old futon frames to make
the box for it.
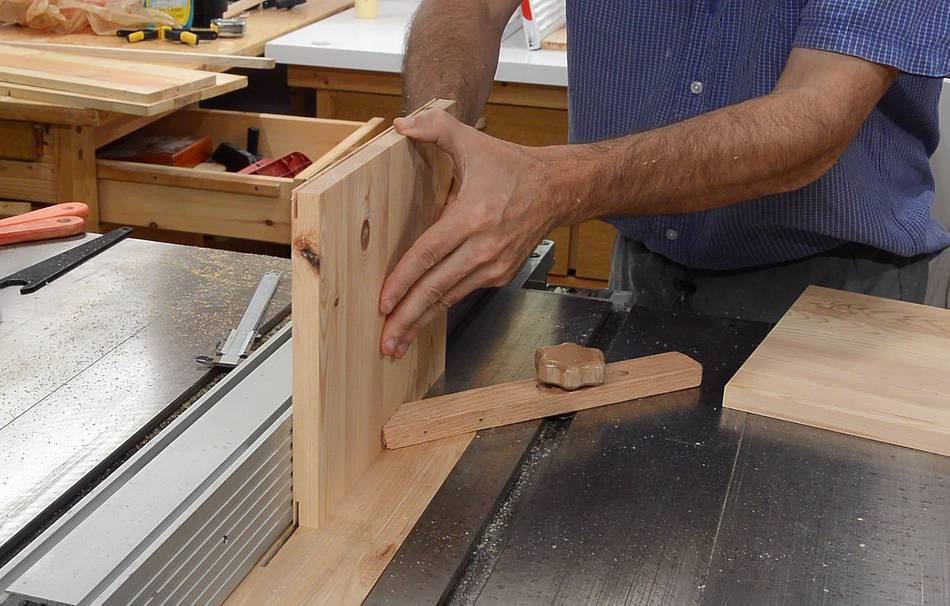
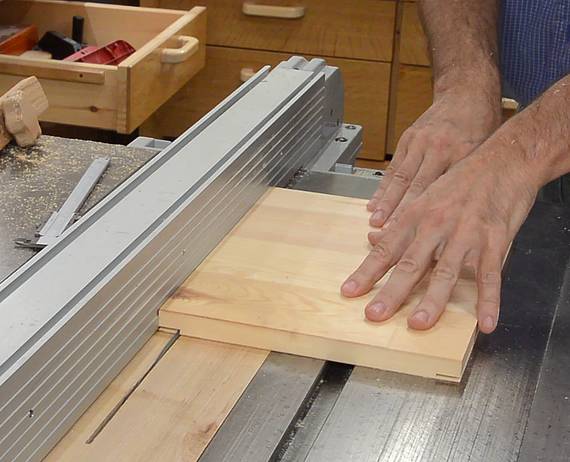 I cut rabbets in the short pieces by making two passes on the table
saw (it's faster making two passes than it is to switch the saw over
to a dado stack and back)
I cut rabbets in the short pieces by making two passes on the table
saw (it's faster making two passes than it is to switch the saw over
to a dado stack and back)
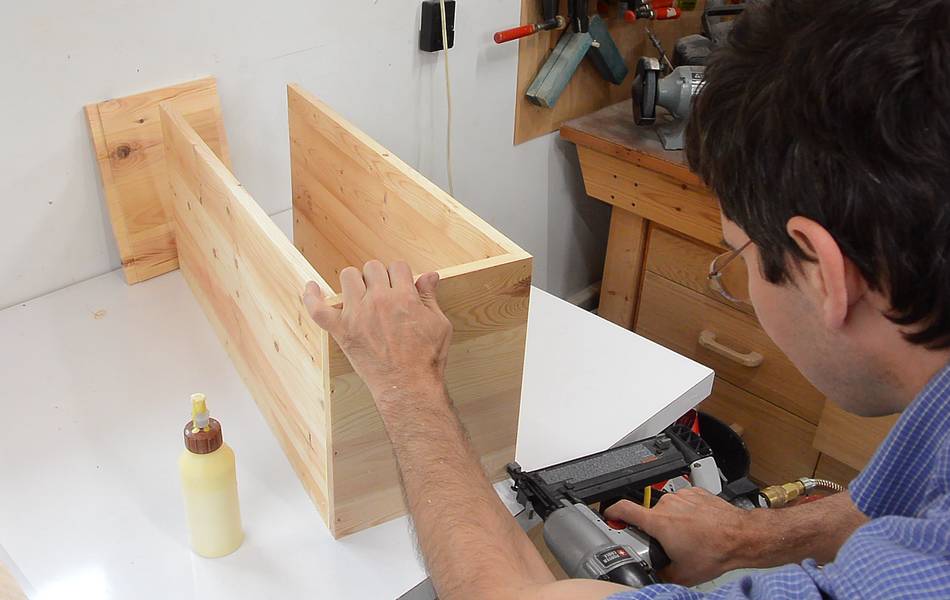 The rabbets help to align the pieces while gluing. I'm adding a few
brad nails to hold it together so I don't have to clamp it.
The rabbets help to align the pieces while gluing. I'm adding a few
brad nails to hold it together so I don't have to clamp it.
 Filter fitted in the box. I added a strip of wood along the inside
long edges to keep the filter away from the sides of the box.
This allows for more room for sawdust to accumulate.
Filter fitted in the box. I added a strip of wood along the inside
long edges to keep the filter away from the sides of the box.
This allows for more room for sawdust to accumulate.
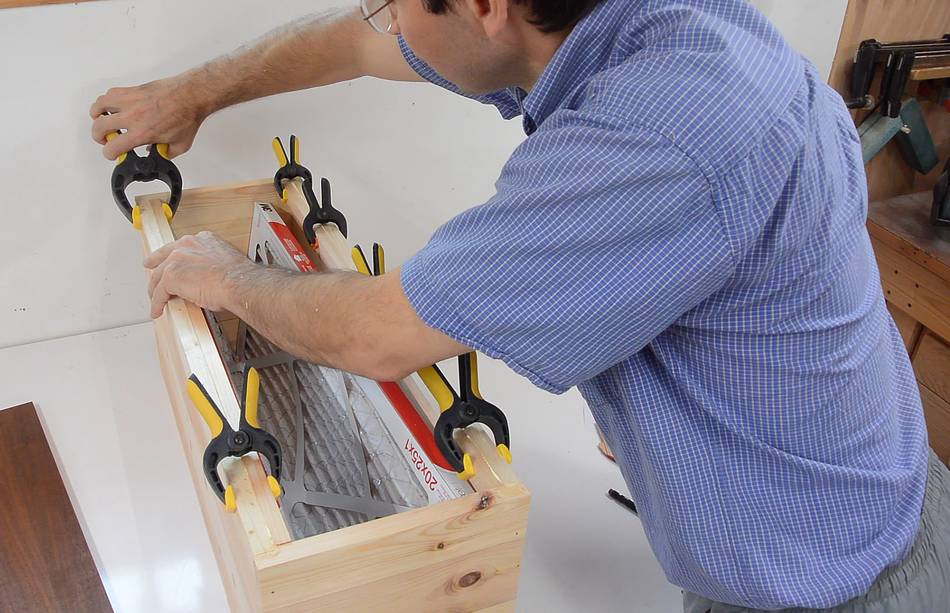
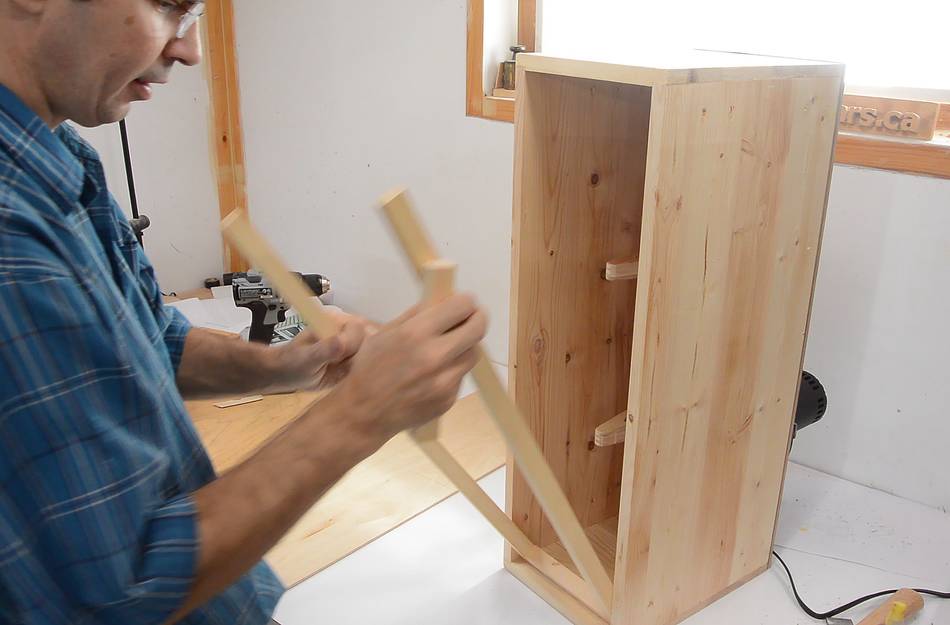
 Two more strips of wood will prevent the filter from folding in on
itself from the vacuum. They should also help prevent the air from
flowing around the filter.
Two more strips of wood will prevent the filter from folding in on
itself from the vacuum. They should also help prevent the air from
flowing around the filter.
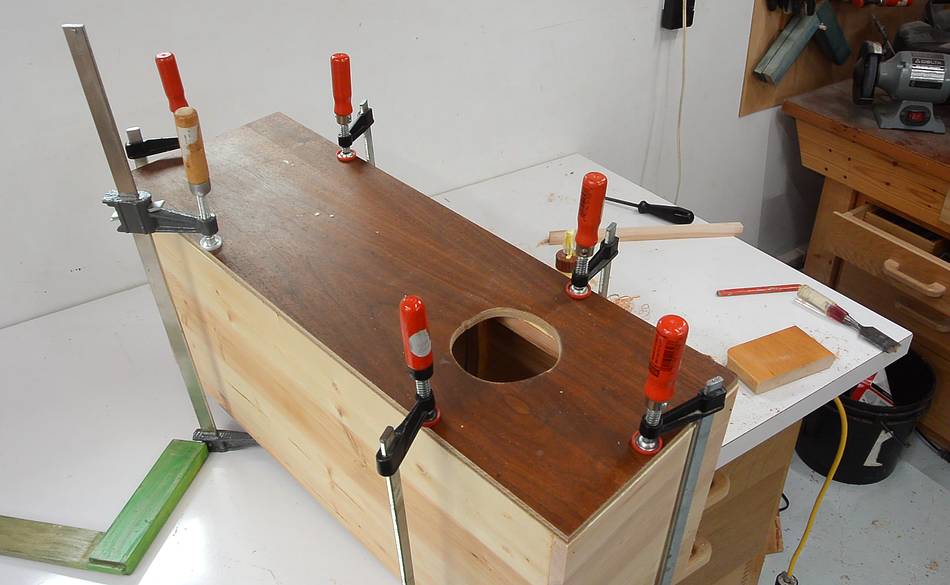
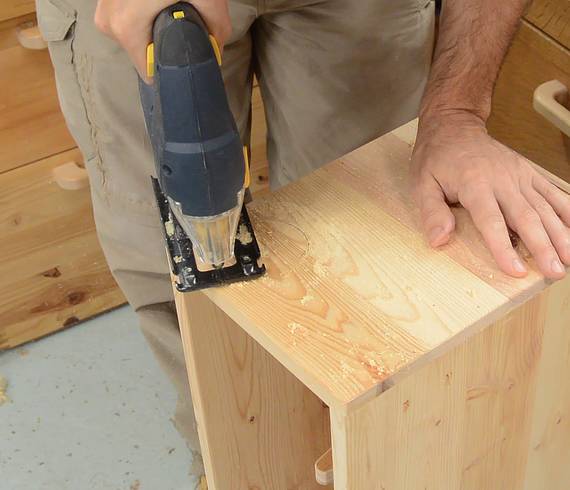
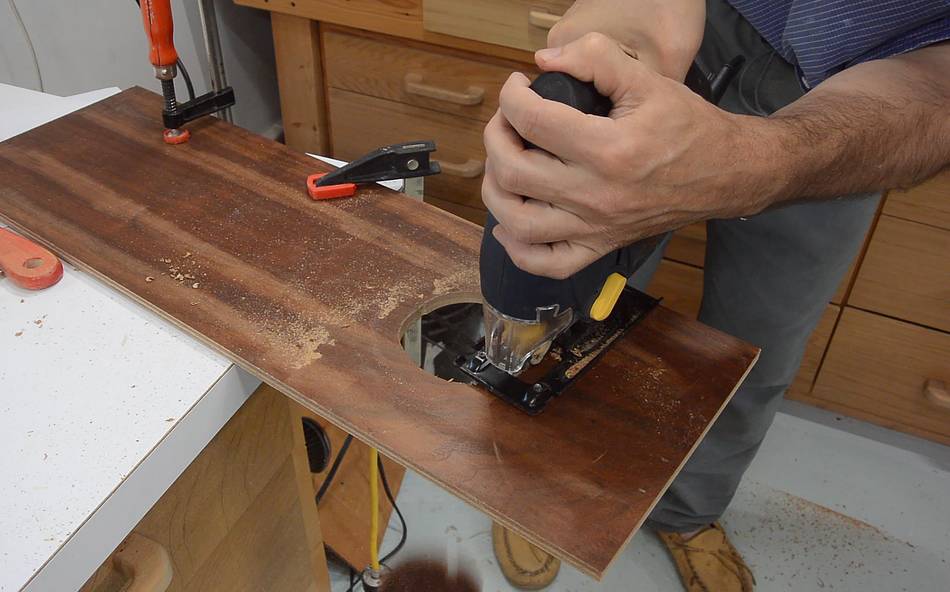 I used a jigsaw to cut a hole in the panel for the fan.
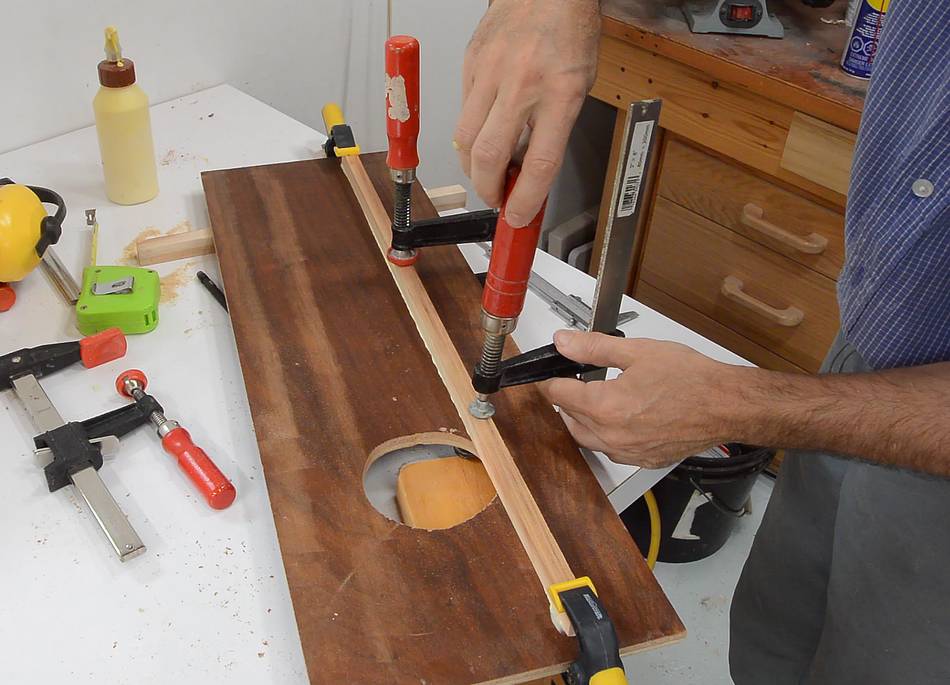 Then gluing the strips (from two pictures ago) to the back panel
with the hole in it.
Then gluing the strips (from two pictures ago) to the back panel
with the hole in it.
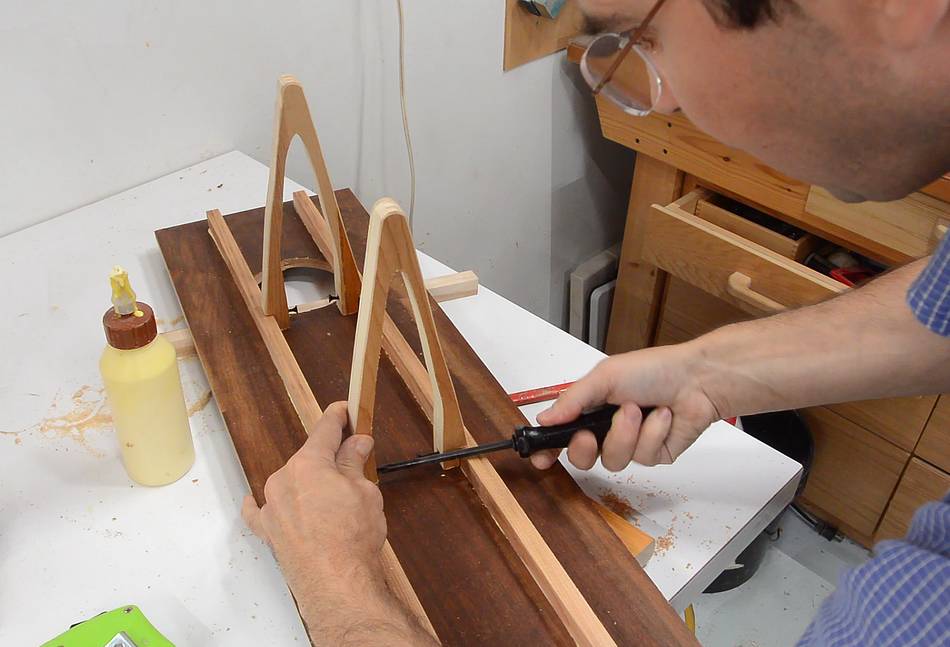 I figured, once the filter was caked with dust, it might offer some air
resistance, and the air pressure might cause it to fold in on itself,
so I added these two brackets to keep it from collapsing.
I figured, once the filter was caked with dust, it might offer some air
resistance, and the air pressure might cause it to fold in on itself,
so I added these two brackets to keep it from collapsing.
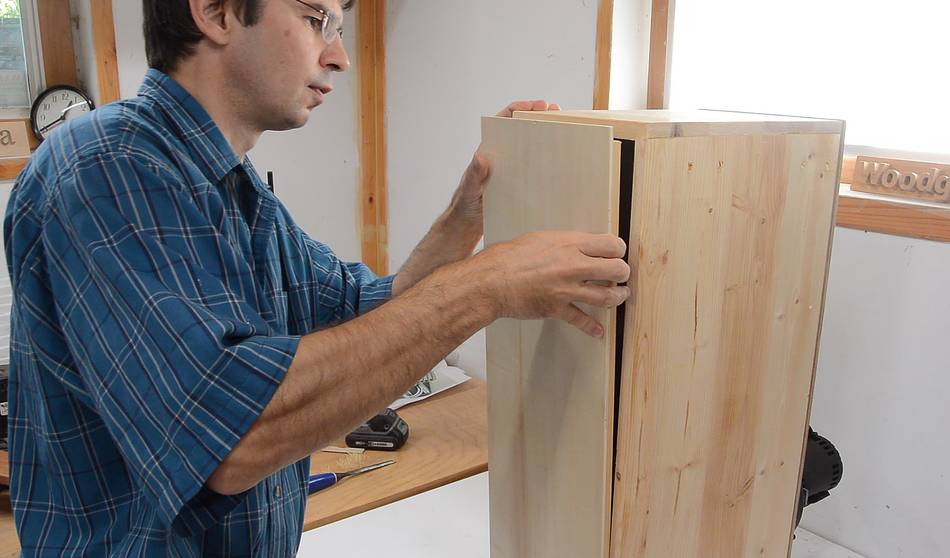
 Then I glued the back panel onto the box.
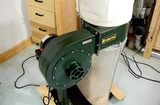
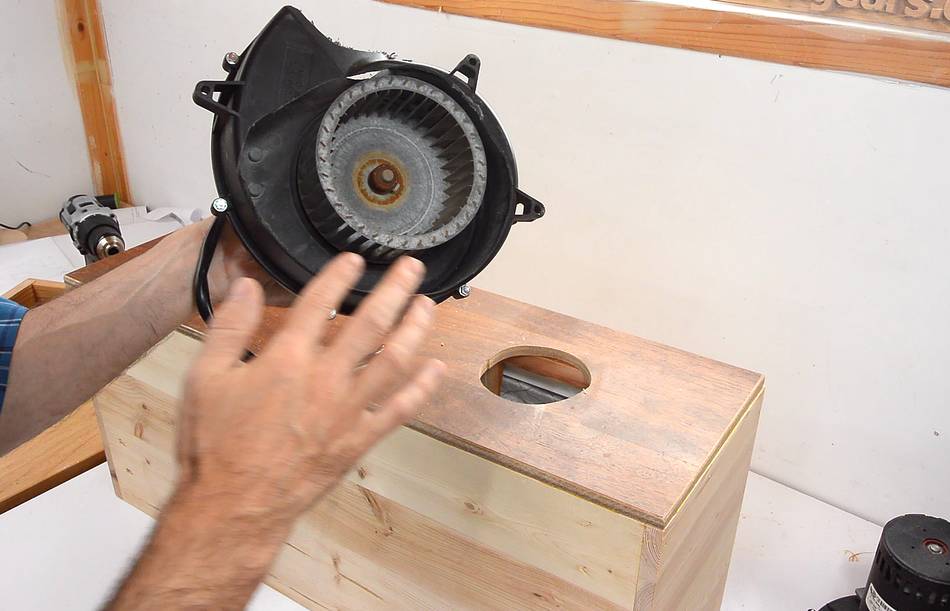 A friend gave me some hot water heater exhaust blowers, so I'm using
one of these with this dust collector.
A friend gave me some hot water heater exhaust blowers, so I'm using
one of these with this dust collector.
I cut the exhaust nozzle off the blower to allow for more air flow. The front of the housing had pieces missing, so I broke more off to fully expose the squirrel cage.
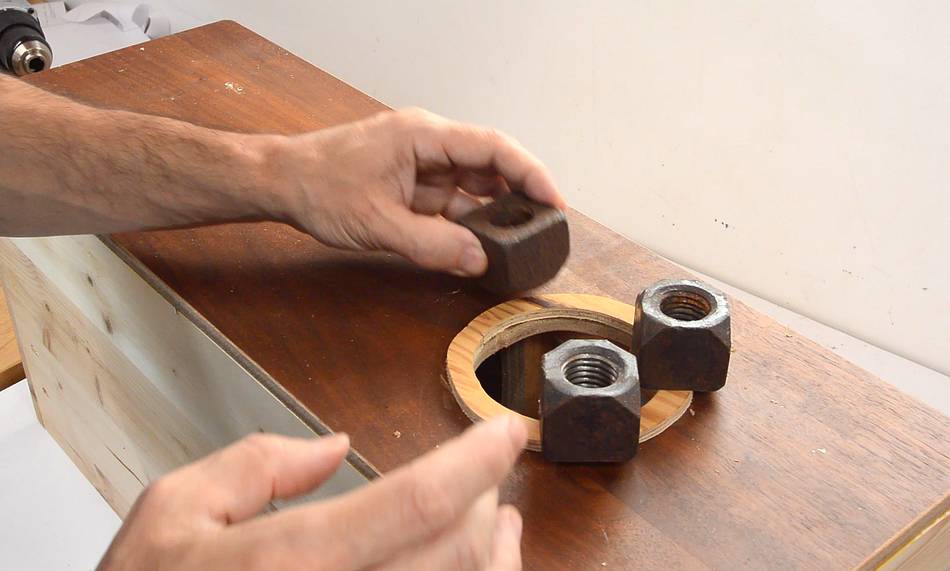 With the blower front missing, the squirrel cage is recessed by about 9
mm from the blower surface. I added a ring of plywood around the hole to
extend it closer to the squirrel cage. This cuts down on how much air
recirculates around the front of the squirrel cage, which should make
the blower more efficient.
With the blower front missing, the squirrel cage is recessed by about 9
mm from the blower surface. I added a ring of plywood around the hole to
extend it closer to the squirrel cage. This cuts down on how much air
recirculates around the front of the squirrel cage, which should make
the blower more efficient.
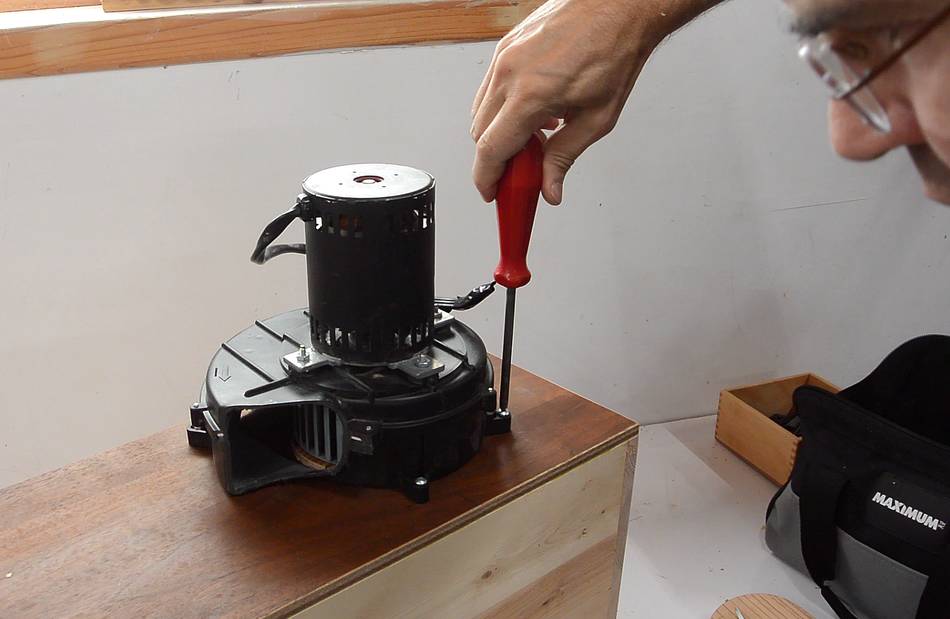 Then screwing the blower onto the box. I first placed it on, used an awl
to punch divots through the screw holes, then pre-drilled them before
screwing the blower on.
Then screwing the blower onto the box. I first placed it on, used an awl
to punch divots through the screw holes, then pre-drilled them before
screwing the blower on.
 I wanted a frame to fit tightly inside the box for the lid on the other side.
I cut the pieces to length and fitted them in the box...
I wanted a frame to fit tightly inside the box for the lid on the other side.
I cut the pieces to length and fitted them in the box...
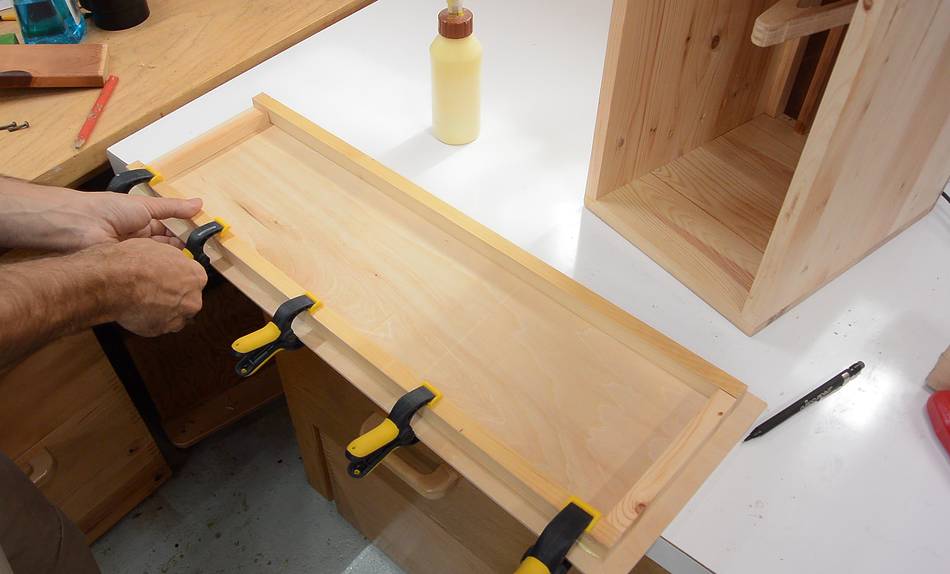 ... then glued them onto the lid.
 This made for a very snug fit. This way, I don't have to use any
sort of sealant material to keep it tight.
When I built my first dust collector I experimented
with using felt for the seal, but shavings really stick to the felt, and it
absorbs dust. Flat on flat wood is much more convenient, and tight enough
as long as it's precise.
This made for a very snug fit. This way, I don't have to use any
sort of sealant material to keep it tight.
When I built my first dust collector I experimented
with using felt for the seal, but shavings really stick to the felt, and it
absorbs dust. Flat on flat wood is much more convenient, and tight enough
as long as it's precise.
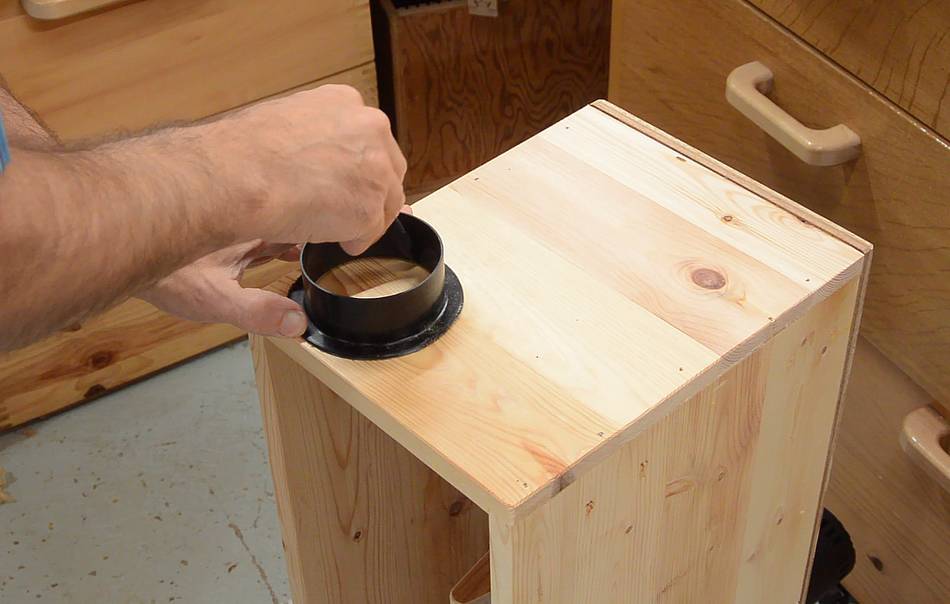
 The hose port is made of a cheap 4" to 3" plastic dryer hose adapter.
I cut off the 4" part on the bandsaw, leaving the 3" part and a 1/2" wide flange.
 Then marking the opening I need in the box and cutting it out with a jigsaw.
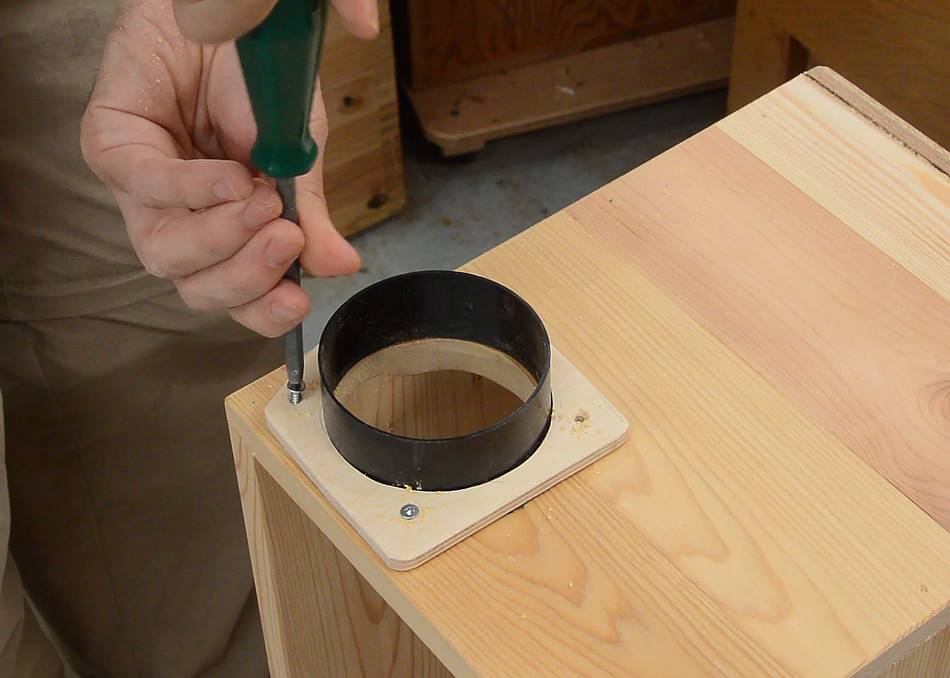 I made a plywood flange to fit over the thin plastic one to help
hold it in place.
I made a plywood flange to fit over the thin plastic one to help
hold it in place.
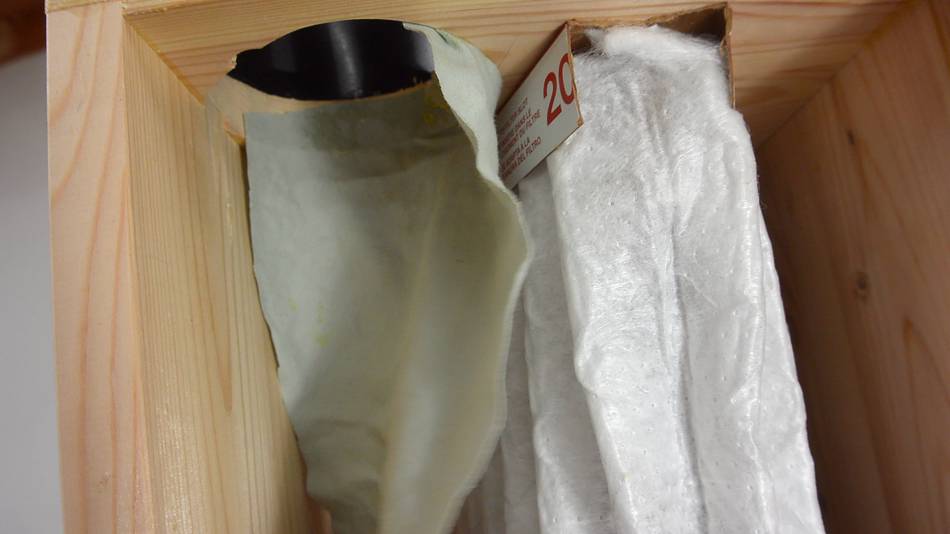 I also figured it would be best to not have the incoming air blow directly
against the filter, so I glued some fabric to the inside of the hose to direct
the air away from the filter.
I also figured it would be best to not have the incoming air blow directly
against the filter, so I glued some fabric to the inside of the hose to direct
the air away from the filter.
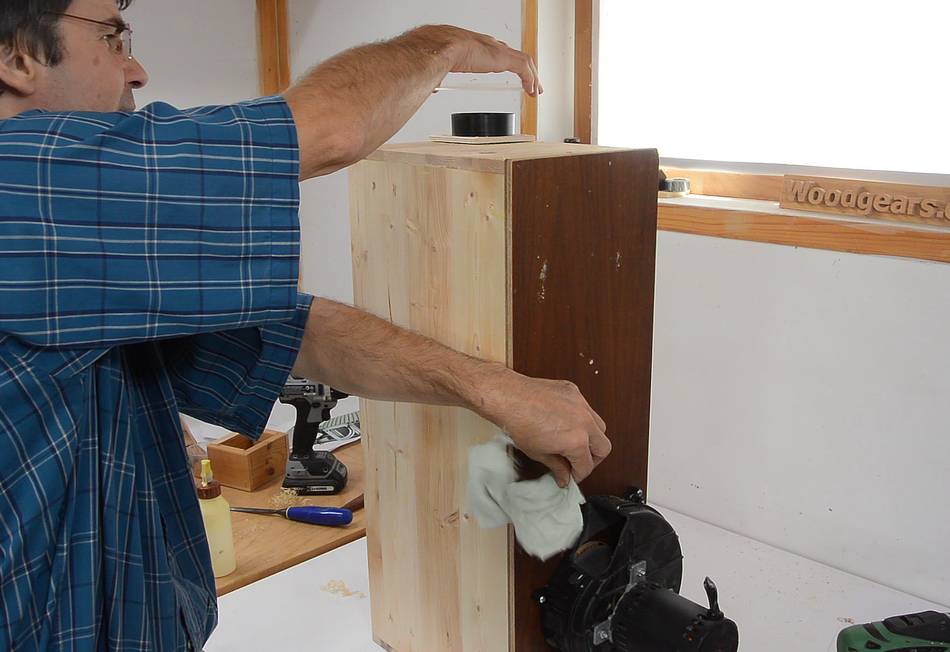 Now testing it out. There is quite a blast of air coming out of the blower,
but if I cover up the input port, very little air comes out. So I guess
the box is sealed well enough.
Now testing it out. There is quite a blast of air coming out of the blower,
but if I cover up the input port, very little air comes out. So I guess
the box is sealed well enough.
 Then testing it with my belt sander.
You can really see the dust getting pulled into the sander, though
on a photo it's much less apparent than in the video.
Then testing it with my belt sander.
You can really see the dust getting pulled into the sander, though
on a photo it's much less apparent than in the video.
 Also dropping some sawdust near the dust input. From this distance it
all gets sucked into the sander.
Also dropping some sawdust near the dust input. From this distance it
all gets sucked into the sander.
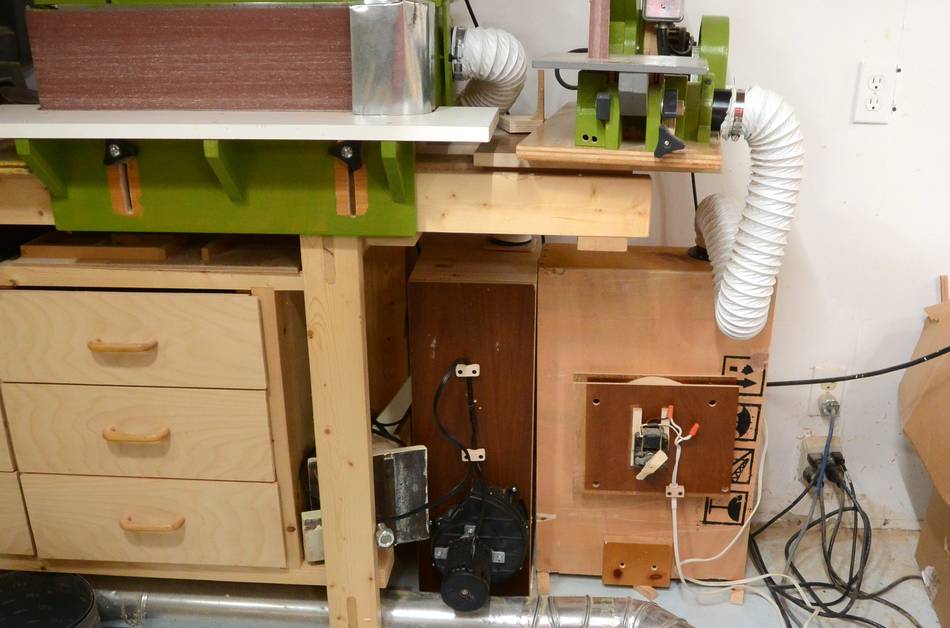 And here it is put in place, to the left my other
mini dust collector and hooked up to my
belt sander and connected to that
sander's switch so it turns on whenever I turn on the sander.
Very convenient!
And here it is put in place, to the left my other
mini dust collector and hooked up to my
belt sander and connected to that
sander's switch so it turns on whenever I turn on the sander.
Very convenient!
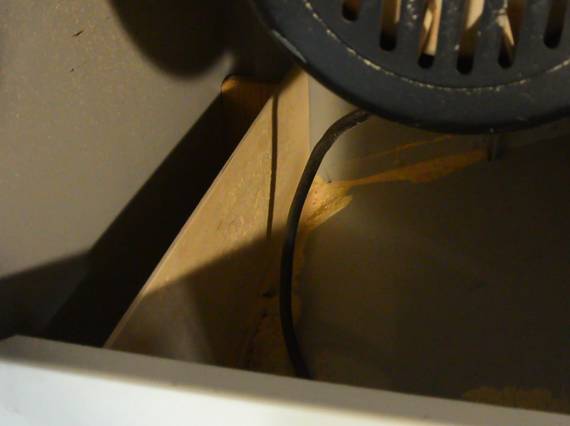 I also made one to attach directly to the back of the table saw,
no hoses required. I added a small "dam" to the inside of the saw cabinet
to keep the coarse dust in the saw. I will have to vacuum that out
periodically.
I also made one to attach directly to the back of the table saw,
no hoses required. I added a small "dam" to the inside of the saw cabinet
to keep the coarse dust in the saw. I will have to vacuum that out
periodically.
The air flow for this dust collector was almost as much as at the end of the duct to my big dust collector, but checking how much dust ended up in the shop air with my Dylos, the air became much dustier than when using my big dust collector.
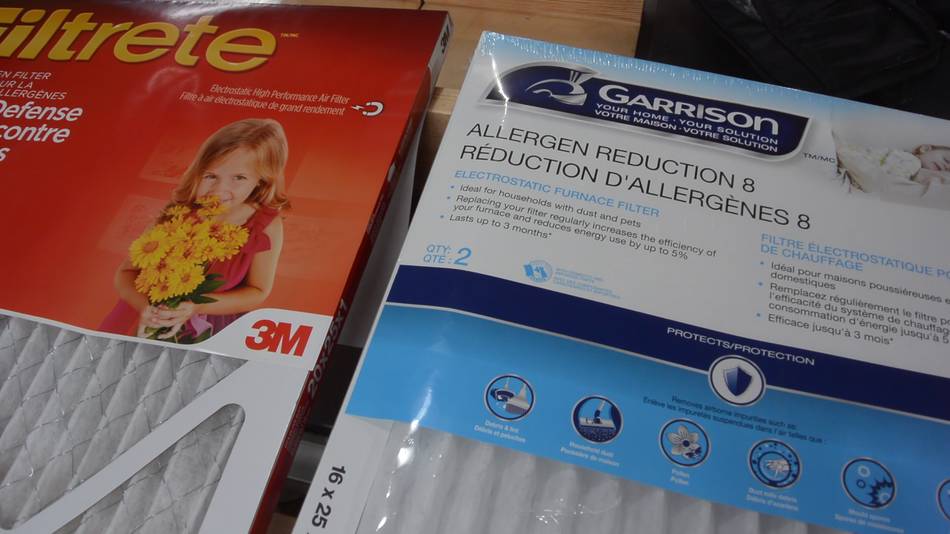 I did more experiments and made more measurements and eventually concluded
that these fancy 3M filters ($19 each) are not nearly as effective
than the cheap Garrison filter I used for my first one
(two for $10). So I replaced the expensive filters
with cheap ones to improve the performance.
That said, I'm not using these filters in a way they were meant to be used,
so maybe, as a furnace filter, the 3M filter isn't as bad.
I did more experiments and made more measurements and eventually concluded
that these fancy 3M filters ($19 each) are not nearly as effective
than the cheap Garrison filter I used for my first one
(two for $10). So I replaced the expensive filters
with cheap ones to improve the performance.
That said, I'm not using these filters in a way they were meant to be used,
so maybe, as a furnace filter, the 3M filter isn't as bad.
With the mini dust collectors working well, my thinking is that instead of trying to build something with automated blast gates and automated power control for the dust collector, it's much easier to just build a small dust collector to be stationed at every machine, wired to the tool's own on/off switch. The goal isn't so much to suck the chips through ductwork, but to clean the air from inside the machine, leaving the chips in or at the machine to be cleaned out later.
Update 2018
I kept getting acutal sawdust coming out of the blower on the table saw dust collector. Eventually I concluded it was blowby that I just coult not adequately seal the way the filter was folded and mounted in place. So eventually I built a different dust collector for the table saw. I previously replaced the one with a folded belt sander, as shown in this video. So the folded filter idea was a failure, but I still prefer the idea of having a dedicated dust collector for each machine over ducting and blast gates.
 Random dust collection updates (video only)
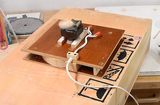 Mini dust collector
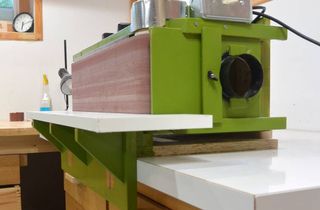 6"x48" belt sander

 Cheap dust collector
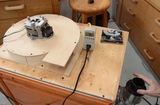 Box dust collector
 Adding dust collection to a belt sander
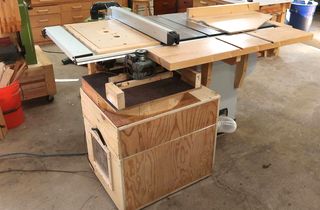 A dedicated dust collector for the table saw