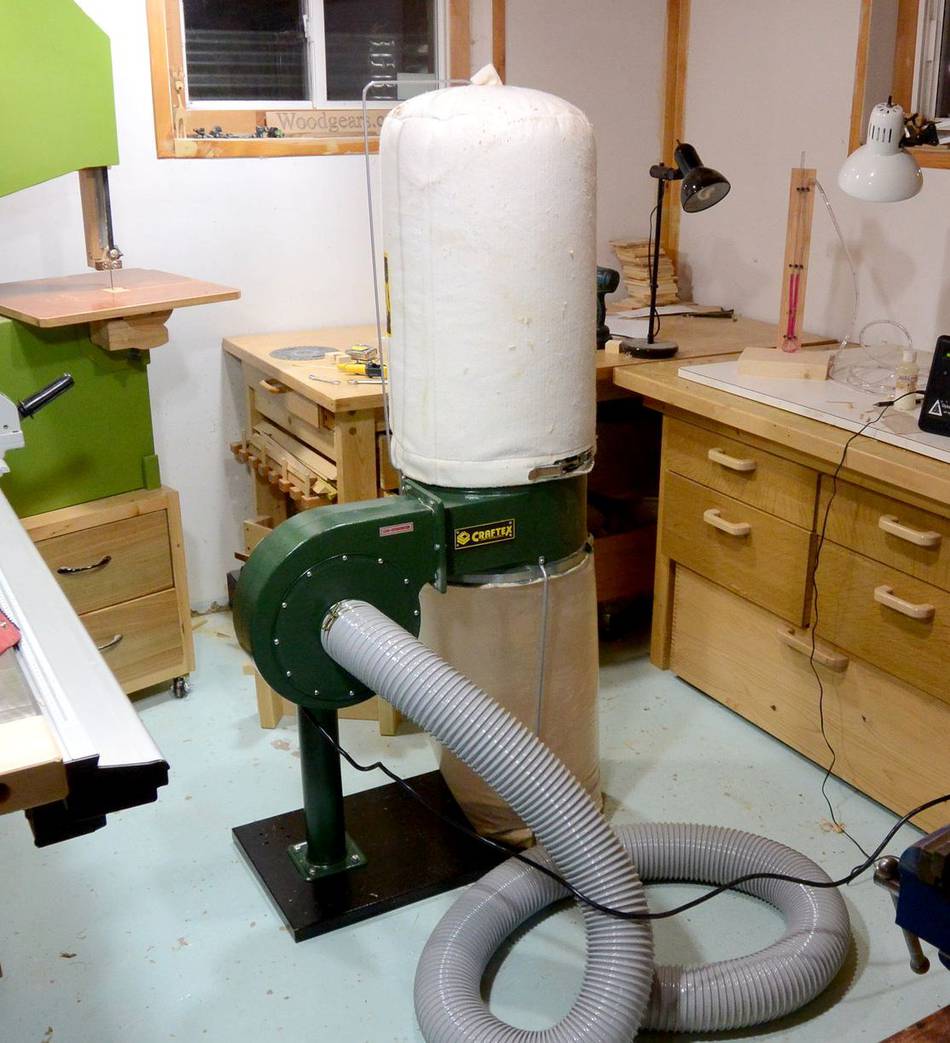
What prompted me to buy this dust collector is that it was on sale for $150 Canadian dollars at
Busy Bee tools in late 2013,
and that I had a need for a shop-vac to clean a large garage floor. While this isn't a shop
vac, I figured I could use it as one, and then use it as a dust collector later.
(Of course, you can also use a shop vac as a dust collector, but they are awfully loud.)
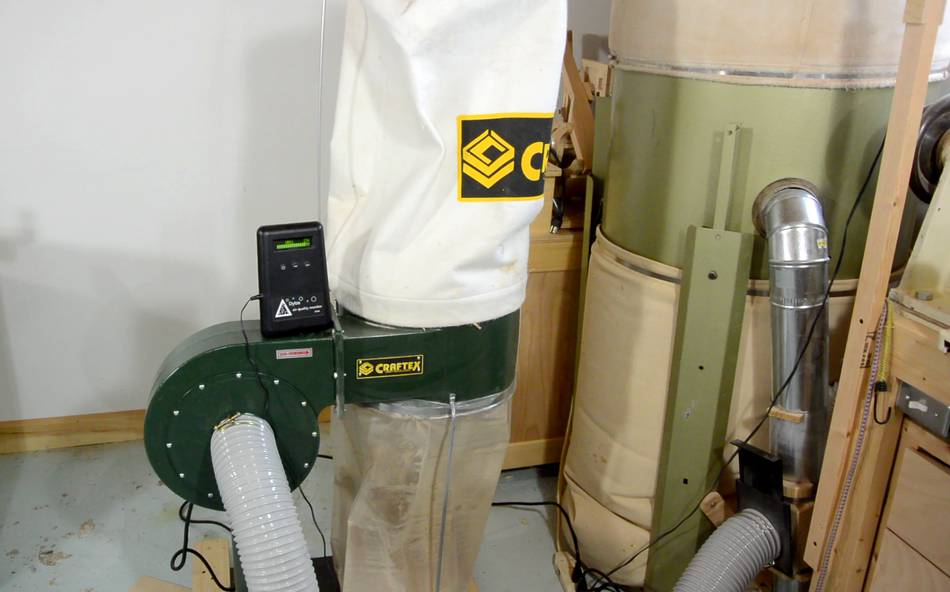
The hose was not included. I had to pay another $25 for that.
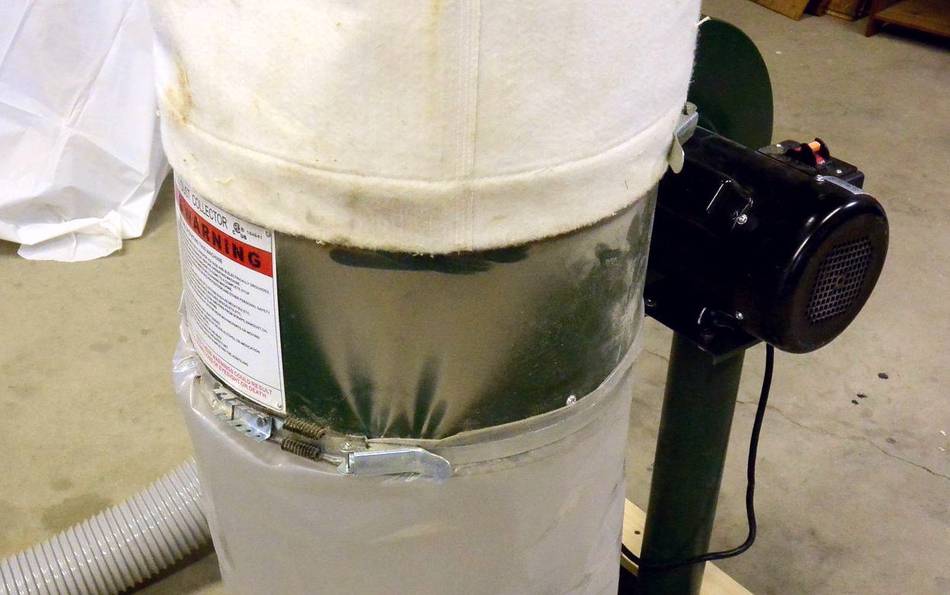
The dust collector comes with a "1 micron" filter bag. This bag is fairly effective at filtering
out fine dust, and I found, as I used it more, its filtering effectiveness improved.
This is quite normal for filters, as the larger pores in the bag get
plugged up. But resistance to air flow also goes up as the filter is "seasoned".
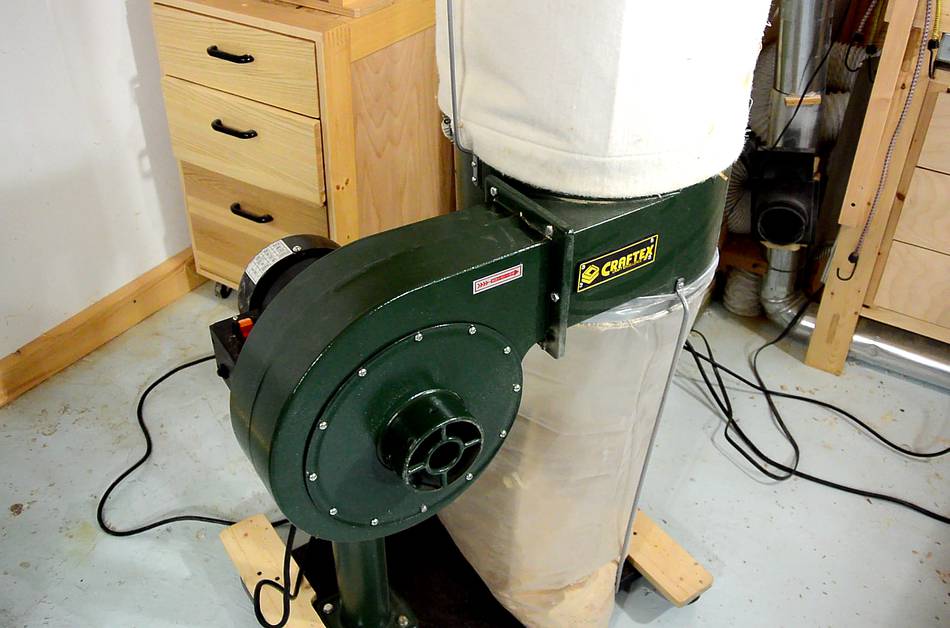
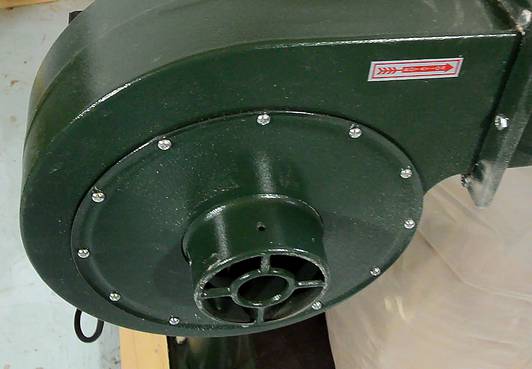
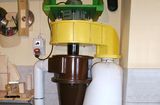
There is a grid in front of the blower inlet. I think it's to keep debris that is too large
from damaging the impeller. But that screen is rather unfortunate, because for long
shavings like those from a thickness planer, the grid would plug up in no time.
I guess a solution would have been to make the impeller more robust. Certainly, this one
spins up a lot more quickly than my large dust collector, so the impeller is probably
much lighter.
The motor says it's a "1 hp" motor, but I'm a bit sceptical of that claim because it also
only draws 7.6 amperes. That is more consistent with a 3/4 hp motors, and I don't think
this motor is that much more efficient than other motors. Maybe they used a similar sort
of bogus horsepower rating like they do for shop vacs.
At any rate, $150 is a really good price for a 3/4 hp sealed motor. So my thinking is,
if I need to buy a new motor, buying a cheap dust collector just for the motor may be
a good option.
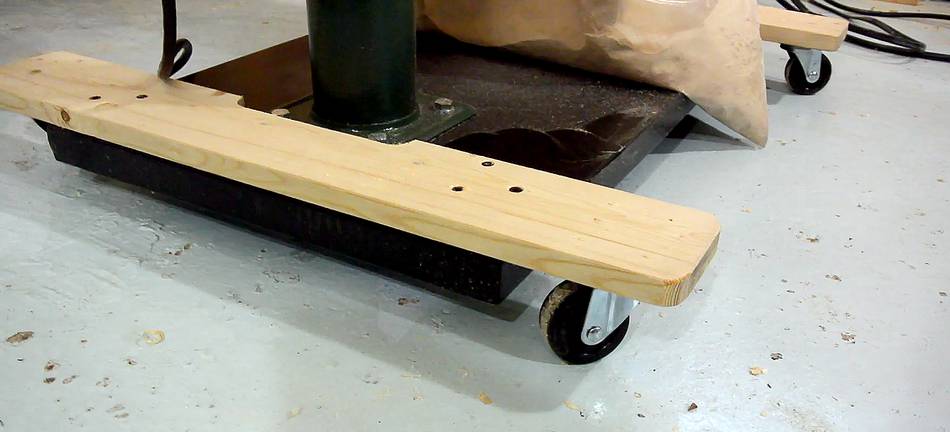
The dust collector came with four casters. There are four sets of mounting holes under the
sheet metal base for mounting them, but the holes aren't as close to the edge as they could
be, and they aren't even consistently placed.
I was pretty sure the whole thing would be far too tippy
with the wheels mounted where the holes are, so I made some outriggers for the base to
mount the wheels to. No complaints about the casters themselves, they work quite well.
I measured the suction on this one, and it sucks a 18 cm column of water. My main dust
collector will suck about 21 cm of water. So I figured, just for fun, lets see what happens
if I let the two suck against each other. With both running, the big one won,
deflating the small one.
That said, the big one also has a 4" (100 mm) hose hookup, and it only has a 3/4 hp motor.
I'm guessing the small one is using a lot less than 1 hp of motor power, and the big one might
have a more efficient impeller too.
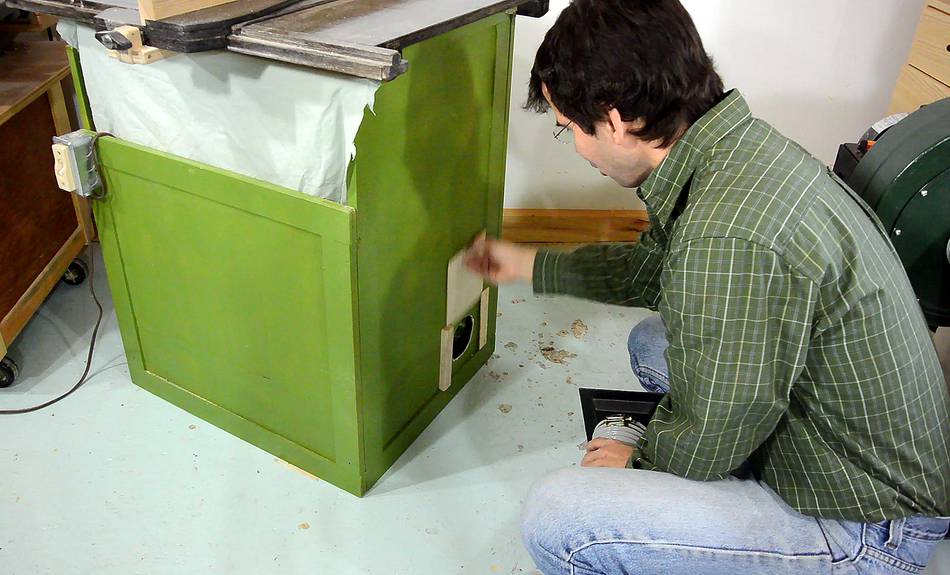
My intention was to eventually use this dust collector with my
homemade table saw, so I added a dust port
to it. The flange from the hose slides in from the top, and when I don't have a dust collector
hooked up, I can just slide a piece of wood in there to close it off.
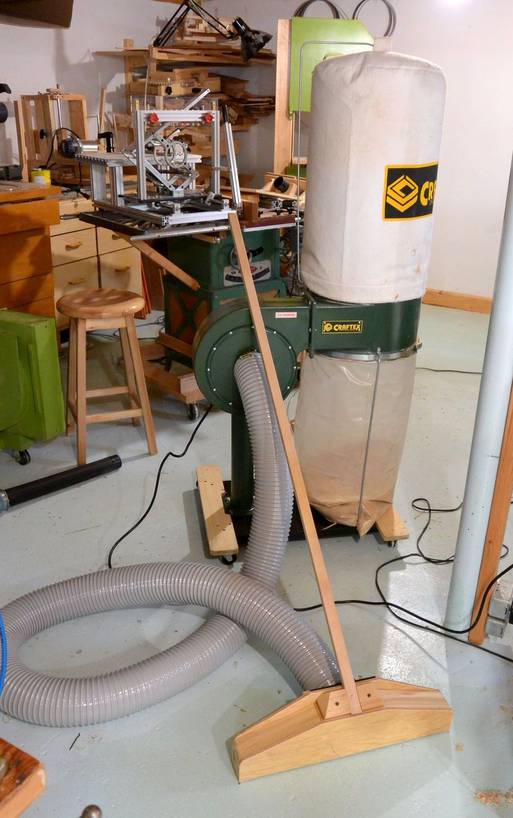
I made a really wide vacuum cleaner nozzle for it to vacuum dust off a
large workshop
floor. You can also see my homemade table saw,
simple table and my light stands
in this photo. This is a large workshop building that used to be rented, and that I decided to set
some tools up in. Unfortunately, it's a 45 minute drive from my home, so I probably won't be using
it that much. So I don't want to invest a lot of time and money setting stuff up there.
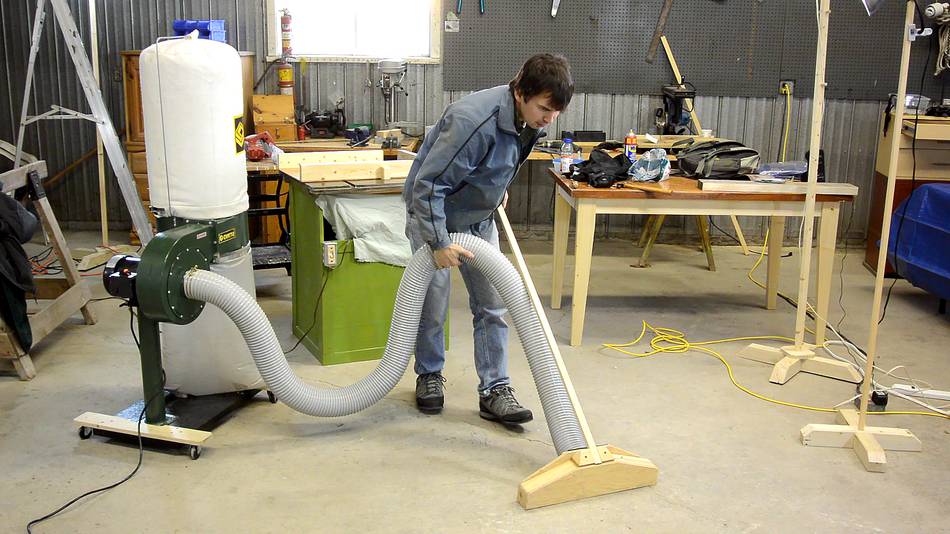
The shop floor was full of sandy road dust, which is quite unpleasant to breathe.
Cleaning the floor with a water hose might make more sense, but it's winter,
so I didn't want to use water.
After vacuuming the floor, I noticed this - the bag is just slightly larger than the cylinder, and
I had the excess bag folded right where the clasp is. This let some air escape, and as you can see,
quite a lot of dust came out there as well. With the dust constantly swirling around inside,
even when you stop vacuuming, there is still plenty of dust stirred up to get blown out.
The swirling dust, combined with leakage, is a major problem with a dust collector like this.
I made a wooden cross shaped thing to put in the bag to try to stop the air from swirling too much
towards the bottom of the bag, but it wasn't enough to get the dust to settle.
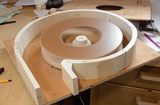
My thinking is, that a much better approach for a dust collector is to have the filter come before
the blower. That way, the whole dust bag or box is under vacuum, so no dust leaks out.
Also, the blower wouldn't need to have debris going through it, which would allow for a more efficient
impeller design (material handling impellers are generally less efficient).
But that would require a sturdy box to contain the vacuum. That would be more expensive
to make, which is why most dust collectors use positive pressure for the dust container.
But for a homemade dust collector, a plywood box doesn't add that much work or cost.
It all gives me ideas for how to design a better dust collector!
Though far from ideal, at $150, it's still a pretty good deal. Not that much more expensive
than a good shop vac, and those have their share of problems too.
Update 2020
I ended up buying an extra filter bag for this dust collector, originally with the intent of
using the filter material for a homemade dust collector, then had the idea of maybe sewing the
bag to the one already on the dust collector to make an extra tall filter bag. But then the plastic
bag on the bottom failed, and just like my friend Bill Price
had done, I switched the bottom bag to be a filter bag as well. That way, as long as the dust
collector isn't full, I get extra filter area. And I try not to get this dust collector get over half
full because at that point it swirls the sawdust around too much.
I finally figured out a good way to empty the bag without making a mess in the shop.
Of course, another metod is to just use a regular garbage bag on the bottom and throw that out, but
regular garbage bags are too fragile and the wrong size, and I don't like throwing away the
special plastic bags that fit on the dust collector. Dumping it into a yard waste bag means I
can put it on the curb with yard waste.
 What prompted me to buy this dust collector is that it was on sale for $150 Canadian dollars at
Busy Bee tools in late 2013,
and that I had a need for a shop-vac to clean a large garage floor. While this isn't a shop
vac, I figured I could use it as one, and then use it as a dust collector later.
(Of course, you can also use a shop vac as a dust collector, but they are awfully loud.)
What prompted me to buy this dust collector is that it was on sale for $150 Canadian dollars at
Busy Bee tools in late 2013,
and that I had a need for a shop-vac to clean a large garage floor. While this isn't a shop
vac, I figured I could use it as one, and then use it as a dust collector later.
(Of course, you can also use a shop vac as a dust collector, but they are awfully loud.)

 Small dust collector
 Blower design
 Mini dust collector
 Oiling a noisy shopvac motor
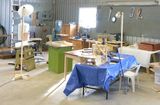 My big garage workshop
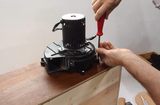 A different approach to dust collection
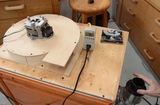 Box dust collector
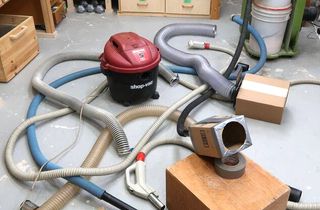 Effect of hoses on shopvacs and dust collector air flow