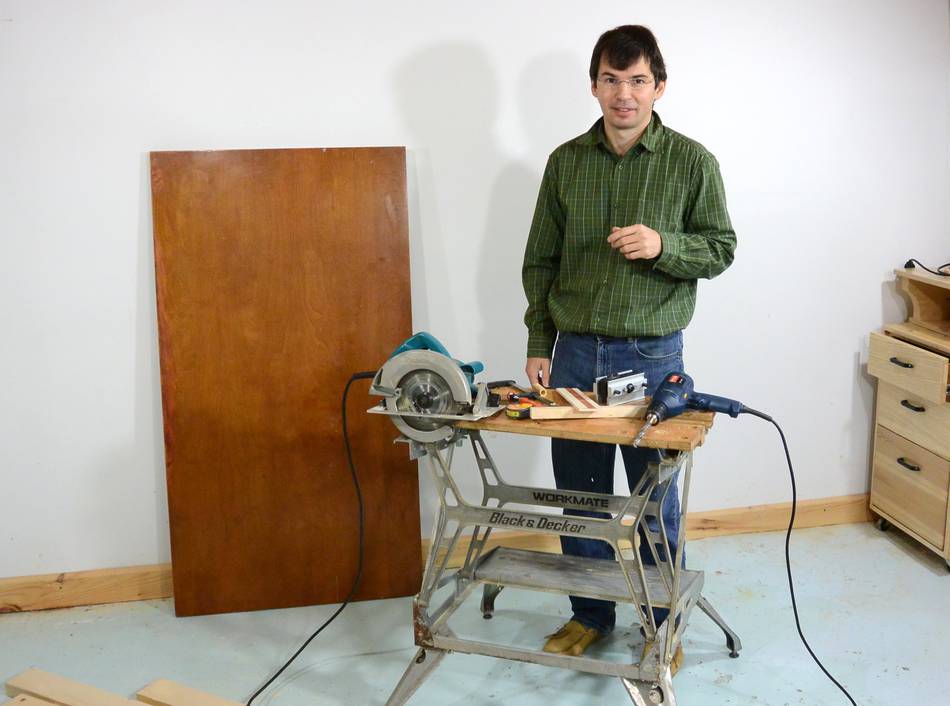
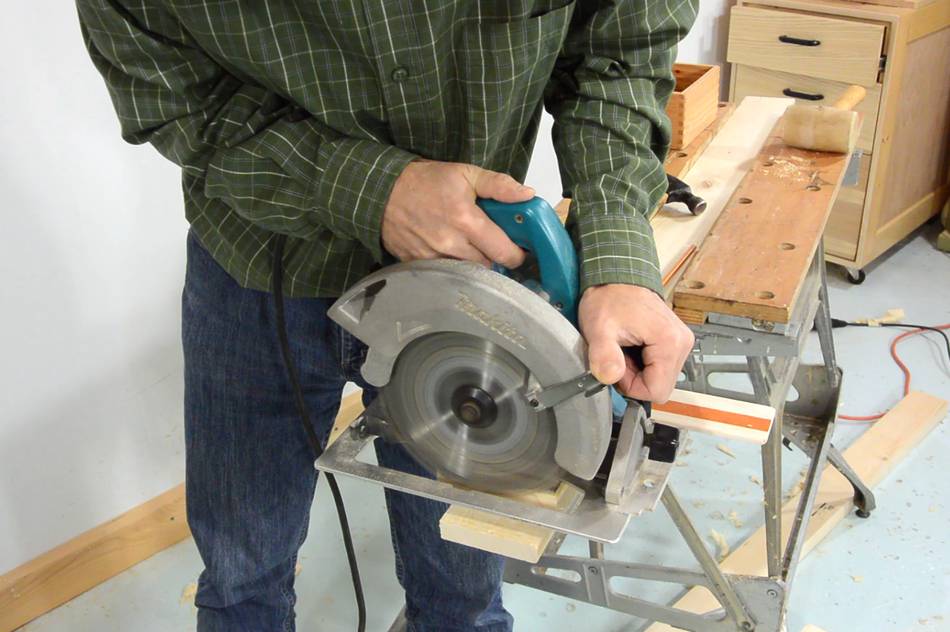
 I'm using minimal tools for this build: A circular saw, hand drill,
doweling jig, some clamps, and a few other bits.
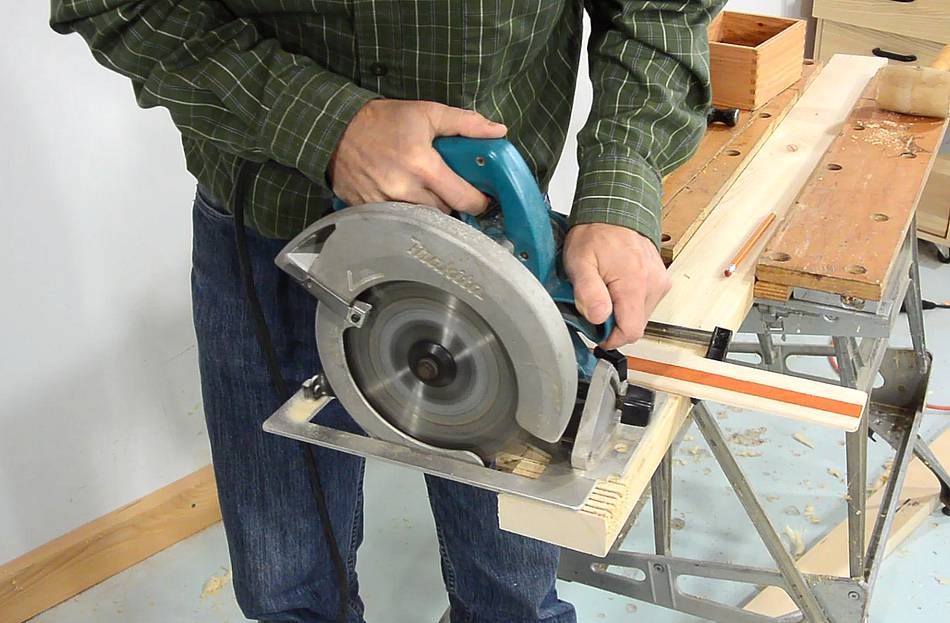
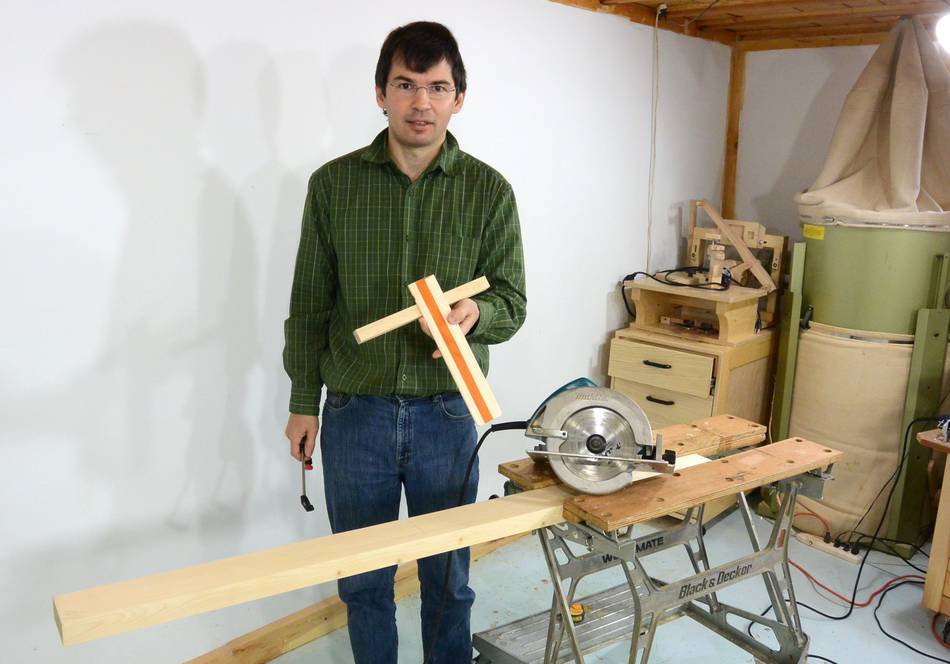 This simple crosscut jig I'm using is just two pieces of wood
glued at a right angle.
I previously covered building a table of this design in 2008, but did not make a video of it. So when I needed another table, this time I made video. I did a few things different this time, so I figured it's worth covering in text again.
I'm using minimal tools for this build: A circular saw, hand drill,
This simple crosscut jig I'm using is just two pieces of wood
glued at a right angle.
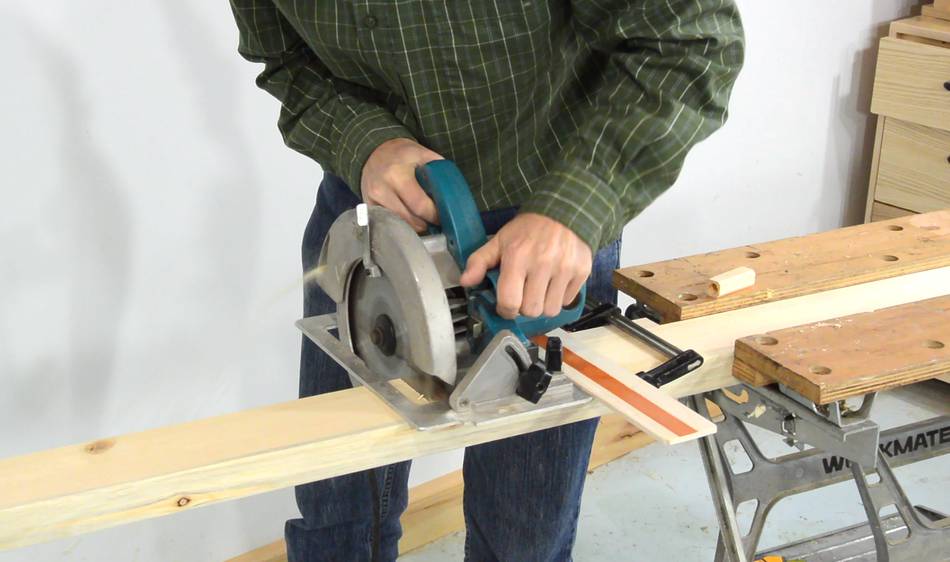 The jig is clamped to the wood being cut. Works elegantly.
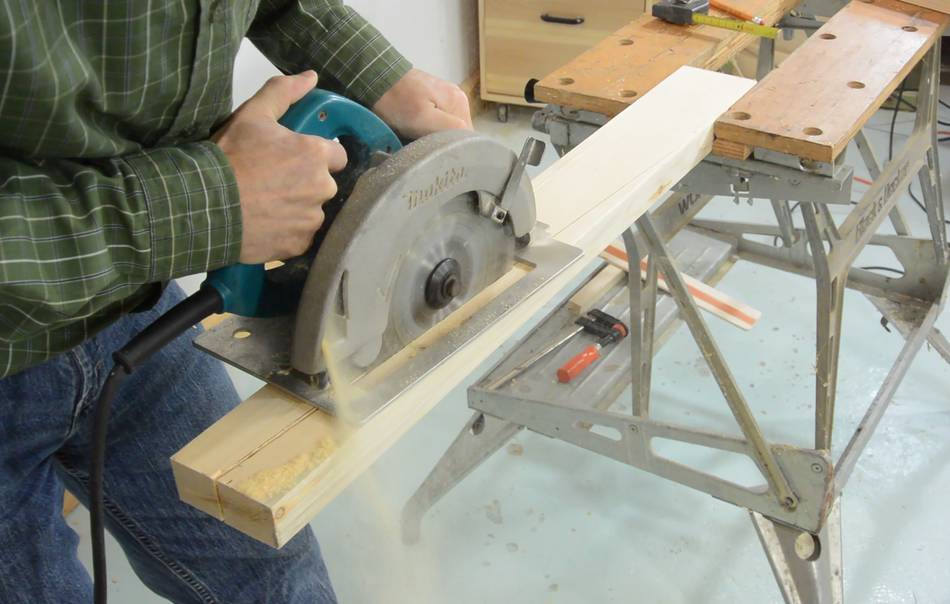 For a sleeker look, I decided to taper the legs of this table,
just a freehand cut, following a pencil line.
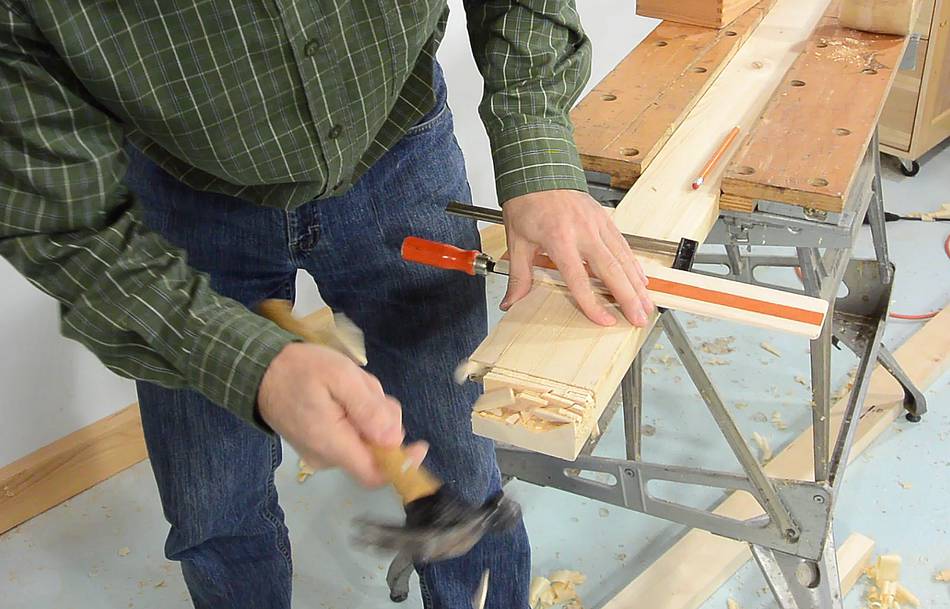
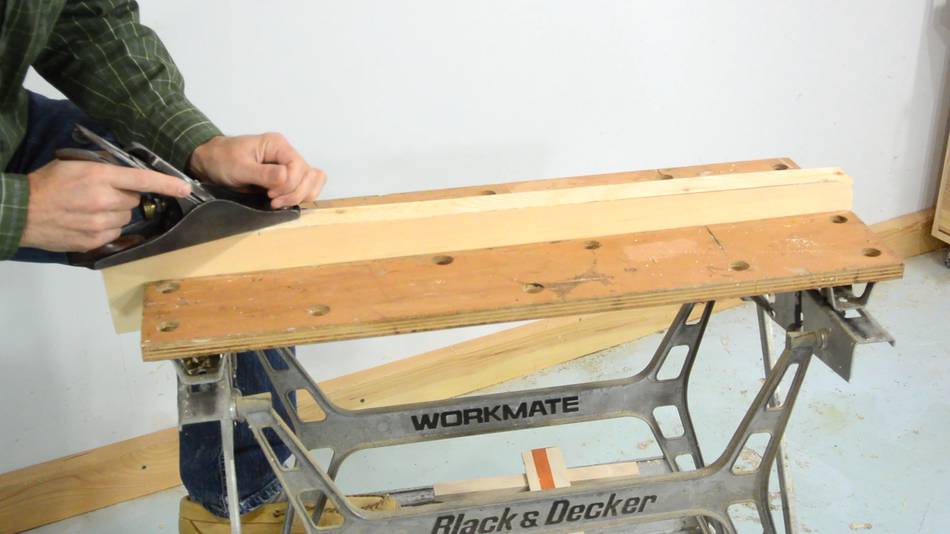 The saw cut wasn't perfectly straight and the saw leaves a rough
surface, so I smoothed the legs with a hand plane. The work-mate,
with it's vise, and foot step for holding it down is ideal for this.
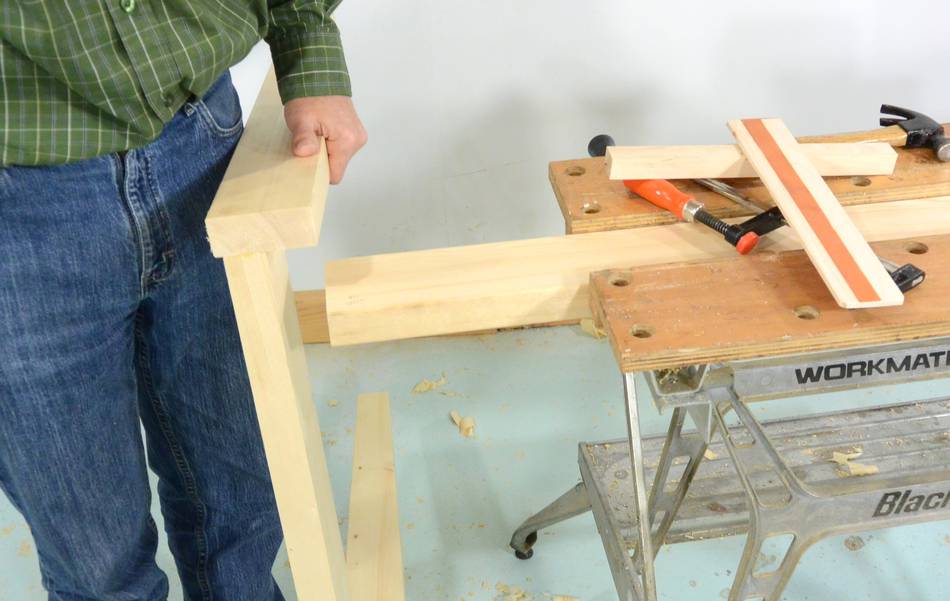
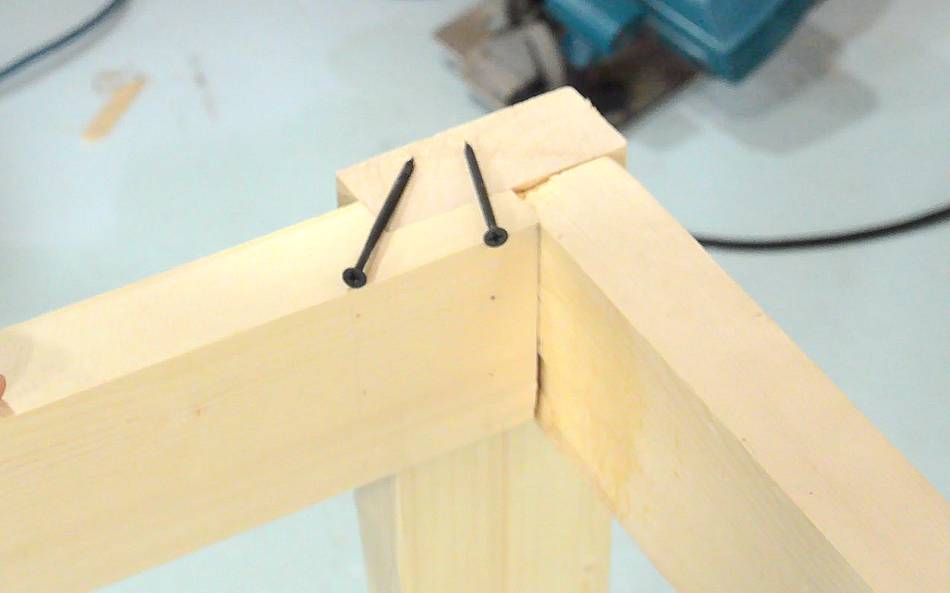
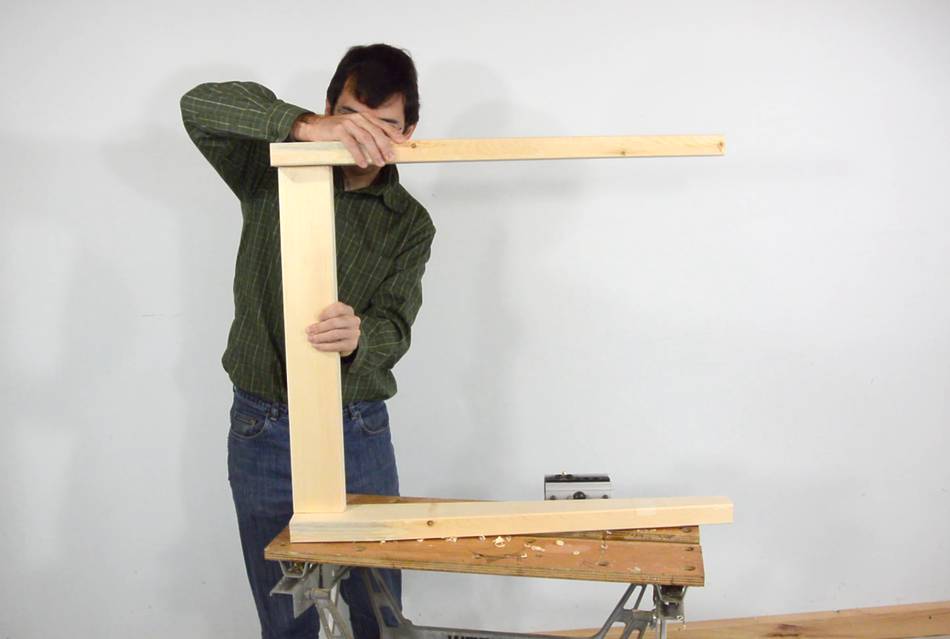 I need to assemble two frames that look like this.
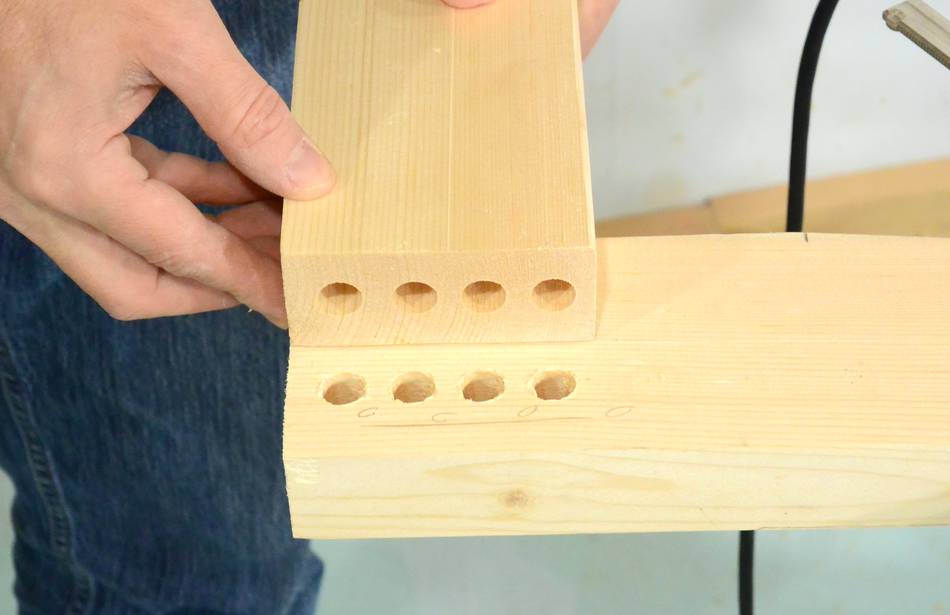
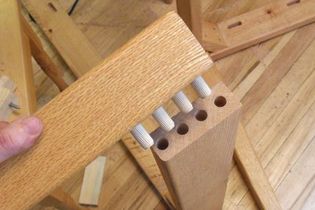
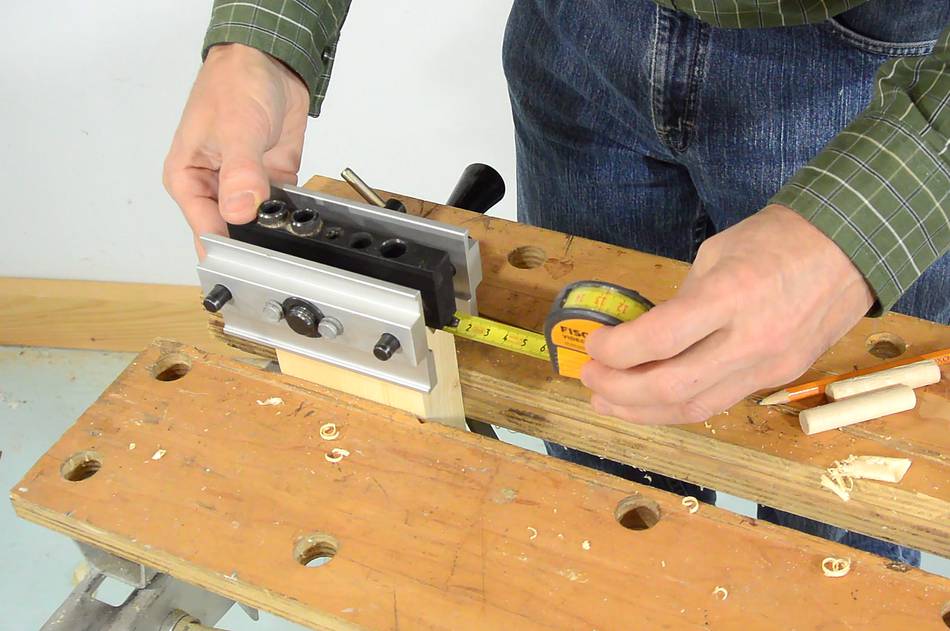 I'm going to join the legs with four dowels. Alignment of the holes on
both pieces is critical. The dowel jig
can only make one 1/2" hole at a
time, so I have to align it carefully.
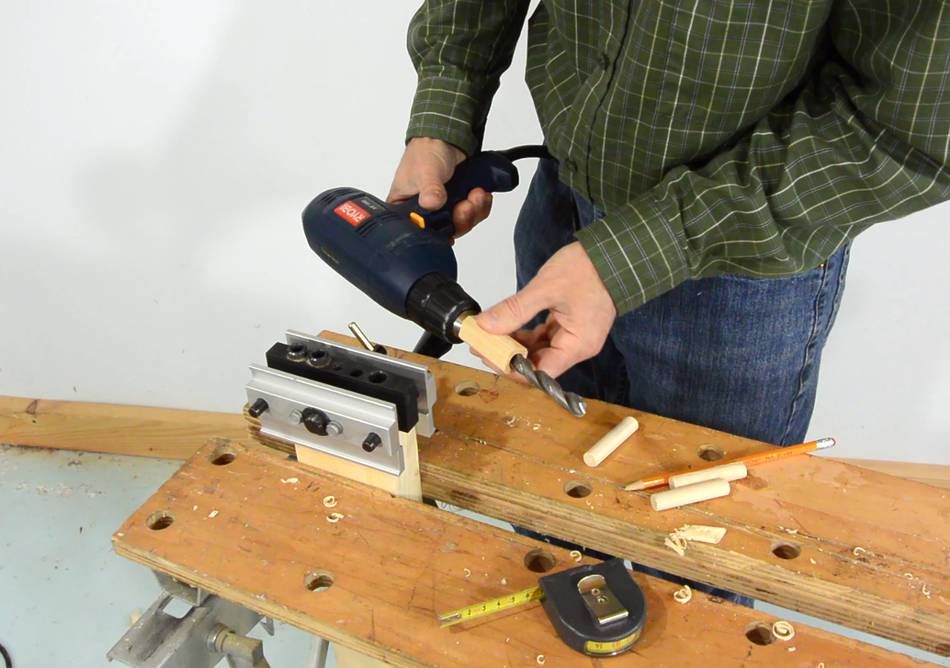 I made a wooden sleeve to fit over the drill bit to act as a depth stop
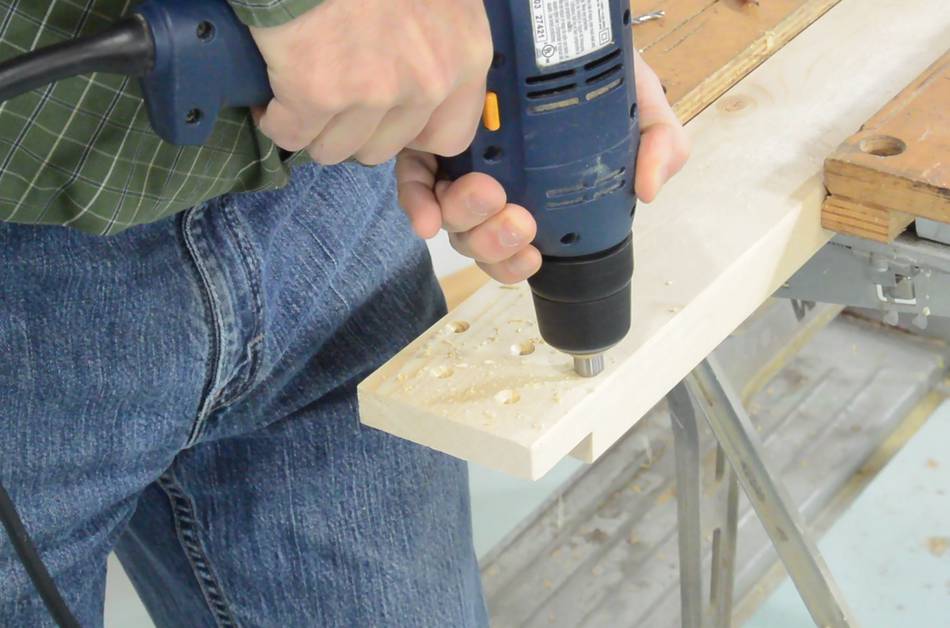
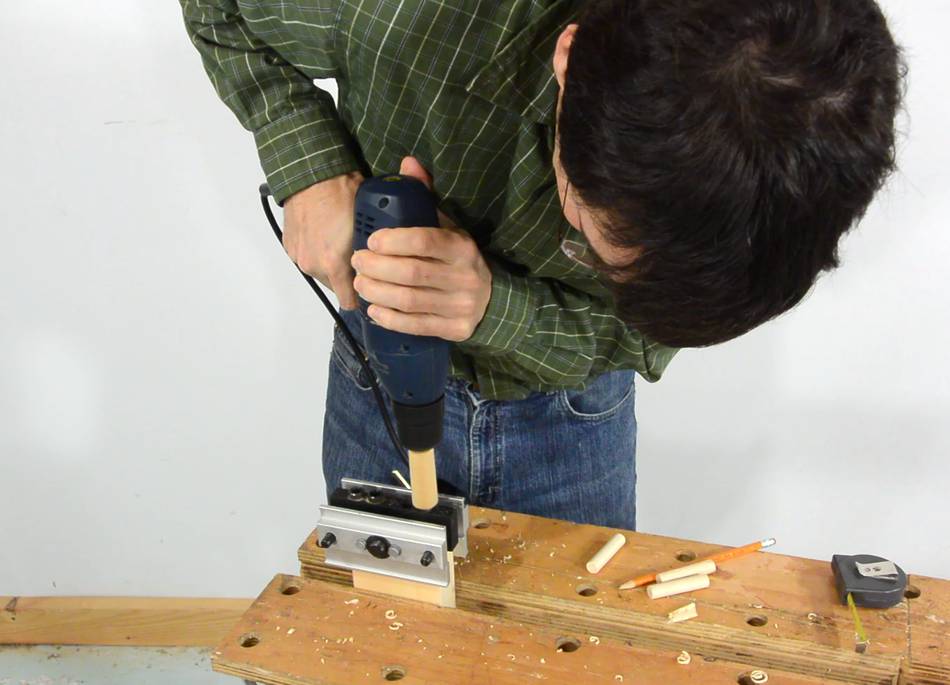 Drilling the holes...
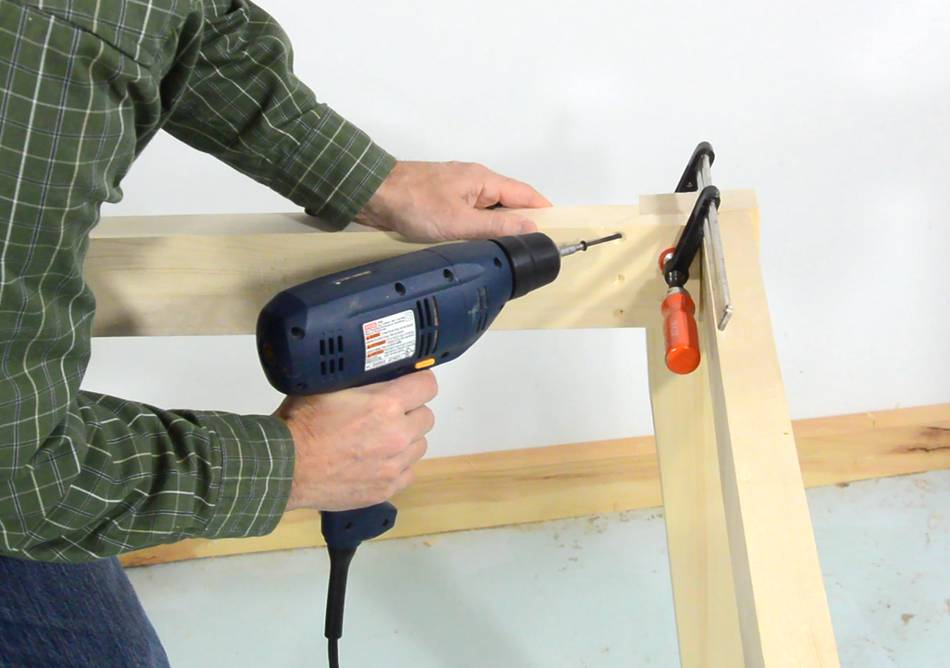
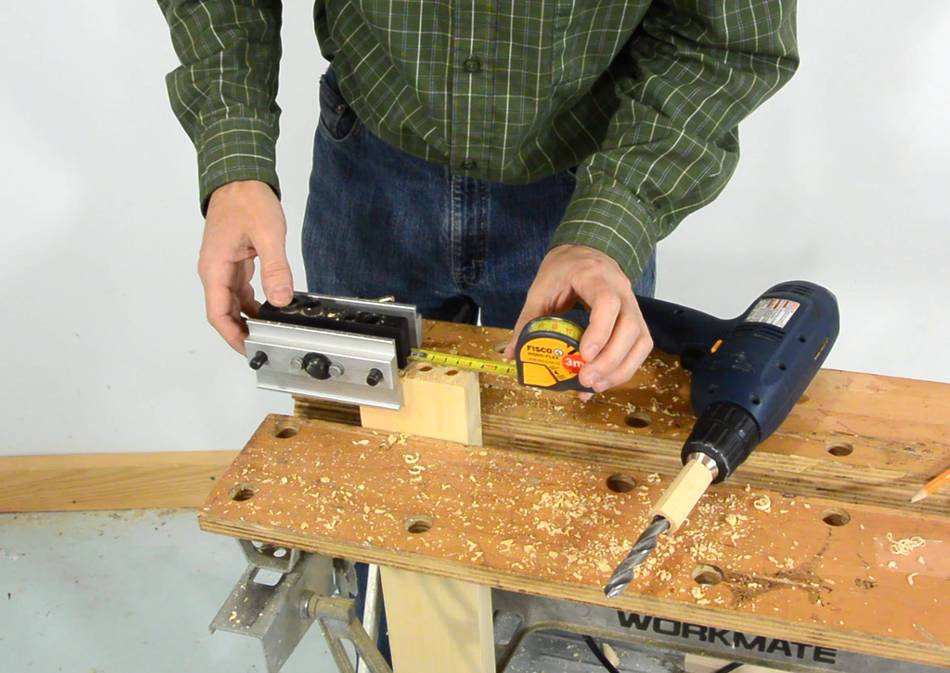 ...then repositioning and carefully measuring for the next hole
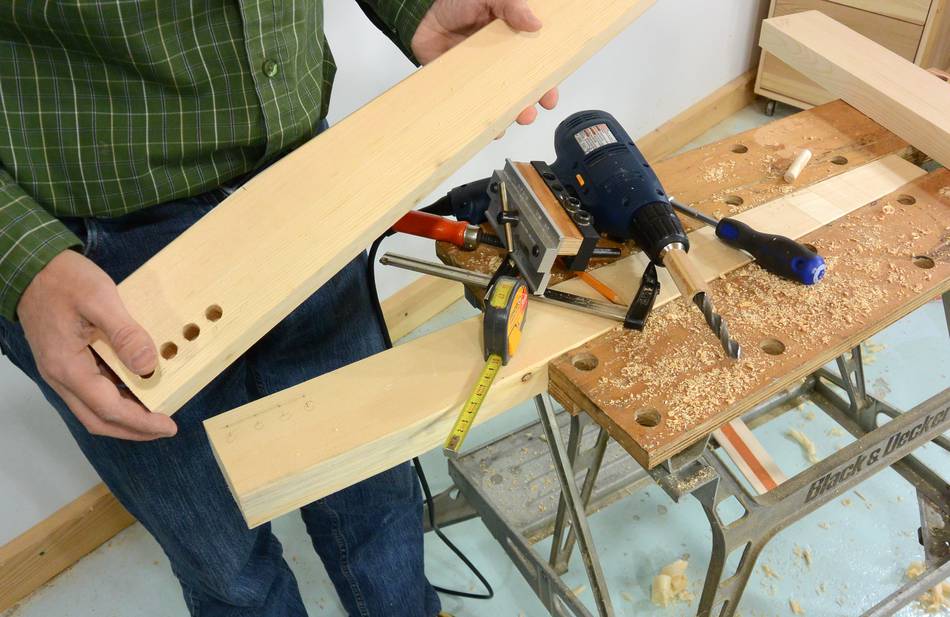
 The legs are wider than the dowel jig opens up, and I also want to
drill the holes to one side. So I disassembled the dowel jig to
only have one flange on it. I clamped a wooden spacer in on the
other side to give it rigidity.
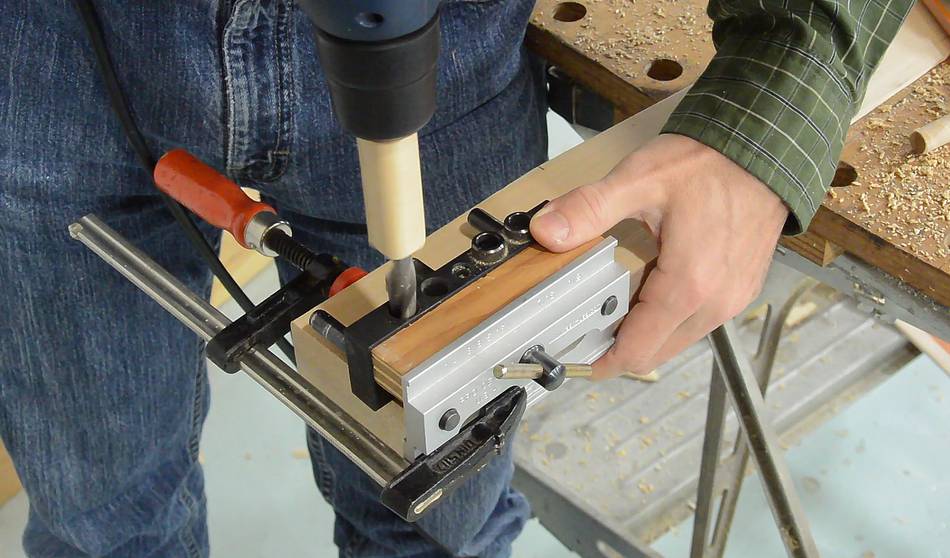 Drilling the holes.
I'm sure some will suggest a DowelMax for this job. It's a very flexible jig,
but only goes up to 3/8" (10 mm) and it's quite expensive.
 Four holes drilled. If they look perfectly aligned by eye
then they are close enough for a joint.
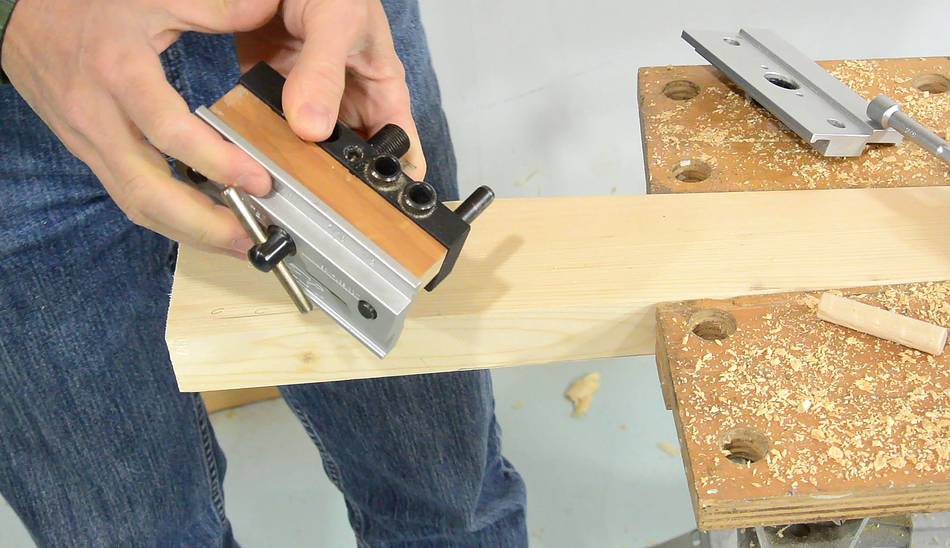
 A tricky part: The mating leg needs to be a mirror image.
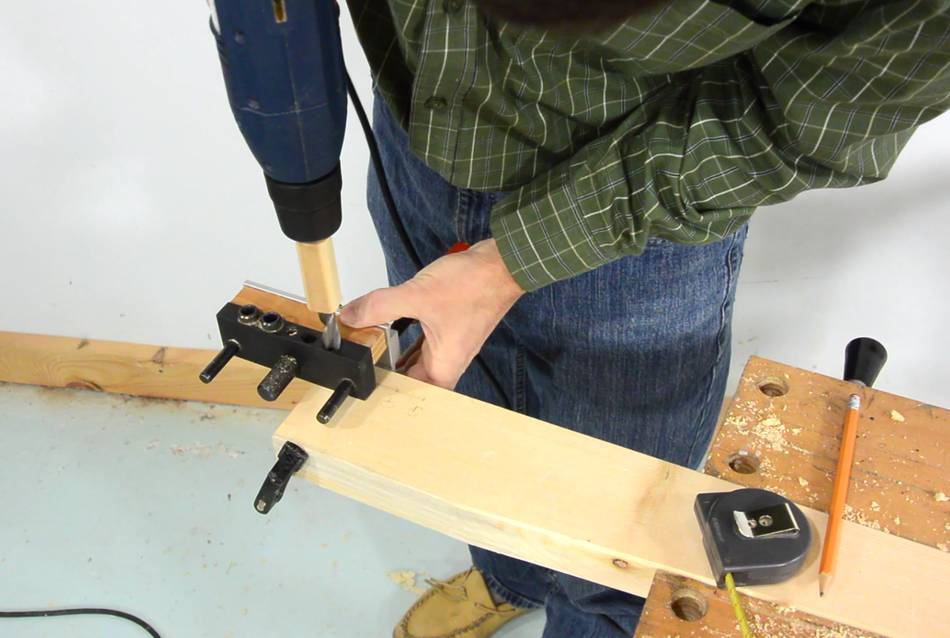 With the 1/2" hole off to one side of the jig, clamping it
for the other holes is not ideal. I also had to measure these off a
different edge, seeing that the jig is on the other way around.
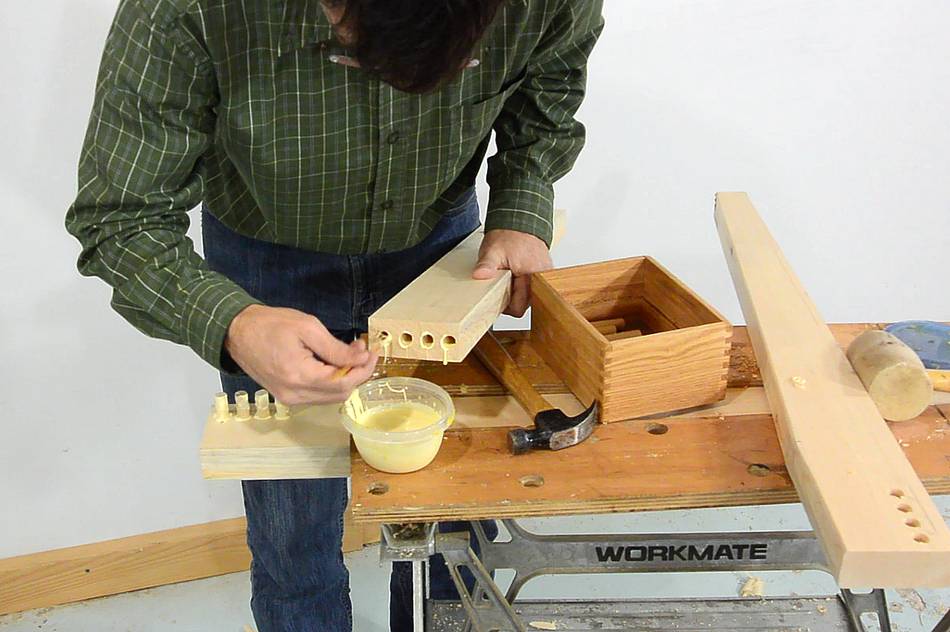 Gluing it up. All surfaces get glue applied. I'm using a thin piece
of wood to apply glue inside the holes.
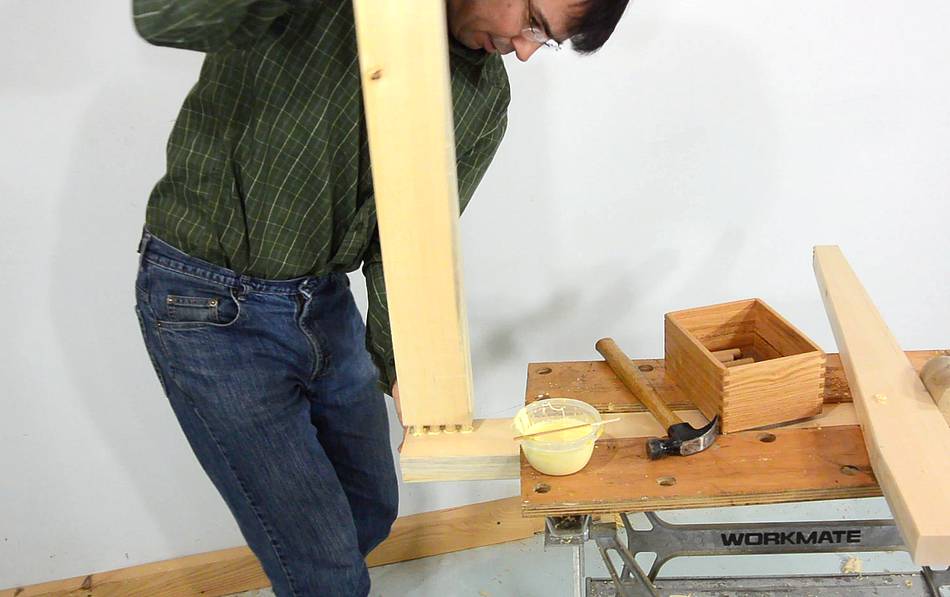 The joint fully closed with just hand force. though I applied a clamp
just for good measure.
 I need to join two apron-rails with the frames I just built.
I need to cut a rabbet in the ends of the apron rails for that.
 Cutting a series of slots...
 ...then breaking the remaining wood with a hammer
 Finally moving the spinning saw side to side to clean up the bottom,
similar to this technique.
 Some screws, at an angle, will hold the apron rail in place
 Drilling the screw holes. Easier done from the back.
 Adding countersinks for the screw heads.
 Three long and two short screws will hold the rail securely
in place.
Three long and two short screws will hold the rail securely
in place.
 Table frame basically done.
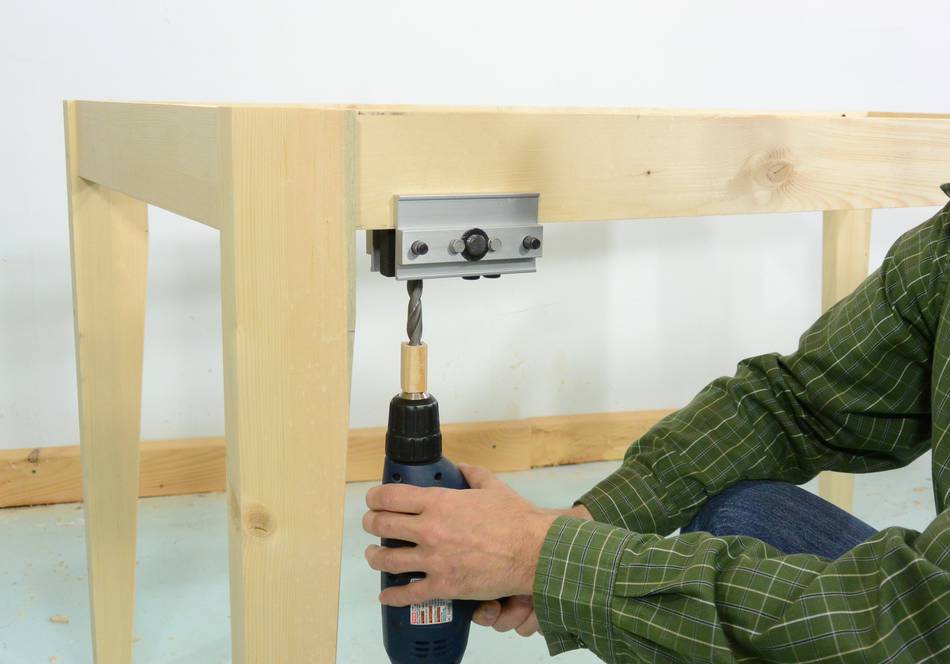 Pocket holes might be ideal for attaching the table top, but I don't
have a pocket hole jig. So I'm drilling some 1/2" holes through the
rails from the bottom...
 ... then using a thin 3/16" drill to drill all the way through.
The drill is just barely long enough. An alternative to drilling
through the apron rails would be to
glue blocks to the side
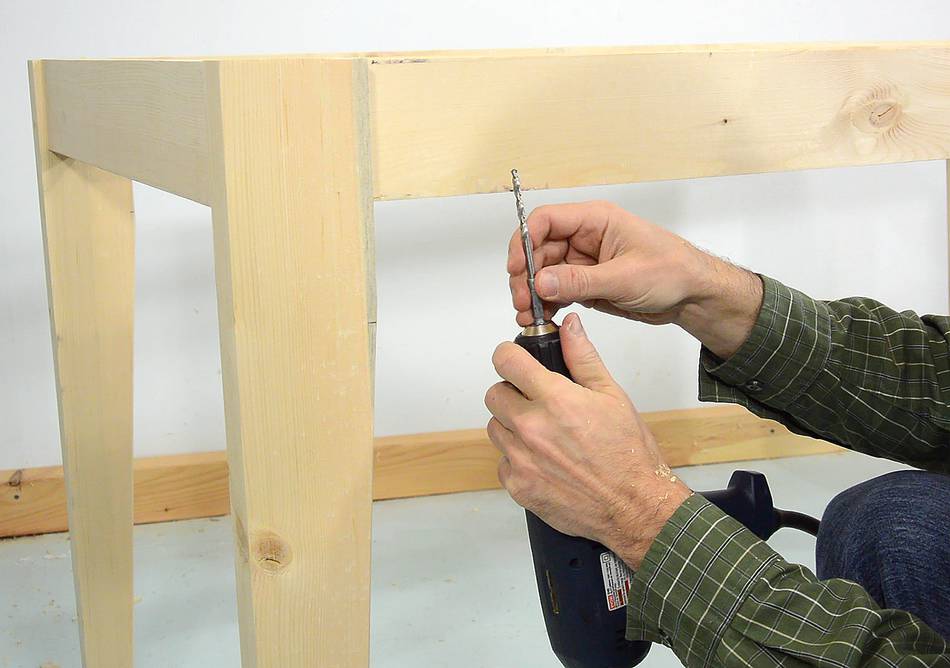
 With the screw recessed deeply in the rail, the tip sticks out just far
enough to screw into the top.
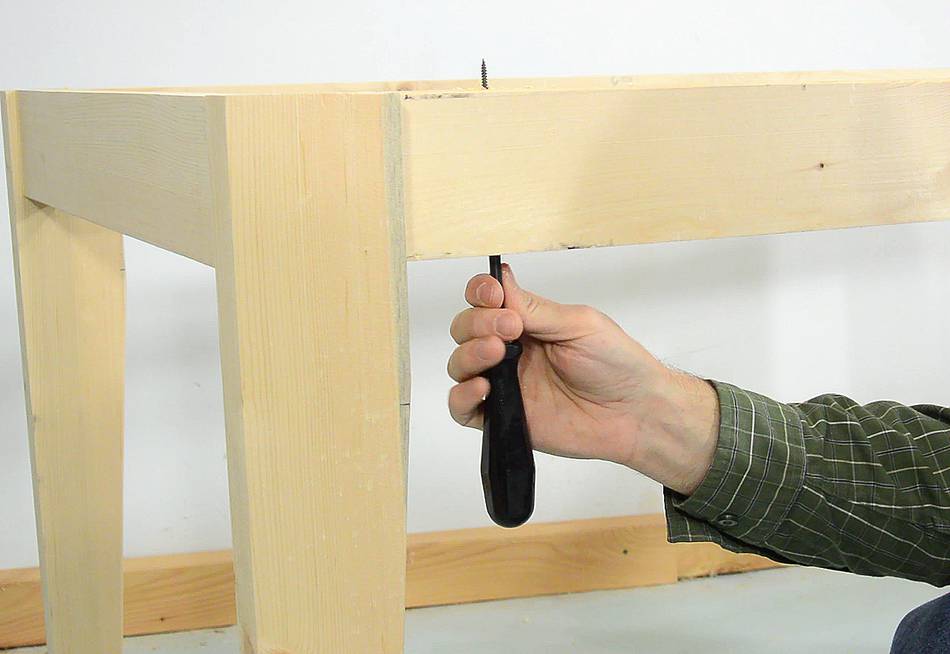
 Screwing on the top. My drill driver bits are too short to reach the
screw, so I'm using a plain old screwdriver.
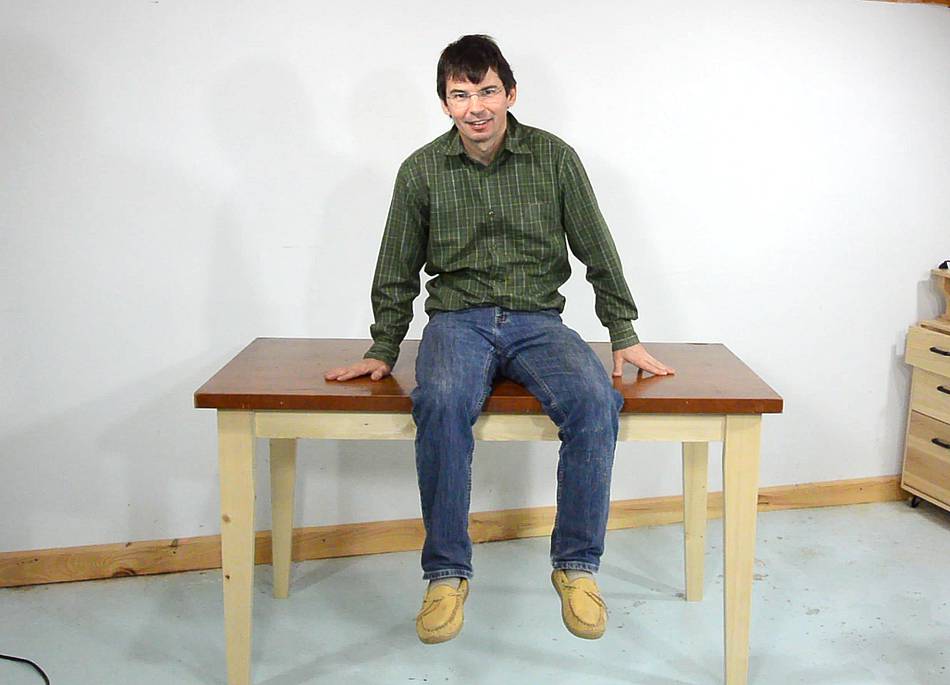
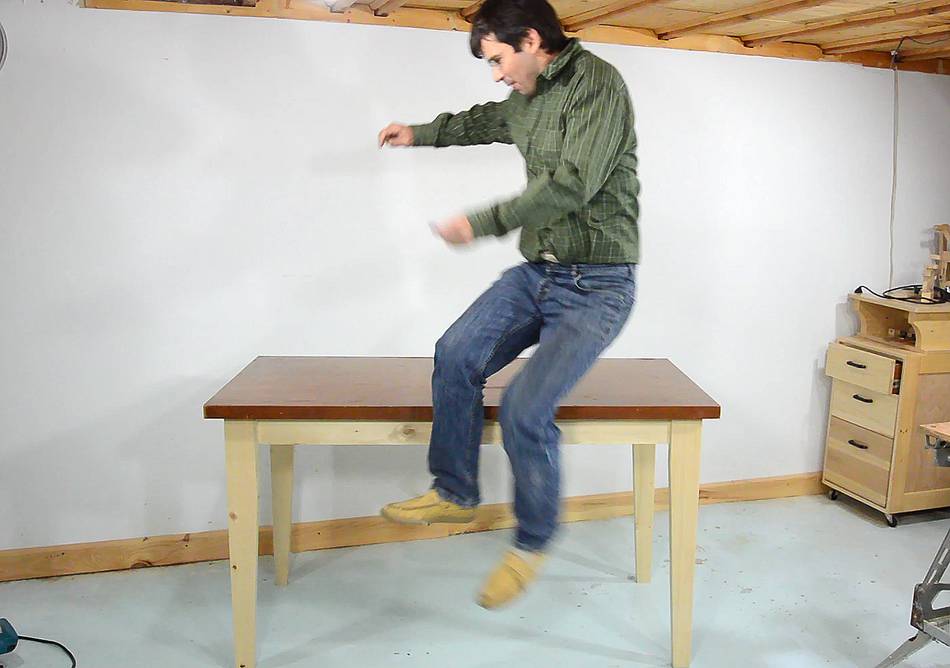 Taking a flying leap onto the table, just to prove it's strong.
I'm actually planning on using this table as a workbench.
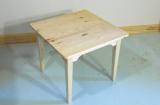
 All done. This table is a bit on the tall side, because I intend
to use it as a work surface
All done. This table is a bit on the tall side, because I intend
to use it as a work surface
 More about building
 Large knock-down table (easy to take apart for moving)
 Building a round
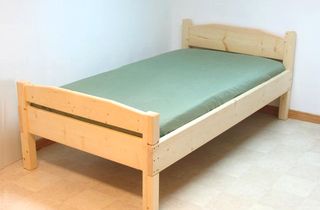 Simple bed from
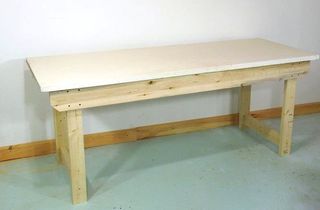 Simple workbench
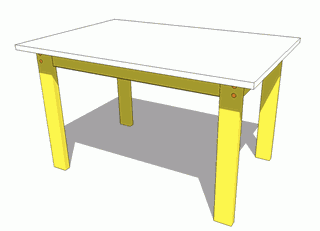 Free simple table plans
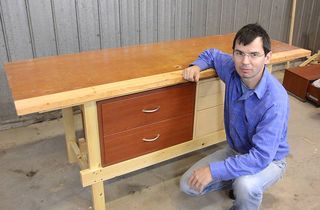 Quickie workbench
 Beginning woodworking
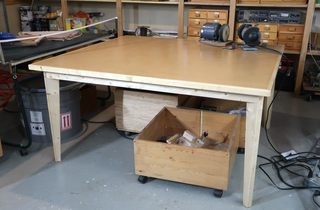 Miter joined table
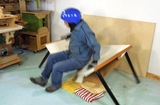 Destructive testing
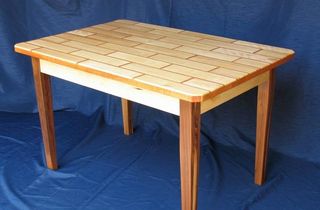
 Self centering dowel jig
 Small work table / desk
 Wooden chairs