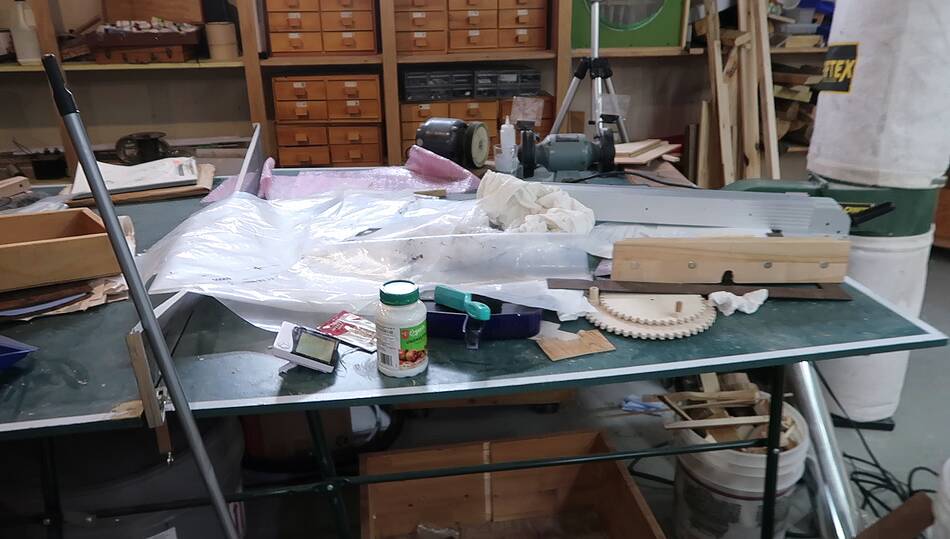
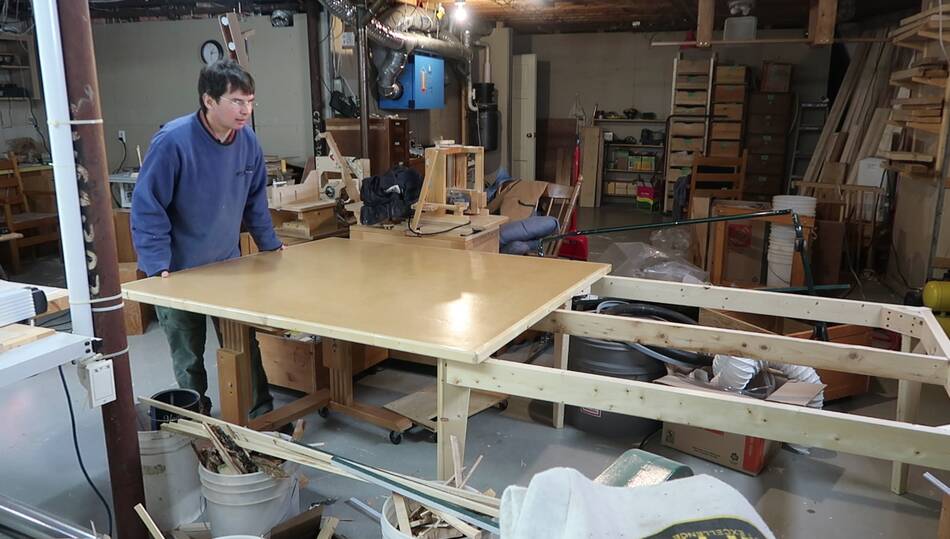
 This old ping pong table that came with the house is a great clutter catcher in
my workshop. But it's not sturdy enough to put heavy stuff on, so I wanted to make
a sturdier table to replace the ping pong table.
This old ping pong table that came with the house is a great clutter catcher in
my workshop. But it's not sturdy enough to put heavy stuff on, so I wanted to make
a sturdier table to replace the ping pong table.
This old ping pong table that came with the house is a great clutter catcher in
my workshop. But it's not sturdy enough to put heavy stuff on, so I wanted to make
a sturdier table to replace the ping pong table.
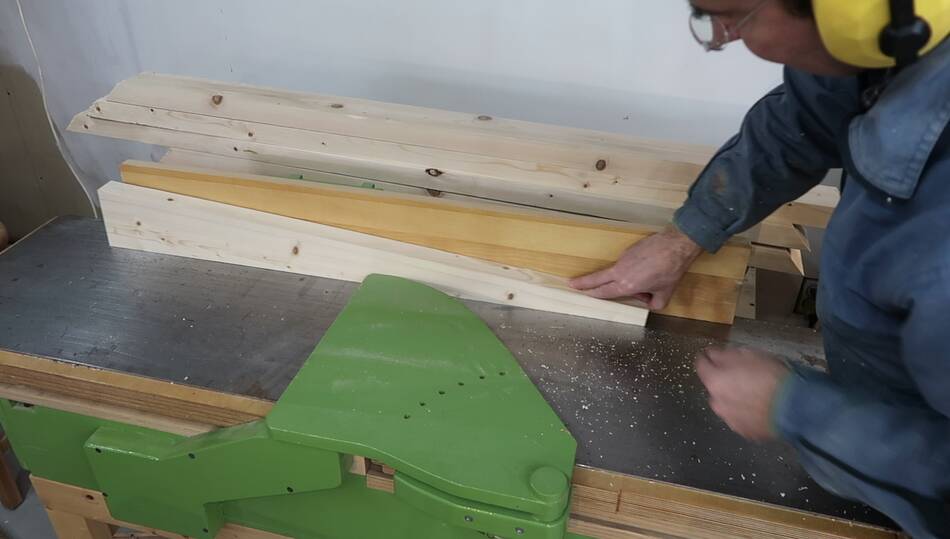
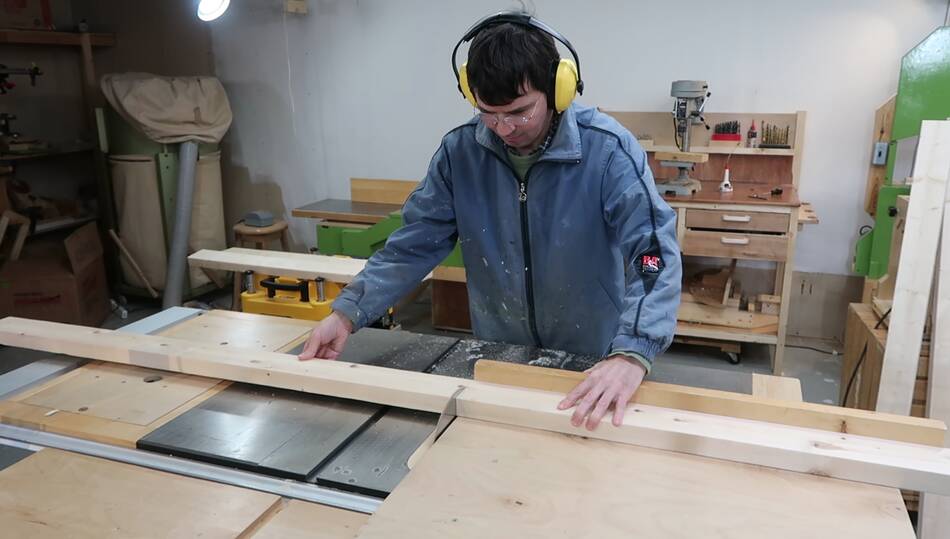 As usual for this type of project, I'm starting with some 2x4 lumber, cutting
it to lengths.
As usual for this type of project, I'm starting with some 2x4 lumber, cutting
it to lengths.
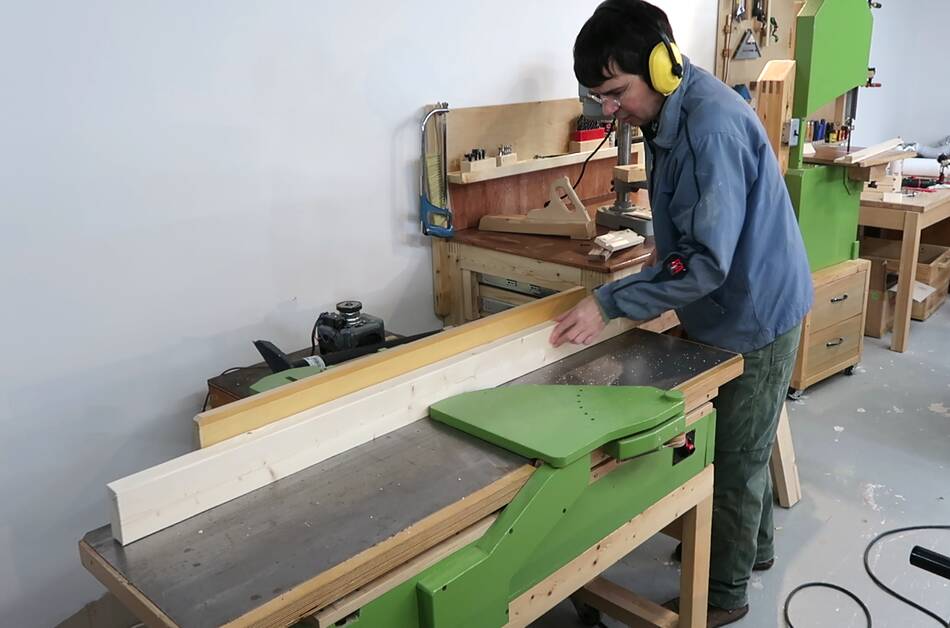 Then jointing the edges...
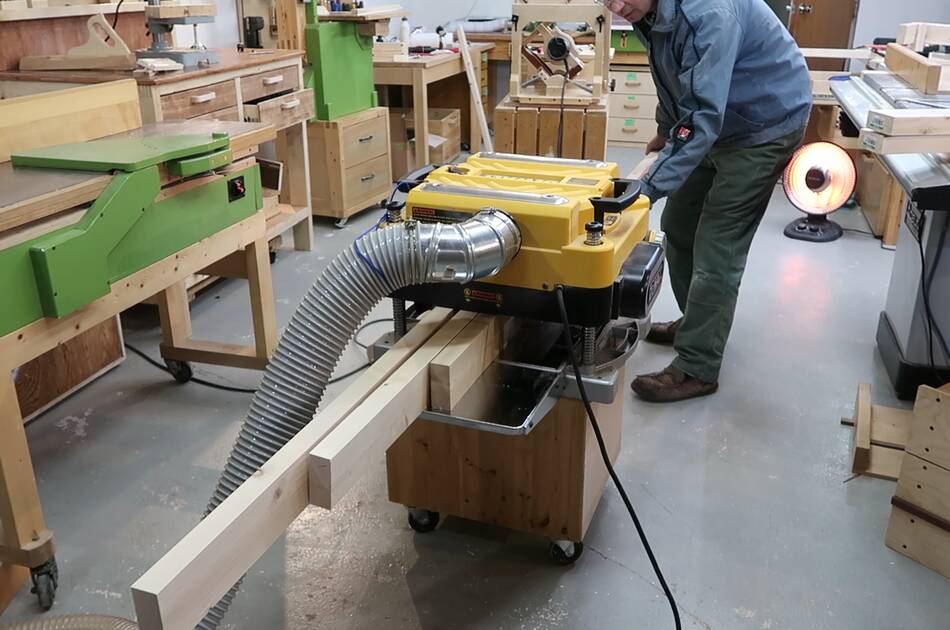 And planing to make the other edge parallel. I also planed about a millimeter
off the thickness to make for a more consistent surface.
And planing to make the other edge parallel. I also planed about a millimeter
off the thickness to make for a more consistent surface.
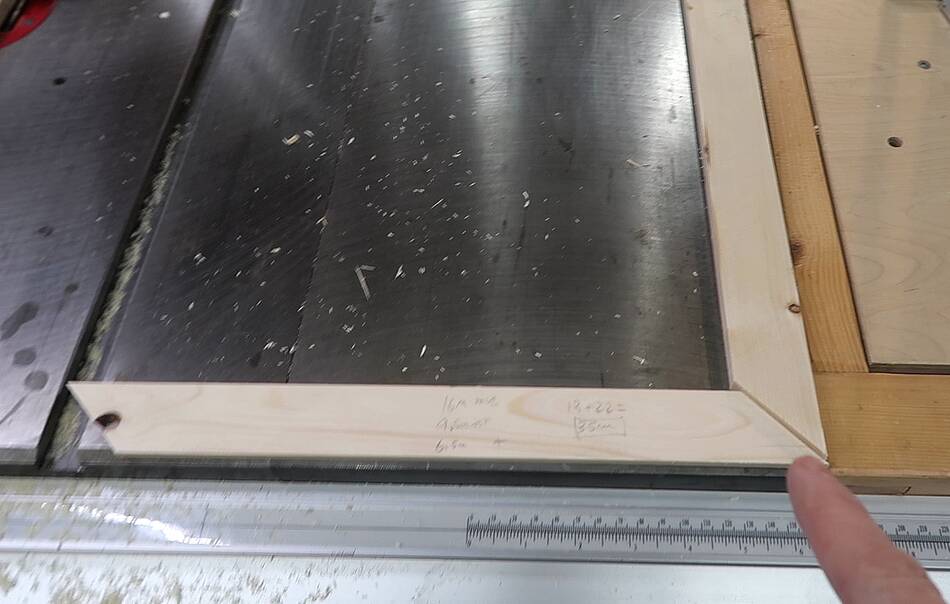
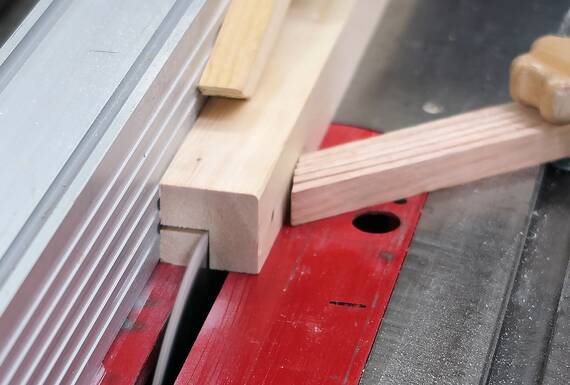
 I wanted to join the legs with 45° miter joints, so I had to set the saw
to exactly 45°. I checked the setting by cutting the ends off two scraps
at 45°, then put those cuts against each other to make sure that
they added to 90 degrees (see at left).
I wanted to join the legs with 45° miter joints, so I had to set the saw
to exactly 45°. I checked the setting by cutting the ends off two scraps
at 45°, then put those cuts against each other to make sure that
they added to 90 degrees (see at left).
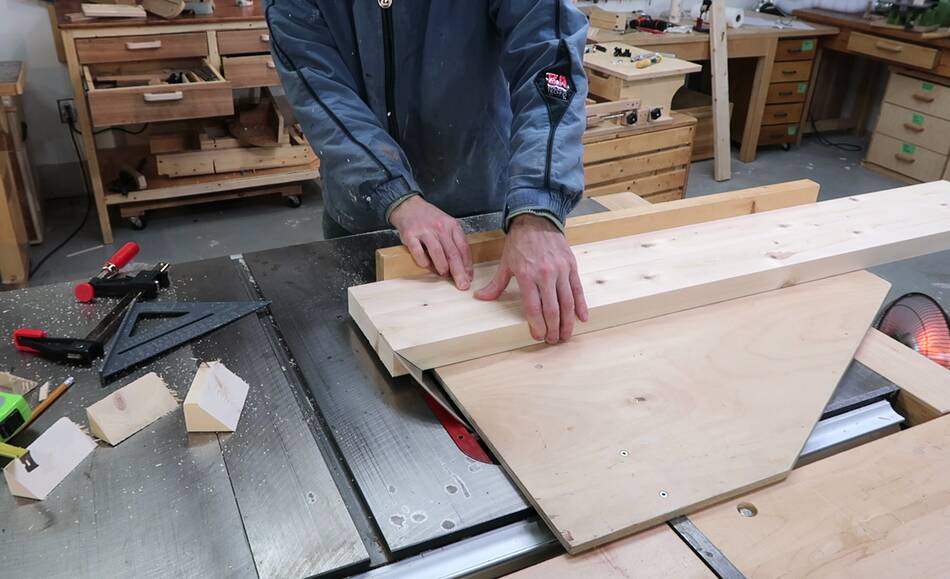
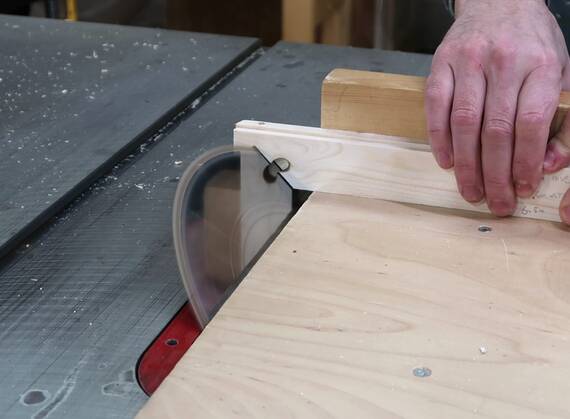
 Cutting miters on the ends of the apron rails. I firmly hold the wood down,
because the tilted blade has a tendency to push the stock to the side a bit,
making for an inaccurate cut. I also have to make sure the wood is
flat on the table saw sled, or the cut won't be square.
Cutting miters on the ends of the apron rails. I firmly hold the wood down,
because the tilted blade has a tendency to push the stock to the side a bit,
making for an inaccurate cut. I also have to make sure the wood is
flat on the table saw sled, or the cut won't be square.
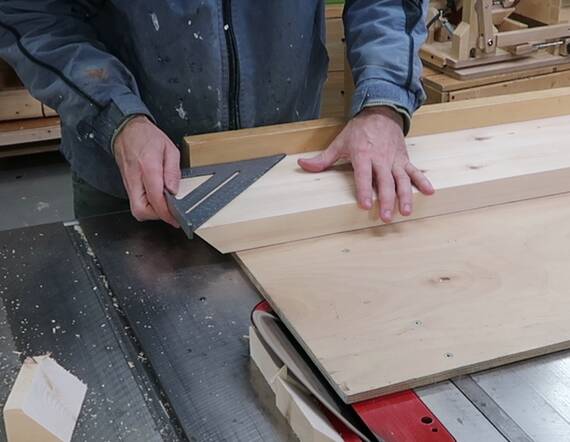
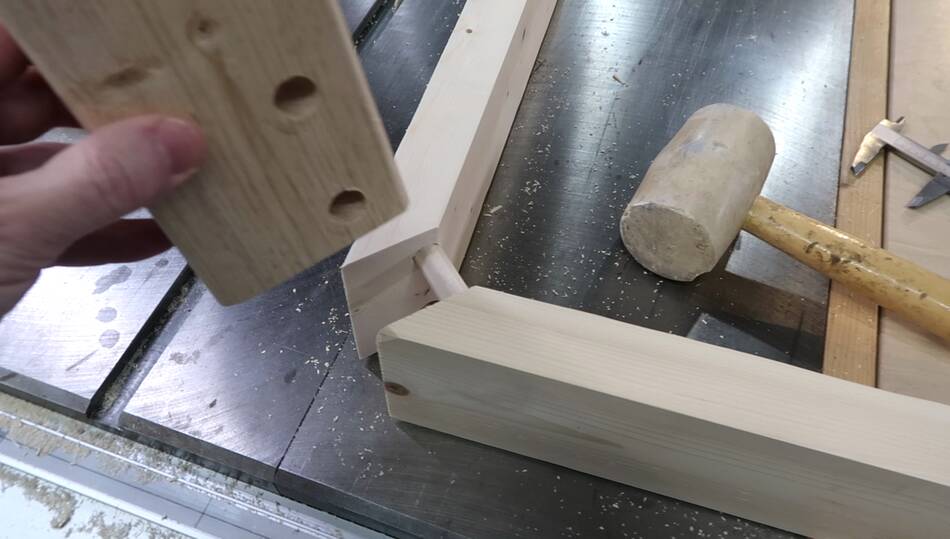
After making the cut, I check it with a square to make sure I haven't screwed up.
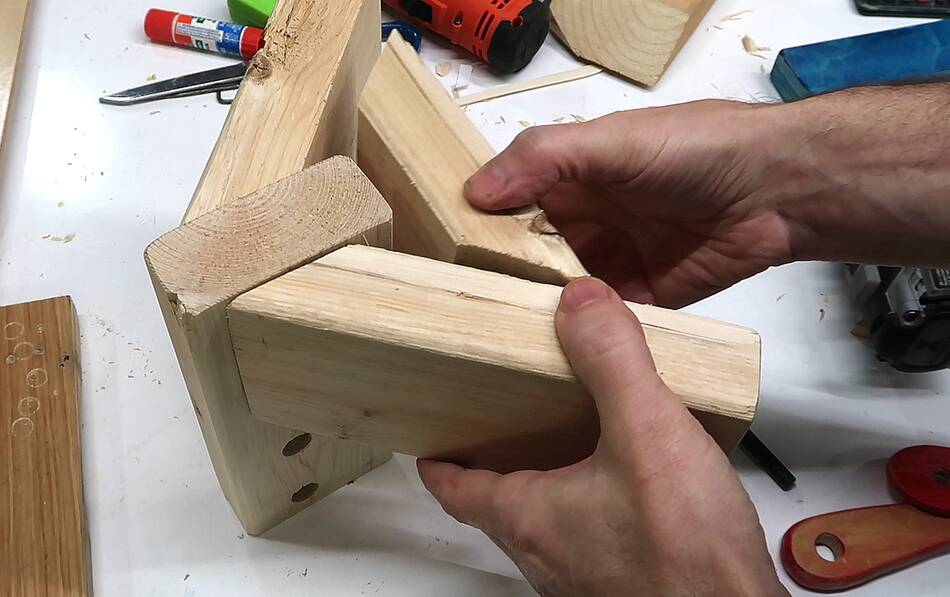 The legs will join the apron rails like this, with dowels going through
the leg into both apron rails.
The legs will join the apron rails like this, with dowels going through
the leg into both apron rails.
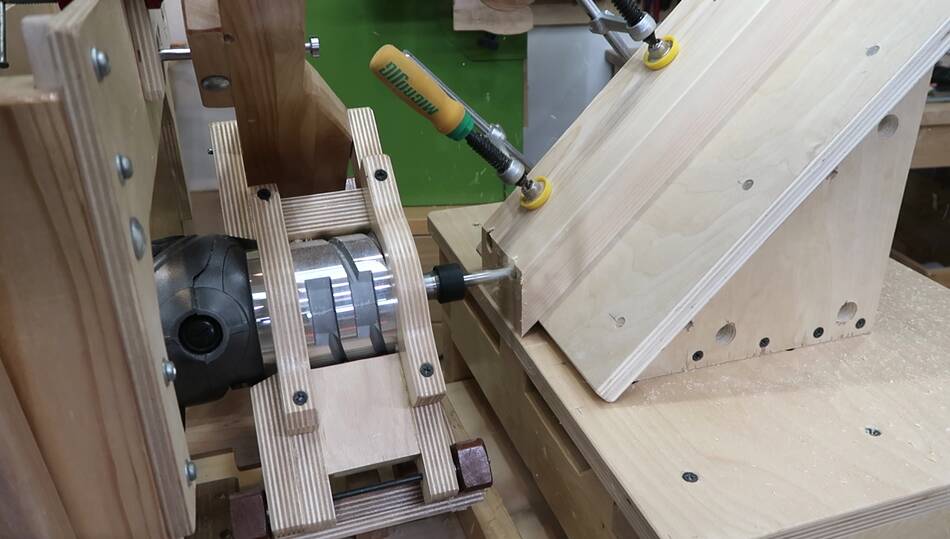
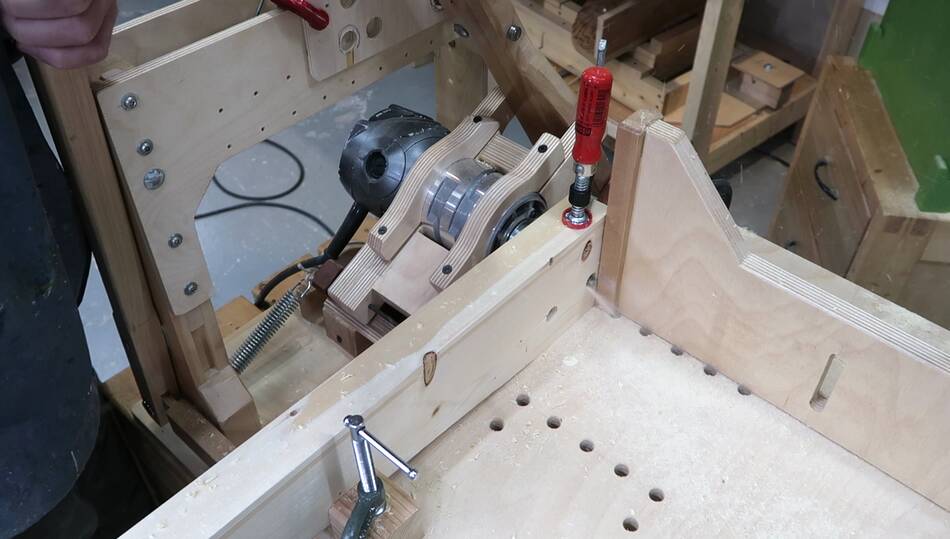
 I built a 45° jig, originally
to use with this jig drill.
But I found it too hard to get
accurate results when drilling with a larger drill bit,
So opted to put the jig on the
pantorouter instead.
I built a 45° jig, originally
to use with this jig drill.
But I found it too hard to get
accurate results when drilling with a larger drill bit,
So opted to put the jig on the
pantorouter instead.
I set up a template with holes in it that I could trace around with the follower, thus drilling holes larger than the bit I was using. This way, I could spiral into toe hole counterclockwise. That way, if the bit is deflected by the cutting forces, its deflected towards the center of the hole. Once the hole is cut, the bit deflection forces go away and I can do a pass to cut it to final size.
This eliminates problems of the drill bit wanting to drift to the side a bit, which it has a tendency to do when drilling through wood grain at an angle.
 The 45° jig would have been completely unnecessary if I used
my metal pantorouter,
but I used that one last time and I
want to use the wooden one too.
The 45° jig would have been completely unnecessary if I used
my metal pantorouter,
but I used that one last time and I
want to use the wooden one too.
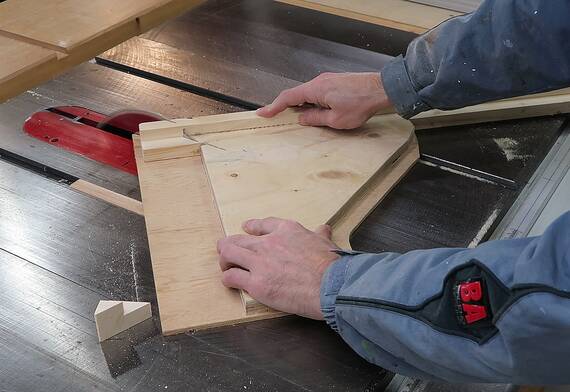
 The leg fits between the apron rails like this, but I wanted to make the leg
a little wider than a 2x4.
The leg fits between the apron rails like this, but I wanted to make the leg
a little wider than a 2x4.
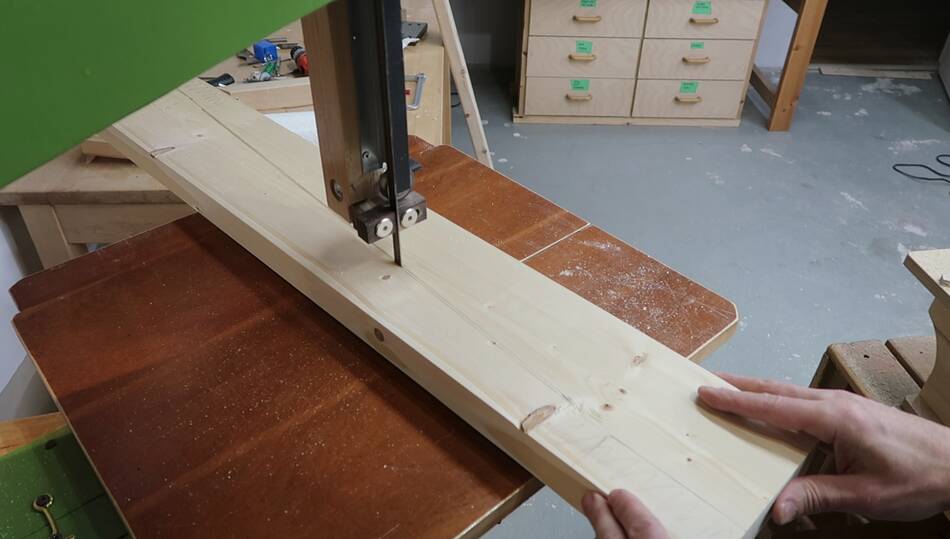 By making the legs tapered, I was able to cut two of them side by side out
of a piece of 2x6 lumber.
By making the legs tapered, I was able to cut two of them side by side out
of a piece of 2x6 lumber.
 Then smoothing the bandsaw cut on the jointer.
 And cutting a the top-most part of the legs straight. I'm using my old
table saw to do this because I wanted to leave my big table saw set at
45° because I still wanted to make some 45° cuts.
And cutting a the top-most part of the legs straight. I'm using my old
table saw to do this because I wanted to leave my big table saw set at
45° because I still wanted to make some 45° cuts.
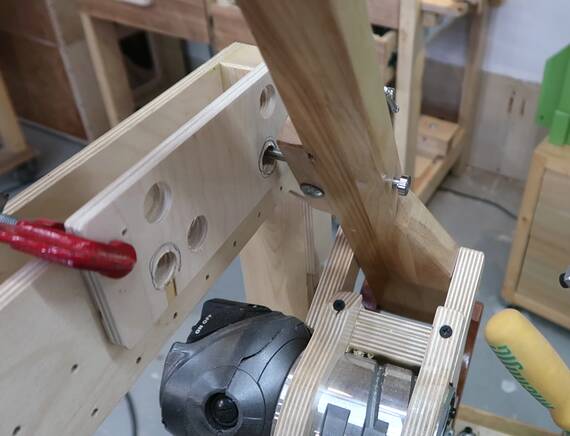
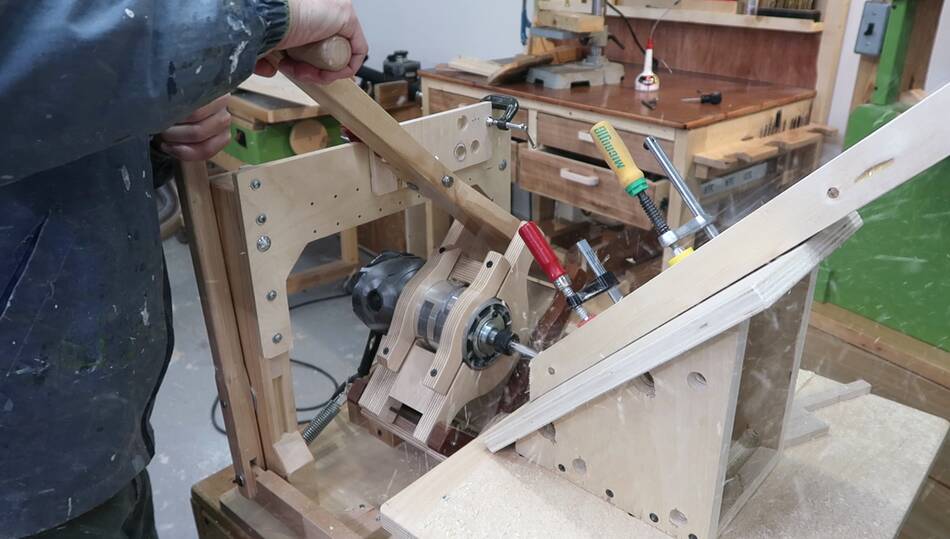
 I used the same setup on my pantorouter to drill the holes in the legs.
That way, I know the spacing for the holes is exactly the same as it is in the
apron rails.
I used the same setup on my pantorouter to drill the holes in the legs.
That way, I know the spacing for the holes is exactly the same as it is in the
apron rails.
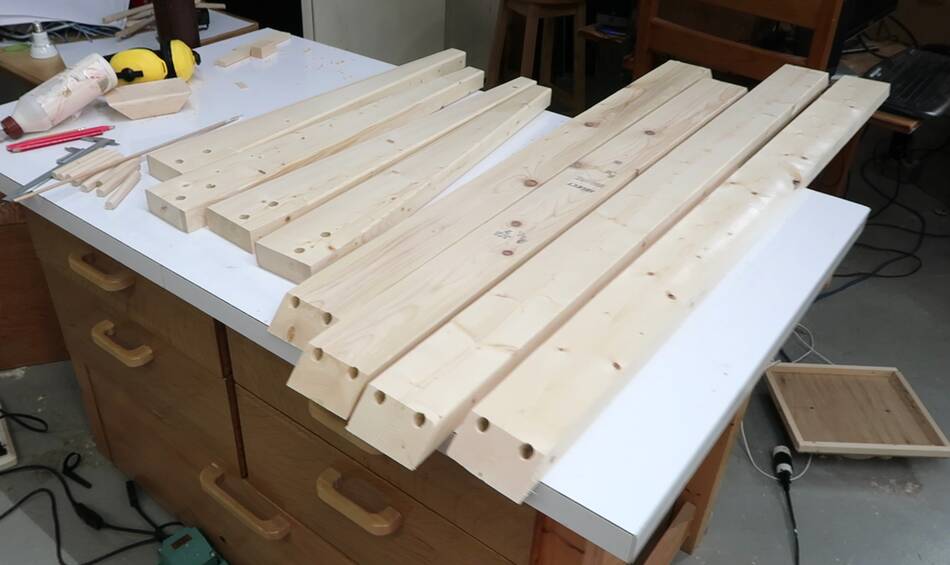 Apron rails, legs and dowels all ready for glue-up.
 The legs went on a bit hard. I think the problem was that I cut some of the holes
very fast, and didn't sweep around them enough after finishing the cut to make sure
the final size was good, so they ended up slightly undersized.
The legs went on a bit hard. I think the problem was that I cut some of the holes
very fast, and didn't sweep around them enough after finishing the cut to make sure
the final size was good, so they ended up slightly undersized.
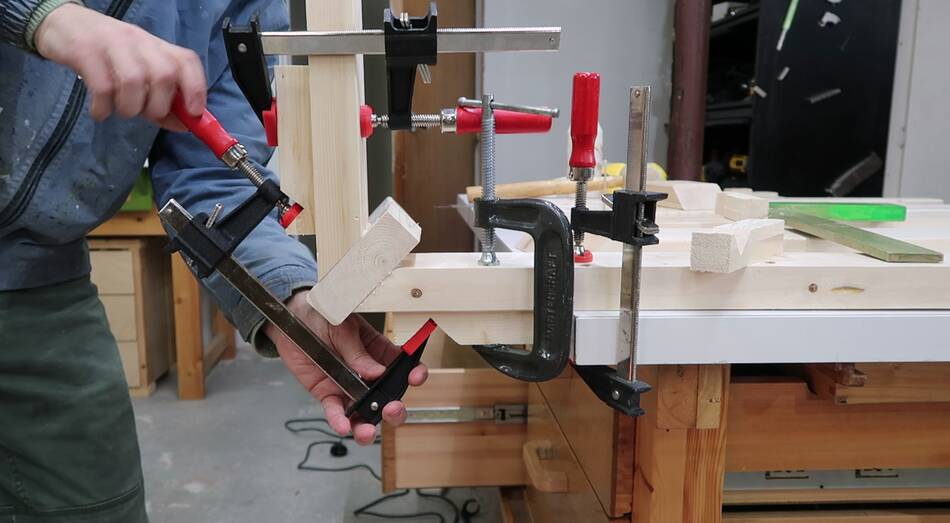 Using some clamping cauls to clamp the apron rails to the leg.
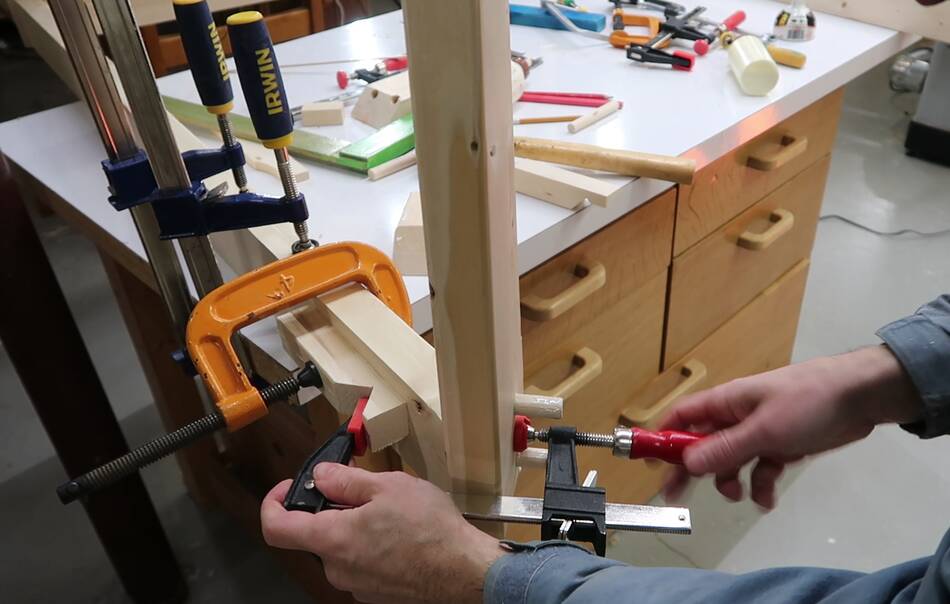 After the first two joints were done, I had to put the table upside down on
the workbench to put the remaining legs on. This orientation wasn't as ideal
to work with.
After the first two joints were done, I had to put the table upside down on
the workbench to put the remaining legs on. This orientation wasn't as ideal
to work with.
 I had to rely on flex in the whole assembly to get the last joint
together.
I had to rely on flex in the whole assembly to get the last joint
together.
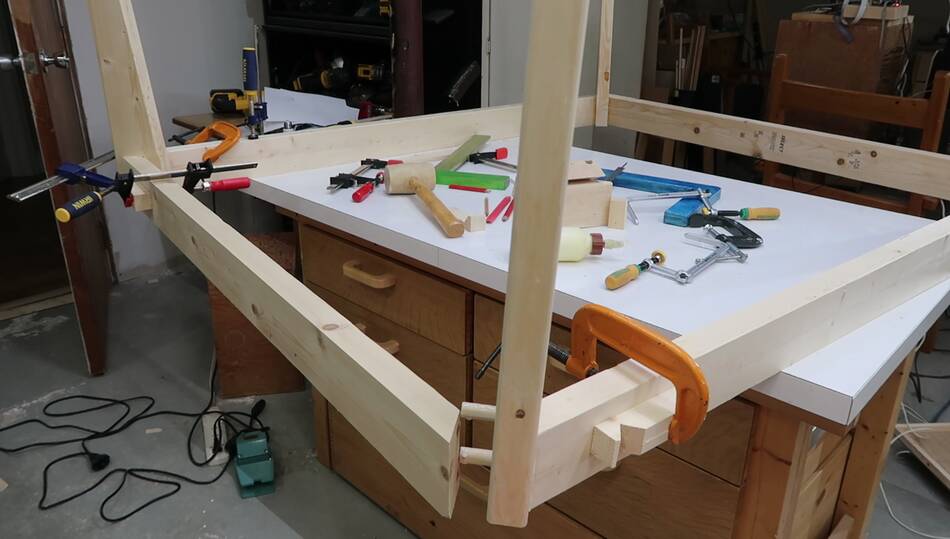
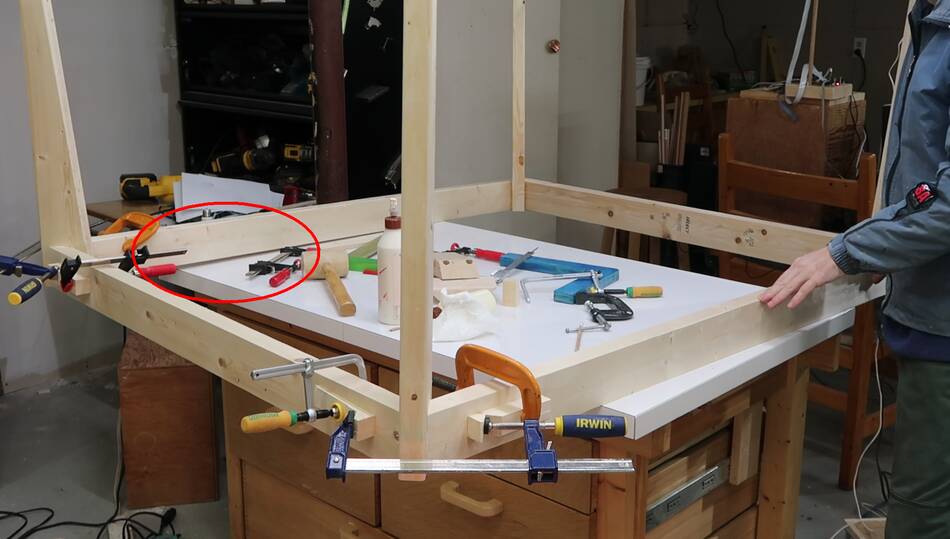 After the legs were glued on, I realized the table had a slight bit of
twist to it. You can see its not resting flat on the workbench where it's
circled in red.
After the legs were glued on, I realized the table had a slight bit of
twist to it. You can see its not resting flat on the workbench where it's
circled in red.
I figured it was because some of the lumber had a slight twist to it, but in retrospect, as I was cutting the joints, I realized one of the holes on my template was offset by a tiny bit vertically, and that is probably what resulted in the twist.
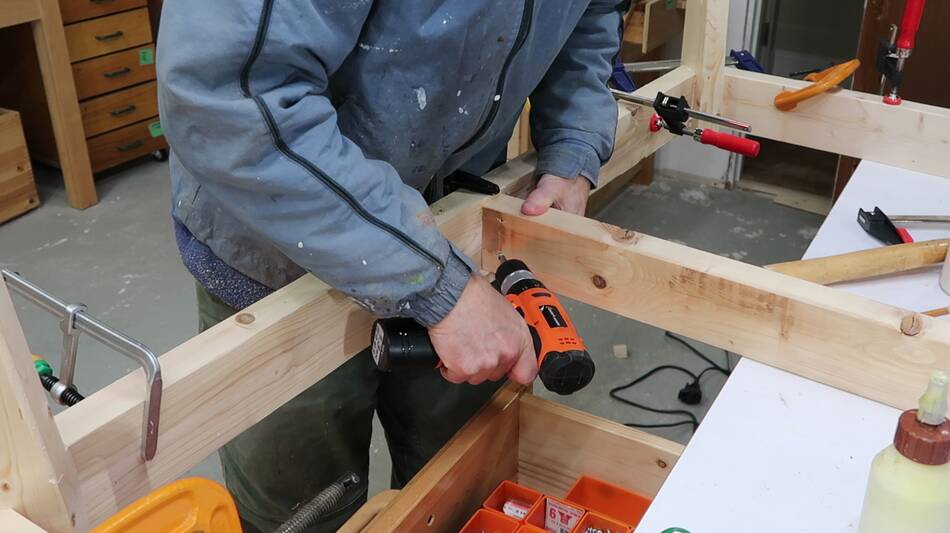
 I added a horizontal 2x4 across the middle of the table to help support the top
of the table, which is going to be just the particle board top from the old
ping pong table.
I added a horizontal 2x4 across the middle of the table to help support the top
of the table, which is going to be just the particle board top from the old
ping pong table.
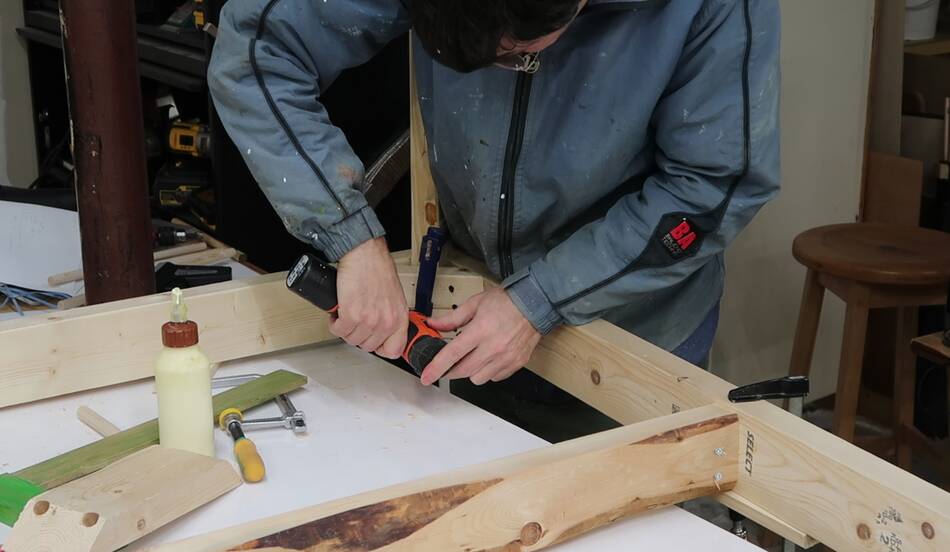
These are just screwed into the apron rails using some screws at an angle. I should add that I hate stuff made with pocket hole joinery, but if I just put a screw in at an angle (drilling the pilot holes, at right), without a pocket hole, then it's not a pocket hole :)
 I had the idea of counteracting the twist of the table by applying twist to the
cross-member as I screwed it in. You can see the clamp (circled in red) pulling
down on the end of a bar clamp which is clamped to the cross member. That holds
it twisted as I screw it on. After released the clamp twisting it, the un-twisting
of the cross-member helped counteract the twist of the table frame.
I had the idea of counteracting the twist of the table by applying twist to the
cross-member as I screwed it in. You can see the clamp (circled in red) pulling
down on the end of a bar clamp which is clamped to the cross member. That holds
it twisted as I screw it on. After released the clamp twisting it, the un-twisting
of the cross-member helped counteract the twist of the table frame.
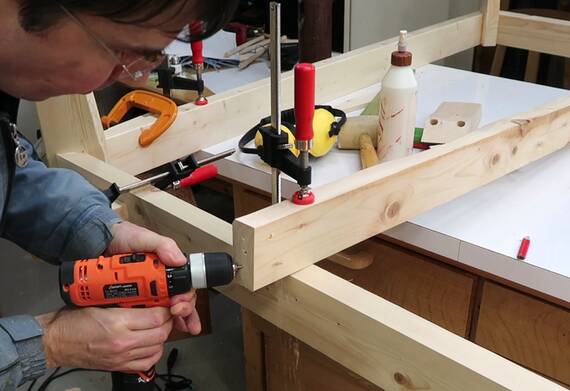
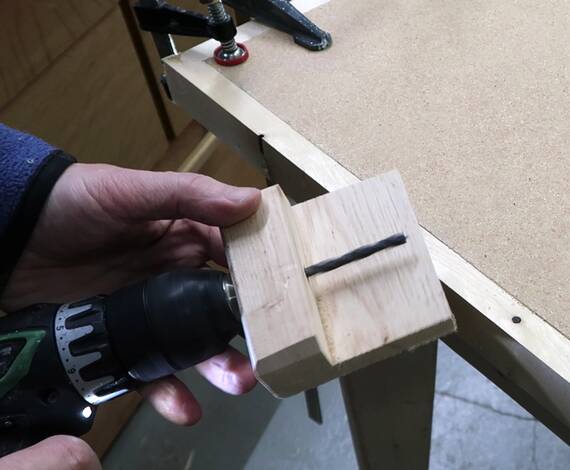
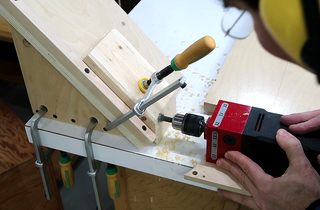
 I made some gussets to put into the corners of the table. Here drilling pilot
holes to screw these on. The pilot holes are best drilled from the back because
they are nearly perpendicular to the back.
I made some gussets to put into the corners of the table. Here drilling pilot
holes to screw these on. The pilot holes are best drilled from the back because
they are nearly perpendicular to the back.
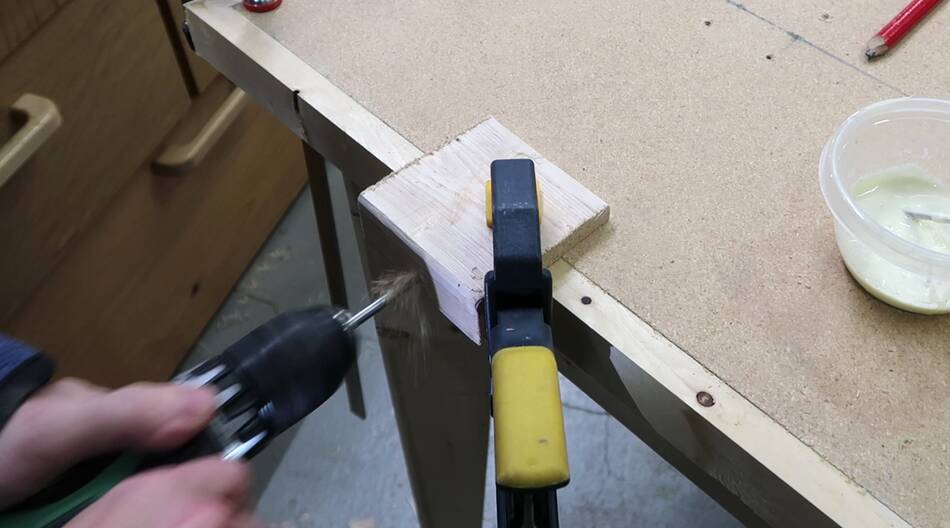
 Screwing on the gussets. I also used liberal amounts of glue for these.
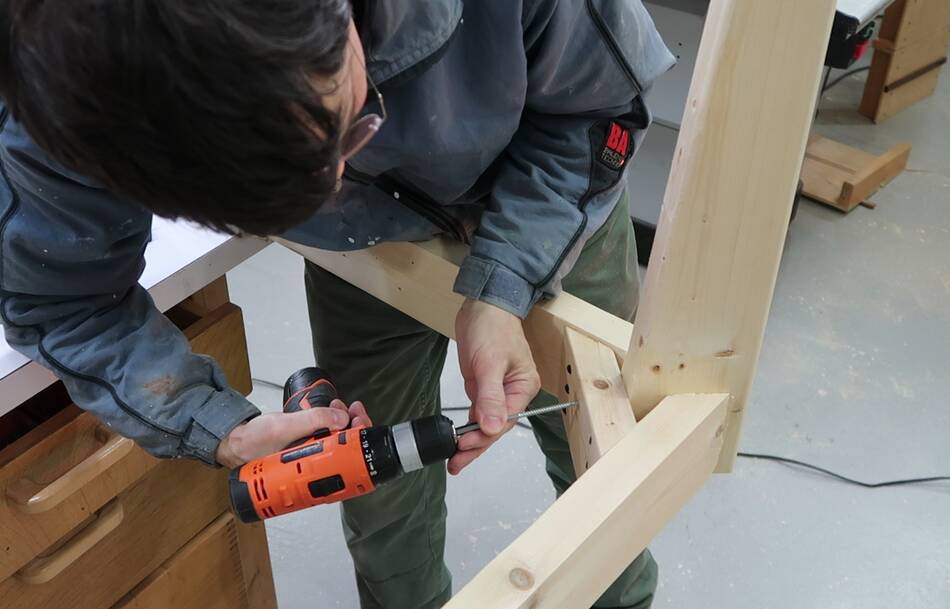 Then adding some long screws through the gussets into the table legs. These screws
are actually the main reason I added the gussets.
Then adding some long screws through the gussets into the table legs. These screws
are actually the main reason I added the gussets.
 At about 1.5 x 1.4 meters. its a rather large table.
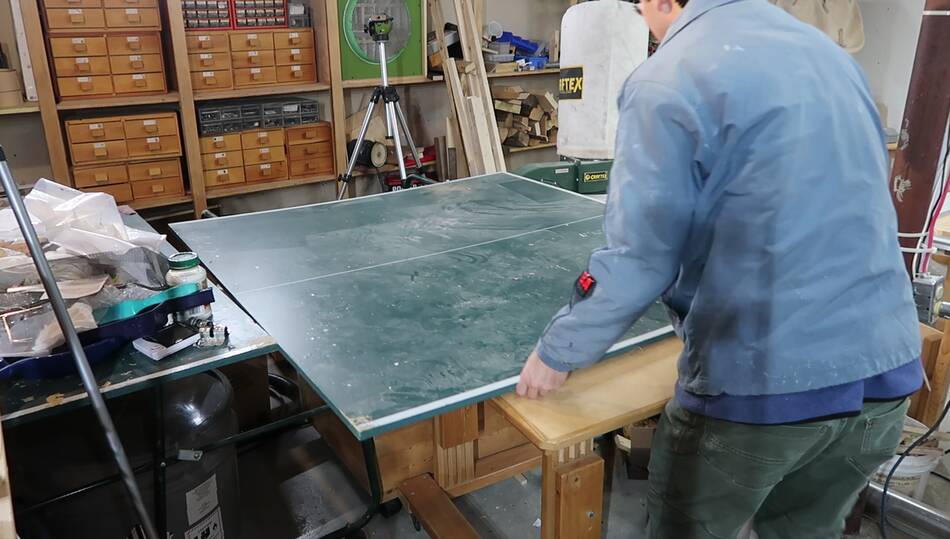
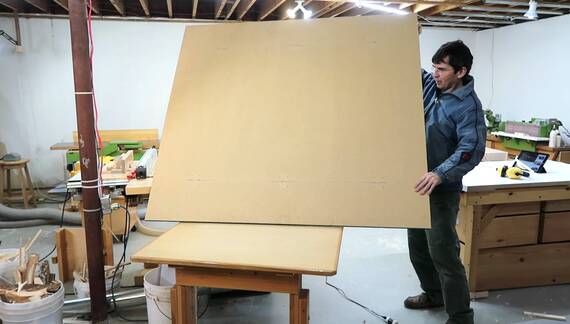 I used one of my "wheely desks"
as a shop cart to move the top of the ping pong table to the table saw,
then flipped it up onto the saw.
I used one of my "wheely desks"
as a shop cart to move the top of the ping pong table to the table saw,
then flipped it up onto the saw.
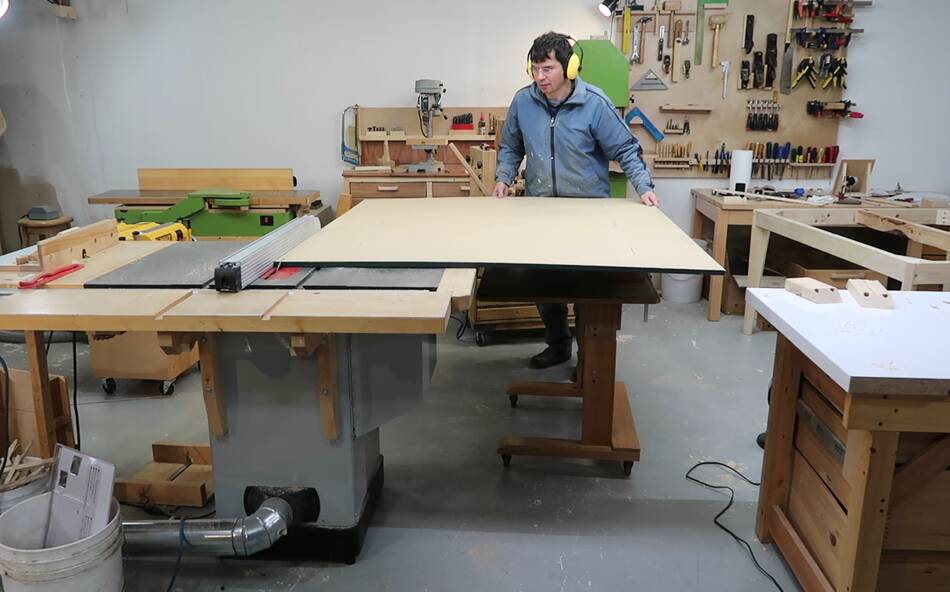 Then cutting 2 cm off each edge to make sure I have a nice clean edge to
later glue trim onto. I had the wheely desk under the particle board, with
something on it to get it to the right height, and rolled
it with the sheet as I cut it. This might have worked better if I bothered to
adjust the wheely desk to the height of the table saw, clamped the particle board
to it, and had casters that swiveled better on the wheely desk.
Then cutting 2 cm off each edge to make sure I have a nice clean edge to
later glue trim onto. I had the wheely desk under the particle board, with
something on it to get it to the right height, and rolled
it with the sheet as I cut it. This might have worked better if I bothered to
adjust the wheely desk to the height of the table saw, clamped the particle board
to it, and had casters that swiveled better on the wheely desk.
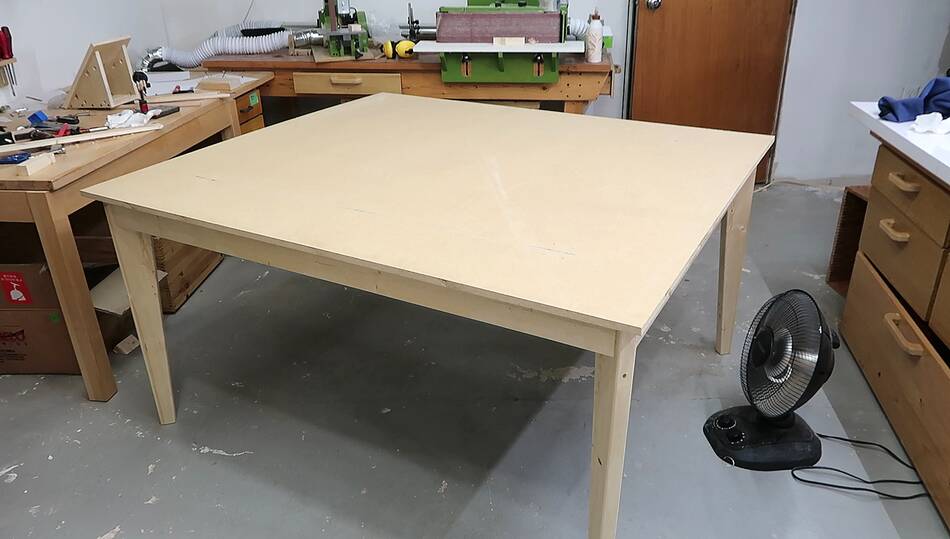 Particle board on the table. Now I need to make some trim.
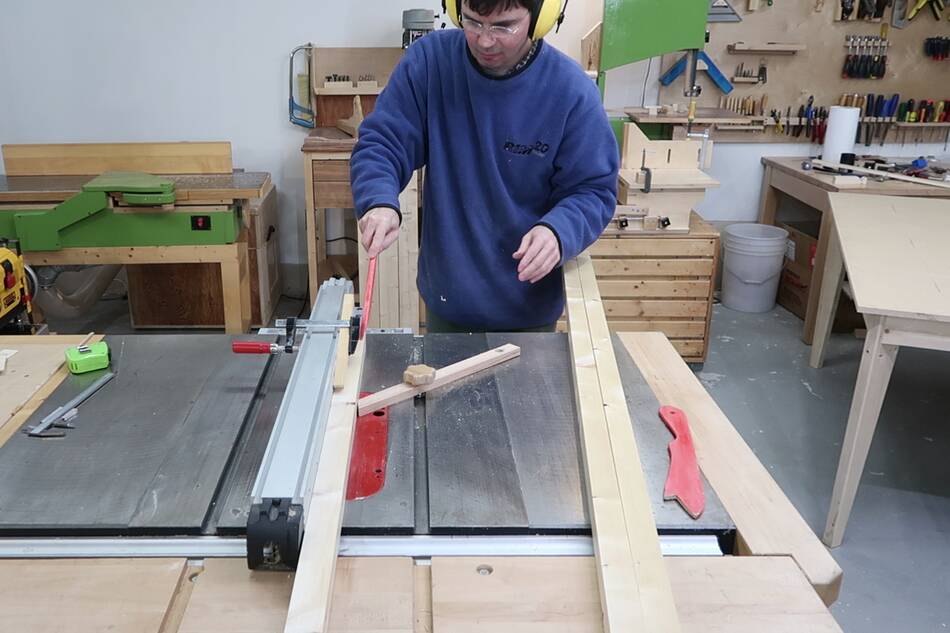
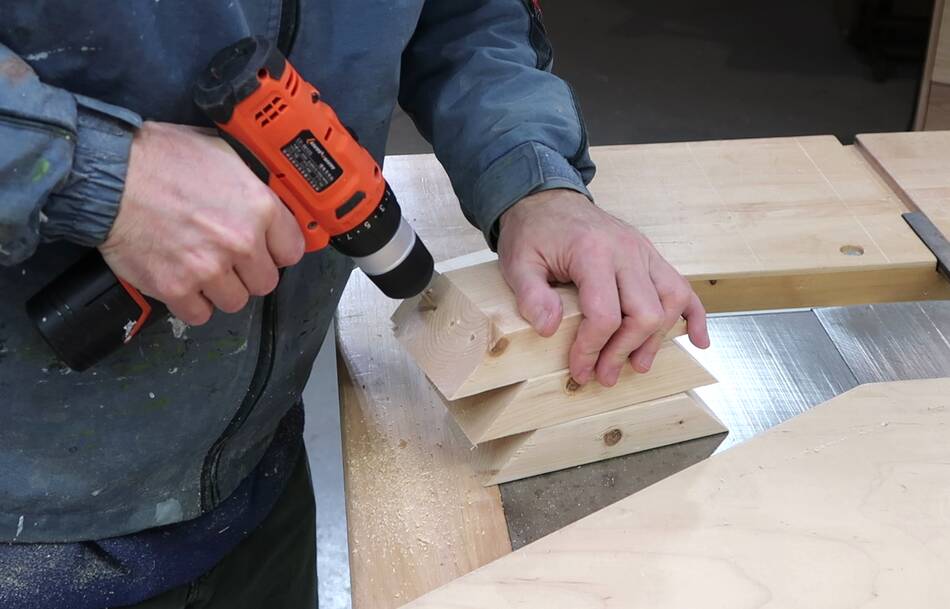
 I cut some 2x4's down the middle, and jointed and planed these, then cut
a corner out of them to fit around the particle board.
I cut some 2x4's down the middle, and jointed and planed these, then cut
a corner out of them to fit around the particle board.
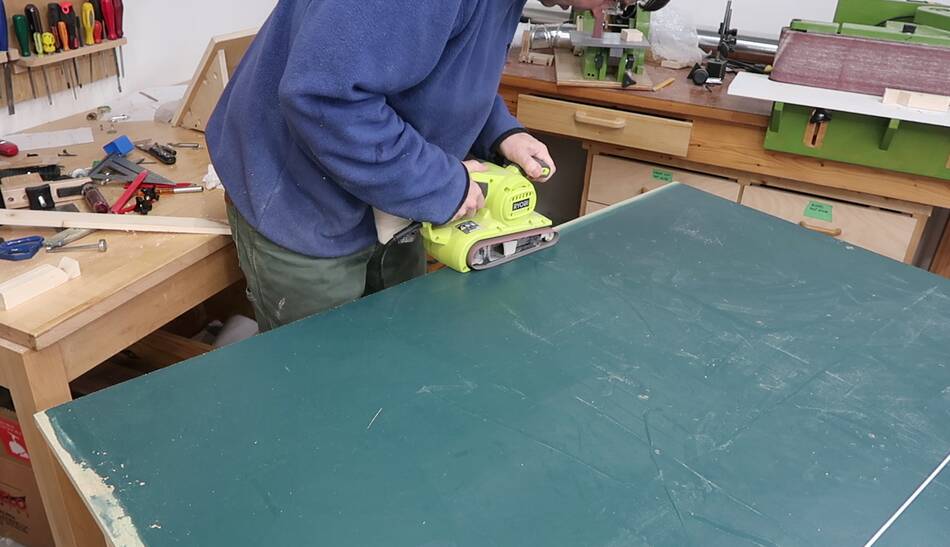 I used a belt sander to sand the paint off near the edges so I could glue the
trim to the bottom and sides.
I used a belt sander to sand the paint off near the edges so I could glue the
trim to the bottom and sides.
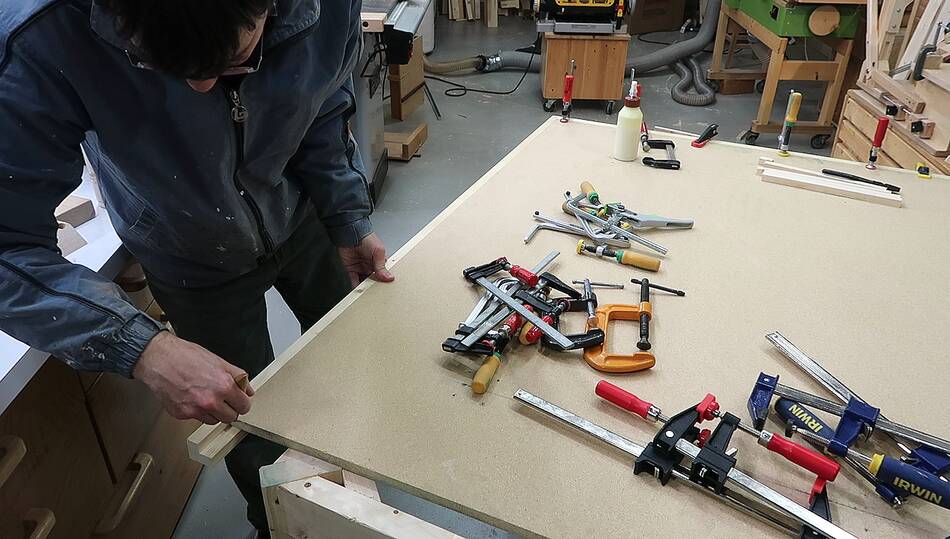
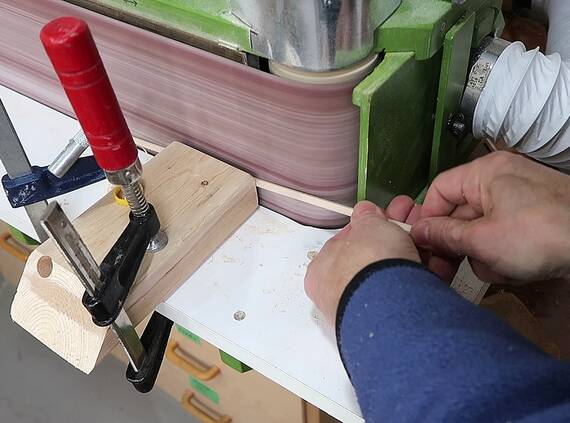
 Here using a knife to mark how long a piece of trim I needed, and cutting
that using my miter sled.
Here using a knife to mark how long a piece of trim I needed, and cutting
that using my miter sled.
 I used lots of clamps to glue it on.
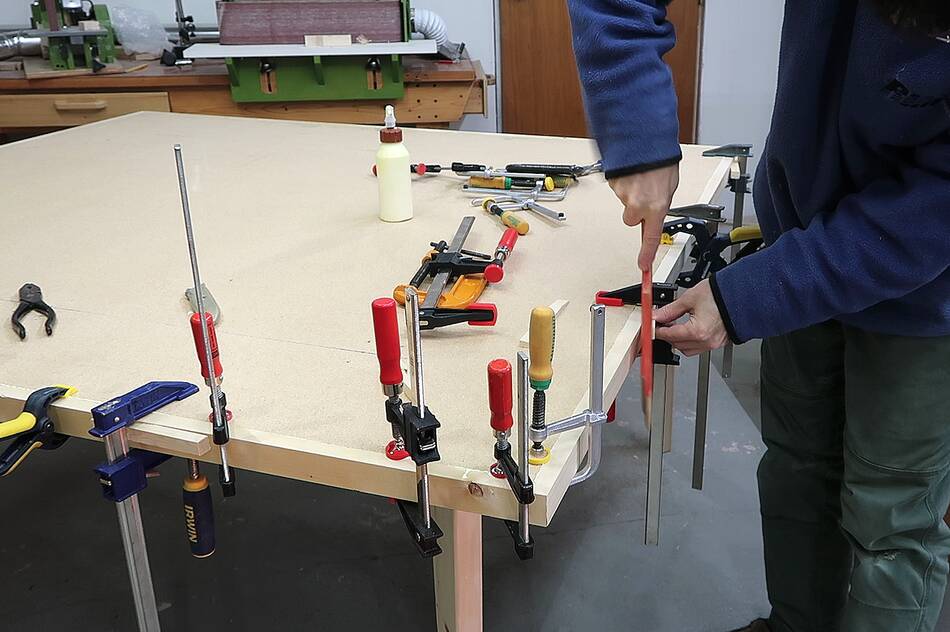
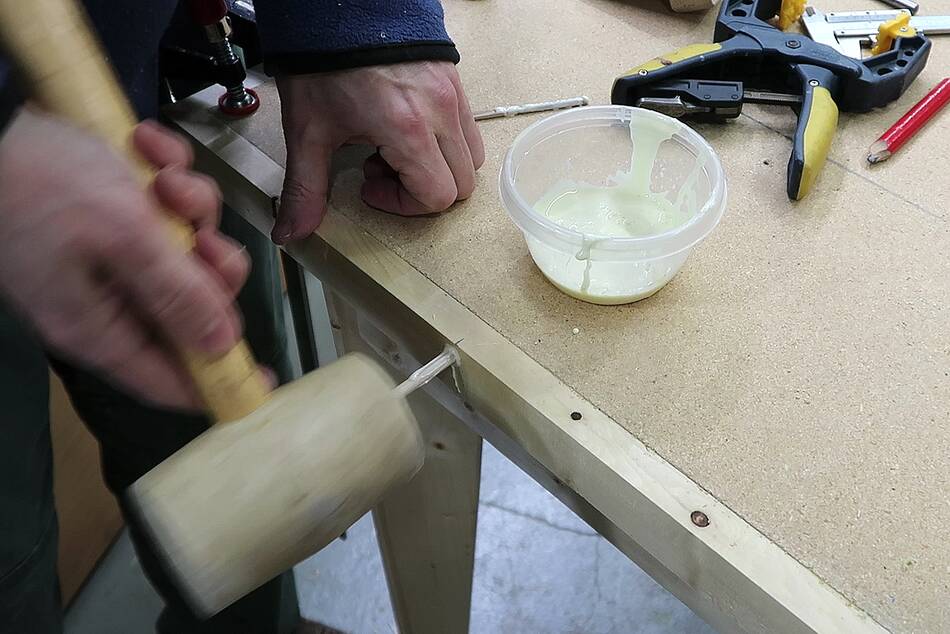
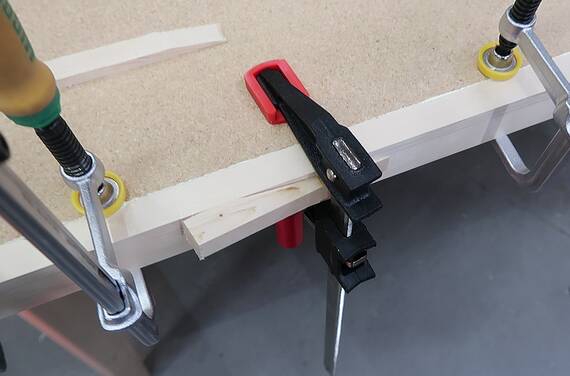 Here I'm using a push stick to hammer a wedge between a bar clamp
and the trim to act as an edge clamp. This trick works quite well,
I wrote about it before
Here I'm using a push stick to hammer a wedge between a bar clamp
and the trim to act as an edge clamp. This trick works quite well,
I wrote about it before
 I made a simple temporary drilling jig to drill dowel holes into the trim
to peg it in place better.
I made a simple temporary drilling jig to drill dowel holes into the trim
to peg it in place better.
 I needed some very hard and thin dowels, so cut some square stock of ironwood
and planed to roughly octagonal, then used
this trick to sand them into round dowels.
I needed some very hard and thin dowels, so cut some square stock of ironwood
and planed to roughly octagonal, then used
this trick to sand them into round dowels.
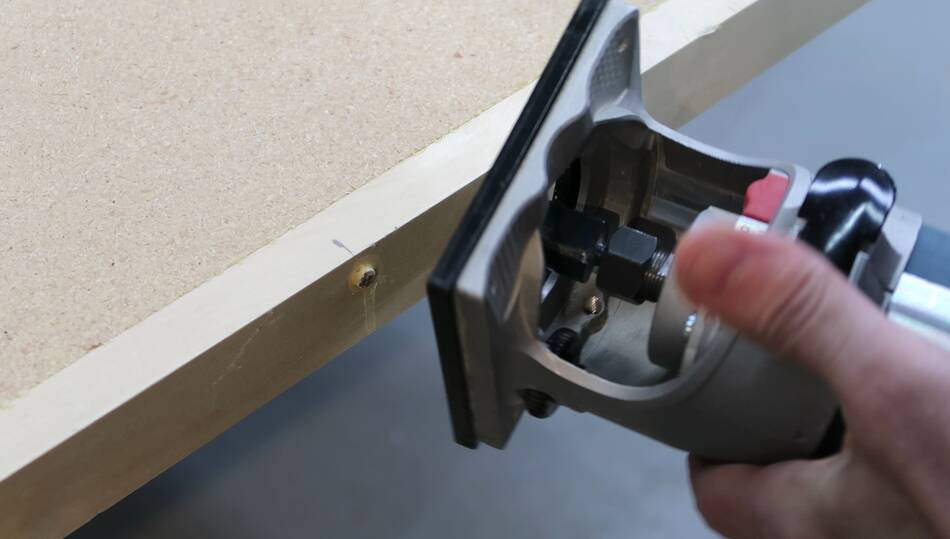 With a dowel every 25 cm, I had quite a lot of them and it was easiest
to just flush cut them with a router.
more on that here.
With a dowel every 25 cm, I had quite a lot of them and it was easiest
to just flush cut them with a router.
more on that here.
 I rounded the corners with a belt sander. My first thought was to use a roundover
bit to do that, but there would probably be a fair bit of tearout if I did that.
I rounded the corners with a belt sander. My first thought was to use a roundover
bit to do that, but there would probably be a fair bit of tearout if I did that.
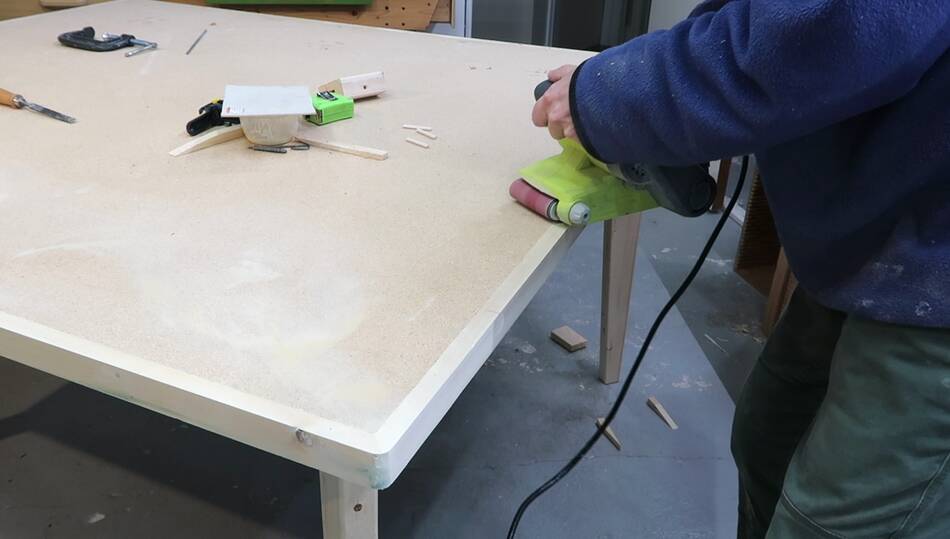 While I was at it, I also sanded the edges and sanded the trim and top to make sure
they are flush with each other.
While I was at it, I also sanded the edges and sanded the trim and top to make sure
they are flush with each other.
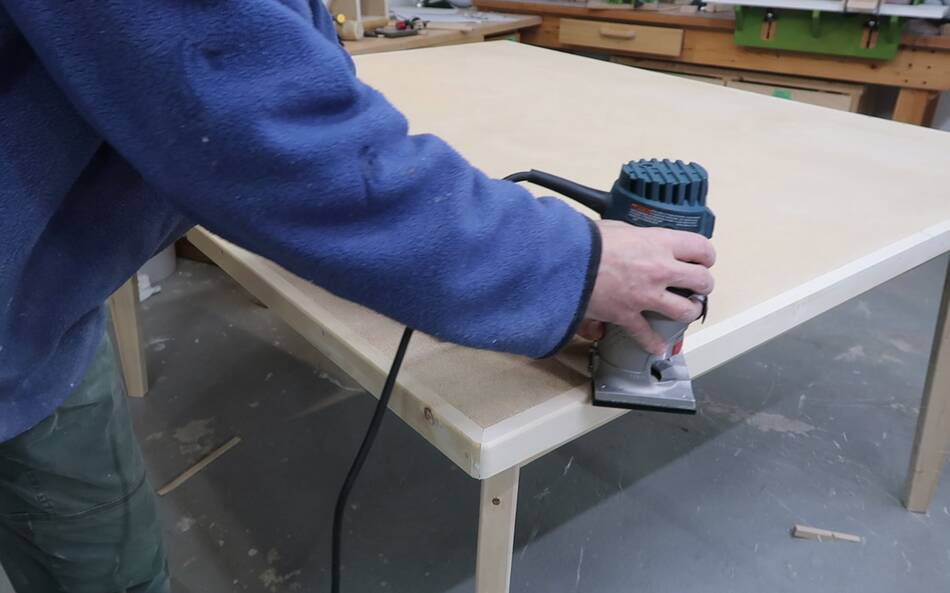 Then I put a 1/4" roundover on the top and bottom.
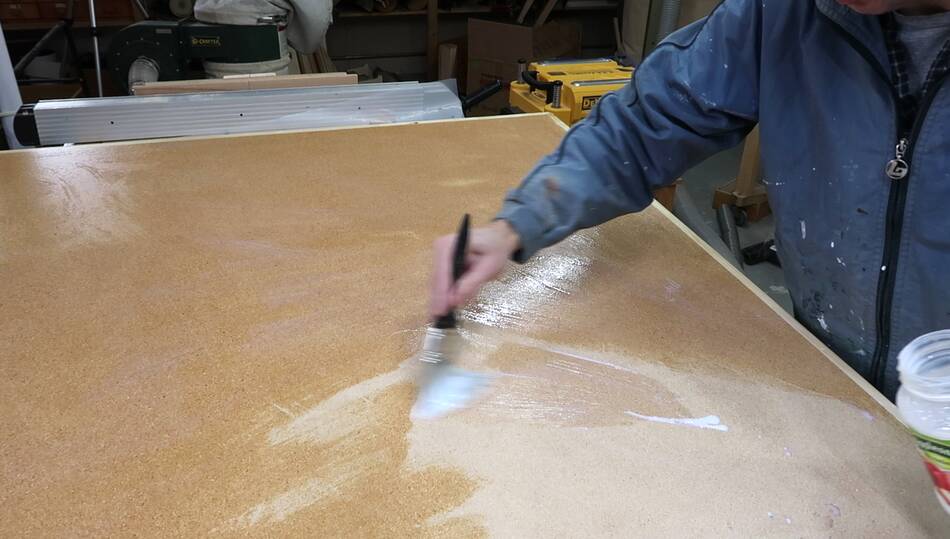
 I varnished everything. The particle board took three coats to get
a passable finish on it. An oil based varnish would, no doubt, have worked better.
I varnished everything. The particle board took three coats to get
a passable finish on it. An oil based varnish would, no doubt, have worked better.
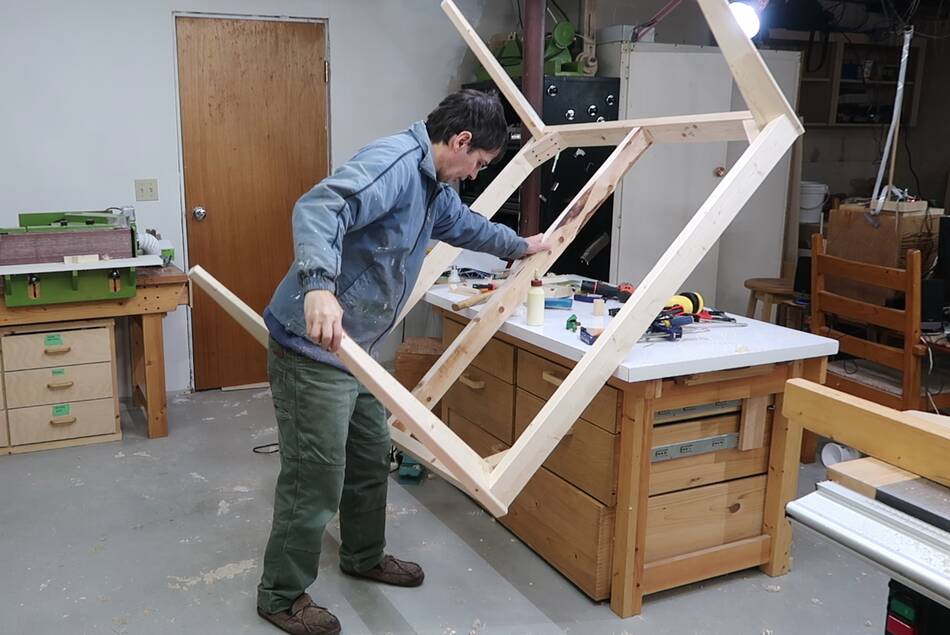
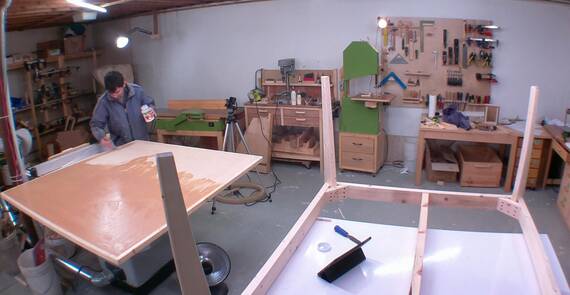
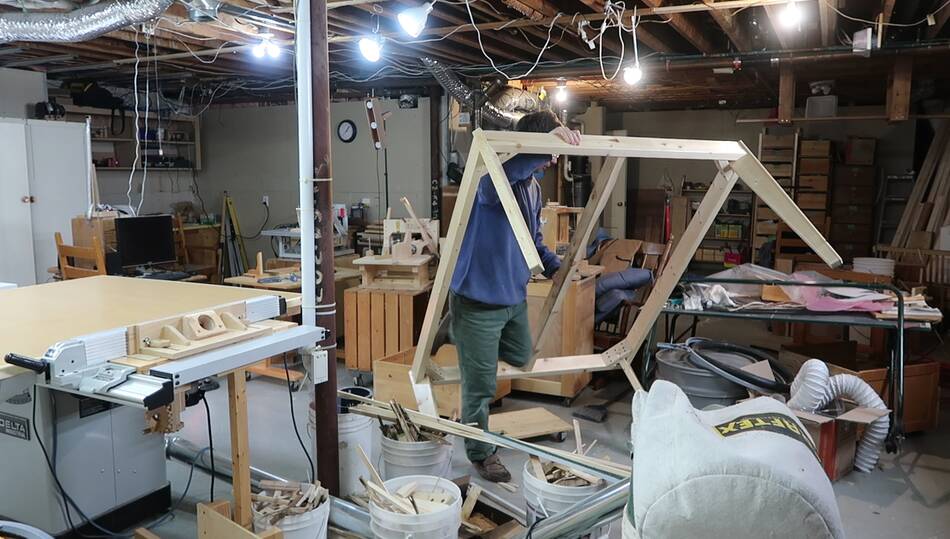 I disassembled half the ping pong table frame to make room for the
new table, here I'm tipping the base into position. But I bumped the other
half of the ping pong table, which was a bit unstable without the other half
weighing the middle part down, and it came down with a huge crash!
I disassembled half the ping pong table frame to make room for the
new table, here I'm tipping the base into position. But I bumped the other
half of the ping pong table, which was a bit unstable without the other half
weighing the middle part down, and it came down with a huge crash!
 I used my "wheely desk" to roll the top in place, here sliding it onto the table.
The top isn't fastened down in any way. The trim, which is thicker than
the table top, keeps the top from sliding off the base.
I used my "wheely desk" to roll the top in place, here sliding it onto the table.
The top isn't fastened down in any way. The trim, which is thicker than
the table top, keeps the top from sliding off the base.
Collapsed half-ping pong table in background.
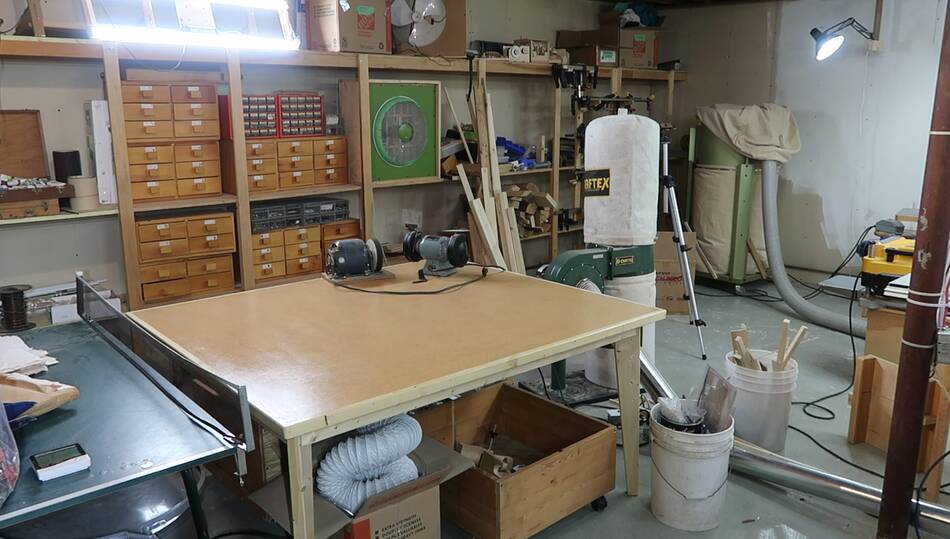 And here things are moderately organized.
I have three rolling storage boxes that I made to go under a shelf two and a half years ago. These fit much better under this table than the old ping pong table because the legs are in the corners and there isn't any extra stuff connecting them.

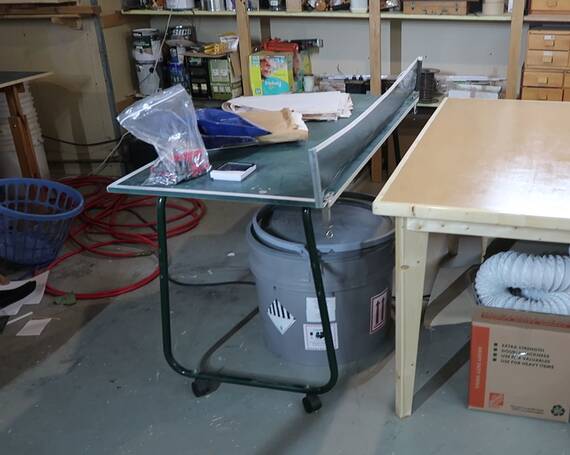 And I used the center frame from the old ping pong table and part of the top to
make another rolling table. Just for a joke, I put the net on it. It would make
for a very uneven game of ping pong!
And I used the center frame from the old ping pong table and part of the top to
make another rolling table. Just for a joke, I put the net on it. It would make
for a very uneven game of ping pong!
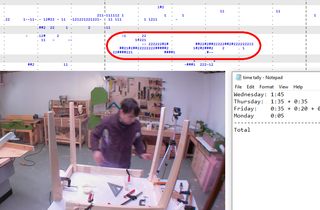 How long to build a table, time analysis (video only)
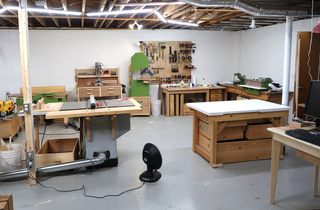 Painting in the shop and a shop tour (video only)
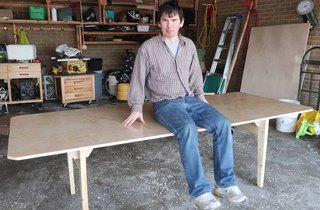 Large knock-down table (easy to take apart for moving)
To my Woodworking website.
 45 degree jig
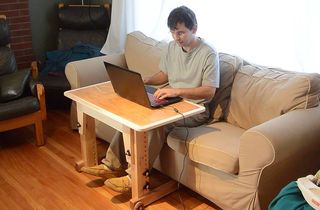 Knock down laptop
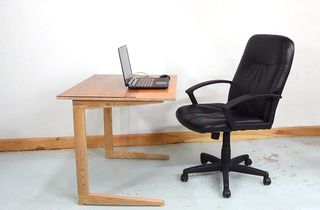 Small work table
 Building a simple table with minimal tools
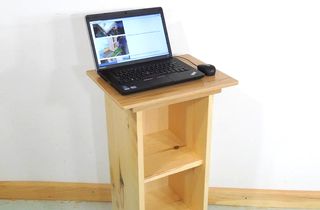 Stand-up laptop table
 Knock down student desk
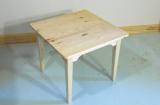 Kid's table
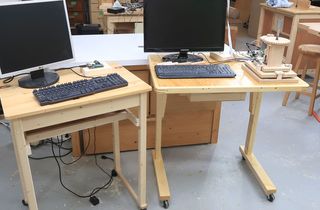 Canitlevered wheeled lab table