 Marius Hornberger writes:
Marius Hornberger writes:
Hi Matthias,
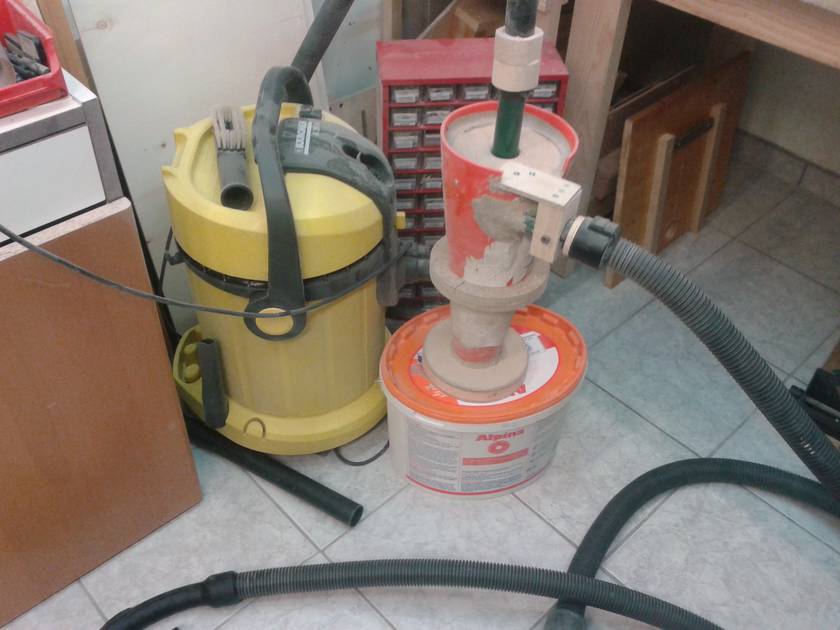
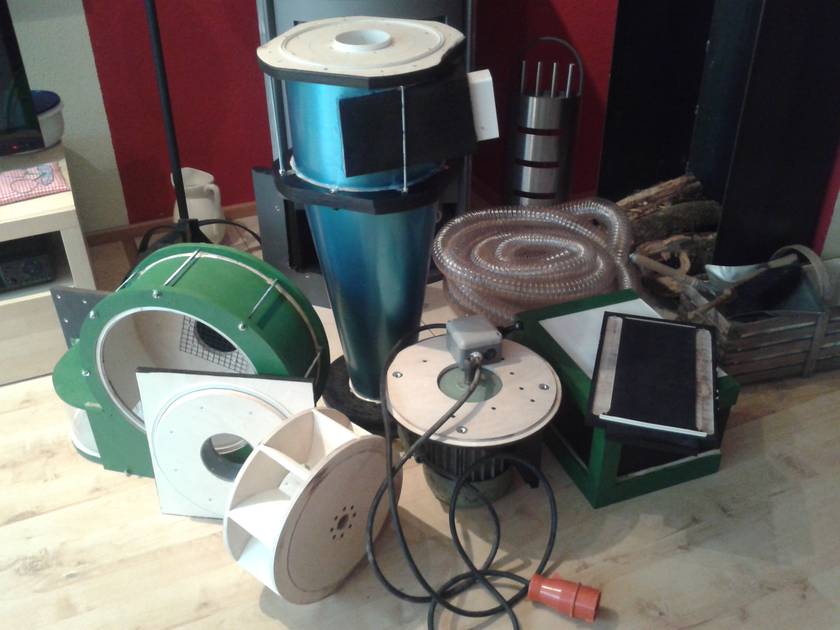
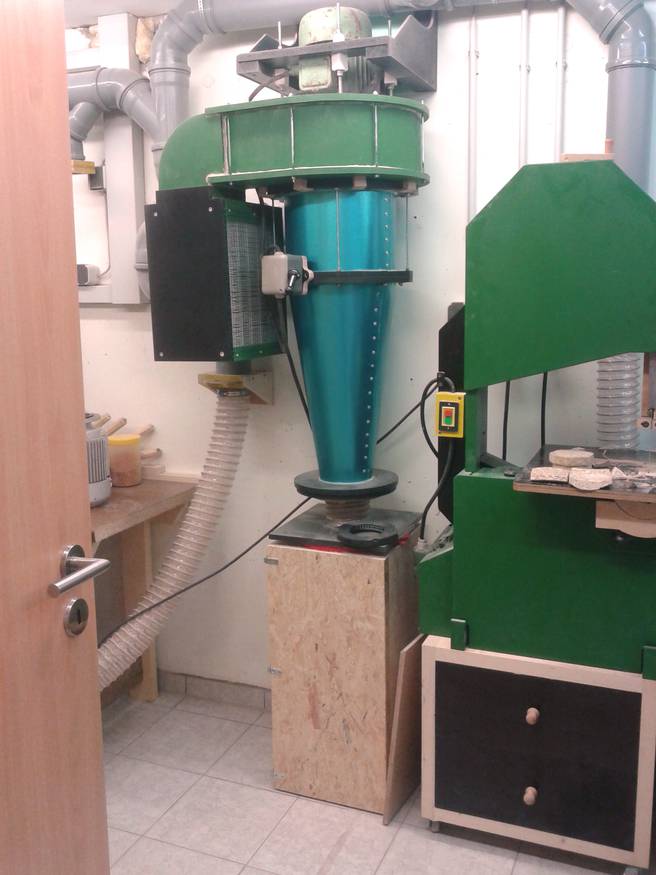
I finished my big 3hp dust collector a while ago and now I have time to write a little bit about it. I built this because I wanted to have an improvement over my street cone cyclone for my ShopVac (see picture at left). I had the idea for this a long time and when I saw the article about Ryszard's dust collector I just thought "dam, he was faster than me" but his pictures were also a big help in some cases and made the building process a little bit faster.
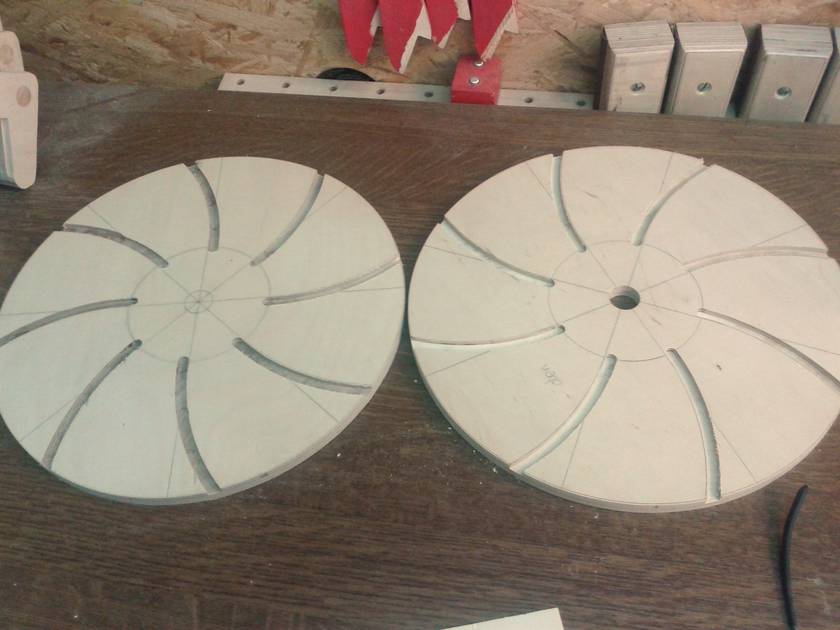
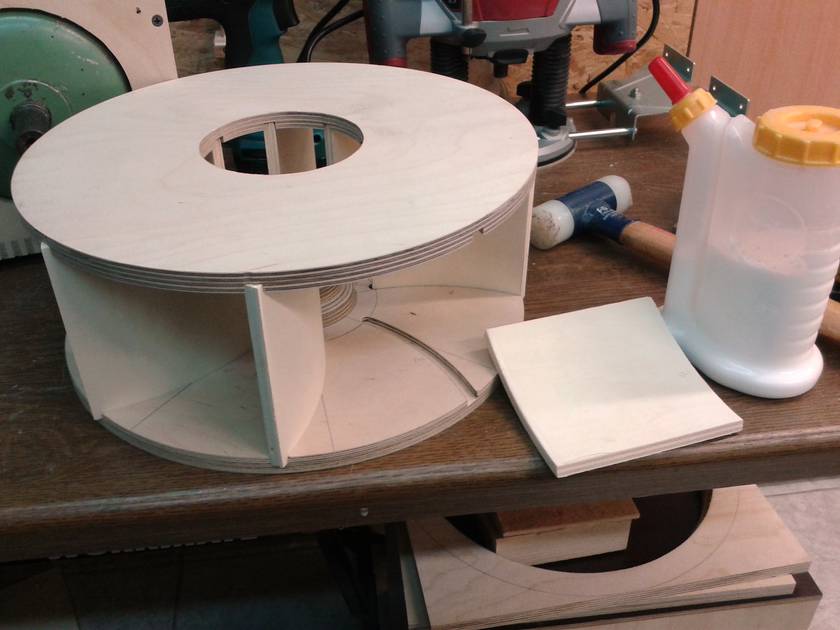
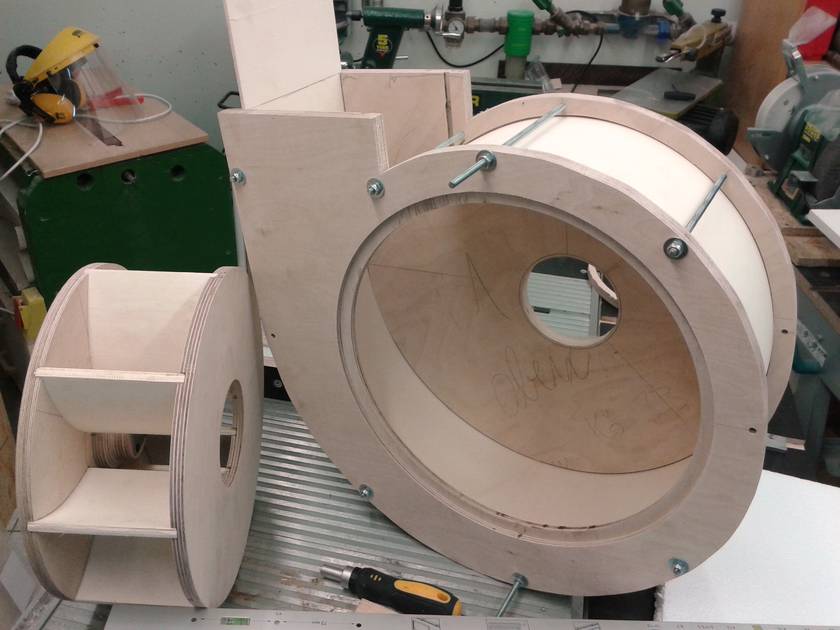
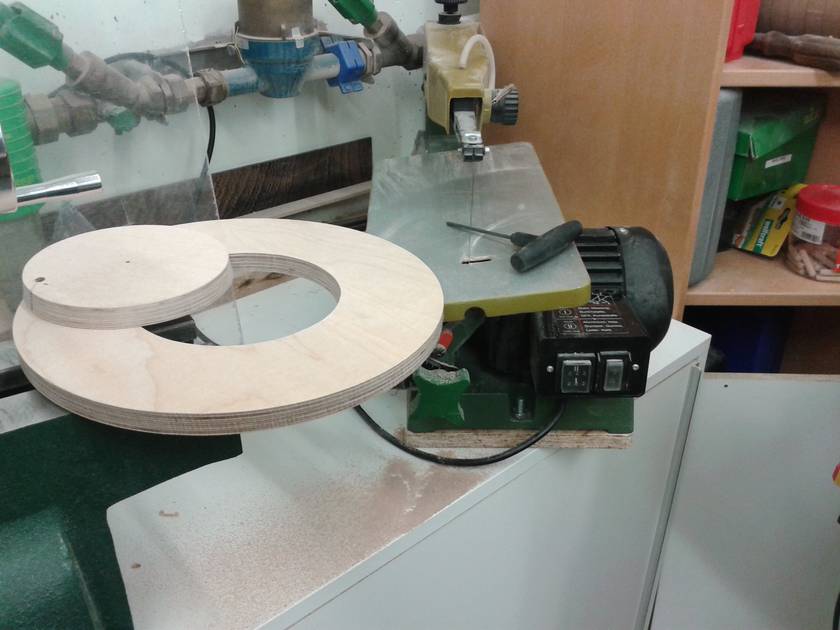
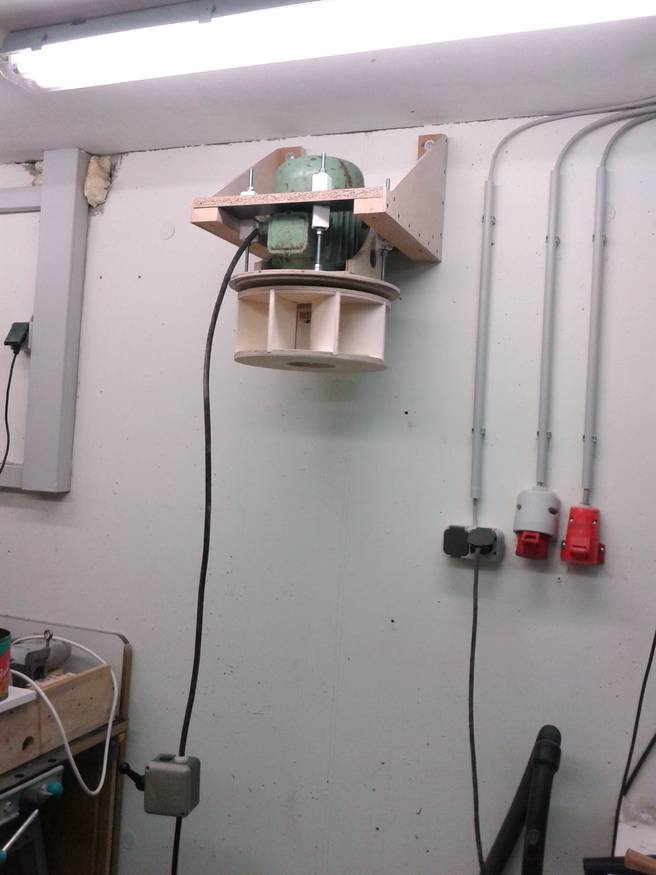
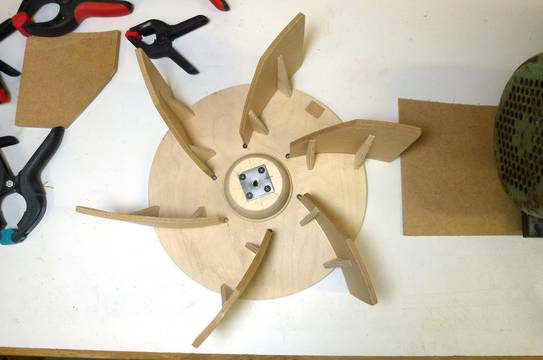
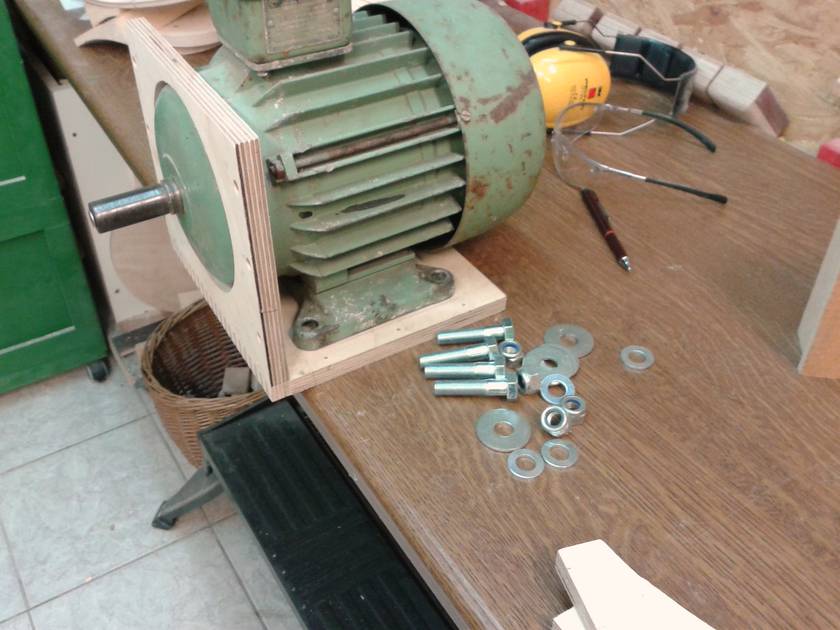 Anyways I started with a 3hp 3-phase motor with 2800 rpm that I got for
15€. And then I began by drawing the rotor in SketchUp and then made
it. Two 32cm diameter birch plywood disks with 8 8mm backward curved
grooves.
Anyways I started with a 3hp 3-phase motor with 2800 rpm that I got for
15€. And then I began by drawing the rotor in SketchUp and then made
it. Two 32cm diameter birch plywood disks with 8 8mm backward curved
grooves.
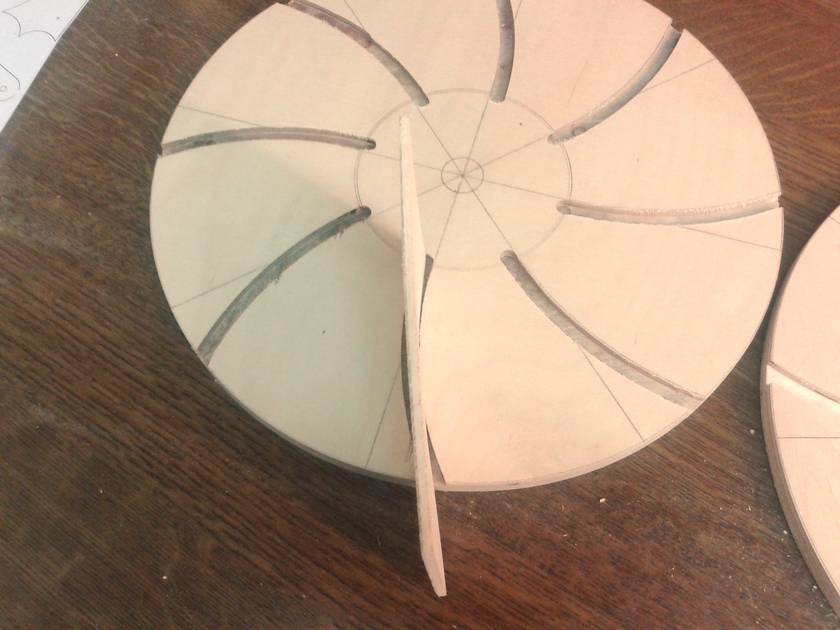
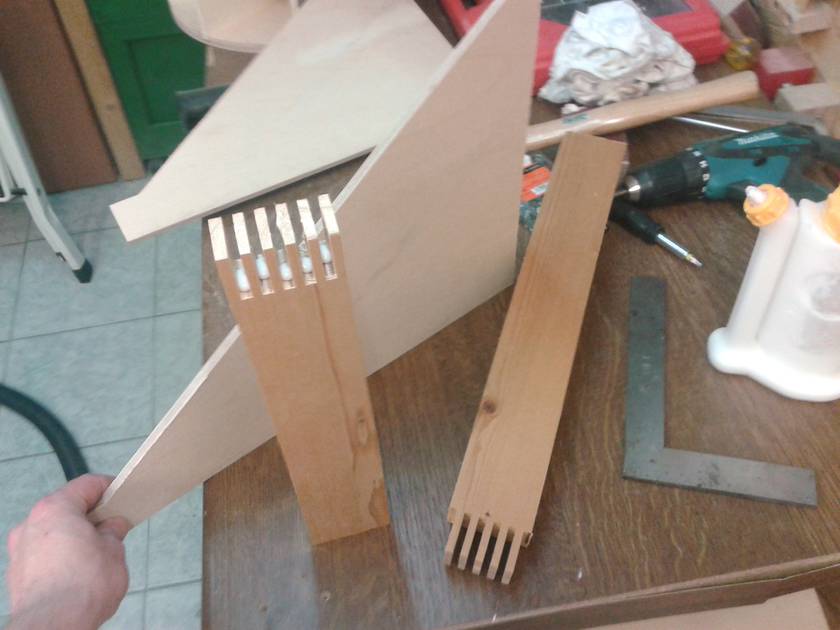
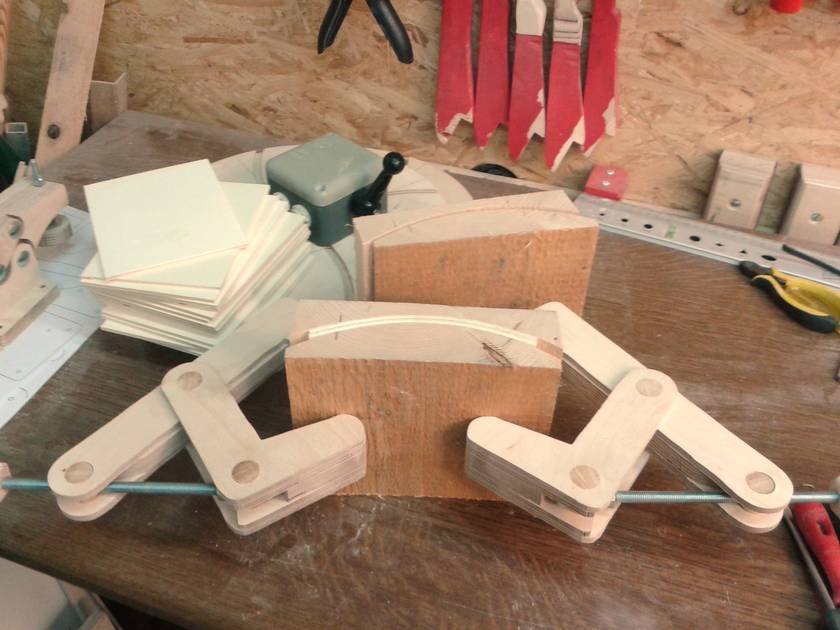 The vanes are made out of two pieces of 4mm plywood that I had
to bend with water and glue together in a form with a slightly
smaller radius than the one of the grooves to observe the spring back
when I took them out of the form.
The vanes are made out of two pieces of 4mm plywood that I had
to bend with water and glue together in a form with a slightly
smaller radius than the one of the grooves to observe the spring back
when I took them out of the form.
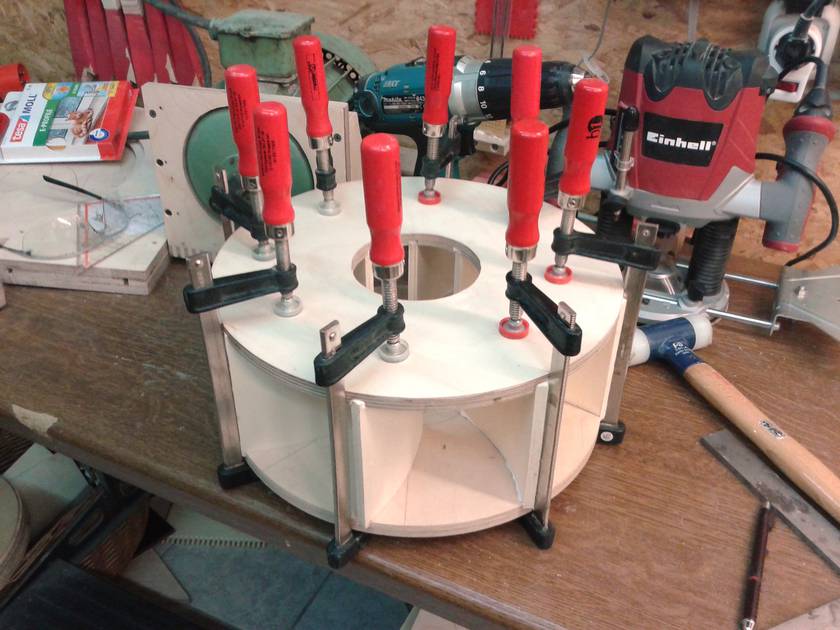
This process took about one week because I had to wait one day for the wood to dry and another day for the glue for each vane. But in the end they came out really nice without cracks or other damage.
The clamps are based these by John Heisz
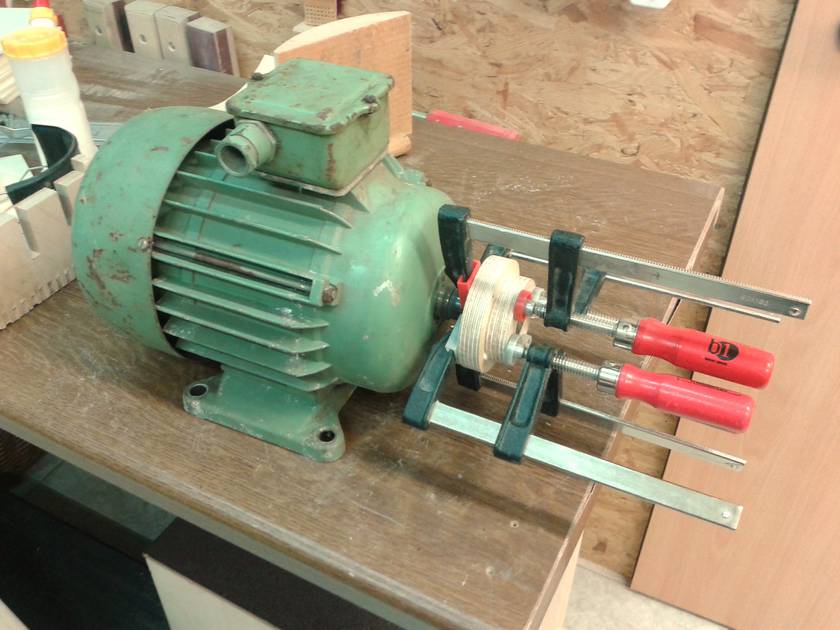
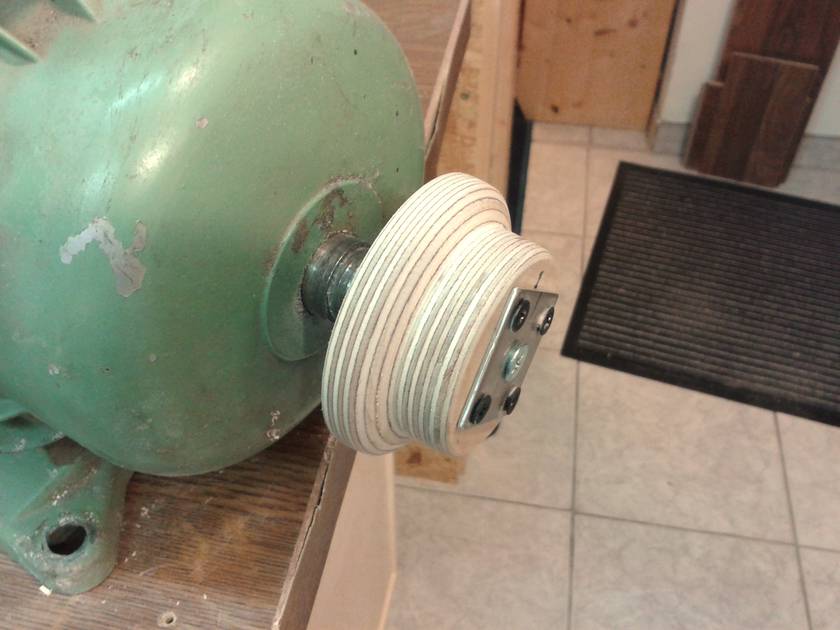
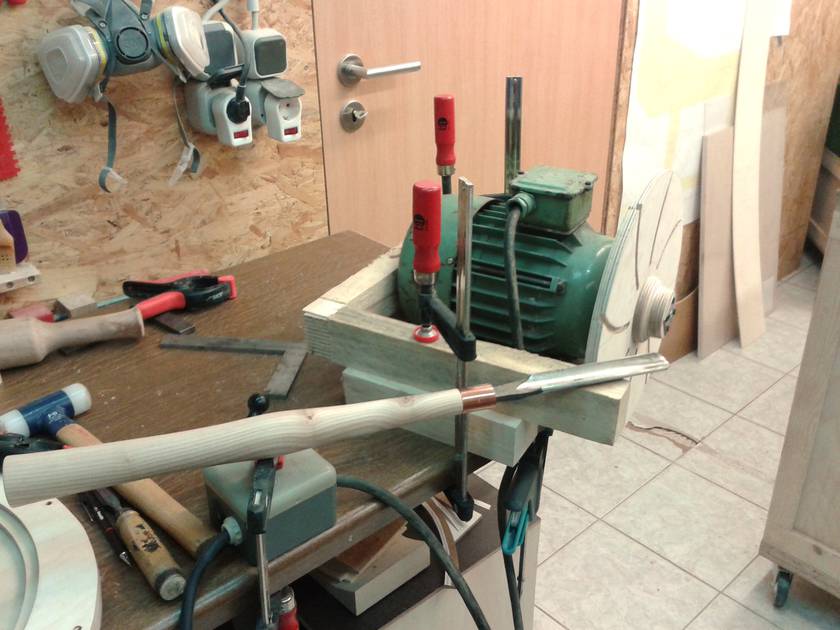
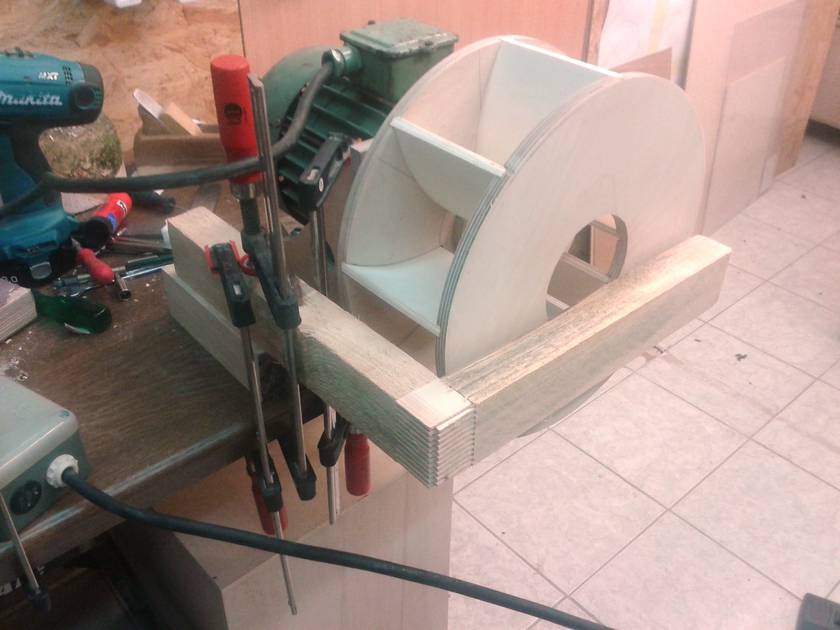
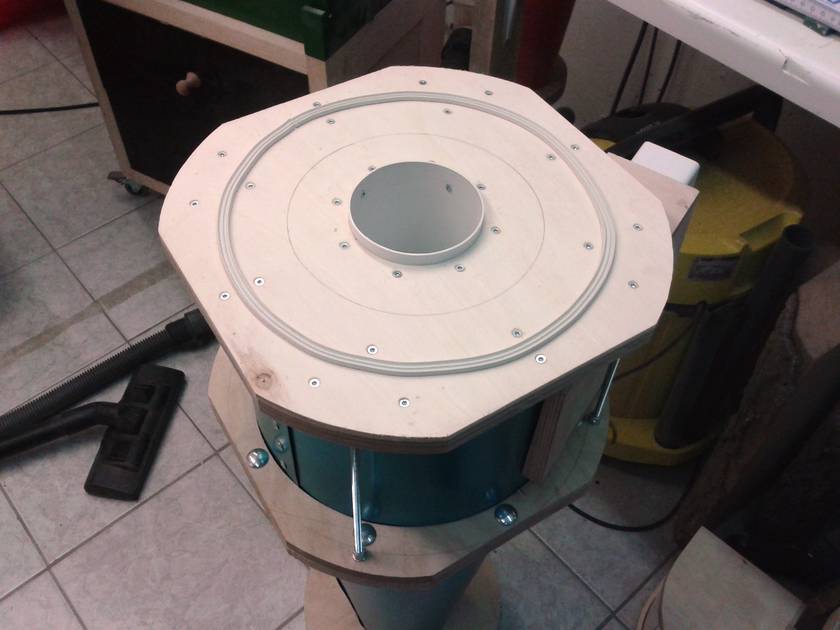
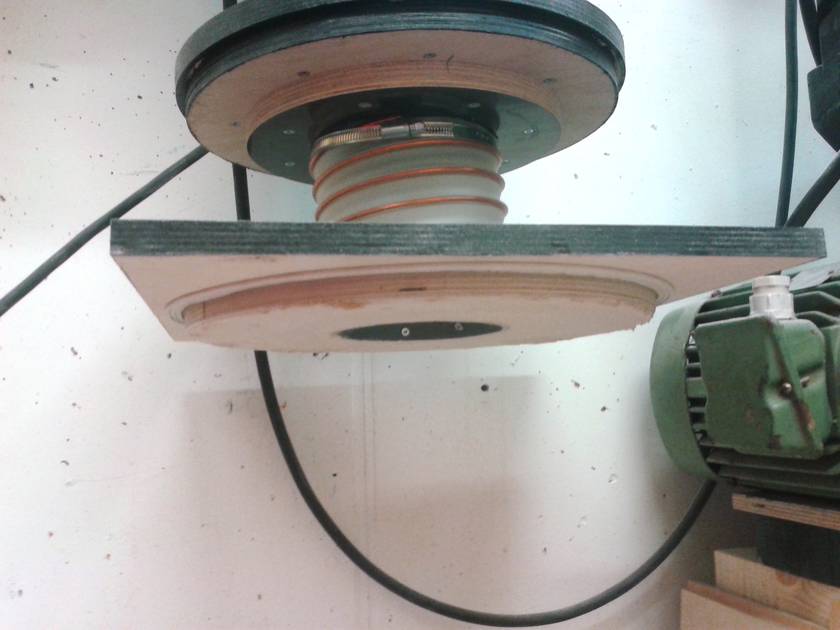
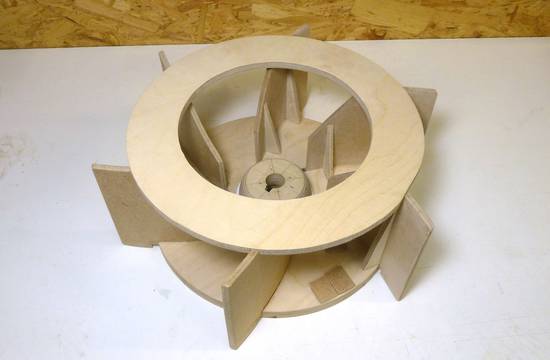
I made the mounting flange for the rotor out of birch plywood and then
turned it true in place.
The rotor is just mounted on it with screws
(I wanted to experiment with some different impeller designs)
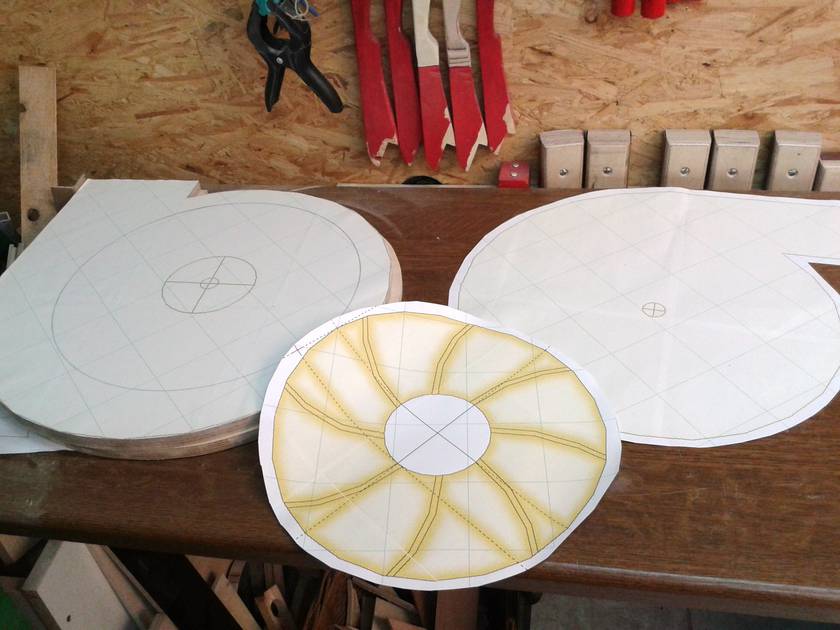
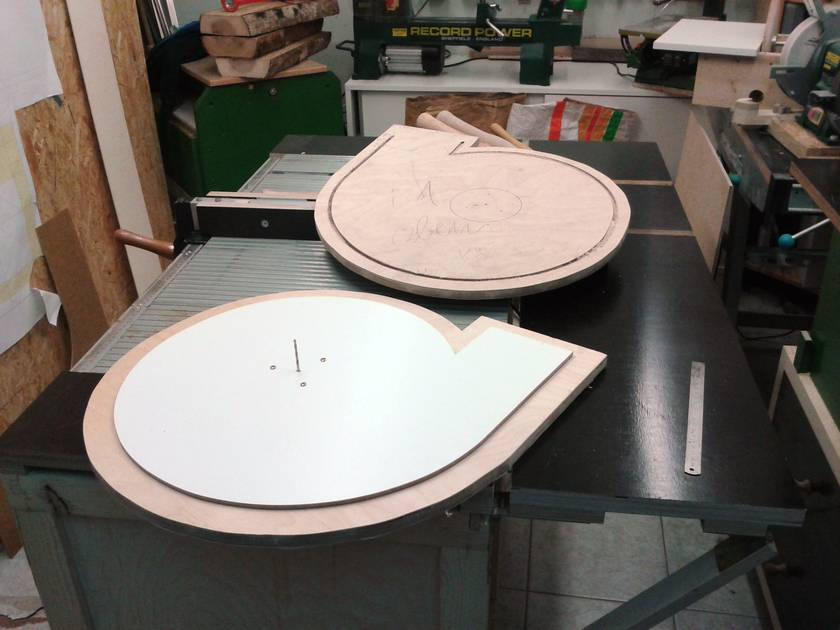
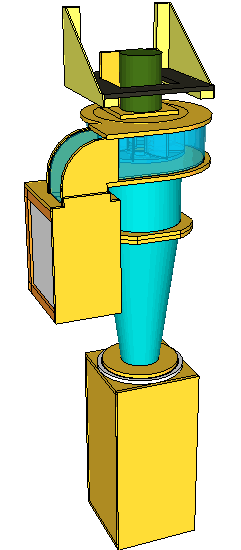
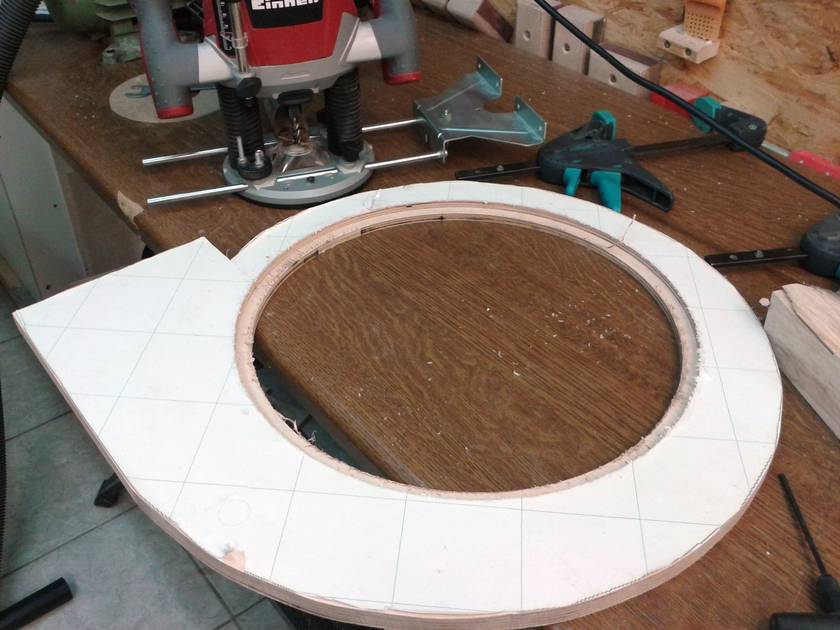
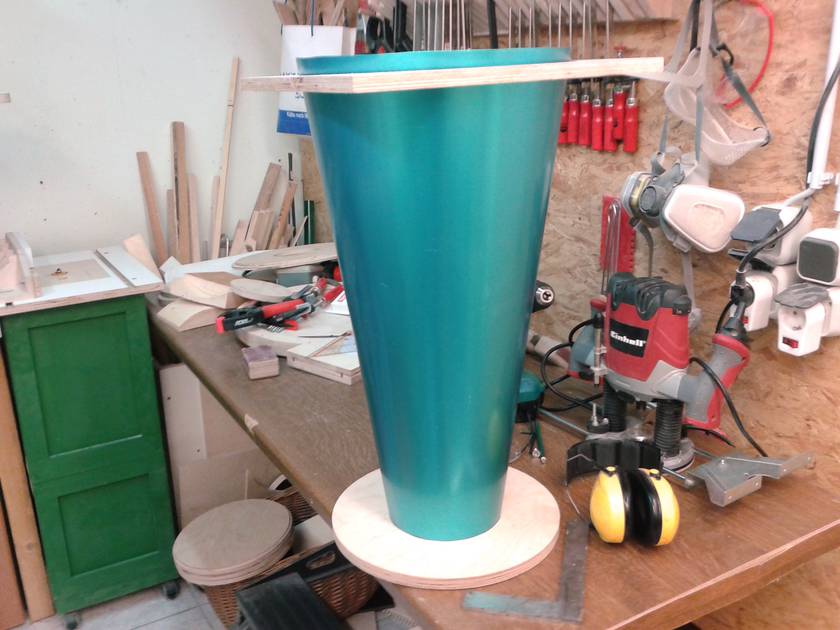
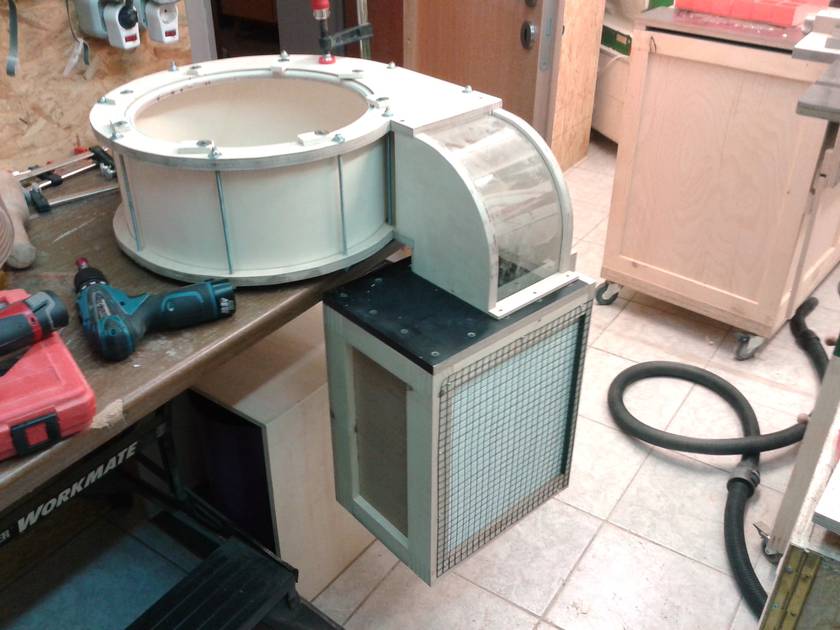
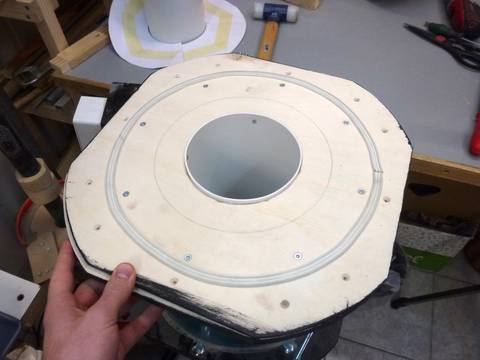
I made the blower housing, by drawing it up in SketchUp and making 1:1 templates with your BigPrint program. Actually I made every other complex shape this way and so I drew the whole dust collector in SketchUp.
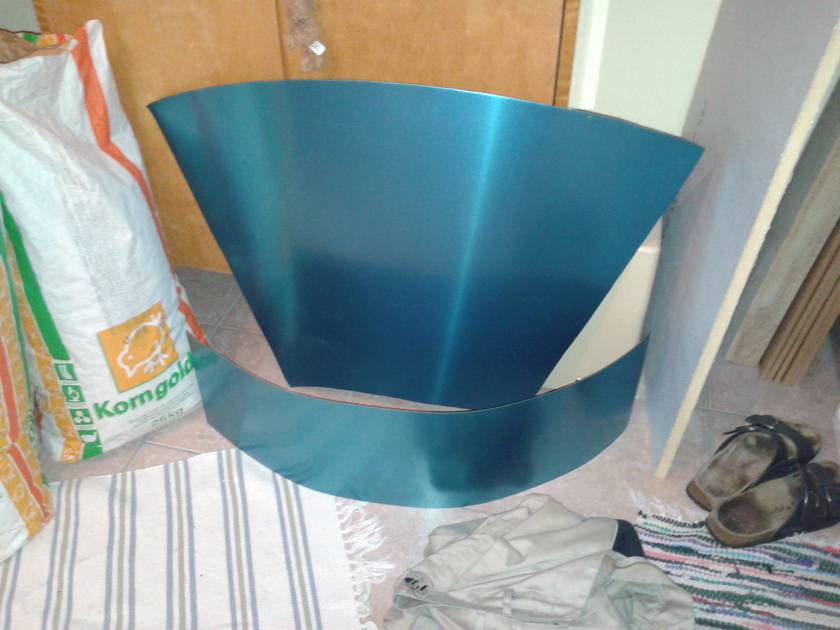
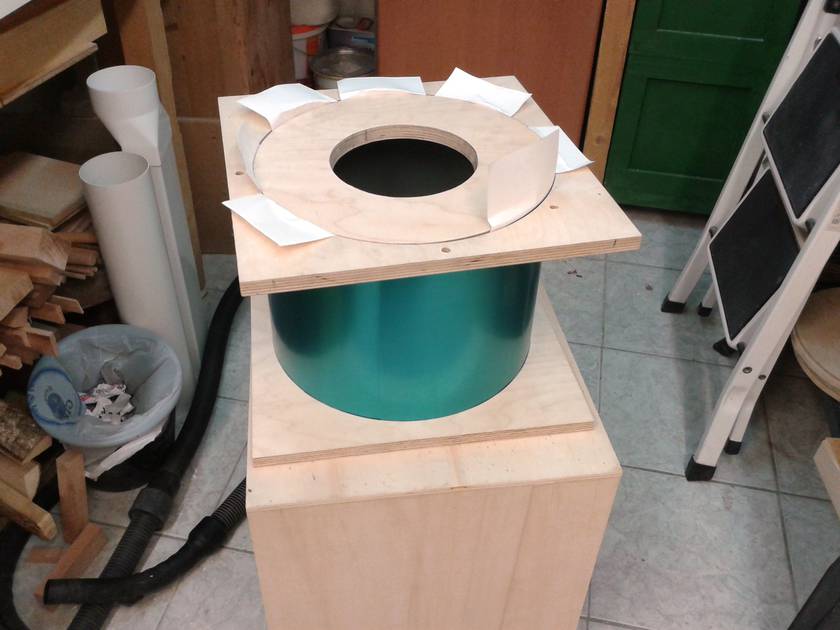
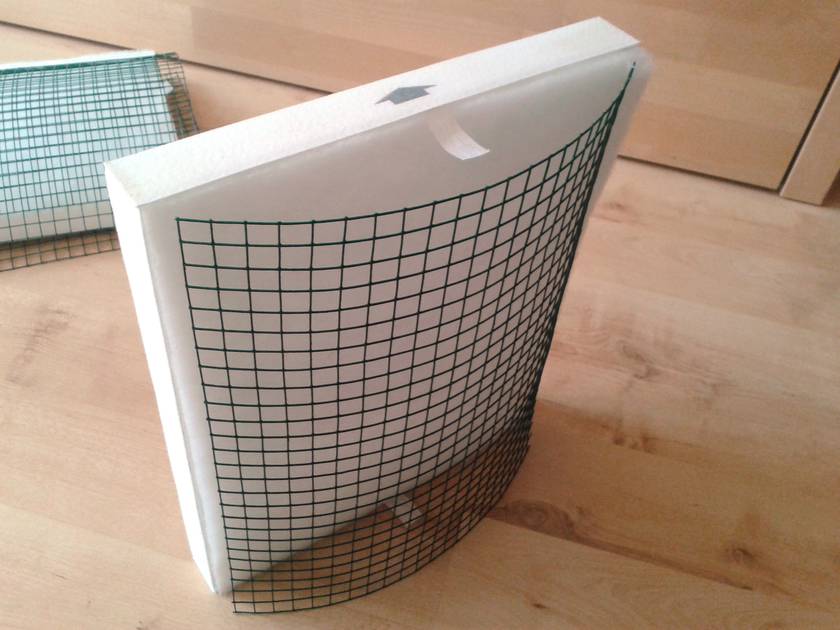
I bought the right size sheet of 0.6mm aluminum and cut it to the final shape. The assembly of the cone section was difficult and there was no time for taking a picture even with the help of my dad. But it came out really nice. It has the same size and shape as Ryzsard's. Top (cylindrical) section: 300 mm diameter, 235 mm high. Outlet: 110 mm diameter, protruding 208 mm from top. Cone: 576 mm high, 145 mm at bottom. Connection to collection bucket: 120 mm diameter. Total height of cyclone: 897 mm.
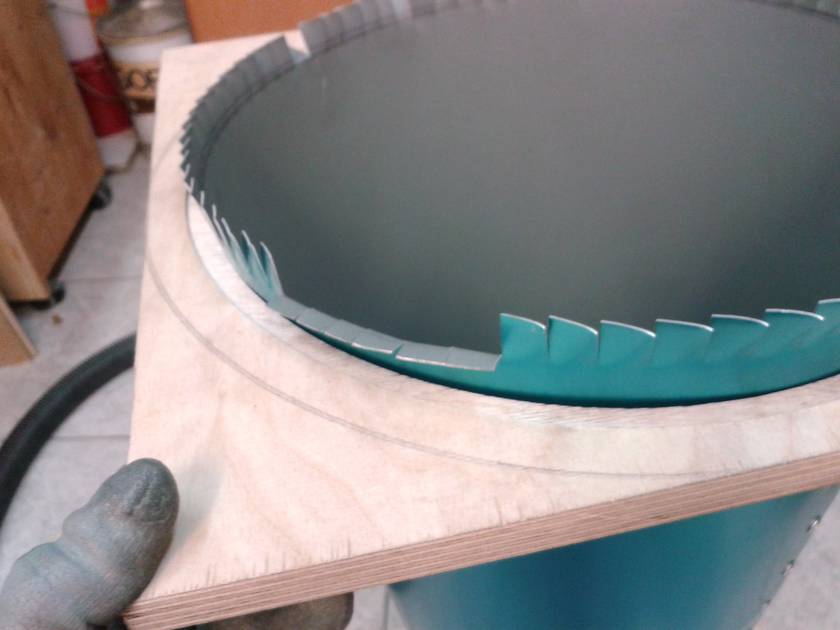
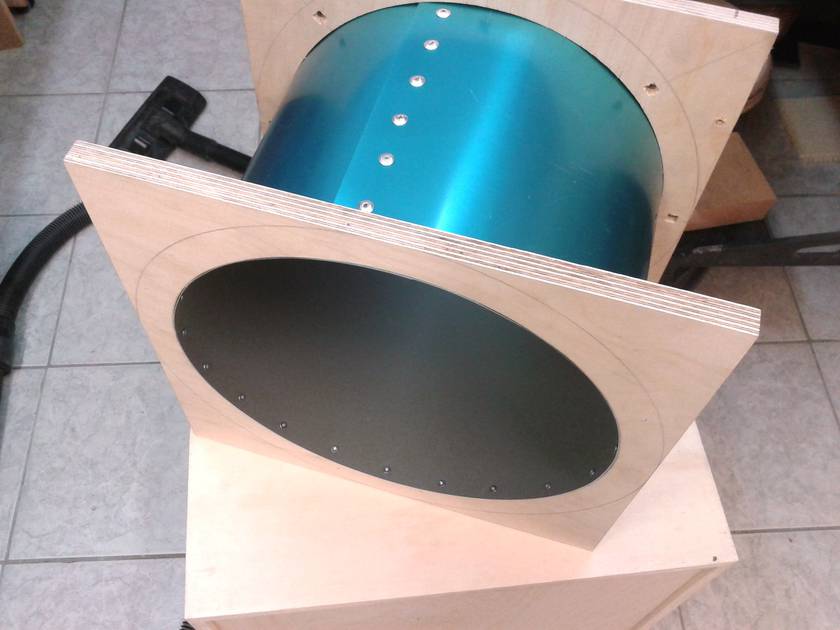
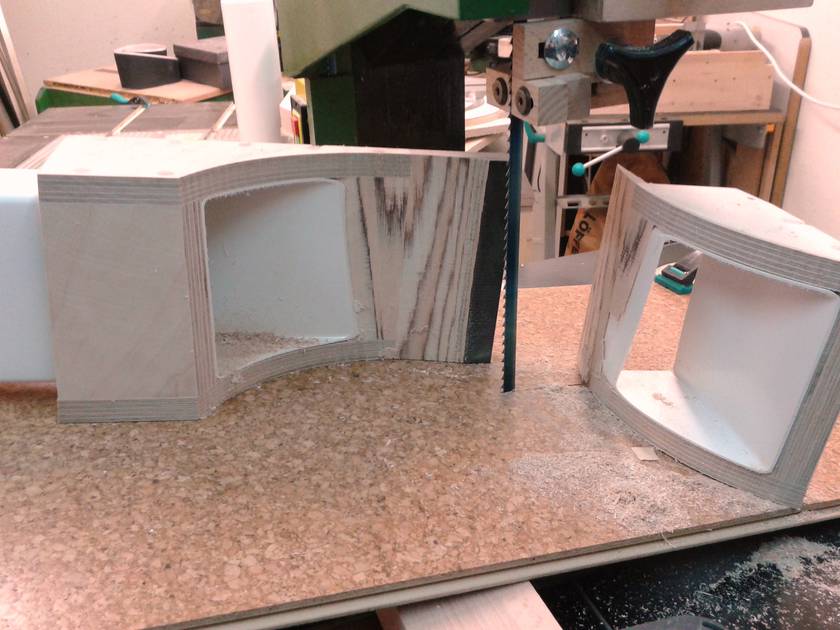
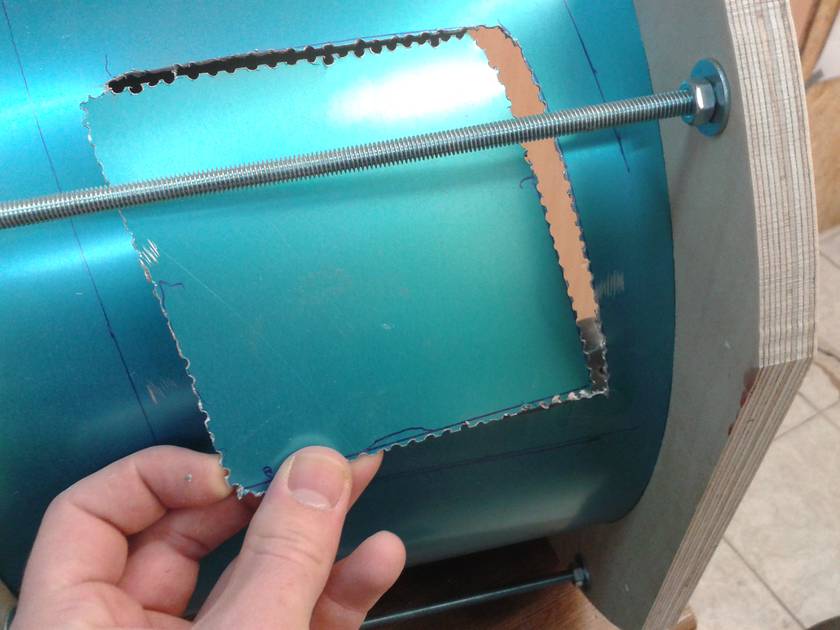
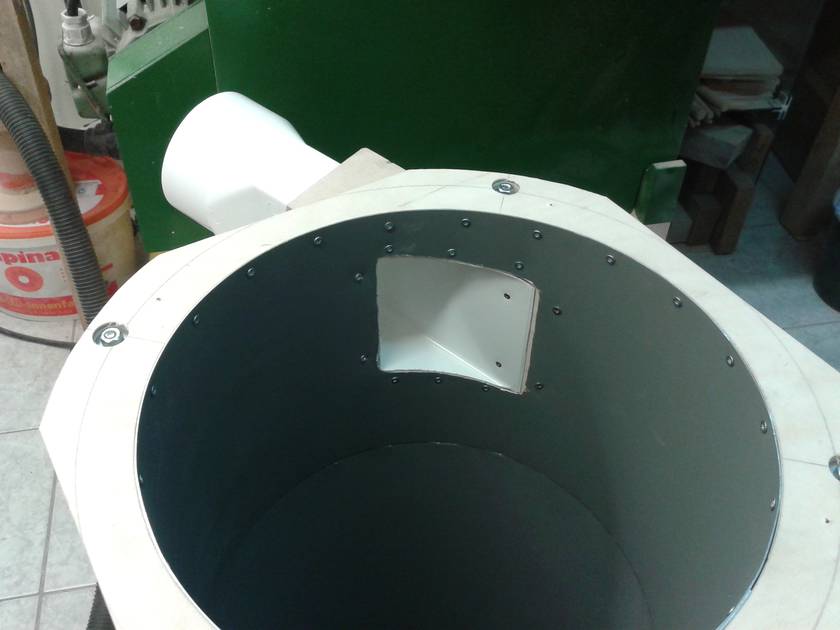
I wanted to give the cyclone inlet a little bit of a angle downwards to improve the separation. Cutting this complex round angle was a lot easier to draw than it was to make, but it worked.
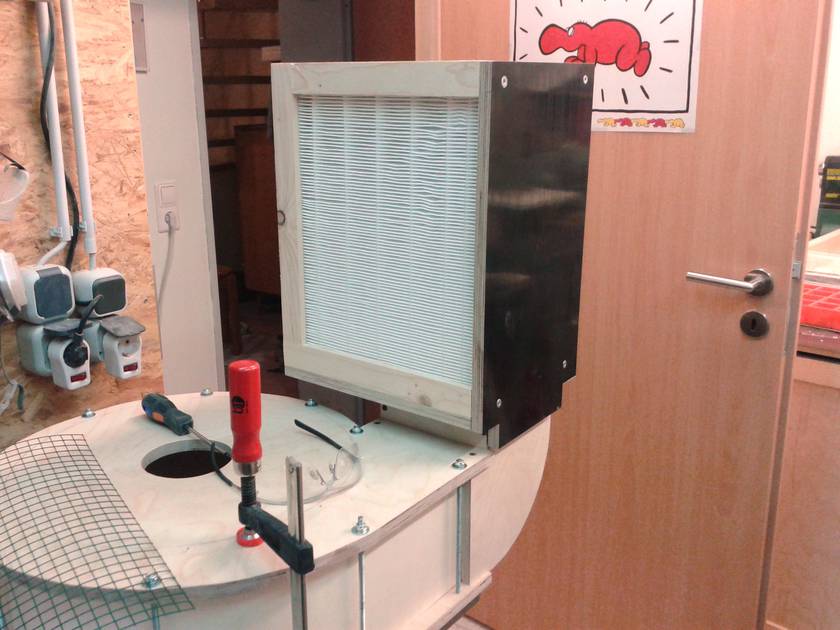
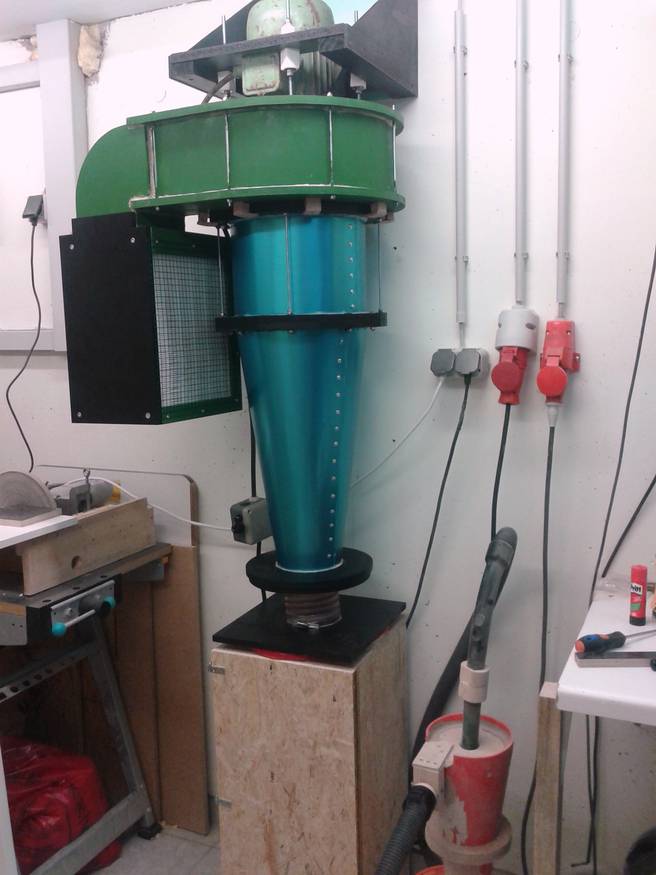
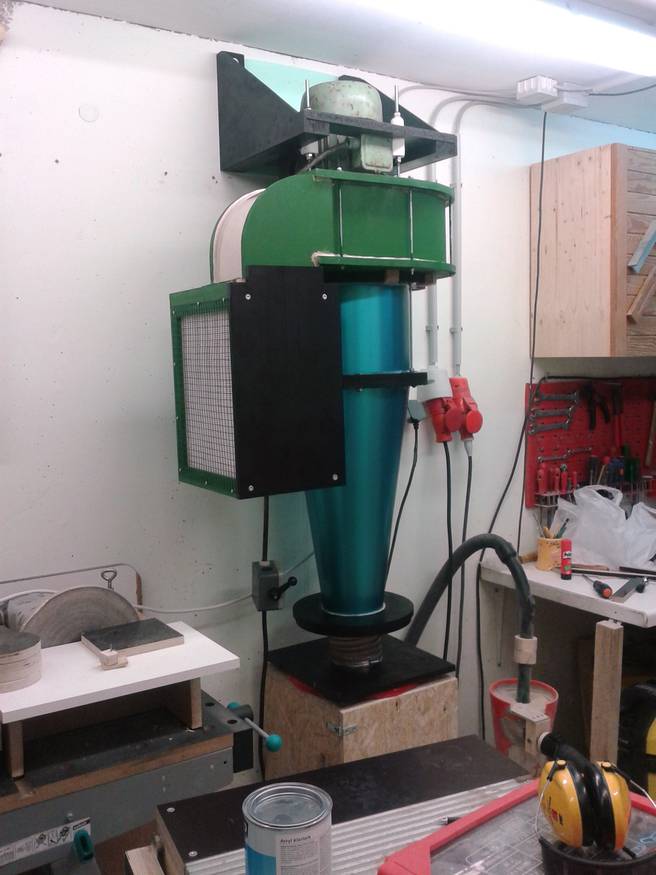
For the filters I used 2 Fellowes HEPA filters. 28cm x 33cm x 3cm, which are normally used in a commercial air cleaner. They are rated with 0.3 micron and 50€ for both was quite a good deal. I made a box for them with C-shaped frames to be able to remove them for cleaning or replacing.
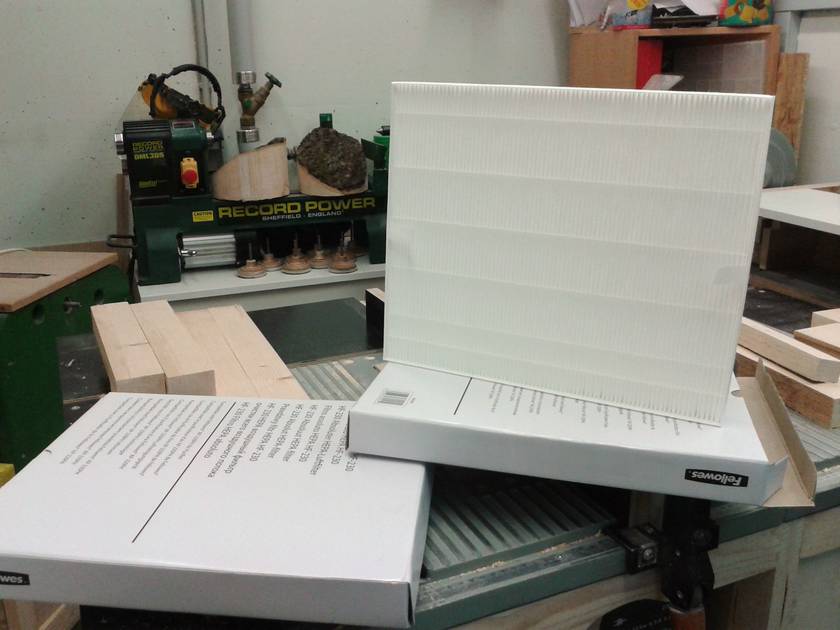
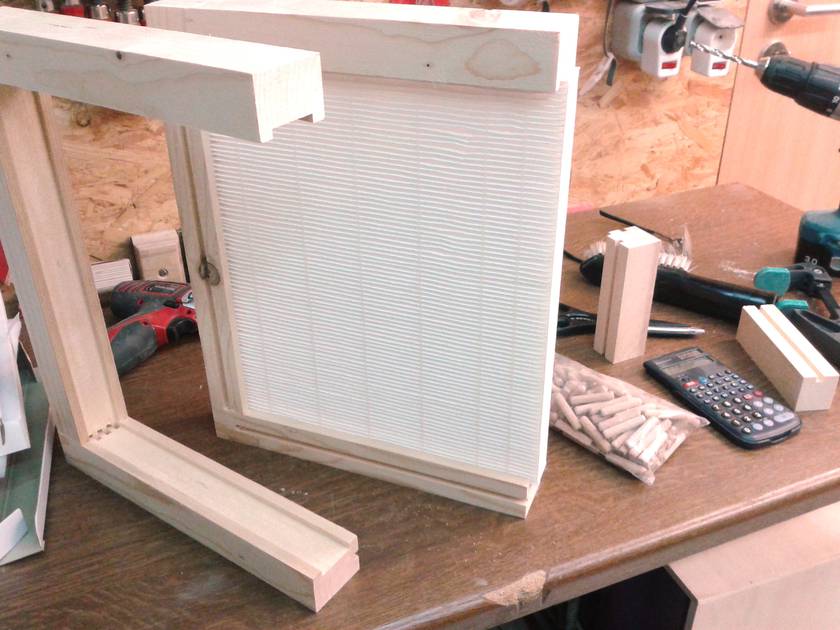
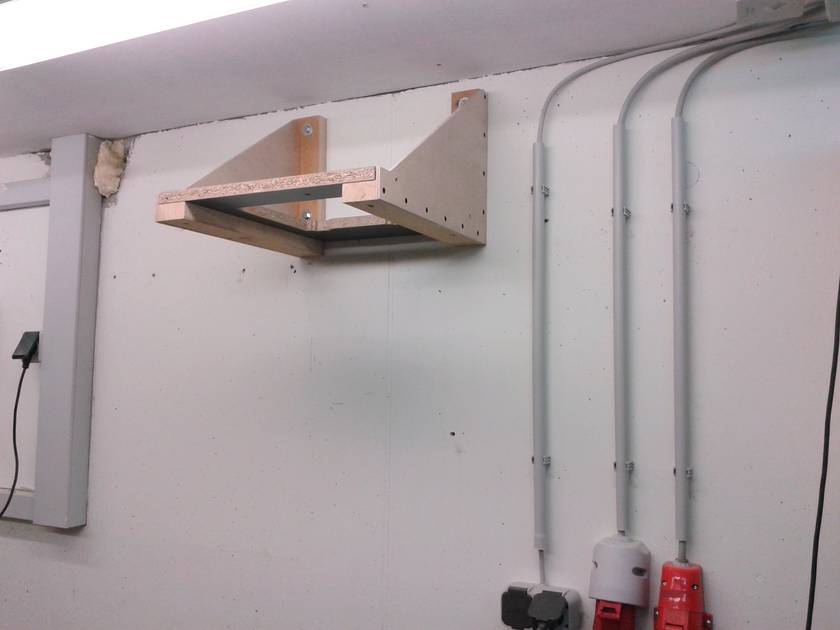
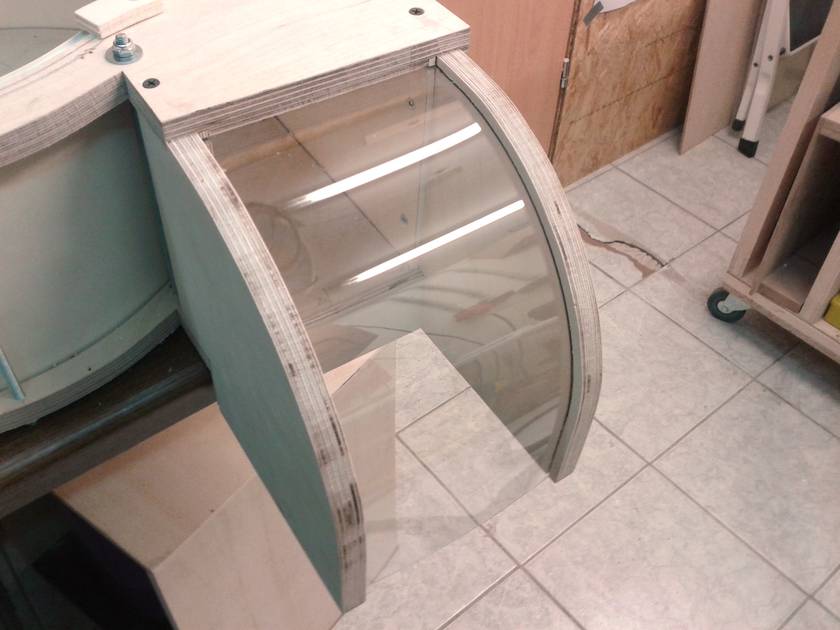
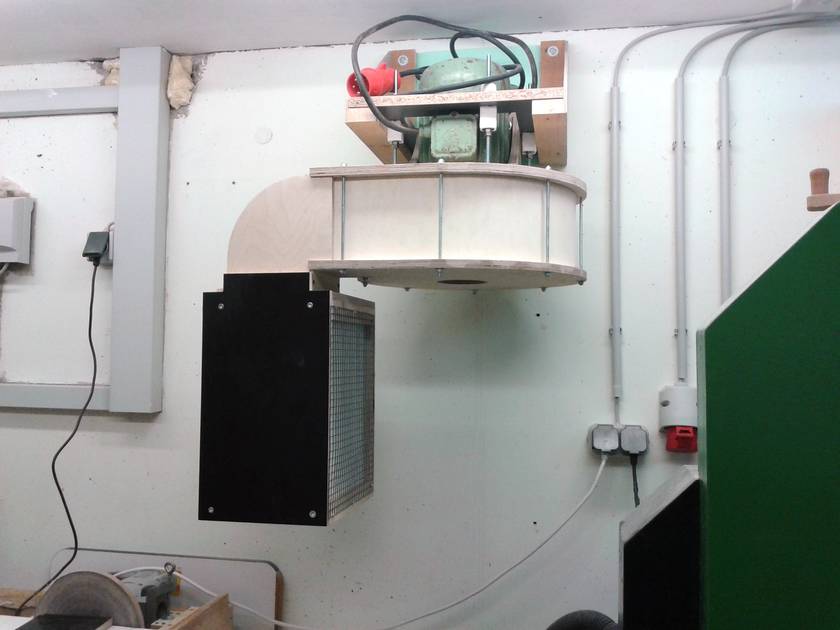
There is also a piece of felt and wire frame in front of the filters to protect them a little bit from impacts. There is also a piece of wire frame over the whole between blower and cyclone to protect the rotor from bigger stuff that might pass the cyclone. (no problems so far) The 90° angle is made with Plexiglas to give me a view inside the filter box. The whole thing is connected to the blower and it all hangs from the wall. The cyclone is also attached to the blower with some wooden clips.


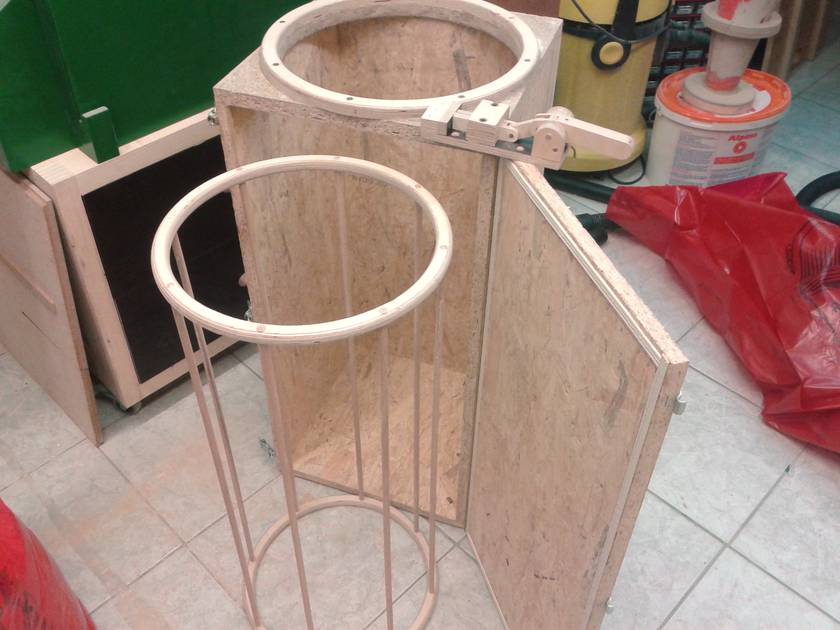
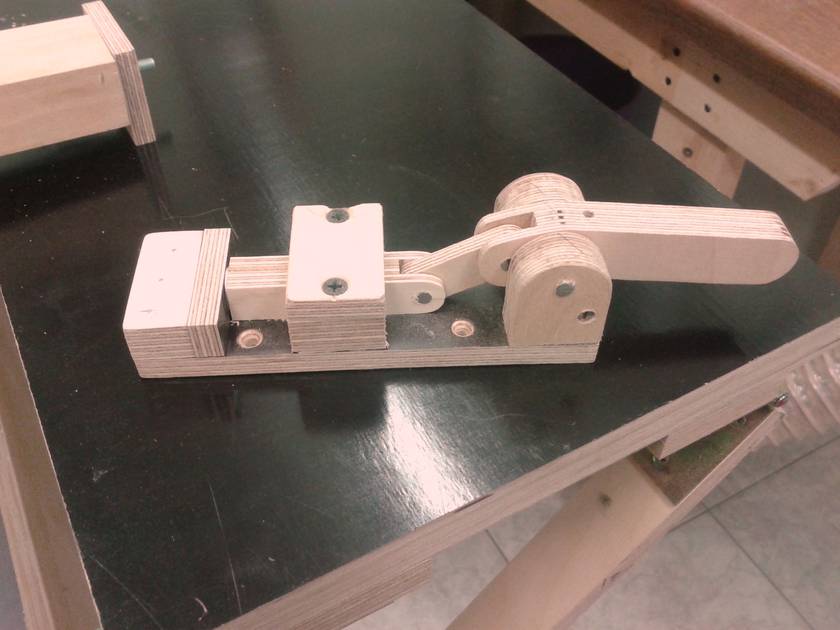
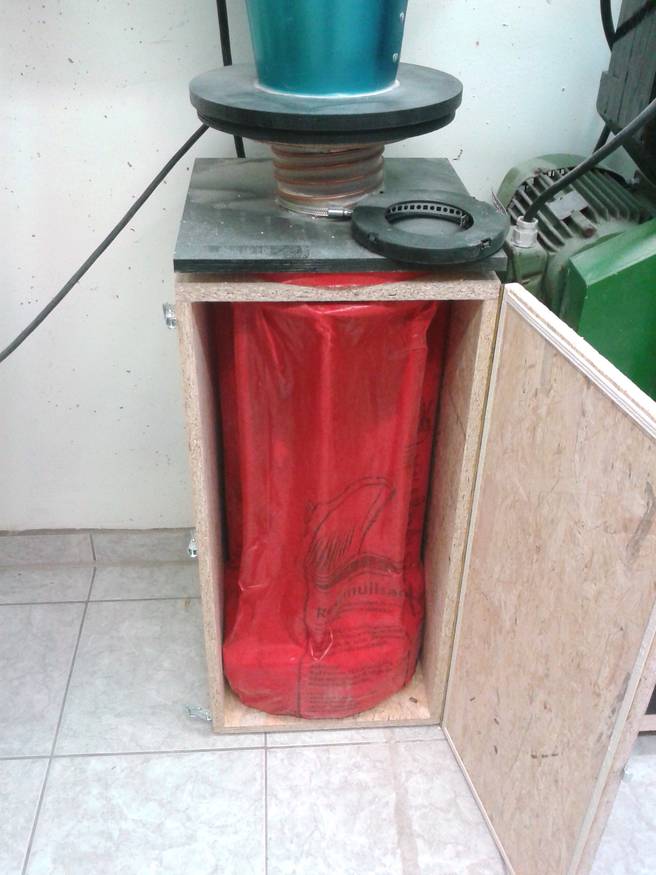
Then I made a wooden dust bin out of some sanded OSB. It is the perfect size to fit a standard 80 liter plastic trash bag. You have to pay 2.50€ per bag but this covers the garbage collection fee. To prevent the bag from being sucked up into the cyclone I designed a special low profile toggle clamp. It worked, but the bag was still sucked empty and the dust couldn't fall into it. So I made something to hold the bag open and it works great.. But unfortunately I now have no use for the nice little clamp I made. What's really nice about this homemade dust bin is that it's really easy to empty it and change the bag.
 Matthias comments:
The bag at the bottom of a cyclone getting deflated is a common problem, and
a wooden cage fixes that.
On a commercial dust collector, I have seen a hose connecting the outside of the box
with the bag in it to the dust collector input. That way, there is more vacuum
around the bag than inside the bag, and the bag will not deflate.
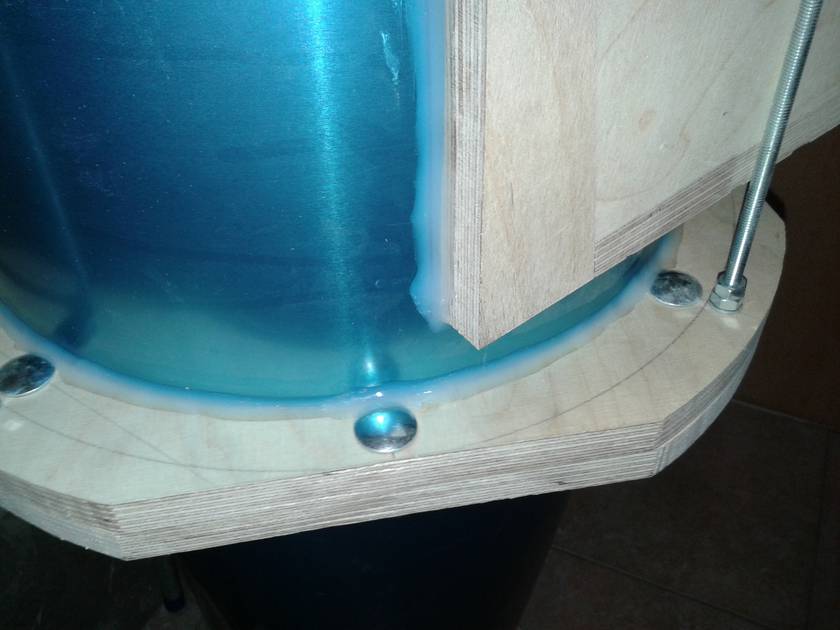
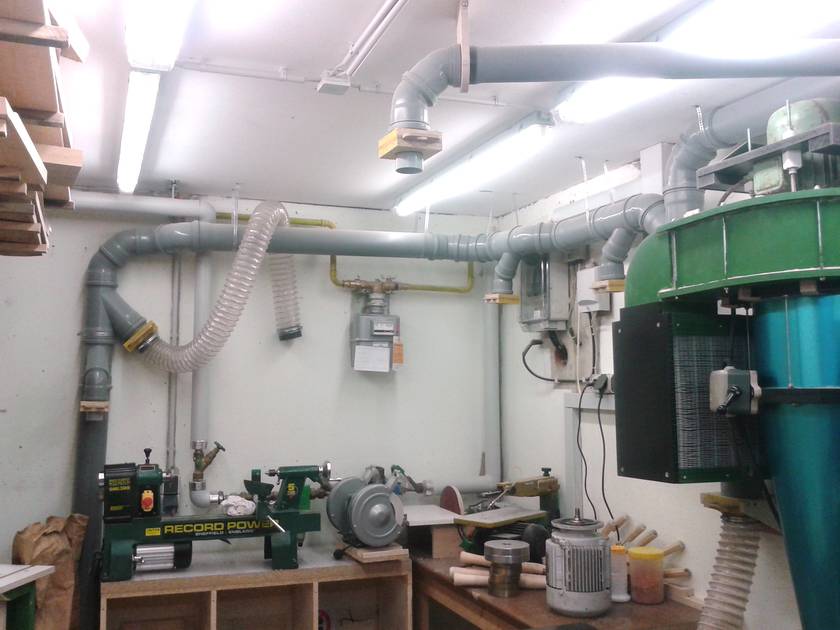
After disassembling, painting and reassembling, I sealed most parts with silicone and the movable parts with some self adhesive sealing tape.
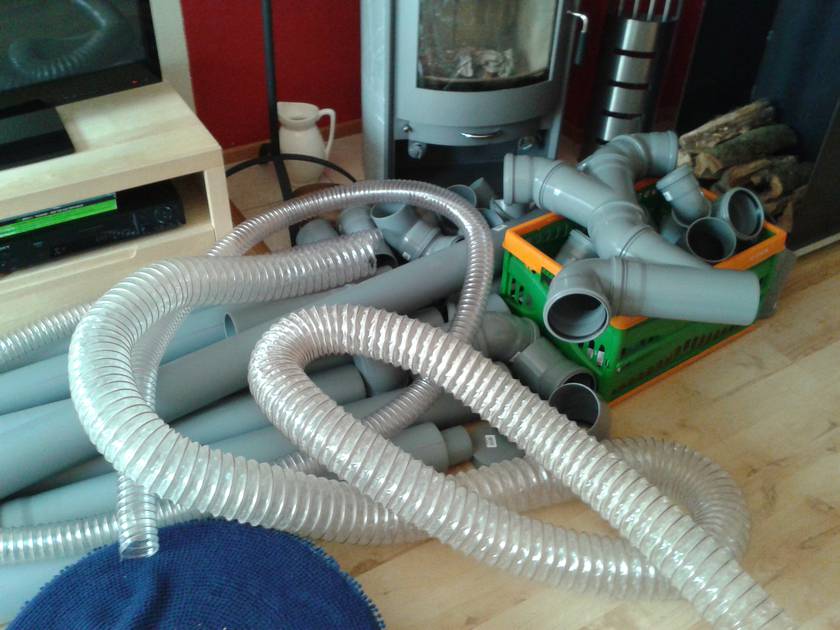
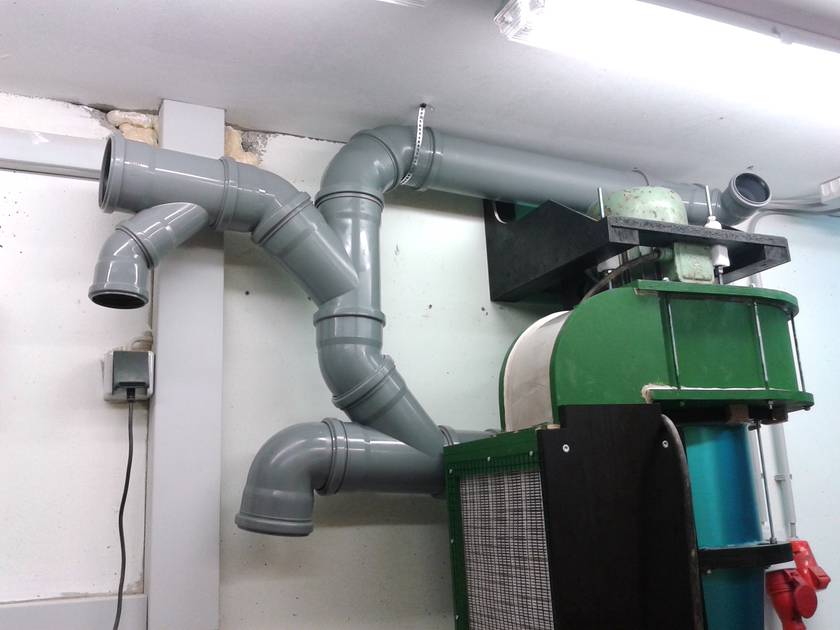
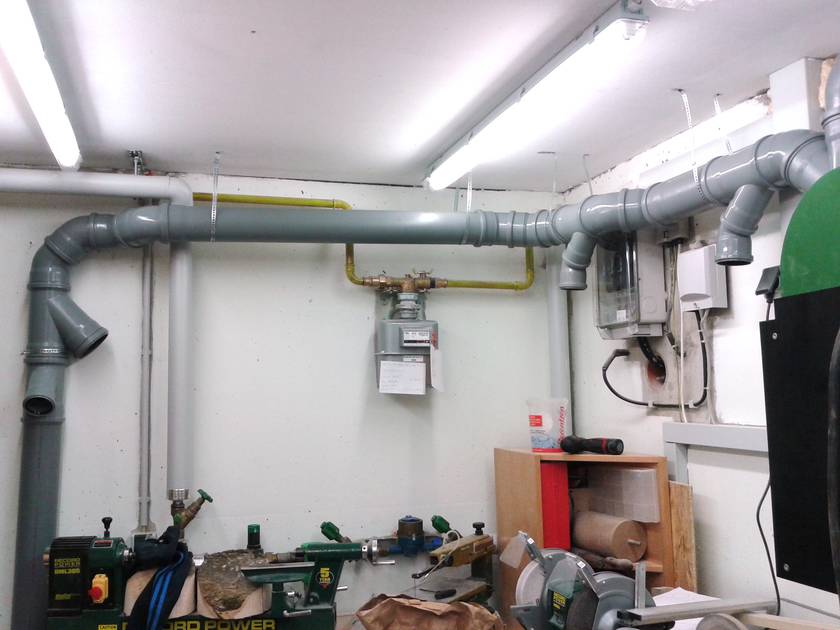
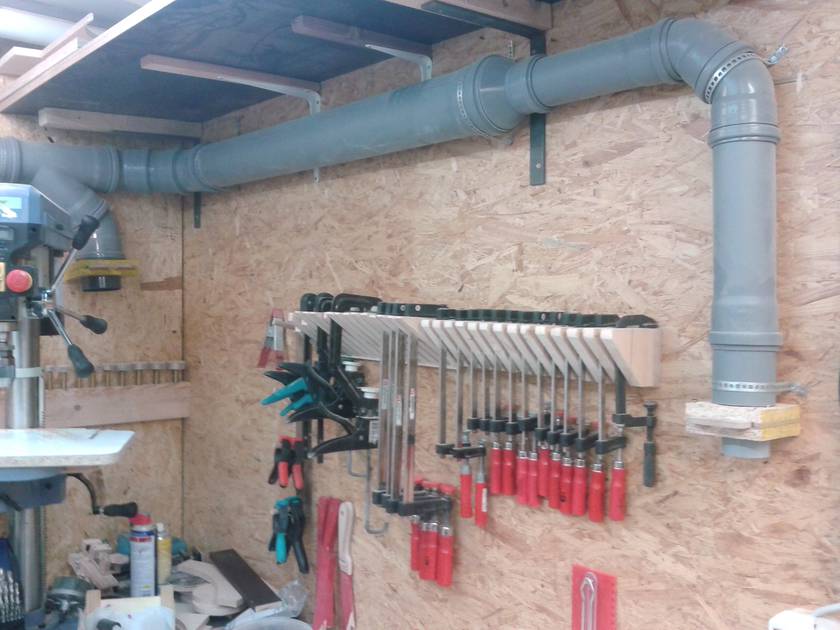
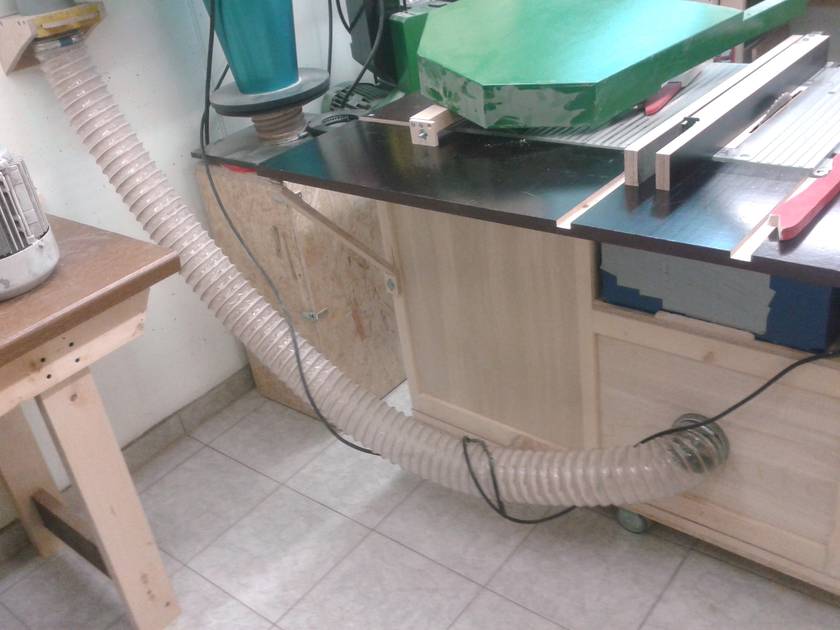
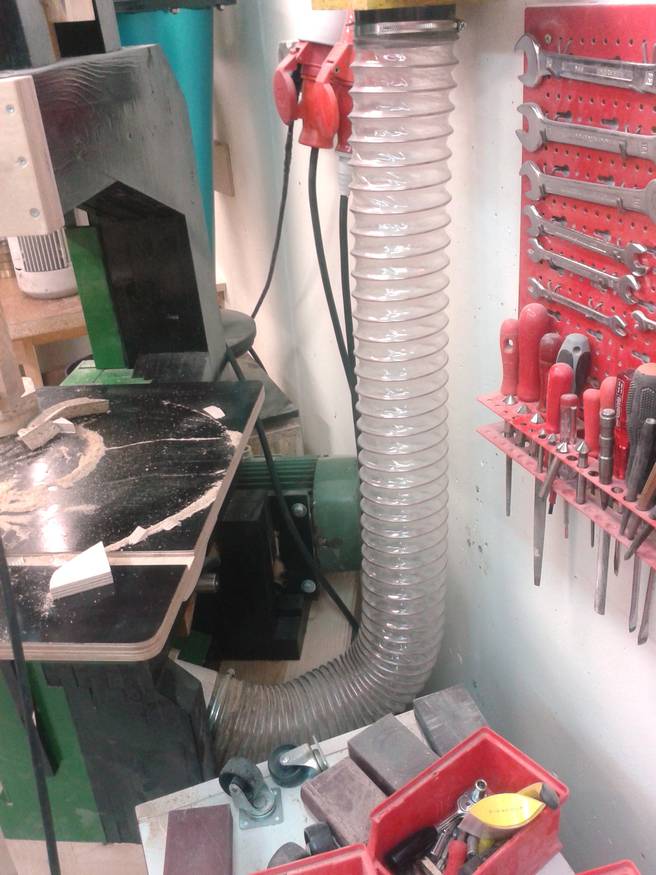
After that it was time for plumbing. Because my shop is very small that was a bit tricky. Now I have five 100mm connections for the table saw, bandsaw, drill press, a future floor sweep near the lathe and a movable hose for the lathe and the homemade drum sander. And five 60mm connections for the scrollsaw, a future guard over the tablesaw, a future homemade disk / belt sander, the router table and one to vacuum the floor or for handheld power tools. Everything has it's own homemade blast gate, which work just fine. So now every dusty tool is connected to the dust collector, still movable, but no hose or pipe lies on the floor.
So far it works great and what's really nice about it is that it has a 3-phase motor. A 3-phase motor has a really high starting torque and speeds the rotor up in just half a second. So there is no excuse for not turning it on when doing anything. It maybe is a bit big for my shop and could handle a much bigger shop than mine with no problem, but I'm really happy to have it now. My shop and especially the air inside it stay a lot cleaner now.
The filters do a great job. I can only recommend them. It's also a lot quieter than the ShopVac. And it also was a lot of fun to build this thing in about 6 weeks. In the end, together with plumbing and hoses, it all cost about 400€ and that's not too bad if you compare it with a commercial one. I actually saw just a 3hp blower for purchase for 800€. My only dislike about it is that it doesn't perform as good as it could right now. I think I made the impeller too efficient. Even a 1.5hp motor would be powerful enough. But I already drew a more aggressive impeller, very similar to one that is used in a Clear Vue.
Marius
That was July 2014. in November, Marius sent an update
The video is in two parts. Click here for part 2
I made some improvements to my homemade dust collector:
First I made a new, bigger and more aggressive impeller. And with it I now have about twice the suction that I had before. I had some trouble to get it strong enough and it broke apart two times when I tested it. And to fix that I had to add the wooden ring on top.
Unfortunately it makes a lot more noise than before. In fact it is so loud that I decided to use the other impeller again. So I guess I have to make a new blower housing as well some day...
Matthias comments:
My recommendation is to make the impeller as efficient as possible (with
highly backward curved blades). That way, for the same power of motor,
you can make it much bigger. Given that the motor is 3000 RPM and 3 horsepower,
I would try building an impeller 50 cm in diameter, but only 10 cm thick.
The closer the blades get to the housing, the louder it gets. With the oversized impeller in the housing, I would expect it to be much louder than before.
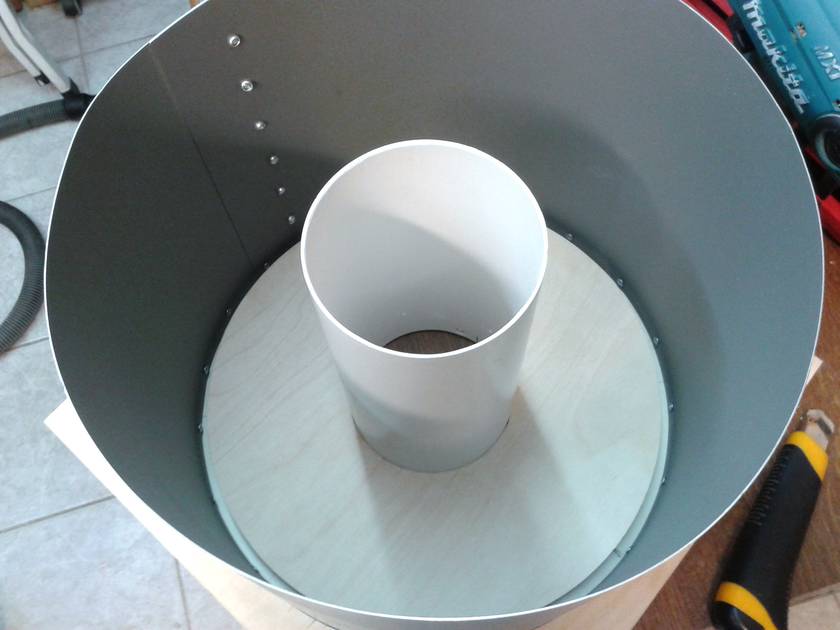
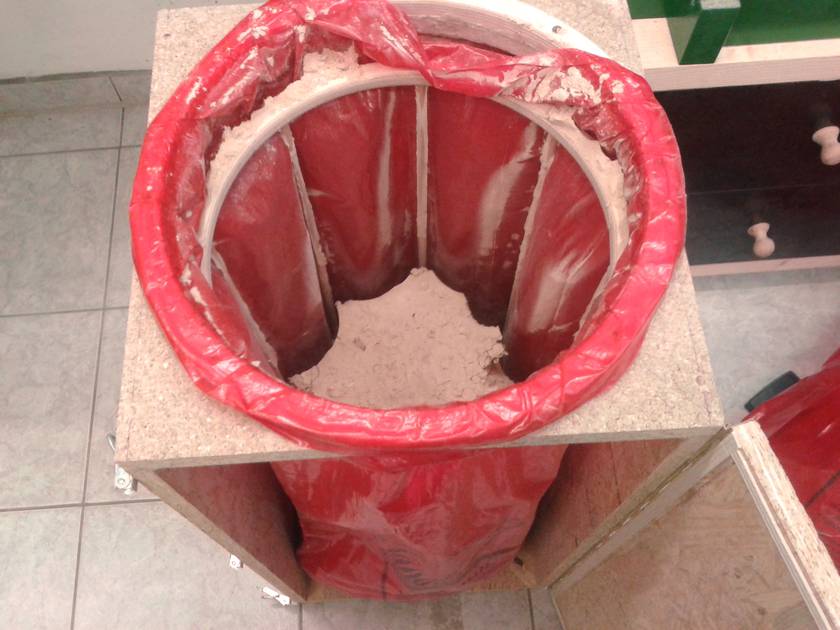
Next I changed the cyclone outlet to a larger diameter pipe.
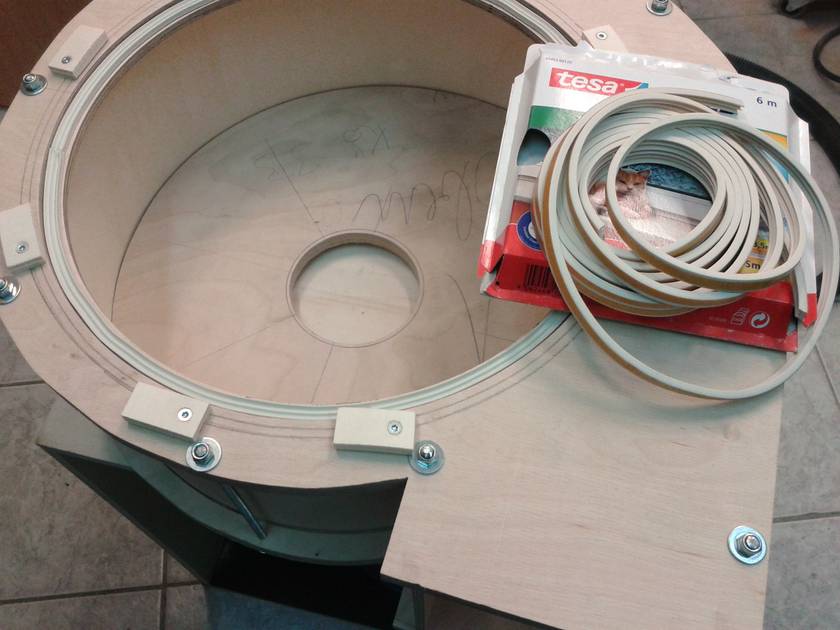
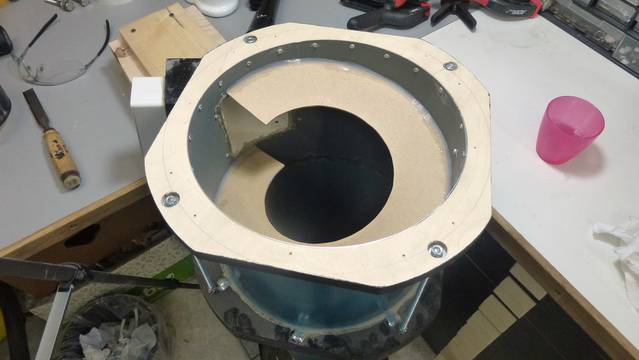 I also wanted to have a inner structure that you see on all the
commercial ones like the Clear Vue. So I tried to make a spiral out of
MDF and surprisingly that worked really well and wasn't difficult at
all. Probably not the best method of doing that, but the simplest.
I also wanted to have a inner structure that you see on all the
commercial ones like the Clear Vue. So I tried to make a spiral out of
MDF and surprisingly that worked really well and wasn't difficult at
all. Probably not the best method of doing that, but the simplest.
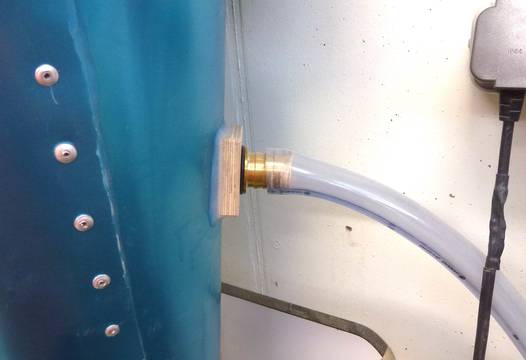
And at last I added a hose to connect the outside of the collection chamber with the cyclone, so that there is vacuum around the bag as wellto prevent it from being deflated by the suction. Unfortunately it didn't work as well as I expected, but I also didn't want to spend more time on it, because I needed the dust collector working again.

Matthias comments:
I have seen this sort of hose on commercial units. Ideally, the hose connects
right at the cyclone outlet, where vacuum is greatest. Having a good seal
around the box with the collection bag in it is also important.
Marius also sent links to videos about his homemade drum thickness sander:
 Marius's bandsaw
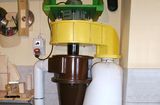 Ryszard's dust collector
 More on dust collectors
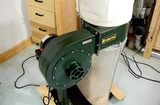 Cheap dust collector
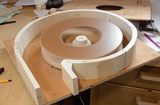 Blower design