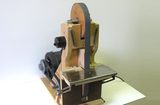
John Heisz sent me some pictures of his homemade disk sander.
John writes:
"I built most of it yesterday afternoon.
I gave the build details a lot of thought before starting and did some rudimentary drawings with SketchUp.
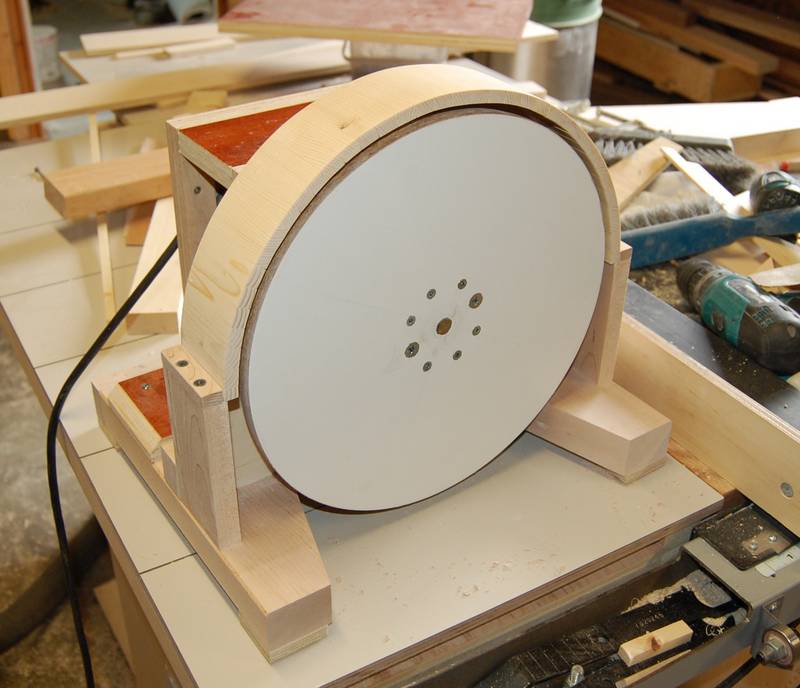
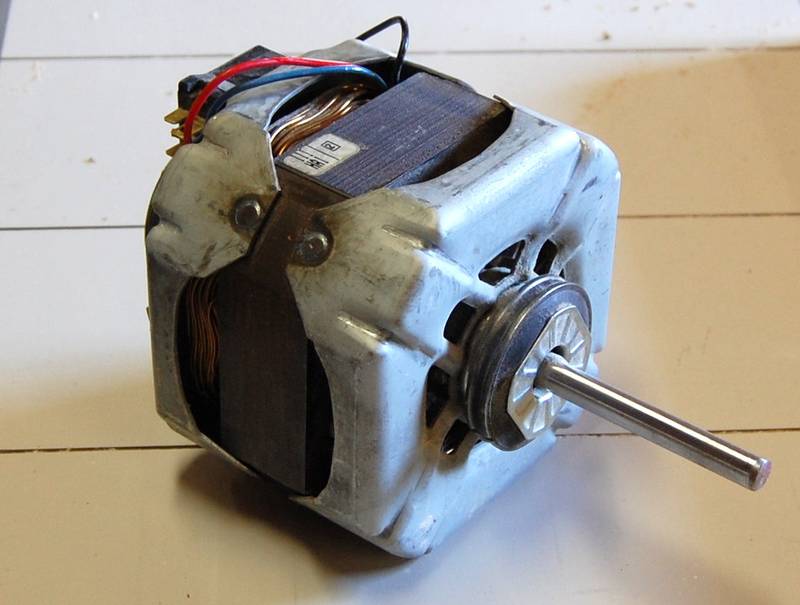 The motor is one of the 1hp treadmill motors I bought at Princess Auto.
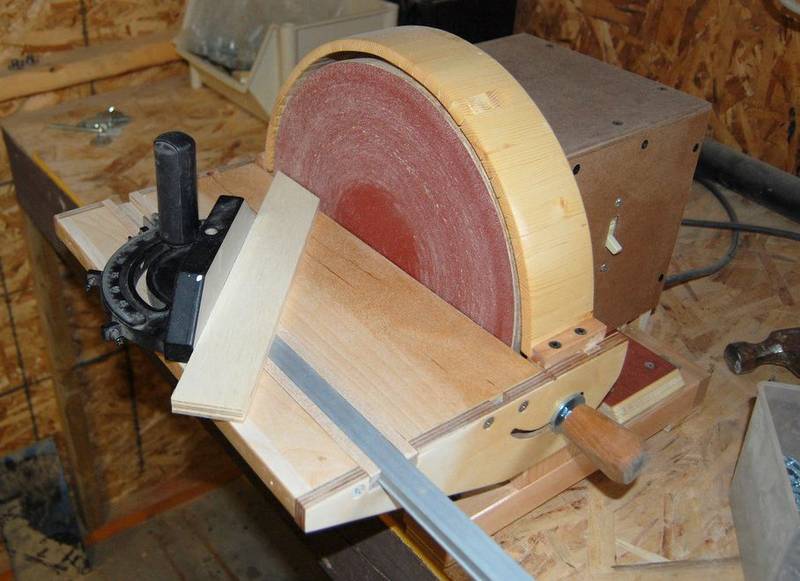
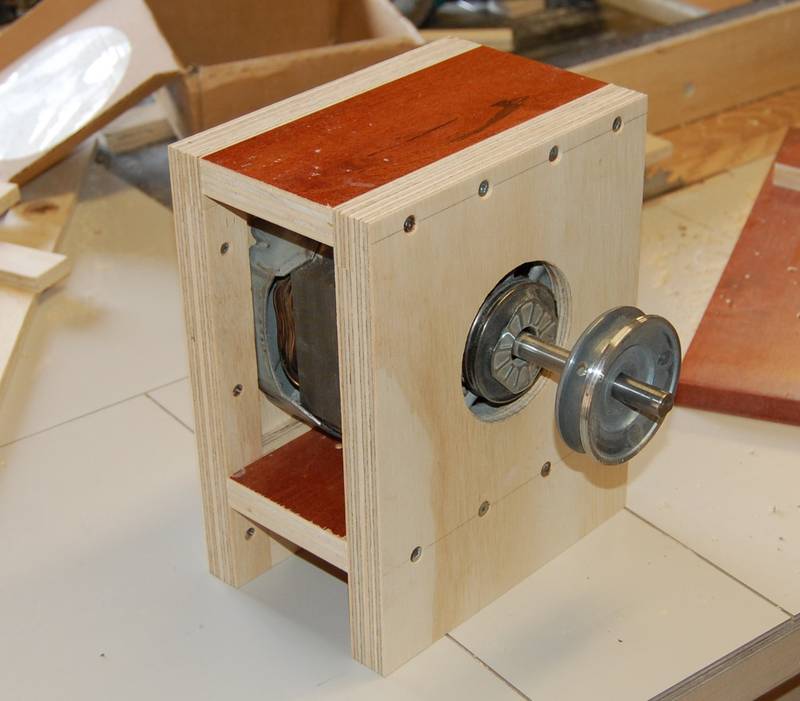 Runout would be the biggest hurdle for this type of sander, and
with that in mind, I thought that some slight flexibility in the platter would
be necessary - as objects need to be pressed against the disk to sand, the
flexibility would compensate for any minor runout. The small pulley served
this and made a solid connection to the shaft (through bolted, with epoxy for
thread locker).
I milled the face of the pulley as flat as I could to try to
reduce the amount of runout transferred to the big disk.
Runout would be the biggest hurdle for this type of sander, and
with that in mind, I thought that some slight flexibility in the platter would
be necessary - as objects need to be pressed against the disk to sand, the
flexibility would compensate for any minor runout. The small pulley served
this and made a solid connection to the shaft (through bolted, with epoxy for
thread locker).
I milled the face of the pulley as flat as I could to try to
reduce the amount of runout transferred to the big disk.
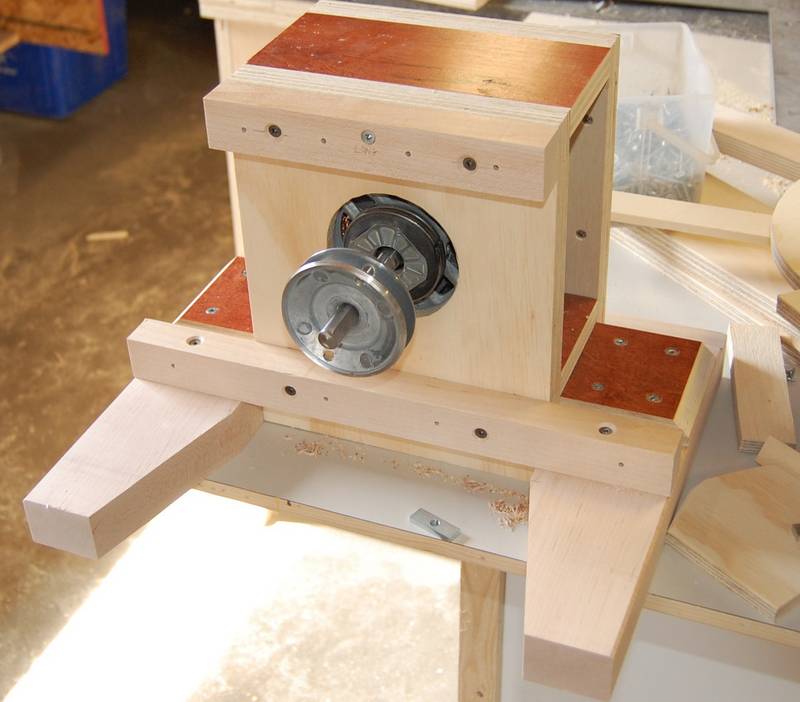
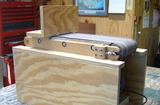
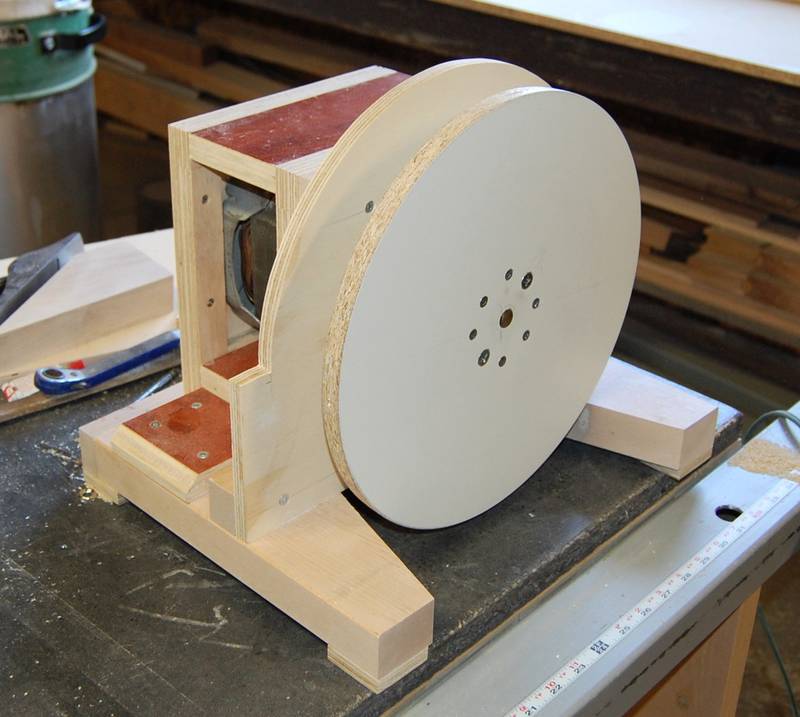 There was some trial and error in between the motor mount and finished unit.
I first used 3/4" Baltic birch plywood for the platter and had that mounted, figuring
I could 'lathe' any run out from the face. Not a good idea. No way could I
get that milled flat on both sides, and wound up discarding it and switching
to the melamine. Run out with that disk mounted was ~1/32 at the rim.
I got that to nearly 0 by shimming the disk with a slip of paper - one
layer made the difference. I coated the rim of the platter with silicone
caulk to seal it from moisture.
There was some trial and error in between the motor mount and finished unit.
I first used 3/4" Baltic birch plywood for the platter and had that mounted, figuring
I could 'lathe' any run out from the face. Not a good idea. No way could I
get that milled flat on both sides, and wound up discarding it and switching
to the melamine. Run out with that disk mounted was ~1/32 at the rim.
I got that to nearly 0 by shimming the disk with a slip of paper - one
layer made the difference. I coated the rim of the platter with silicone
caulk to seal it from moisture.
I suppose a better way would have been to mount the pulley further back on the shaft to accommodate a smaller sub disk that could then be more reliably milled flat. Say 6" Baltic birch plywood, with the platter attached to that. I may actually do this change, when it's time for a new sanding disk. For now, the unit works splendidly.
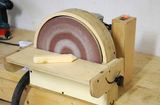
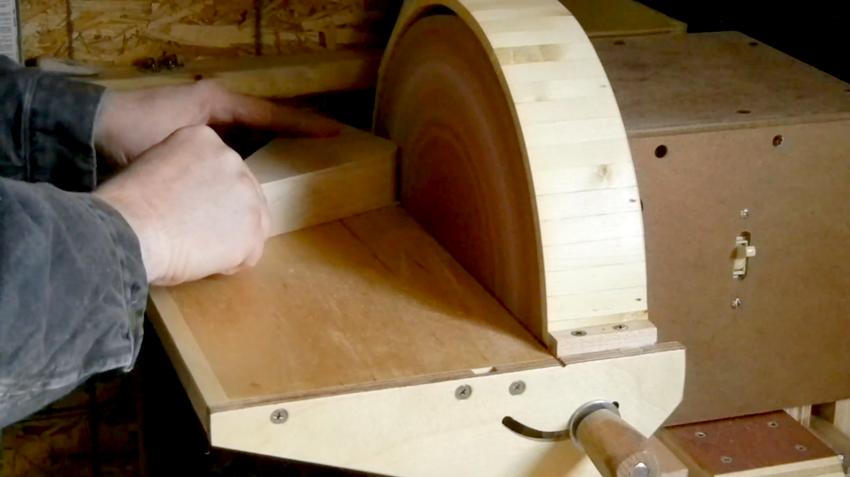
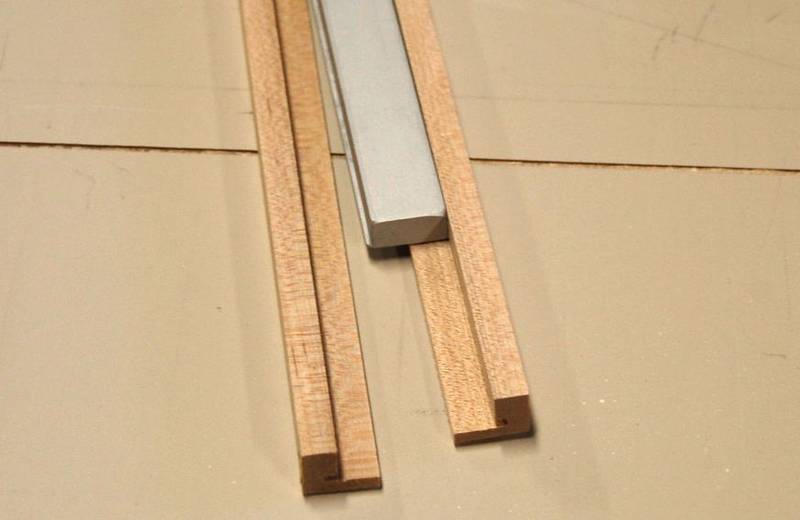
 The guard covering the disk is made up of pieces of wood 3/8" thick, 1/2"
wide and cut at a 4 degree angle and glued in place around the rim.
It took 40 pieces, 2.5" long.
The guard covering the disk is made up of pieces of wood 3/8" thick, 1/2"
wide and cut at a 4 degree angle and glued in place around the rim.
It took 40 pieces, 2.5" long.
Originally I was going to use sheet metal but thought this would look better.
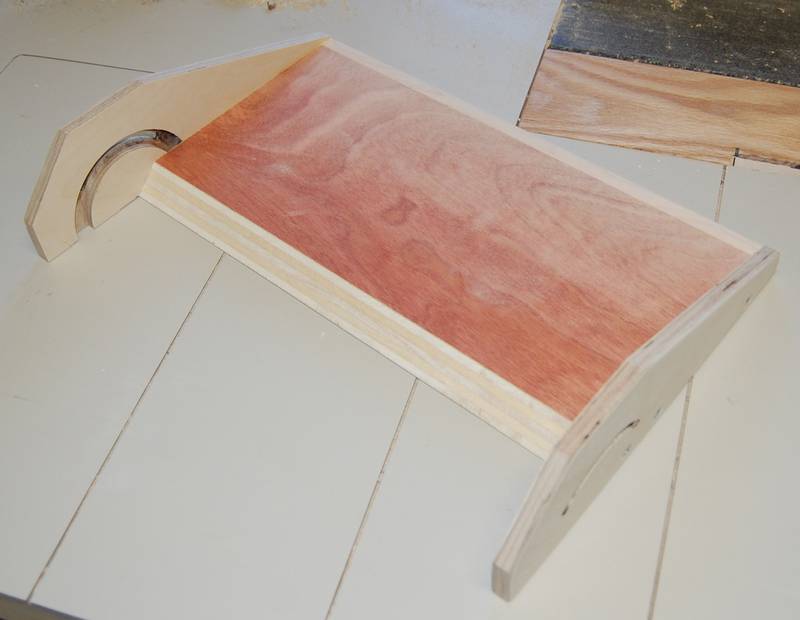
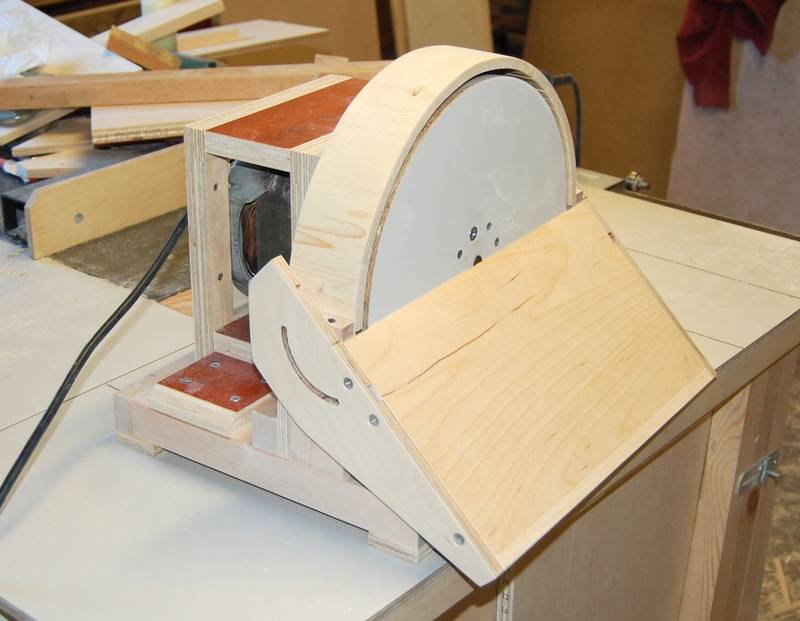 The tilt trunnions I made on the fly, not knowing for sure if they
would work well or not. Luckily they did.
The tilt trunnions I made on the fly, not knowing for sure if they
would work well or not. Luckily they did.
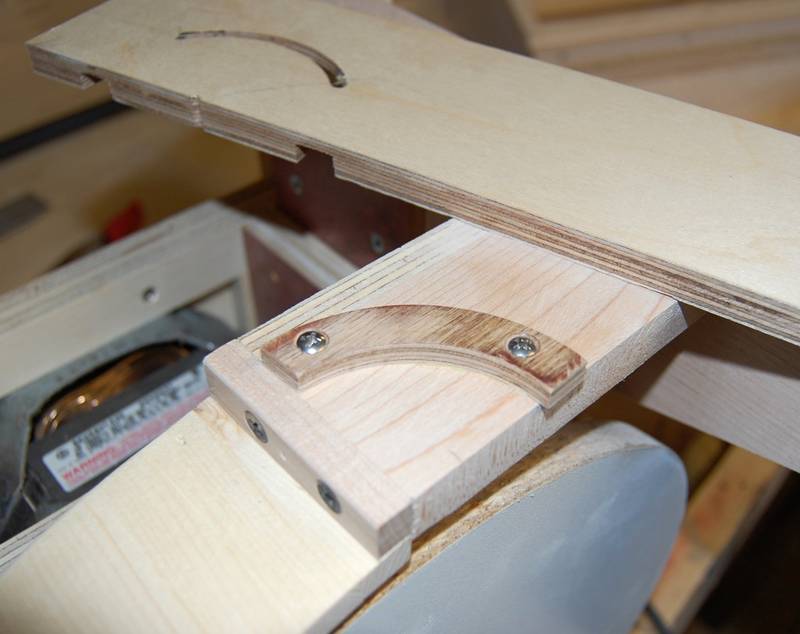
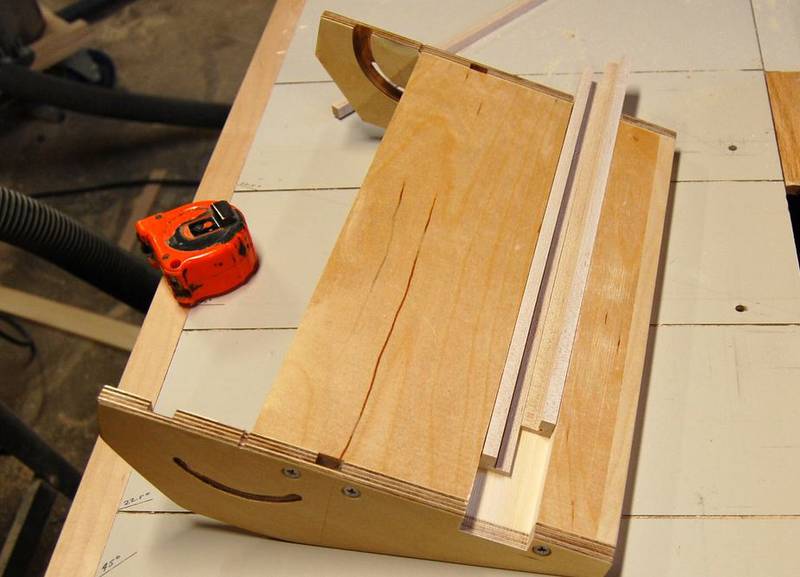
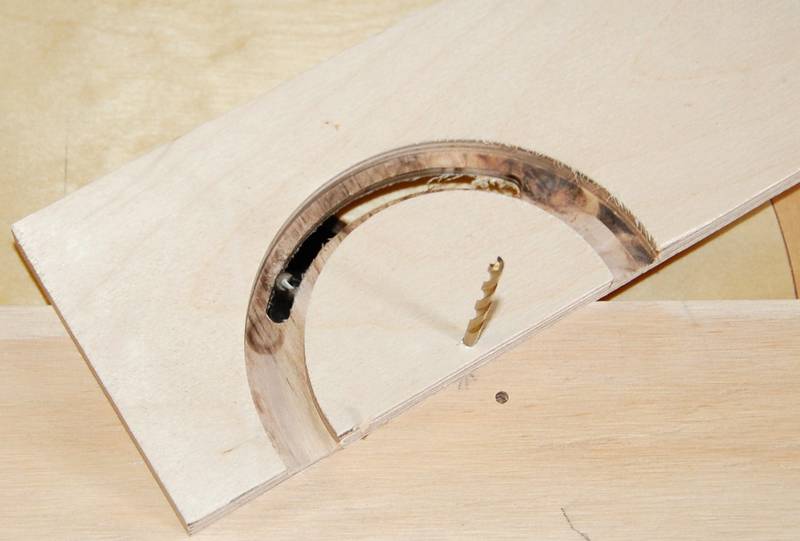 Cutting out the slot for the trunnion lock knob for the table's trunnion
pieces on the router table.
Using the shank of a drill as a center pin to pivot the part while routing.
Cutting out the slot for the trunnion lock knob for the table's trunnion
pieces on the router table.
Using the shank of a drill as a center pin to pivot the part while routing.
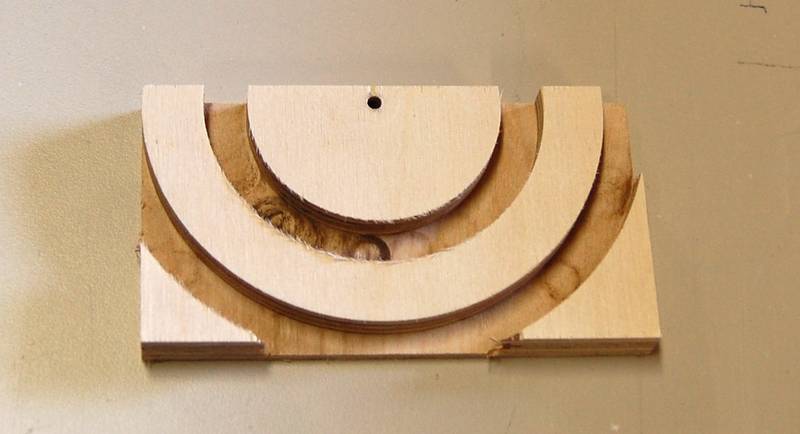
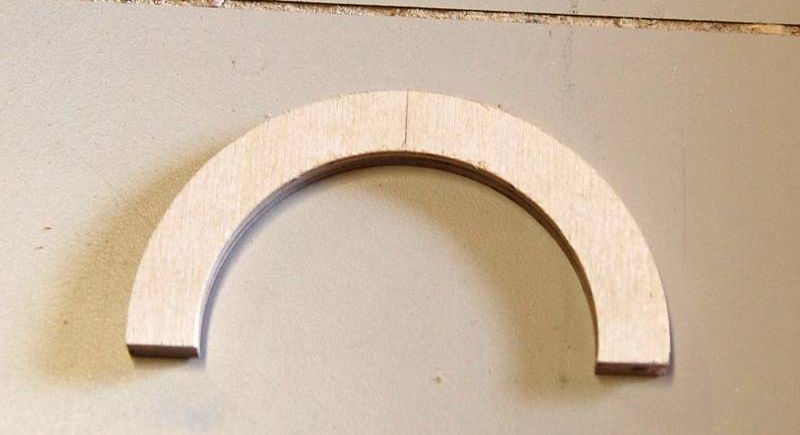
 Two arcs routed in plywood leave a precise semi-circle for the fixed part of the trunnions.
The semi-circle is then cut into two quarter-arcs.
 I fitted the mitre gauge to the table.
It is the one that came with my Makita table saw (the one I scrapped to build the
new one). It has these lips on it
that lock it in the track. Rather than grind those off, I made the track to accept them.
I fitted the mitre gauge to the table.
It is the one that came with my Makita table saw (the one I scrapped to build the
new one). It has these lips on it
that lock it in the track. Rather than grind those off, I made the track to accept them.
 Works well, good to tune up a mitre or a 90 degree cut.
With the table tilted, a fairly accurate compound mitre can be
machined in thin trim stock, if needed - a lot safer than trying to cut it on a chop saw.
Works well, good to tune up a mitre or a 90 degree cut.
With the table tilted, a fairly accurate compound mitre can be
machined in thin trim stock, if needed - a lot safer than trying to cut it on a chop saw.
John Heisz has since started building his
own website with more details
about this disk sander
John has also produced a YouTube video demonstrating the sander.
Starting at 2:20 you can see it running.
And another video of a sanding station built for the disk sander.
 Neal Week's
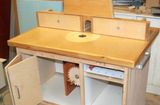 Router table with router lift
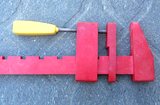 Homemade barclams
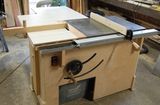 Homemade table saw
 John Heisz's website