One of the more satisfying hand tools to use is a cabinet scraper. Its satisfying to
use because in many ways, allows me to do away with sanding, and at the same time
produces a very precise and even finish. Its a tool that's indispensable when leveling
a hardwood table top.
The trick to using a cabinet scraper is its preparation. The scraper loses most of
its edge after just 10 minutes of use, so burnishing (sharpening) the
scraper is an essential part of it use. In fact, a new scraper doesn't even come with
a usable edge out of the box, so I'll start with how to burnish the scraper to have a
nice burr on it.
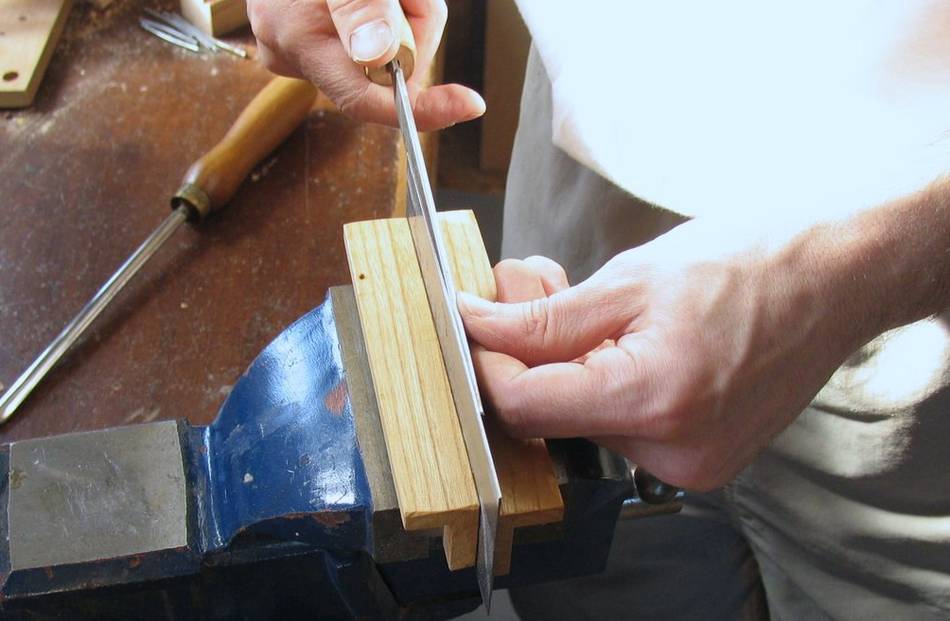
To form a burr on the scraper, a square edge is needed. Unless the scraper is brand
new, the first step is to file off any remains of the old, worn burr.
Start by filing the sides of the scraper. This only takes a few strokes. Wether
the old burr is completely gone can easily be checked by grabbing the edge of the scraper
and pulling the fingers up. If there's nothing to catch, the old burr is gone.
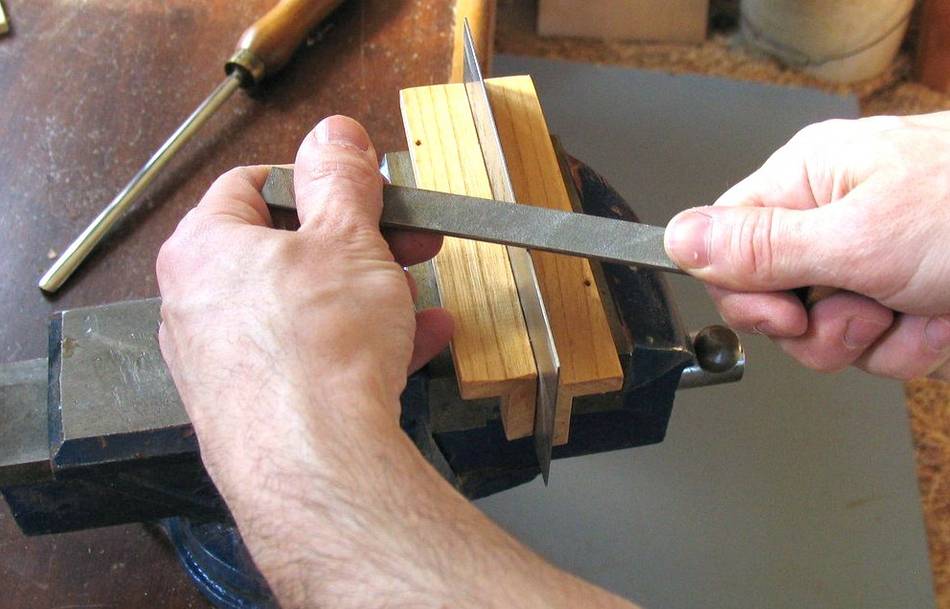
The next step is to flatten the top edge. From making the previous burr, the top surface
will be a little bit round, which makes it more difficult to form a new burr. A few
strokes with a file across the top takes care of this.
I usually file the top until I can once again feel a slight burr forming on the sides
from the filing. Again, I test this by pulling my fingers up against the edge.
Some people recommend smoothing the scraper edges with a stone before forming a new burr.
No doubt, this would make a small improvement in the quality of the final burr, but I
find that to be unnecessary trouble. I use a very fine file, with teeth formed
only on a diagonal (no crosshatch), which I think produces a smoother finish than
a crosshatched file normally would.
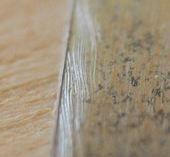
Scraper edge macro photo
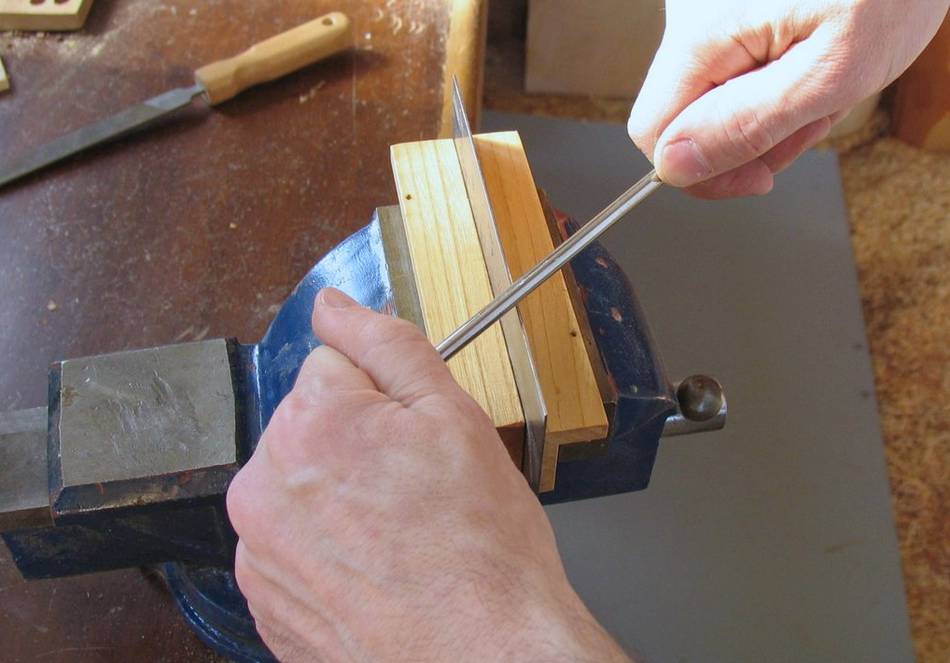
The next step is where the magic comes in.
Using a burnishing tool made of very hard high carbon steel, a 'Burr' is created along
the edges of the scraper as shown at left. This is done by pushing the burnishing
tool very firmly onto the scraper, and pushing it along the edge of the scraper.
This causes the corners of the scraper to deform and form a sort of hook shaped burr.
The burr is very small, and barely visible. I tried to photograph it (see right),
but its really hard to see. In fact, the burr itself is only about 0.05 mm wide,
I measured this with a dial caliper.
Successful burnishing does require that the burnishing tool be harder than the scraper,
and seeing that
the scraper is already made of fairly hard steel, the burnihser needs to be very hard.
I use a Veritas burnisher, from Lee Valley Tools. Some people suggest using the shaft
of a screwdriver. But form personal experience, I can assure you, this does not work.
I also tried a sharpening steel from
a houseware store, but this also wasn't quite hard enough. Before I got my veritas
burnisher, I used a file with a round-ish safe edge, so that I could use the round
side of the file without having any of the file's cutting surface touch the scraper.
Using the cabinet scraper
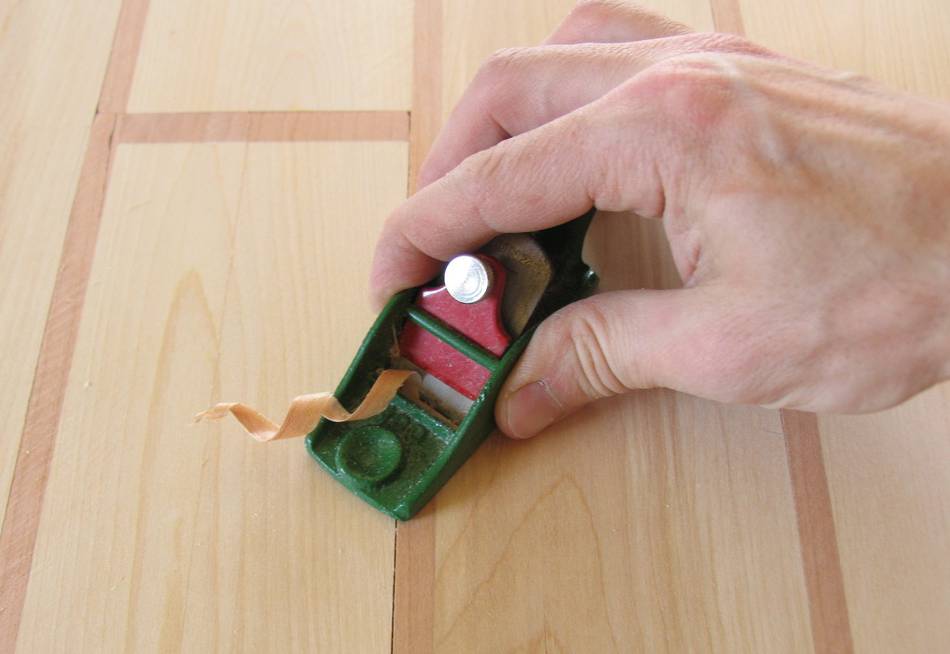
Once the scraper is all sharpened, its time to tackle the work piece.
But a scraper is very slow at removing material. Still faster than sandpaper,
but very slow. So if I have any uneven ness on a surface that is more than a
fraction of a millimeter, I level these first with a small hand plane. Much
quicker than trying to remove a lot of material with a scraper, although it does
risk gouging the surface in spots where the grain pulls the plane into the wood.
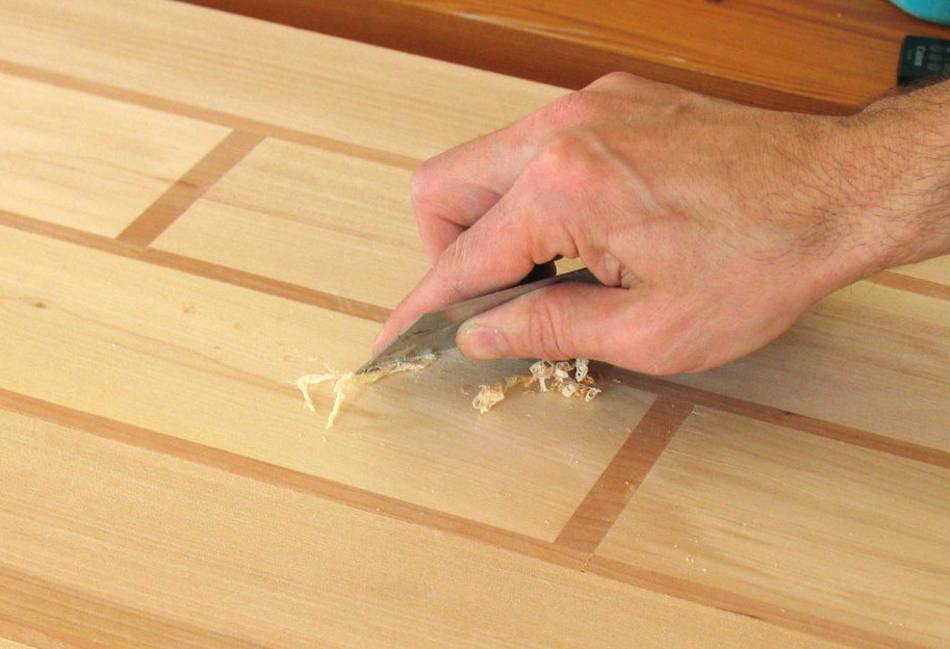
In use, the scraper is held at a relatively low angle to the wood and pulled over the
surface, so that shavings form on the lower edge of the scraper against the
wood. This angle allows the hook of the burr to engage the wood.
the shape of the burr and scraper only allow it to take off about 0.02 millimeters
of material at a time at most.
Depending on where I'm working it, I use it one handled, or two handed.
The two hand hold allows the scraper to be bent slightly, so that if the wood
dips slightly in an area, the scraper can still be pressed into it. The two hand
hold also gives a bit more power.
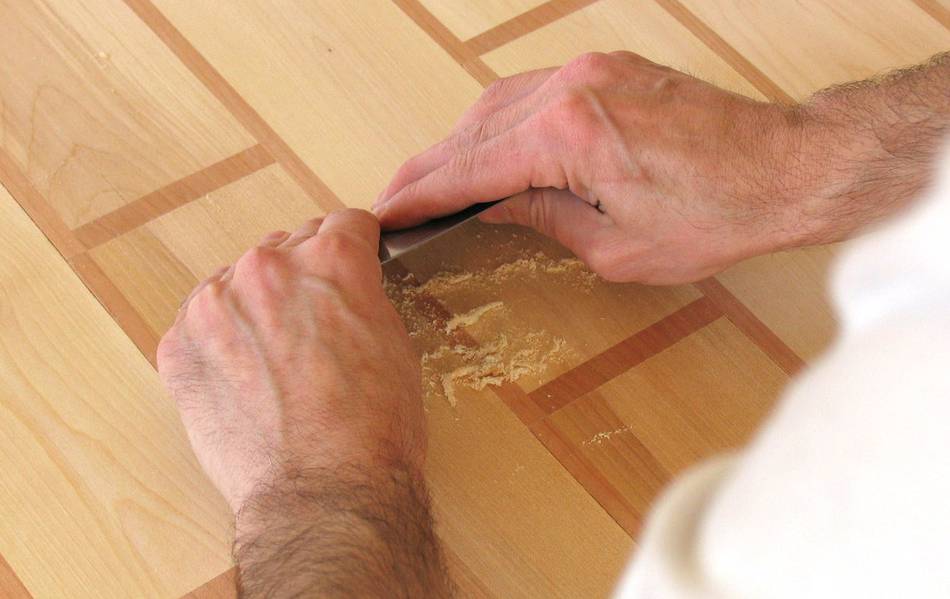
Like sanding, using a scraper needs a lot of elbow grease, so if I'm doing a
table top, I usually don't do it all at once. Its also quite normal for the
scraper to get quite hot to the touch when working it.
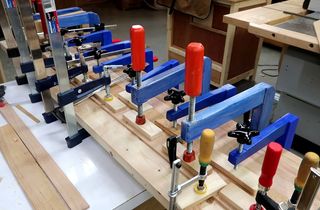
For a table top of about 1 square meter area, I end up resharpening the scraper
at least twice before its done.
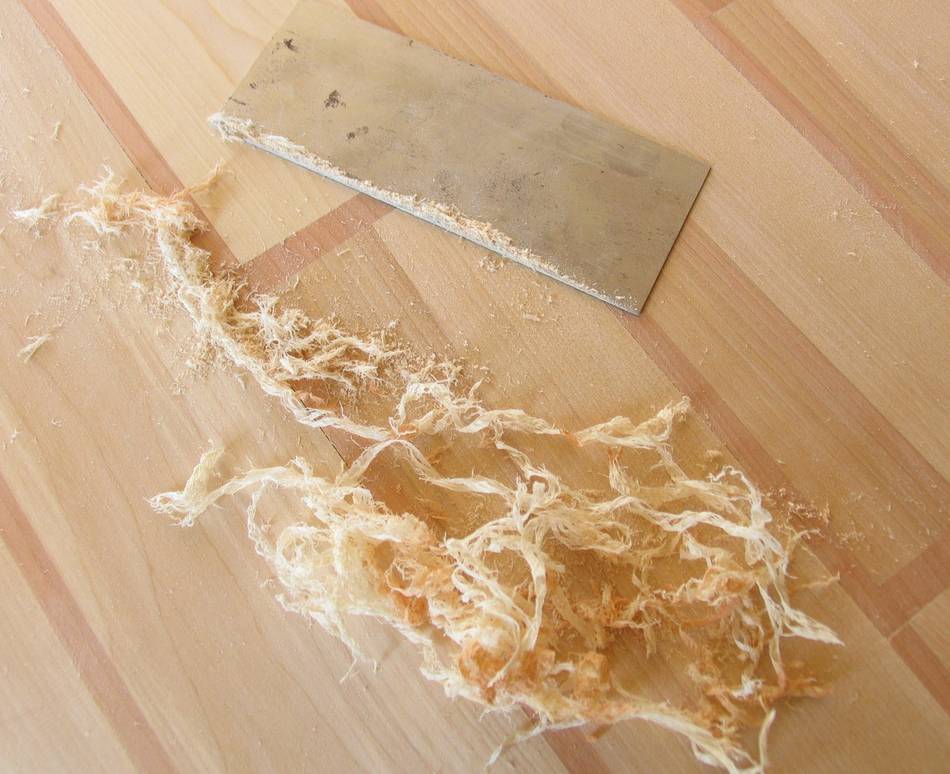
A belt sander would of course do the job faster, but excessive sanding always
results in a very imprecise wavy looking surface that just isn't appealing to me.
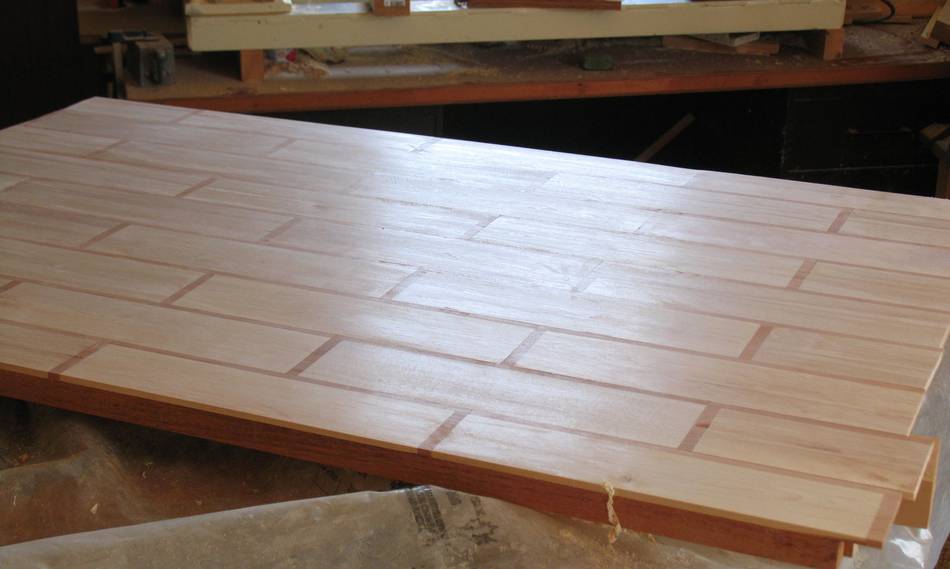
A scraper is much better at evening out discontinuities in the surface, and also
produces a finish smoother than sandpaper. In fact, the surface tends to
actually have a bit of a shine to it. The image at left is after scraping,
but before varnishing.
The cabinet scrapers I use are 0.8 mm thick, and I got them from Lee Valley tools.
Other materials can also be used, although stainless steel would probably be too
brittle for the job. I have used pieces of knives from a paper cutter, although
these provide only one edge for sharpening. Other than being too stiff to flex
into uneven spots, the cutter blades worked just as well.
 One of the more satisfying hand tools to use is a cabinet scraper. Its satisfying to
use because in many ways, allows me to do away with sanding, and at the same time
produces a very precise and even finish. Its a tool that's indispensable when leveling
a hardwood table top.
One of the more satisfying hand tools to use is a cabinet scraper. Its satisfying to
use because in many ways, allows me to do away with sanding, and at the same time
produces a very precise and even finish. Its a tool that's indispensable when leveling
a hardwood table top.


 Hardwood table top from scrap wood
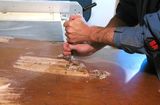 Refinishing a table top
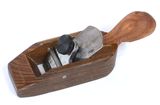 Making a small hand plane (palm plane)
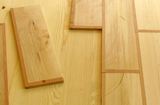 Wood tiled table top
 Homemade
 Avoiding belt sander
 My favourite handplanes
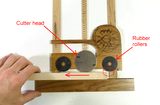 Planer snipe on small thickness planers
 Hand plane sharpening
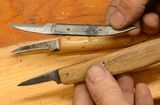 Chip carving knife