 I wanted to make a hardwood table top from mostly construction lumber, similar
to this one I made in 2007. I had lots of
oak off-cuts I bought off of kijiji (In Canada we use Kijiji instead of Craigslist)
I wanted to make a hardwood table top from mostly construction lumber, similar
to this one I made in 2007. I had lots of
oak off-cuts I bought off of kijiji (In Canada we use Kijiji instead of Craigslist)
I wanted to make a hardwood table top from mostly construction lumber, similar
to this one I made in 2007. I had lots of
oak off-cuts I bought off of kijiji (In Canada we use Kijiji instead of Craigslist)
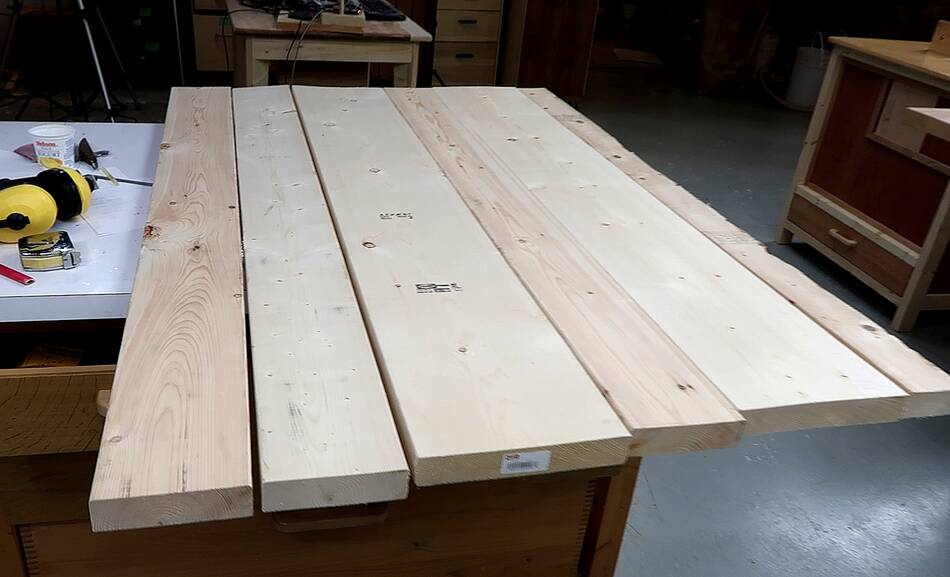
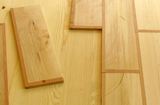
Here are the pieces of wood I prepared for it. The second from the left had quite a bit of twist to it, and I figured I'd cut it down the middle before jointing so it's easier to get the twist out.
 But then I realized, this piece might increase or decrease in twist later, which
might put a slight twist on the whole table. so I decided not to use that piece.
But then I realized, this piece might increase or decrease in twist later, which
might put a slight twist on the whole table. so I decided not to use that piece.
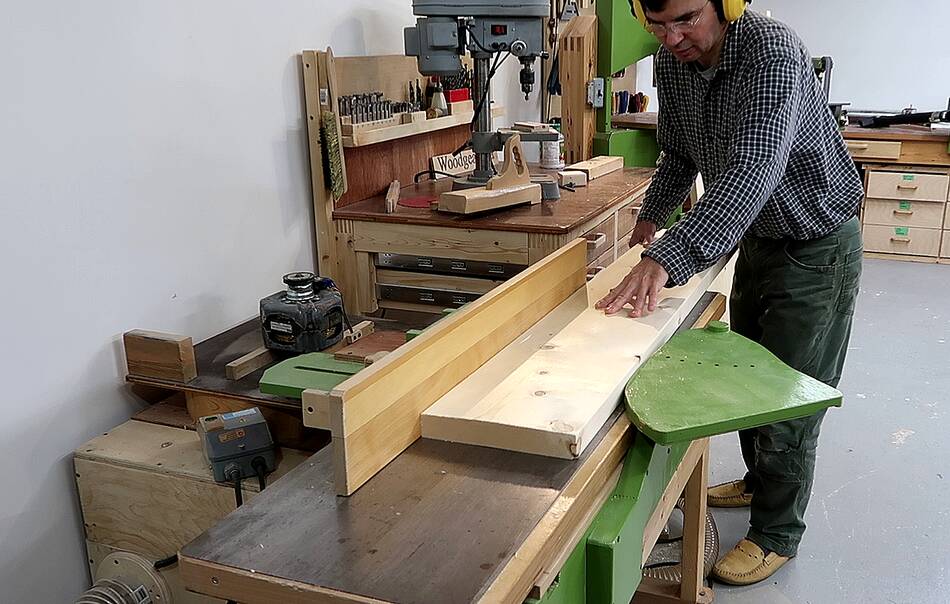
I face jointed all the pieces on my 12" jointer and also edge jointed them on both sides.
 I then glued the pieces together in three groups, no wider than 13" so they
could still fit through my thickness planer.
I then glued the pieces together in three groups, no wider than 13" so they
could still fit through my thickness planer.
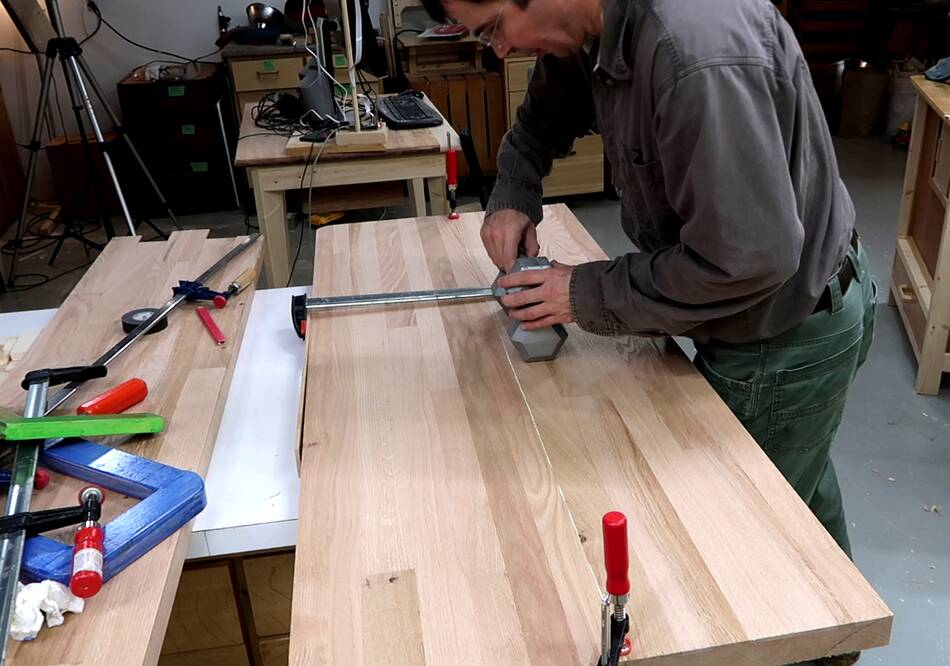
I used small clamps across the joint at the ends to help line up the pieces.
 But one of the glue-ups didn't quite line up in the middle, so I used
one of my long reach clamps to push
the pieces into alignment.
But one of the glue-ups didn't quite line up in the middle, so I used
one of my long reach clamps to push
the pieces into alignment.
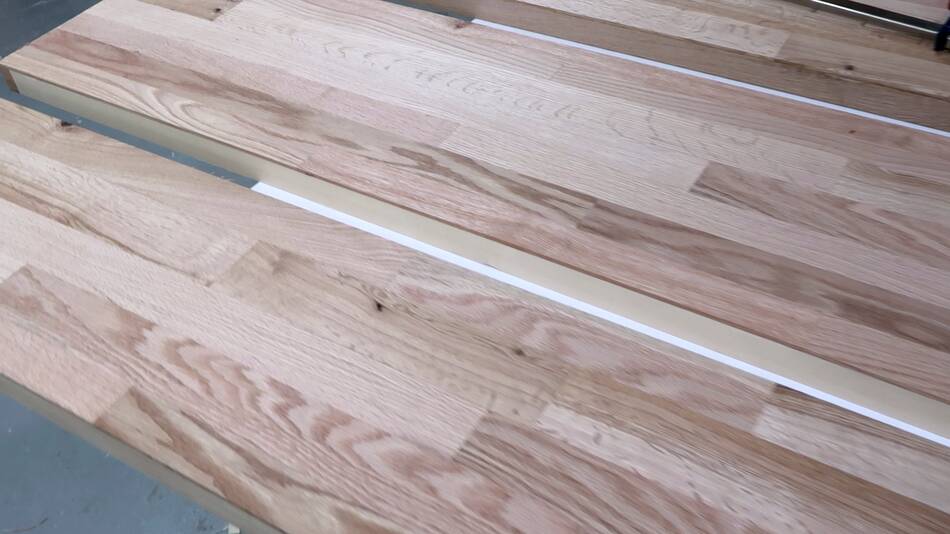
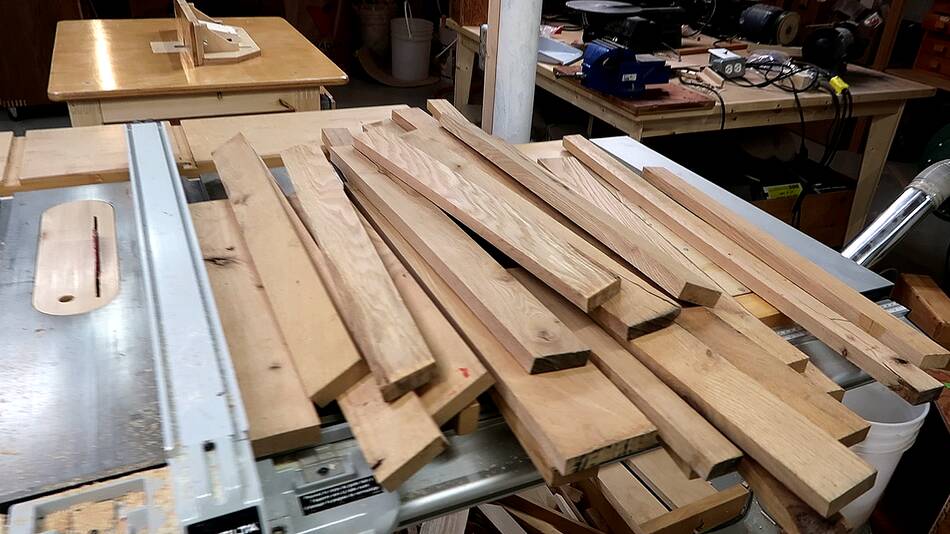 I picked out a whole bunch of oak scrap wood to cut up into thin strips
to glue onto the top
I picked out a whole bunch of oak scrap wood to cut up into thin strips
to glue onto the top
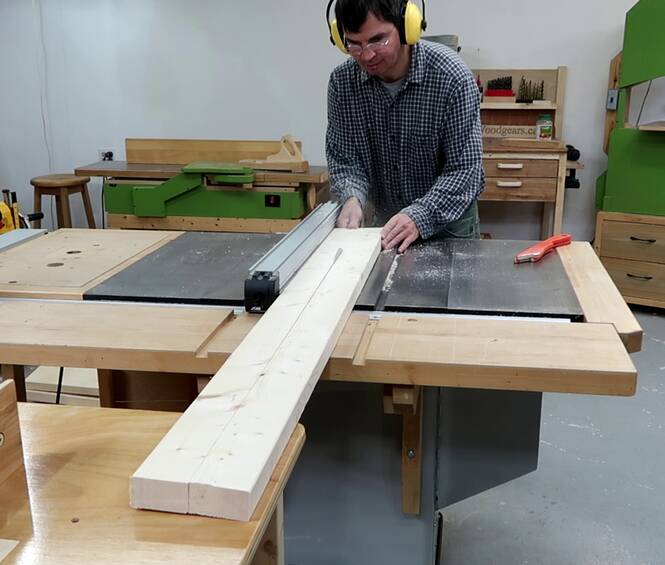
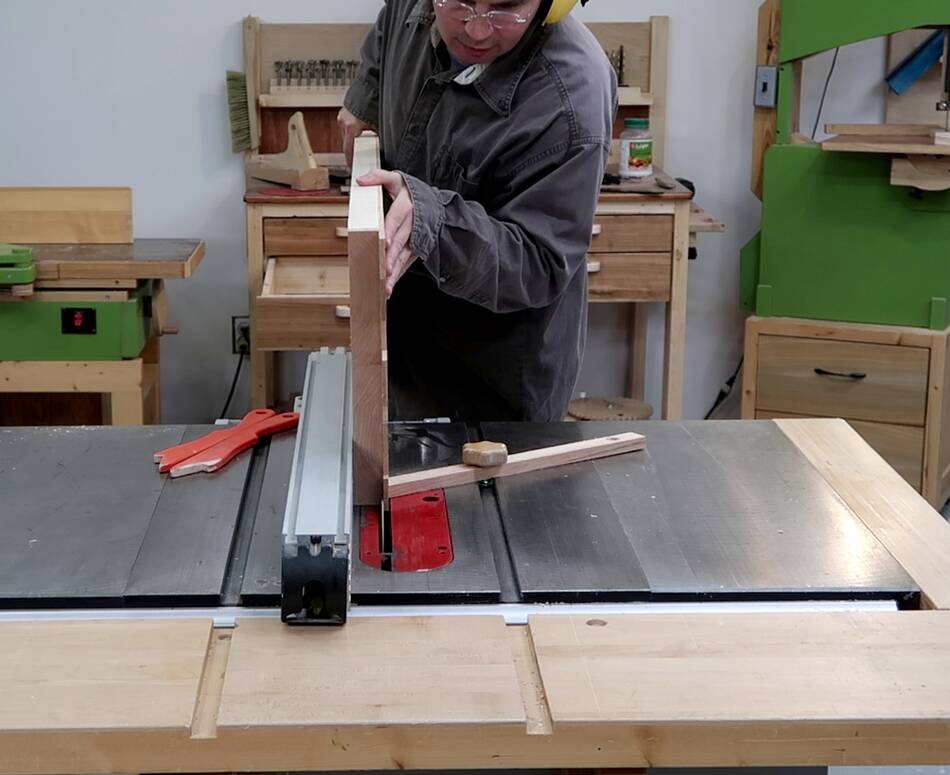
 I ripped these boards into three layers 5 mm thick, using a very thin
7 1/4" circular saw blade in my table saw. I had to cut from both sides
for most of the pieces.
I ripped these boards into three layers 5 mm thick, using a very thin
7 1/4" circular saw blade in my table saw. I had to cut from both sides
for most of the pieces.
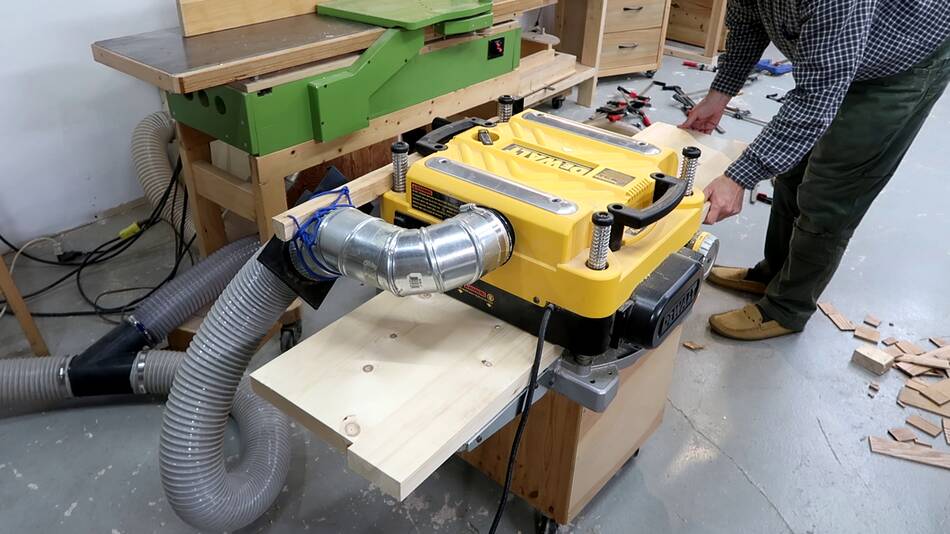
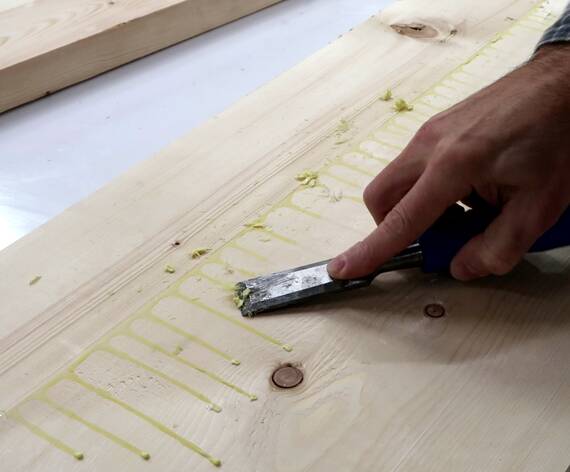 With the glue dried, I scraped off the excess drips so they don't affect the
thickness of planing, then planed the pieces smooth and flat on both sides.
With the glue dried, I scraped off the excess drips so they don't affect the
thickness of planing, then planed the pieces smooth and flat on both sides.
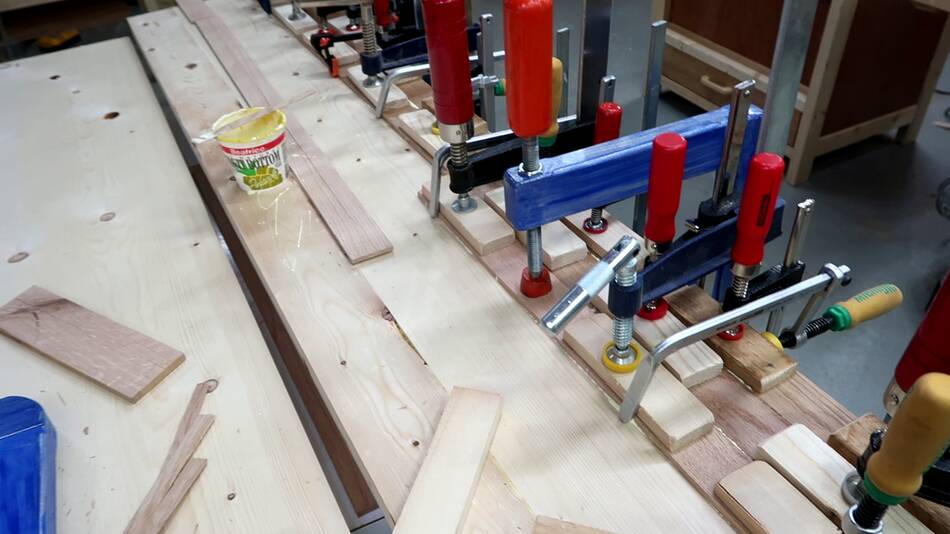
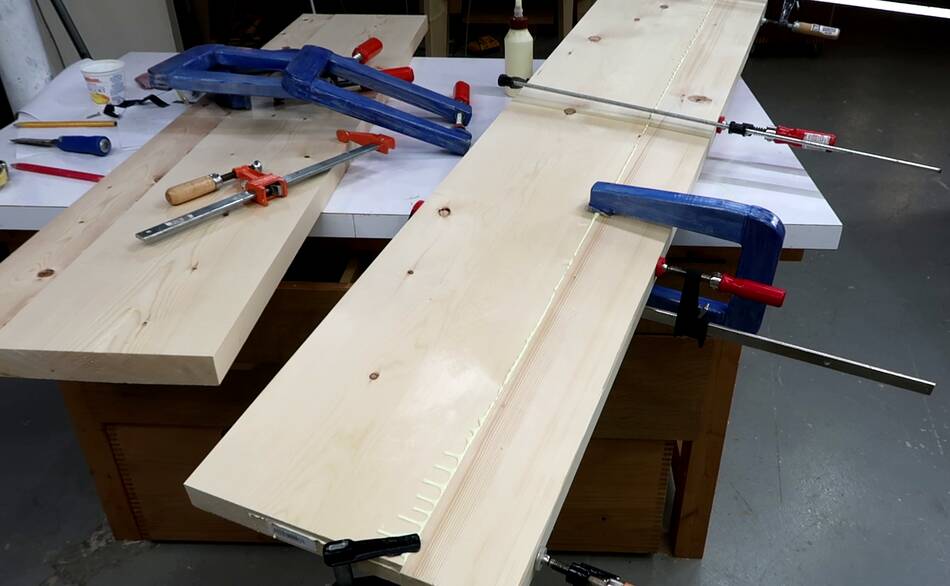
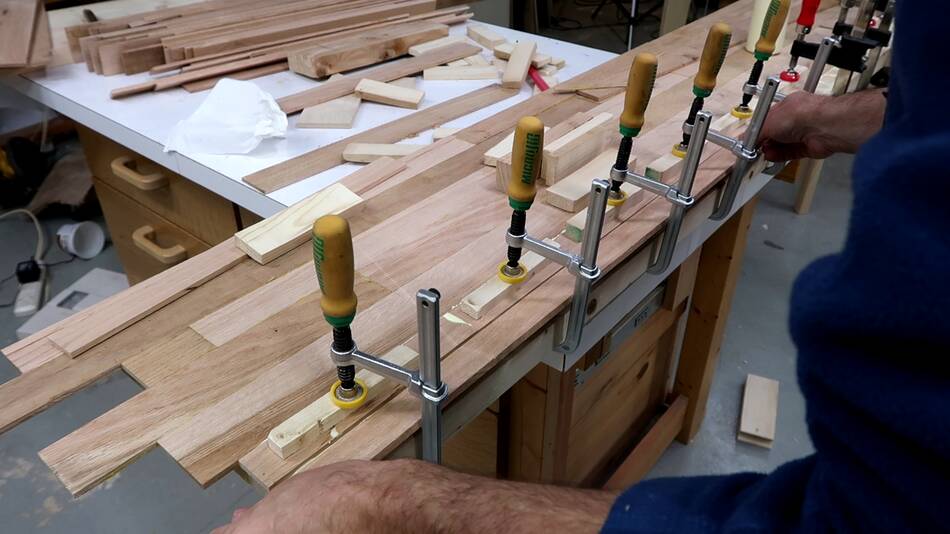
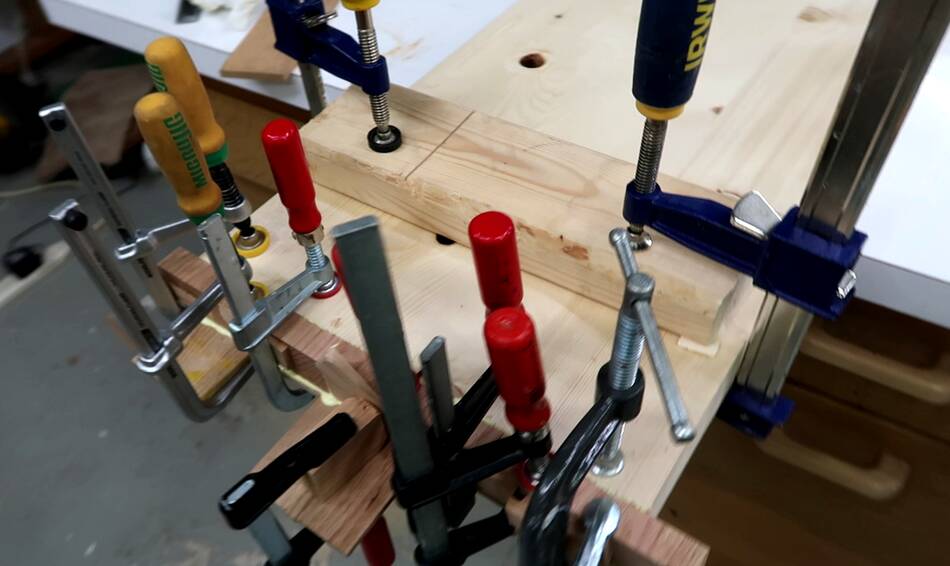
 After that, I started gluing on the oak pieces. My conventional clamps
were long enough for the first three rows, but beyond that, only my
long reach clamps would reach, and I only have four of those.
After that, I started gluing on the oak pieces. My conventional clamps
were long enough for the first three rows, but beyond that, only my
long reach clamps would reach, and I only have four of those.
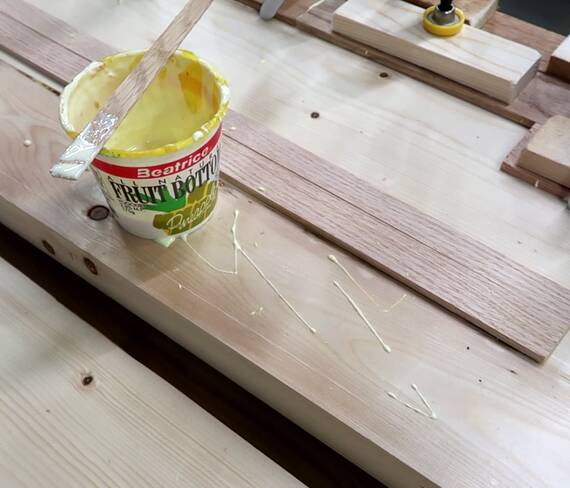
Also, applying glue from a glue container, with a splint, over my workpiece wasn't the smartest idea.
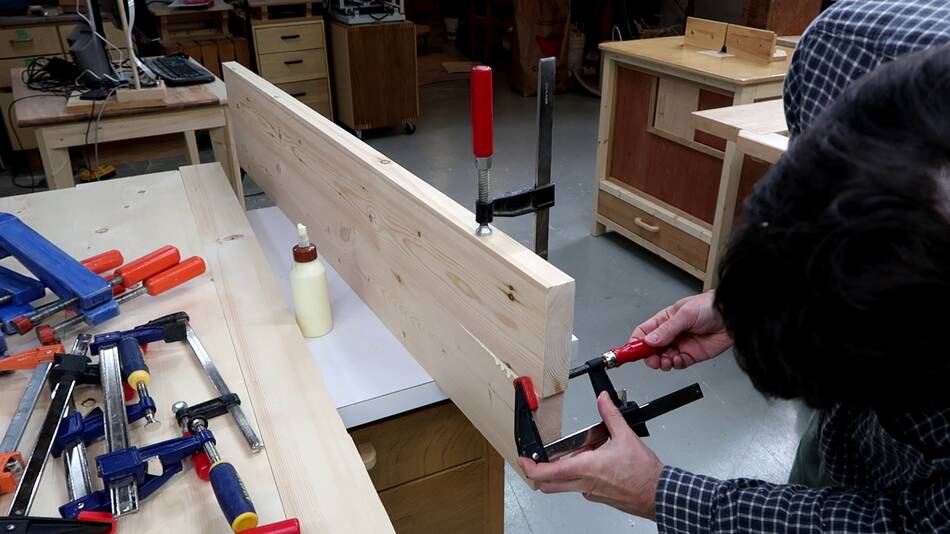
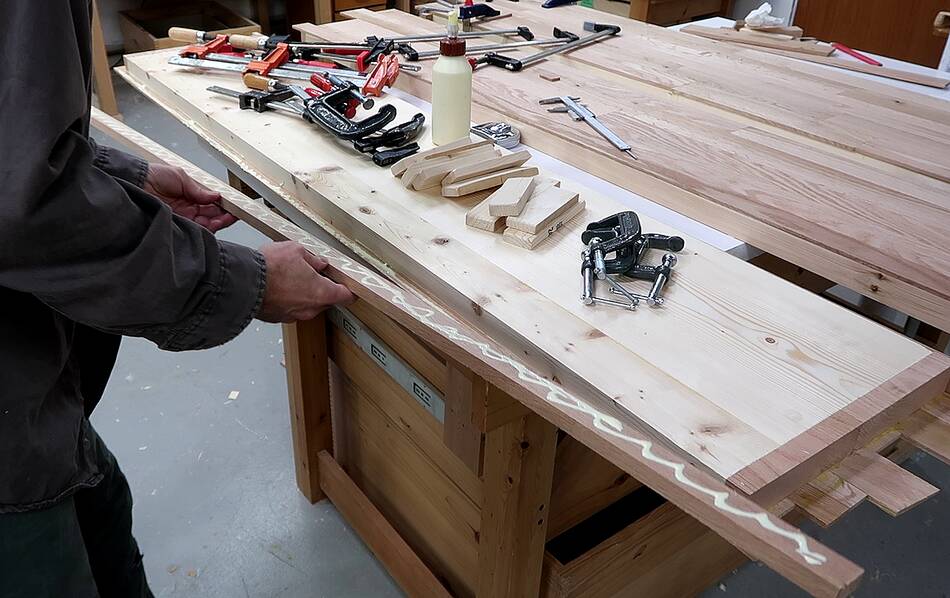
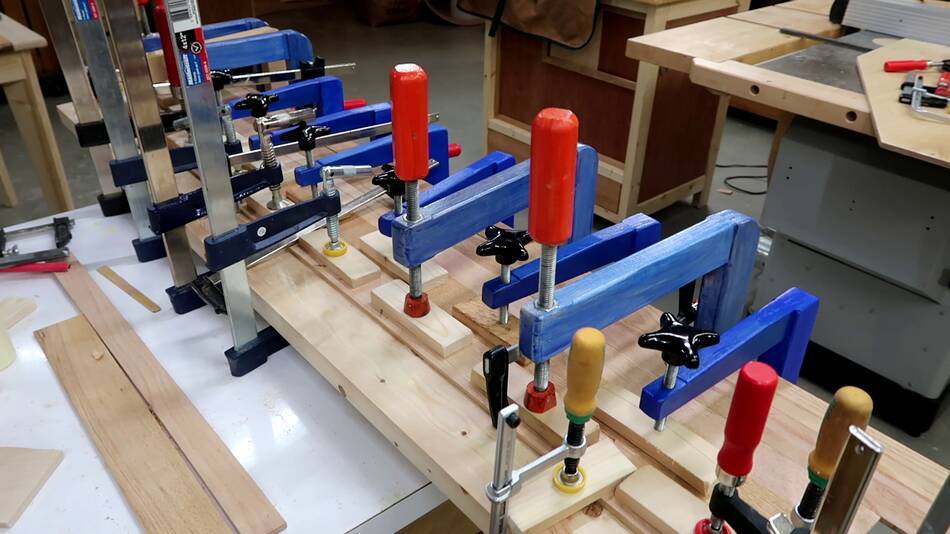 So I made some more long reach clamps,
these ones a bit simpler and smaller than the ones from 2011.
You can see them in use at left. I'm using blocks of wood to spread the load
from the clamps. I sanded a slight indent in the middle of the bottom
of these blocks so that the clamping force ends up applied to either end,
not just the middle.
So I made some more long reach clamps,
these ones a bit simpler and smaller than the ones from 2011.
You can see them in use at left. I'm using blocks of wood to spread the load
from the clamps. I sanded a slight indent in the middle of the bottom
of these blocks so that the clamping force ends up applied to either end,
not just the middle.
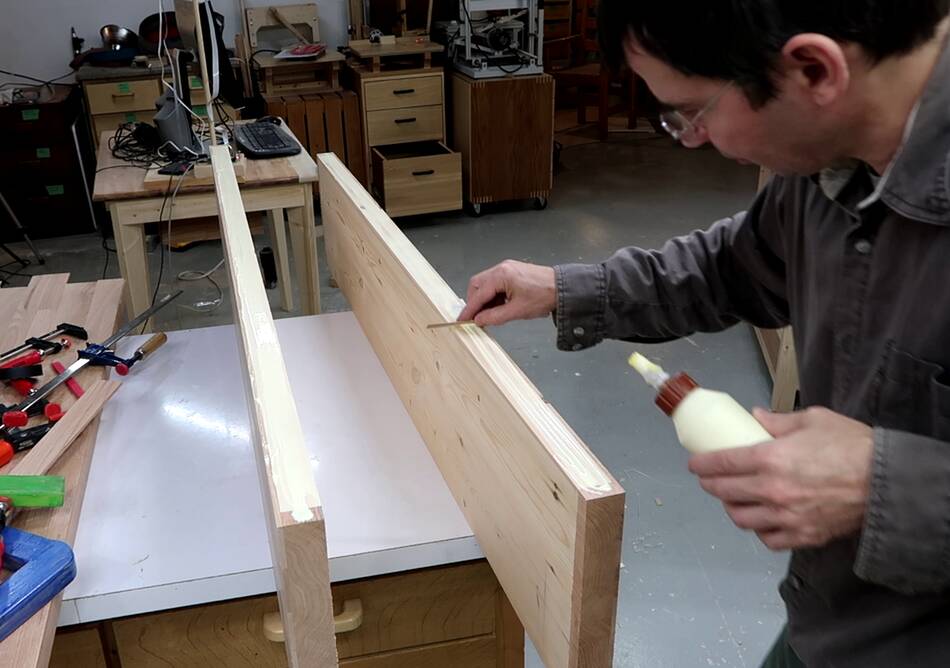
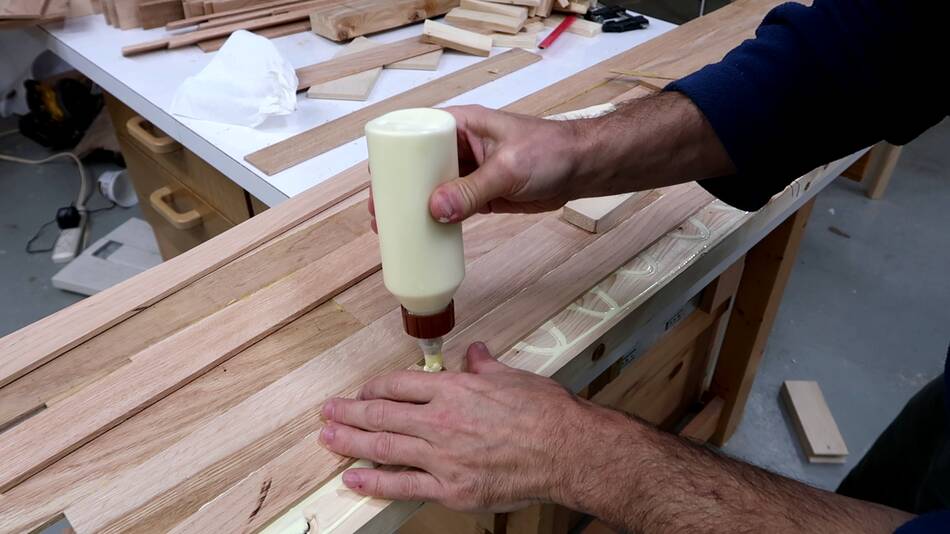 Here applying glue to the second last row on a board. I'm adding a dab of
glue between the ends of the strips I'm gluing on to fill that space.
Here applying glue to the second last row on a board. I'm adding a dab of
glue between the ends of the strips I'm gluing on to fill that space.
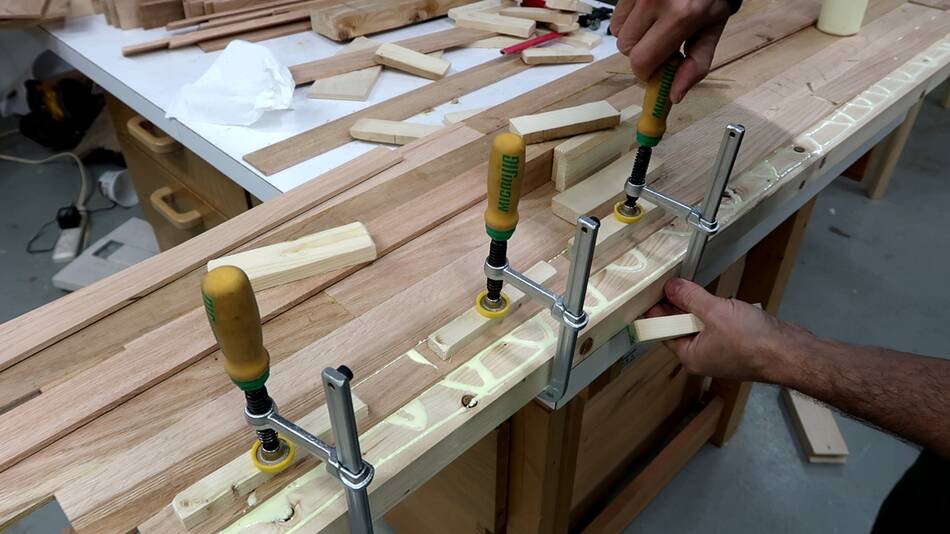 Being close to the edge, I'm using regular clamps. These
Microjig clamps
have slightly more reach than my other F-clamps, so I'm using them here.
Being close to the edge, I'm using regular clamps. These
Microjig clamps
have slightly more reach than my other F-clamps, so I'm using them here.
 With the second last row clamped, I'm slipping the last row in, through
the clamps I already have in place.
With the second last row clamped, I'm slipping the last row in, through
the clamps I already have in place.
 These glue-ups took a long time to finish. Having six new long reach clamps
in addition to my other ones really helped. But overall, I really can't
recommend making a table top this way. It takes way too much time!
These glue-ups took a long time to finish. Having six new long reach clamps
in addition to my other ones really helped. But overall, I really can't
recommend making a table top this way. It takes way too much time!
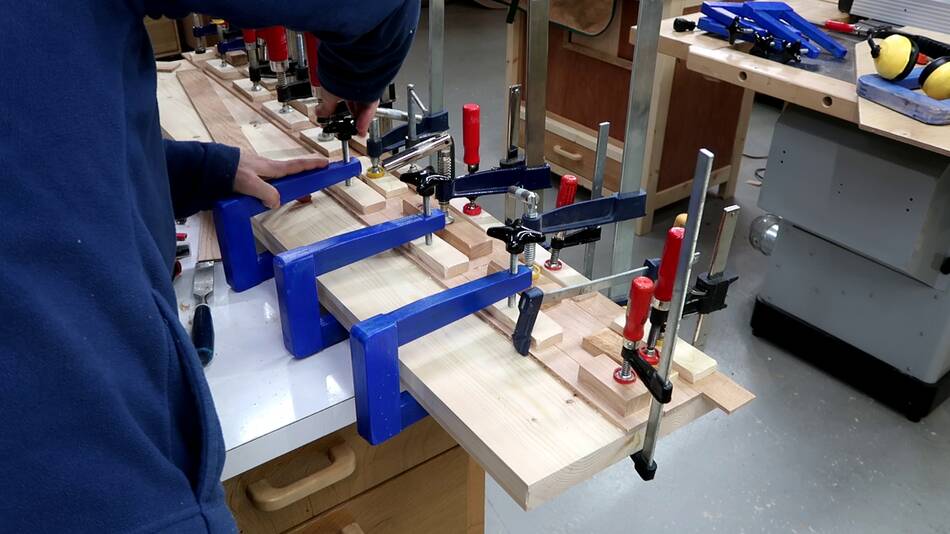
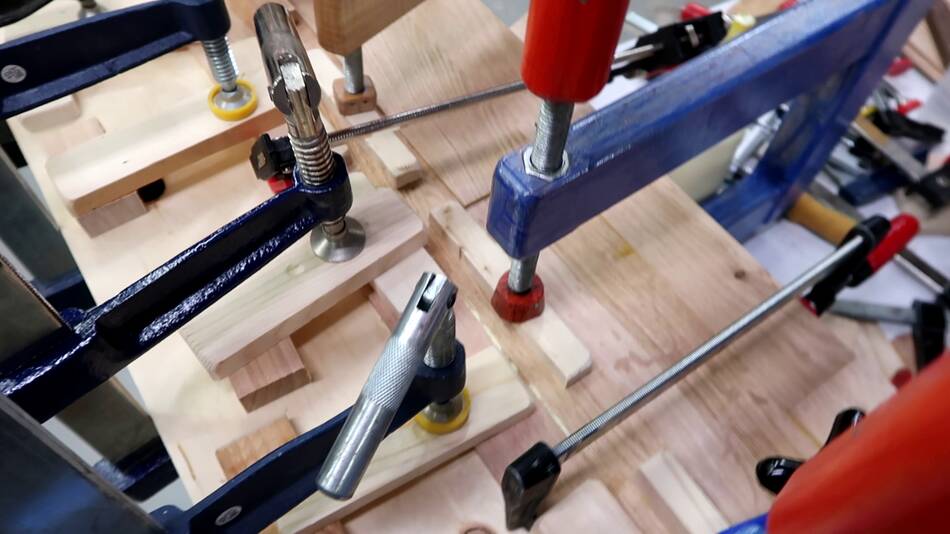 For the last plank,. I really wanted to finish a row, but I ran out of long reach
clamps, so I used clamping cauls as levers to give my clamps an extra 3 cm
of reach to clamp these down. I wouldn't use this method to extend
the reach by much though, because it applies bending force to the board
underneath, and I don't want the boards bent while gluing.
For the last plank,. I really wanted to finish a row, but I ran out of long reach
clamps, so I used clamping cauls as levers to give my clamps an extra 3 cm
of reach to clamp these down. I wouldn't use this method to extend
the reach by much though, because it applies bending force to the board
underneath, and I don't want the boards bent while gluing.
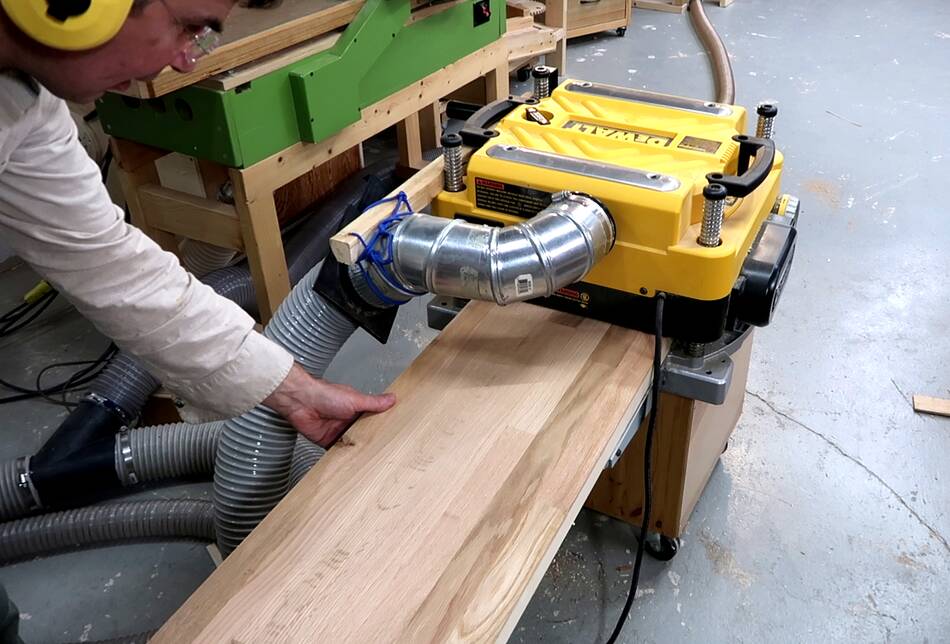 Once the glue had dried on my three big planks, I ran them through the thickness
planer again to level all the pieces exactly with each other.
Once the glue had dried on my three big planks, I ran them through the thickness
planer again to level all the pieces exactly with each other.
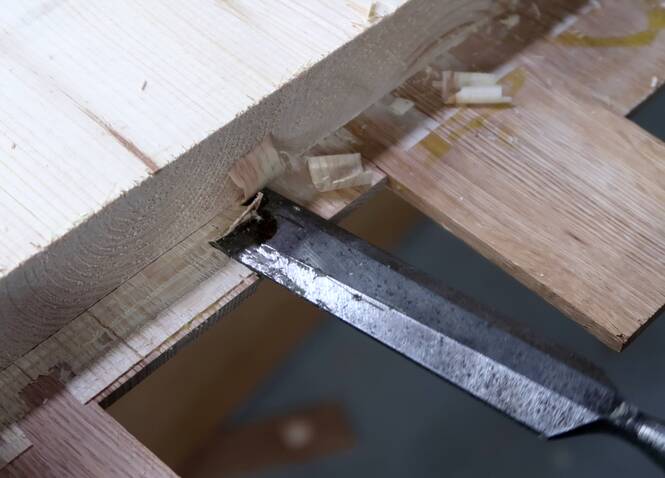 Then cutting a dado in the ends of the planks for gluing pieces of end-grain oak
on to cover the spruce backing board.
Then cutting a dado in the ends of the planks for gluing pieces of end-grain oak
on to cover the spruce backing board.
I didn't want to cut away any of the hardwood strips I had on the top, so I didn't cut to full depth and finished cleaning it out with a chisel.
 I then cut short pieces off the end of a thick piece of oak to make end grain
pieces to glue onto the ends of the spruce planks.
I then cut short pieces off the end of a thick piece of oak to make end grain
pieces to glue onto the ends of the spruce planks.
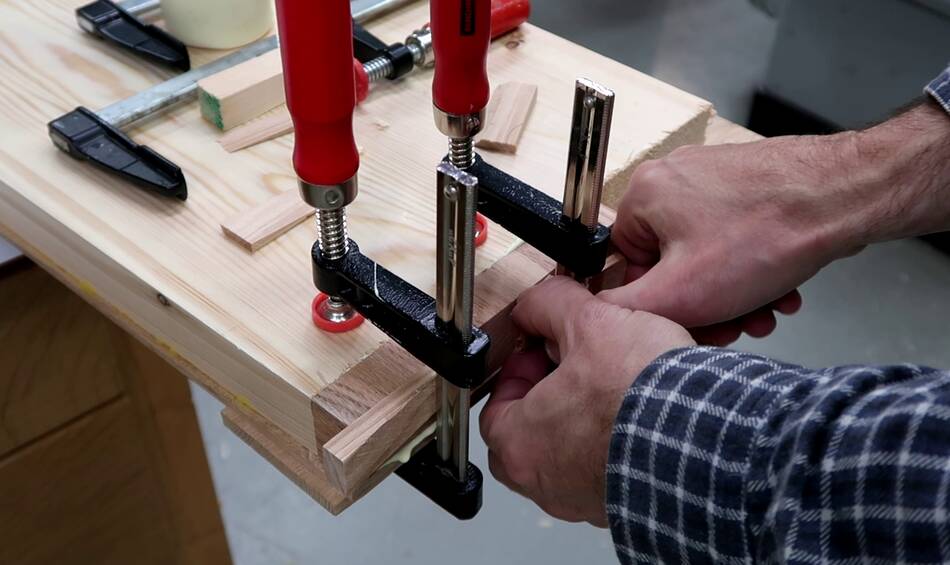 I mostly glued these on by putting a regular F-clamp on the end of the board,
then using a wedge between the bar of the F-clamp and the end of the plank to
act as an edge clamp for gluing on the end grain pieces.
I mostly glued these on by putting a regular F-clamp on the end of the board,
then using a wedge between the bar of the F-clamp and the end of the plank to
act as an edge clamp for gluing on the end grain pieces.
 But the widest of my planks, it turns out, had cupped since gluing on the
strips of hardwood. Gluing on all those pieces to the top added moisture,
which in turn expanded the wood and caused it to cup.
But the widest of my planks, it turns out, had cupped since gluing on the
strips of hardwood. Gluing on all those pieces to the top added moisture,
which in turn expanded the wood and caused it to cup.
 I clamped a piece of 2x4 to the plank near the end to force it flat while gluing
on the end pieces. I left this all clamped for a day so that the glue would be
nice and hard by the time I took the clamps off. But as it turned out,
the big plank was no longer cupped by this time. I guess the moisture had reached
equilibrium again.
I clamped a piece of 2x4 to the plank near the end to force it flat while gluing
on the end pieces. I left this all clamped for a day so that the glue would be
nice and hard by the time I took the clamps off. But as it turned out,
the big plank was no longer cupped by this time. I guess the moisture had reached
equilibrium again.
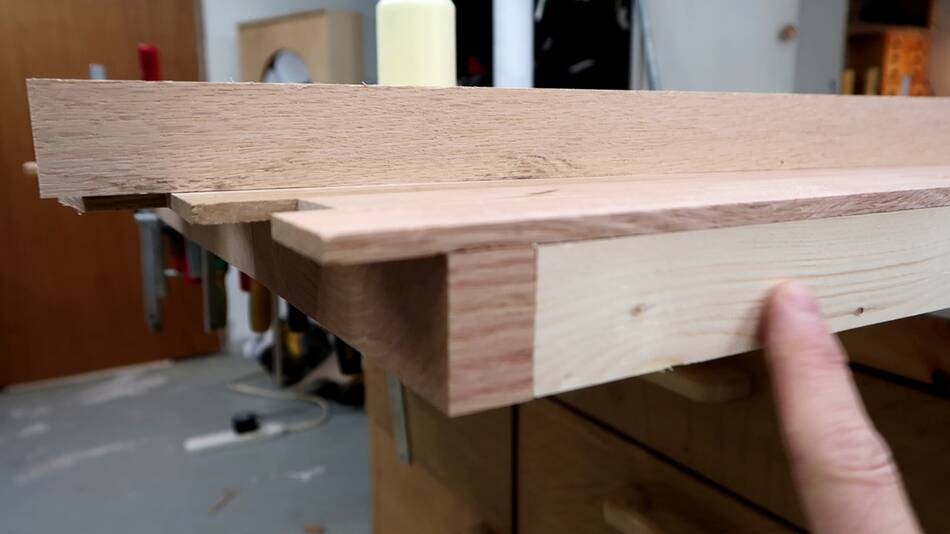 With the end grain pieces glued to the ends, I still needed to cover the
side edges of the table top. I needed to cut away a rabbet so a strip of
hardwood would fit under the strips I glued onto the top.
With the end grain pieces glued to the ends, I still needed to cover the
side edges of the table top. I needed to cut away a rabbet so a strip of
hardwood would fit under the strips I glued onto the top.
In retrospect, it would have been much easier to glue the end pieces and the strips on the sides onto the planks before gluing all the pieces onto the top, which is what I did last time, but I was too keen to glue all the hardwood pieces onto the top to think this through enough ahead of time.
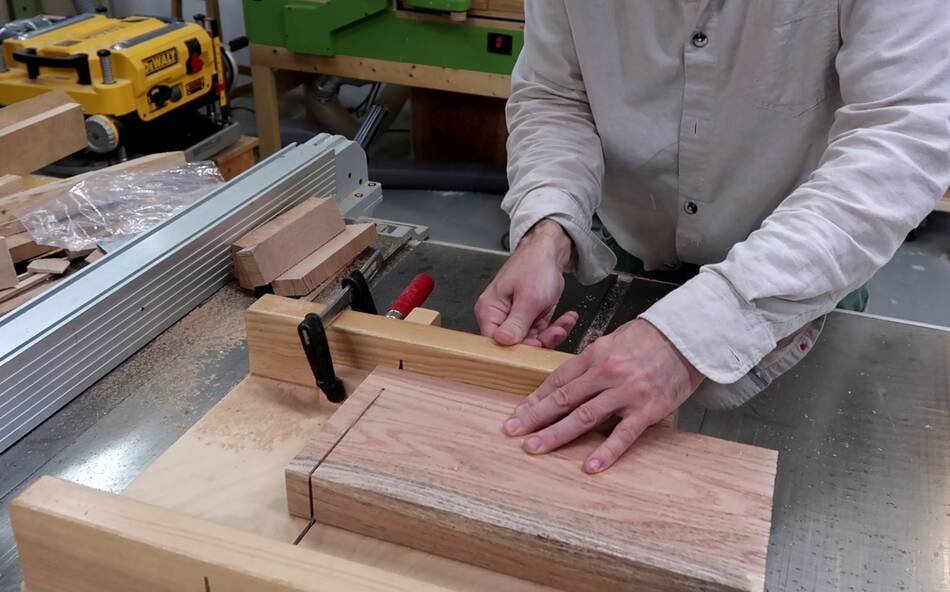
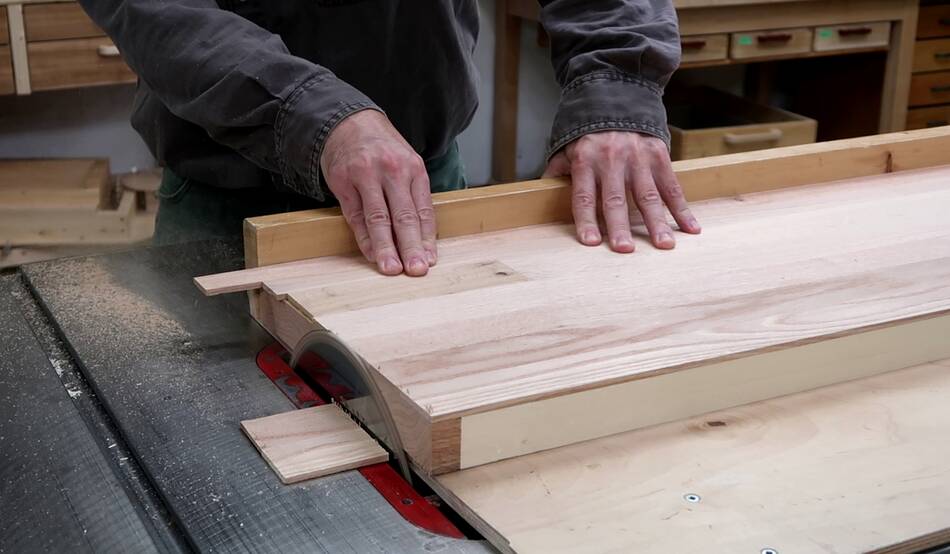
 I cut the rabbet by making two cuts from two sides on the table saw, then
cleaning it up with a chisel.
I cut the rabbet by making two cuts from two sides on the table saw, then
cleaning it up with a chisel.
 Then gluing the strips of hardwood into the rabbet I cut.
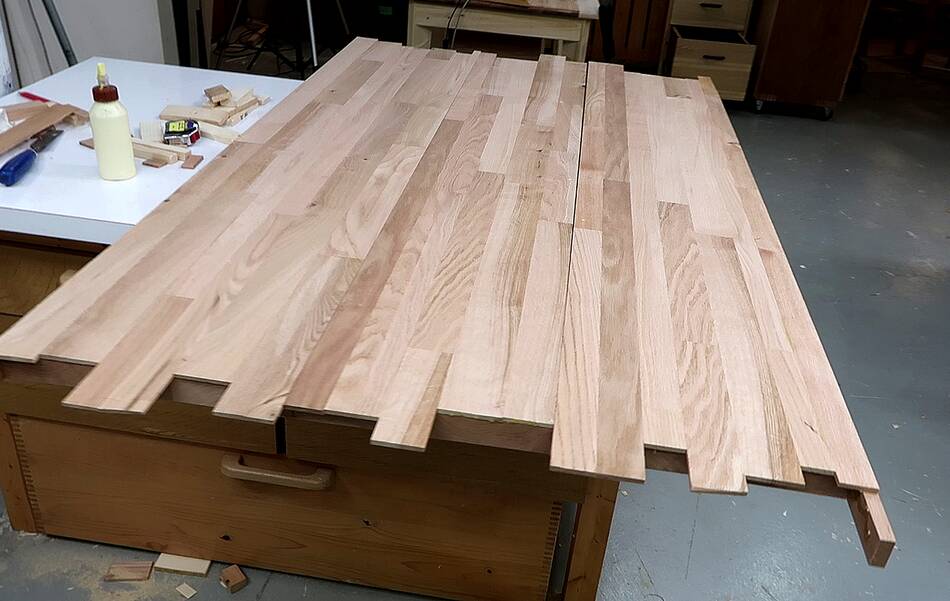 So far I had not cut the overhang off the ends of the strips I glued onto
the top. The reason I hand't cut that off was because I wanted to
make one final pass through the thickness planer before jointing the pieces
together. And the overhang on the ends would ensure that the planer snipe
would get smoothed out and on the end of the piece, not 5 cm in from the
end where it's really noticeable.
So far I had not cut the overhang off the ends of the strips I glued onto
the top. The reason I hand't cut that off was because I wanted to
make one final pass through the thickness planer before jointing the pieces
together. And the overhang on the ends would ensure that the planer snipe
would get smoothed out and on the end of the piece, not 5 cm in from the
end where it's really noticeable.
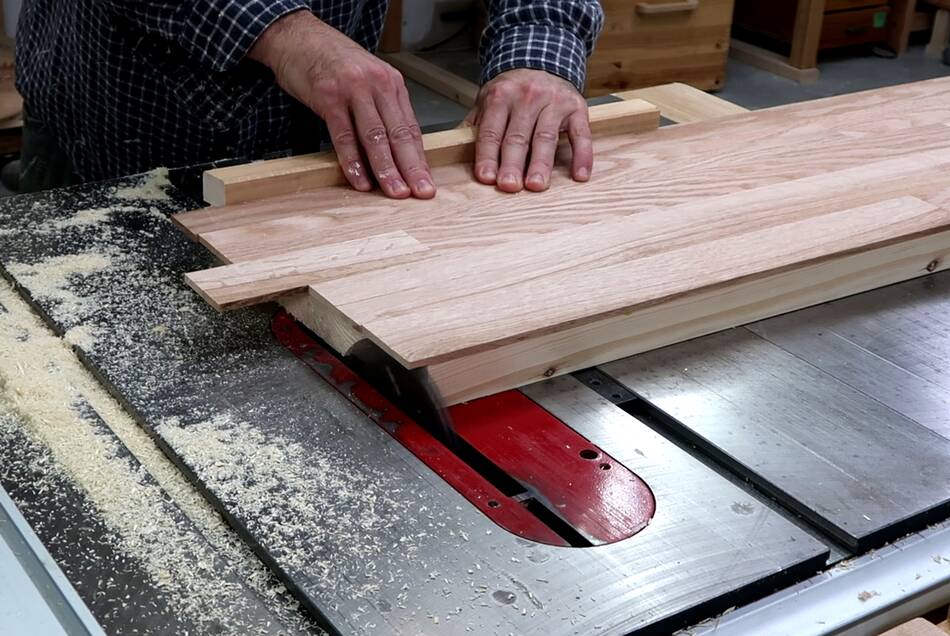
 Then after the final pass through the planer, I trimmed the ends flush.
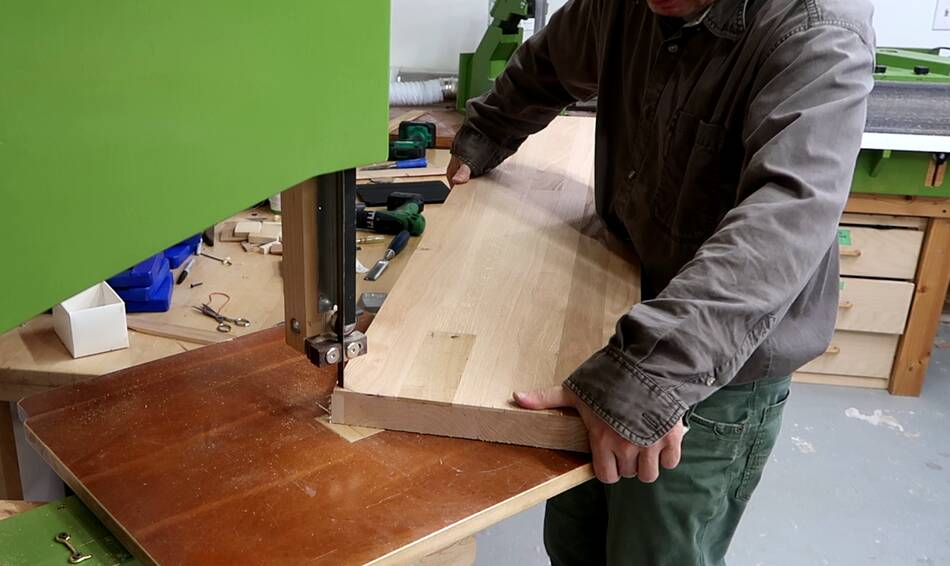 I cut the corners of the table round on the bandsaw. This is much easier when
the top is still in pieces.
I cut the corners of the table round on the bandsaw. This is much easier when
the top is still in pieces.
 After that, carefully doing the final jointing to make sure the 1.4 meter long
pieces will meet precisely along the whole length.
After that, carefully doing the final jointing to make sure the 1.4 meter long
pieces will meet precisely along the whole length.
Normally when laminating, if there is some half millimeter gap in the middle or the end, just a small amount of clamping force will bend the pieces to conform. But with the pieces this wide, I had to get the pieces exactly straight so they'd join along the whole length. This is where having a jointer that joints exactly straight is important. Fortunately, and perhaps surprisingly, my homemade wooden jointer did the job. It's over nine years old now.
 Carefully applying glue...
 .. and clamping it together. I got a bit of glue squeeze-out along the whole length,
but not too much, so I guess got the amount of glue just right.
.. and clamping it together. I got a bit of glue squeeze-out along the whole length,
but not too much, so I guess got the amount of glue just right.
The middle or the boards were slightly misaligned, and my long reach clamps were not long enough to reach the middle to clamp them into being flush, so I put two 20 lb barbells on the board that was higher, and that was enough to get the pieces flush.
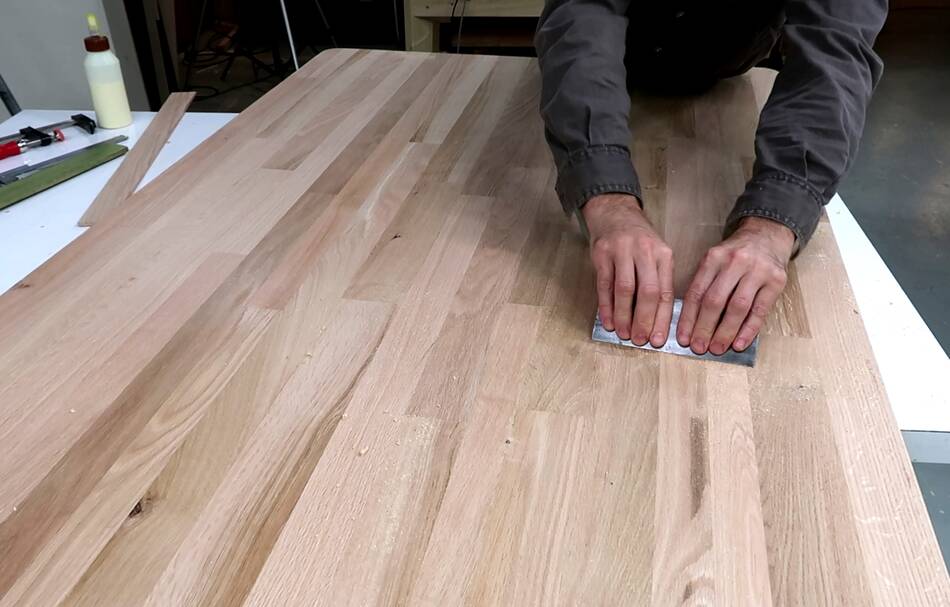 After gluing the three pieces together, I smoothed out he transitions with
a cabinet scraper.
Fortunately, there was only two spots where I had a height difference of
about 0.1 mm (about .004"). A cabinet scraper is much better than sanding
for not introducing waviness to the surface. The cabinet scraper was also useful
for taking out slight ridges in the surface because the knives in my planer
have nicks in them.
After gluing the three pieces together, I smoothed out he transitions with
a cabinet scraper.
Fortunately, there was only two spots where I had a height difference of
about 0.1 mm (about .004"). A cabinet scraper is much better than sanding
for not introducing waviness to the surface. The cabinet scraper was also useful
for taking out slight ridges in the surface because the knives in my planer
have nicks in them.
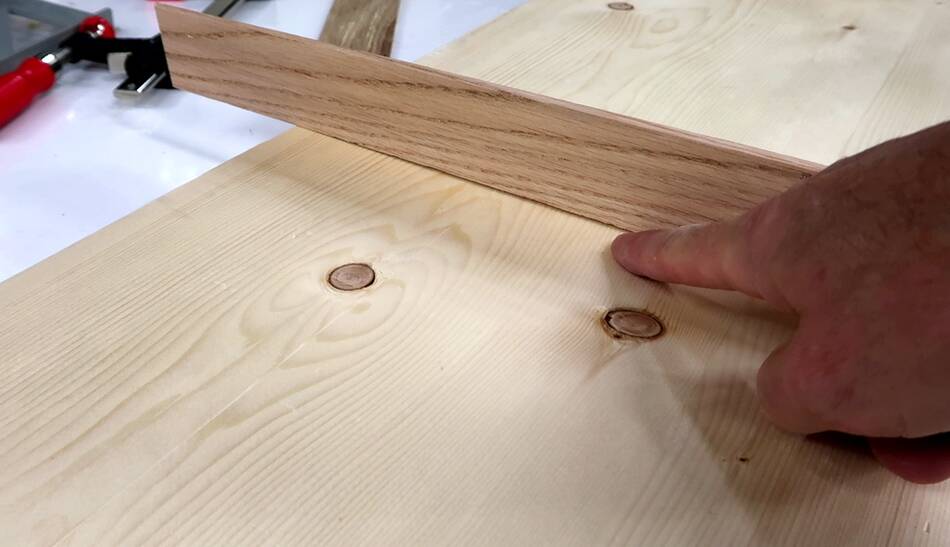
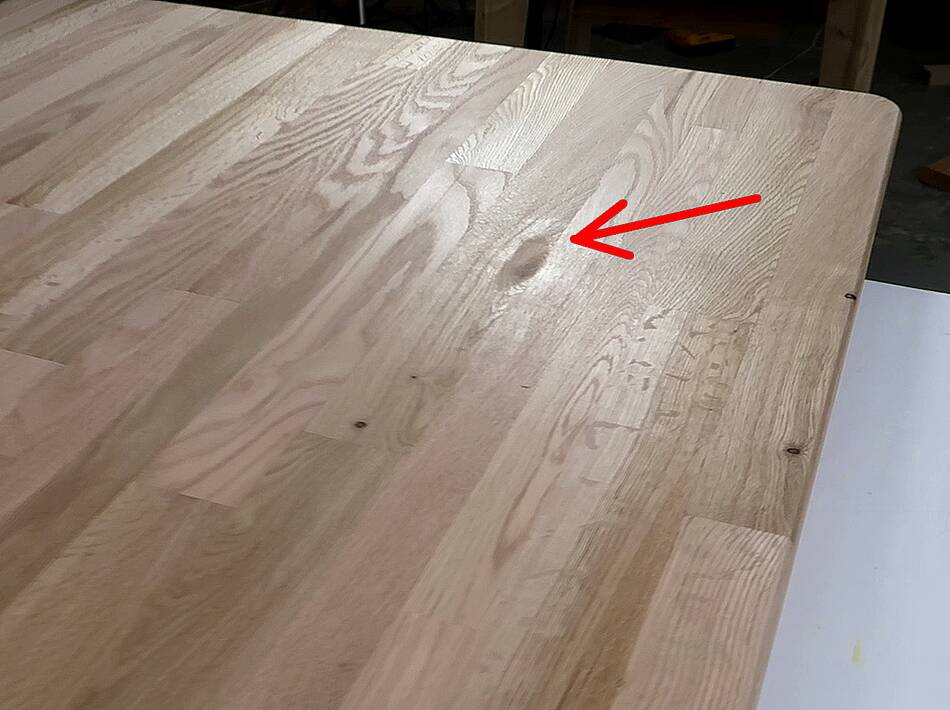 The scraper leaves a very smooth surface that has a bit of a shine to it, even
without varnish. But it doesn't work that well on knots. The arrow at left
points to and area I sanded because of a knot, and you can see how the sandpaper
took off the shine. I scraped that area some more to smooth it out again.
The scraper leaves a very smooth surface that has a bit of a shine to it, even
without varnish. But it doesn't work that well on knots. The arrow at left
points to and area I sanded because of a knot, and you can see how the sandpaper
took off the shine. I scraped that area some more to smooth it out again.
 Then adding a 1/4" (6 mm) round-over to the top and bottom
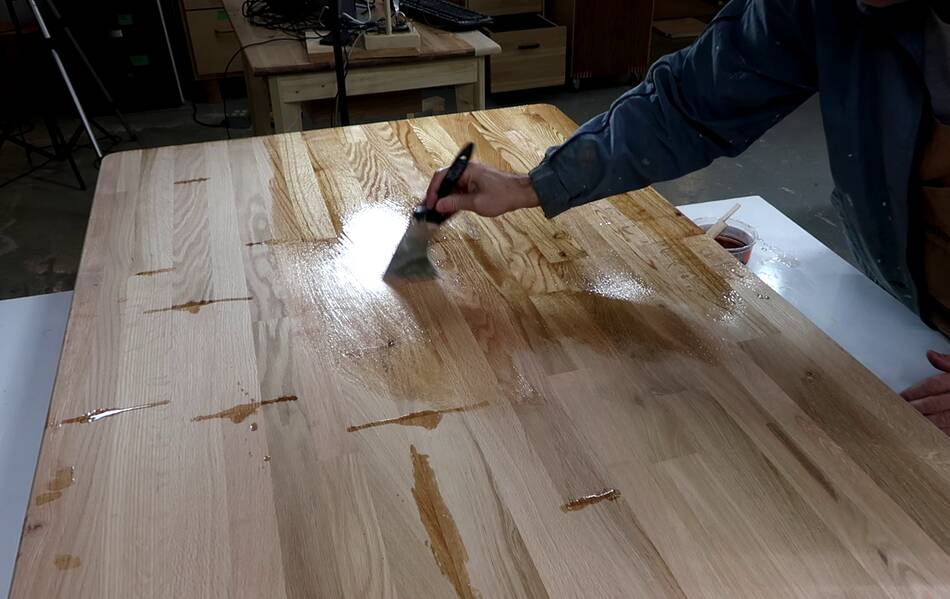 And finally four coats of oil based varnish. I dabbed a little bit of varnish
on some of the joints that had tiny gaps in them to fill them with varnish
before applying it to the whole surface.
And finally four coats of oil based varnish. I dabbed a little bit of varnish
on some of the joints that had tiny gaps in them to fill them with varnish
before applying it to the whole surface.
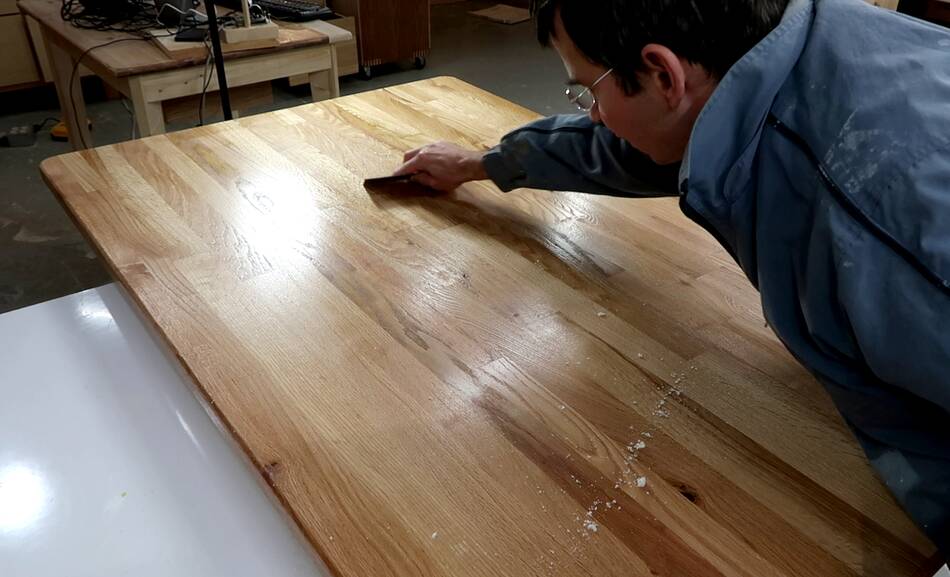 And between coats, I also used a cabinet scraper to scrape over any bumps
in the varnish instead of sanding.
Though after the second coat, there weren't many bumps.
And between coats, I also used a cabinet scraper to scrape over any bumps
in the varnish instead of sanding.
Though after the second coat, there weren't many bumps.
 I varnished it on both sides, propping the table top up on small wooden triangles
I made just for this, so that the underside could dry too. The initial coat took
12 hours to feel dry to the touch. For the next coats I had my air cleaner
blow air at it while it dried, and that got it to dry to the touch within about
two hours. I applied four coats on the top and three on the bottom.
I varnished it on both sides, propping the table top up on small wooden triangles
I made just for this, so that the underside could dry too. The initial coat took
12 hours to feel dry to the touch. For the next coats I had my air cleaner
blow air at it while it dried, and that got it to dry to the touch within about
two hours. I applied four coats on the top and three on the bottom.
This oil based Varathane is a different formulation from stuff I bought in 2017 or earlier. It's less smelly, dries faster, and a partly used can doesn't develop a skin on it like the old stuff always did. So it's much more convenient to use. But I don't know if it will be as resilient to cracking and as good at keeping moisture out as the old stuff was. Dining tables get lots of dings and spills, especially with kids, so time will tell.
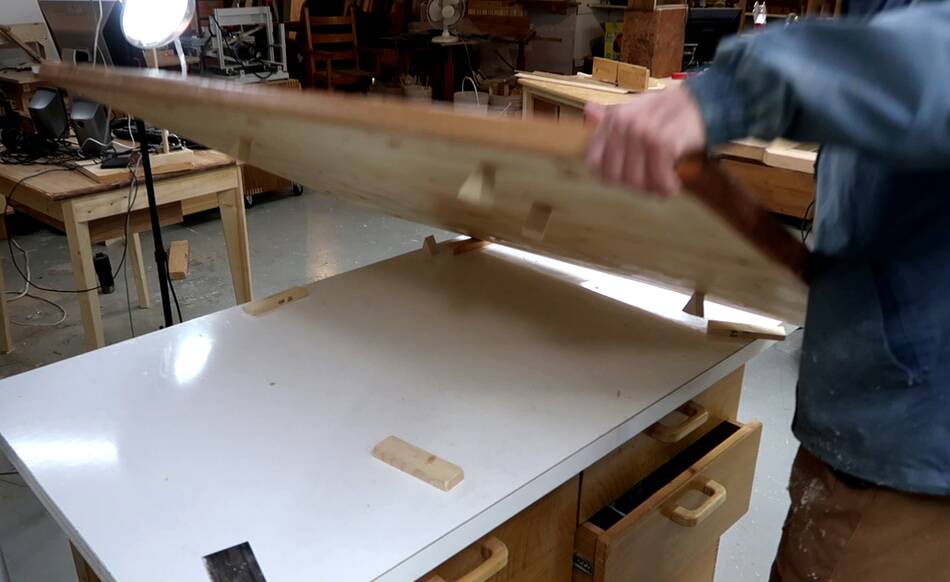
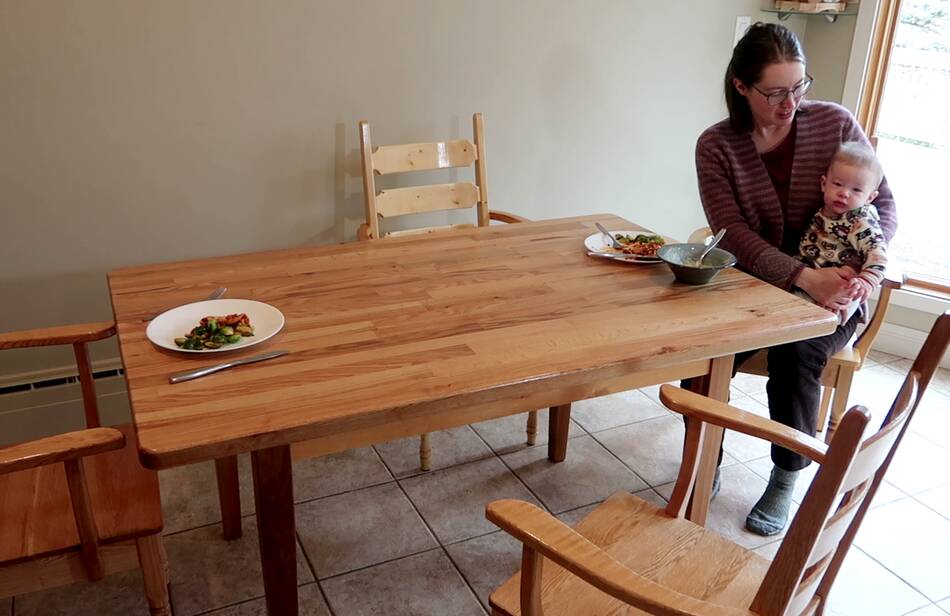 And finally, the top on the legs of the old table. I had been thinking of making
a set of legs to specifically go with this table top, but the legs from the old
table go really well with this one, so I'll just leave it like that for the time being.
And finally, the top on the legs of the old table. I had been thinking of making
a set of legs to specifically go with this table top, but the legs from the old
table go really well with this one, so I'll just leave it like that for the time being.
The glue-ups for this table were a crazy amount of work, so I don't particularly
recommend making a table top this way. If I was doing it again, I'd make the top
in four sections instead of three. I wouldn't have needed as many long reach
clamps that way. Smoothing the top surface of the joints between the three
pieces was easier than anticipated, so more sections would not have been more
trouble. And if I had glued the hardwood onto the ends and sides before gluing
all the pieces on top would also have saved some time.
 Wood tiled table top (2007)
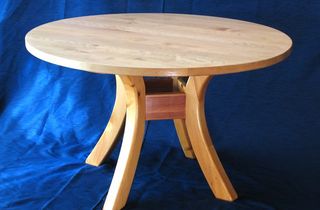 Round dining table (1996, 2007)
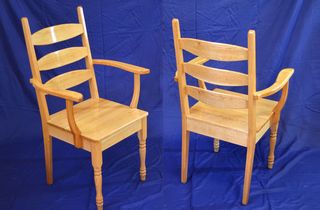 Kitchen chairs (2020)
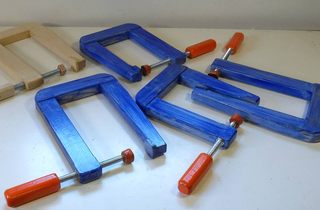 Long reach C-clamps (2011)
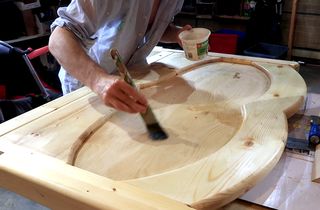 Varnishing tips (video, 2021)
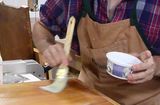 A simple varnish (2015)
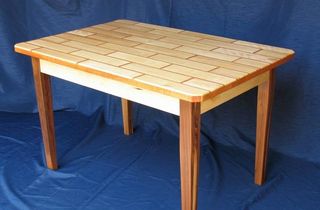 More tables
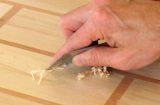 Using and sharpening