 Finishing, or varnishing is a mundane task at the end of a project,
so I usually skip over it in my articles and videos.
But enough people have asked "How do you varnish your projects?"
that I figured I'd dive into it in more detail.
Finishing, or varnishing is a mundane task at the end of a project,
so I usually skip over it in my articles and videos.
But enough people have asked "How do you varnish your projects?"
that I figured I'd dive into it in more detail.
Finishing, or varnishing is a mundane task at the end of a project,
so I usually skip over it in my articles and videos.
But enough people have asked "How do you varnish your projects?"
that I figured I'd dive into it in more detail.
I'm no expert on varnishing, but I have a technique that works for me. My goal here is not advanced techniques, but to demystify the topic for beginners.

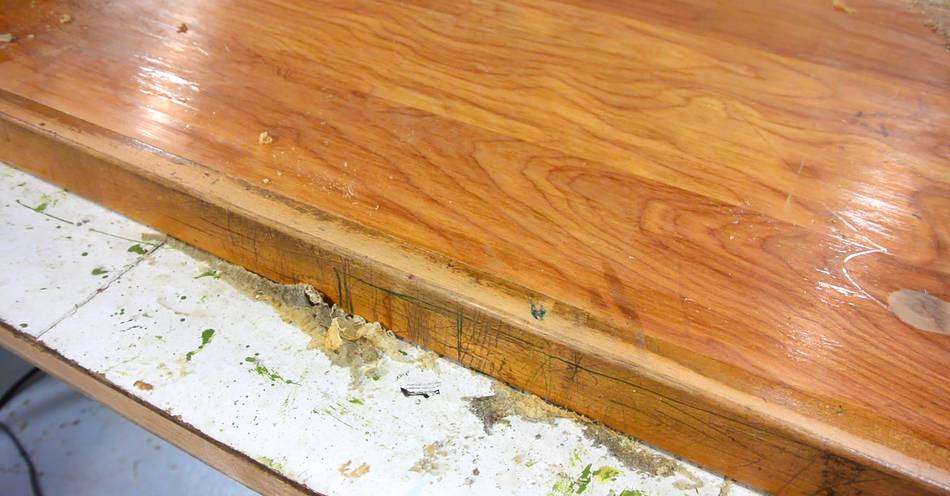
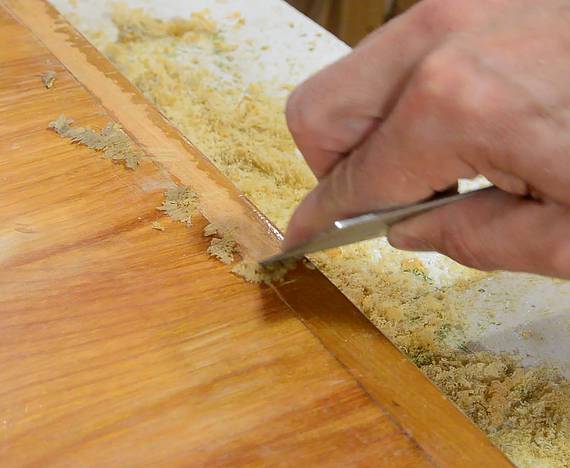 Here I'm re-varnishing the top for a dresser. The old varnish was an oil
based varnish and quite beat up. I start by scraping the varnish off
with a cabinet scraper, though this could
also be done with a chisel. The scrapers
or chisels need frequent sharpening, but they work faster than sand paper, and
don't get plugged up.
Here I'm re-varnishing the top for a dresser. The old varnish was an oil
based varnish and quite beat up. I start by scraping the varnish off
with a cabinet scraper, though this could
also be done with a chisel. The scrapers
or chisels need frequent sharpening, but they work faster than sand paper, and
don't get plugged up.
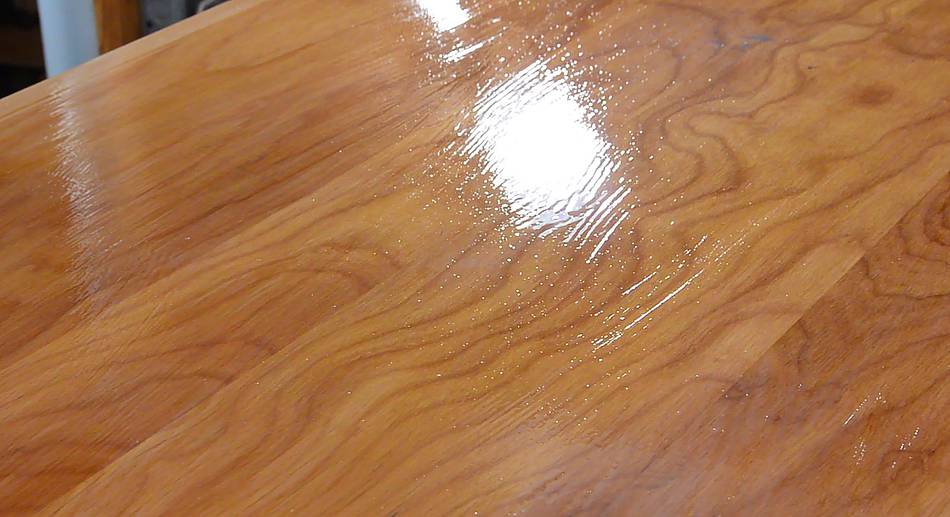
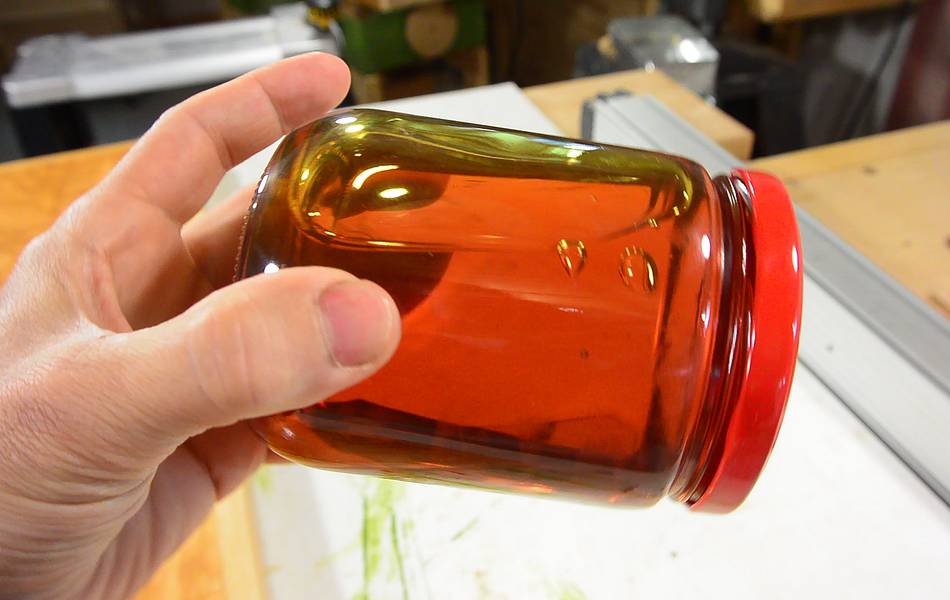
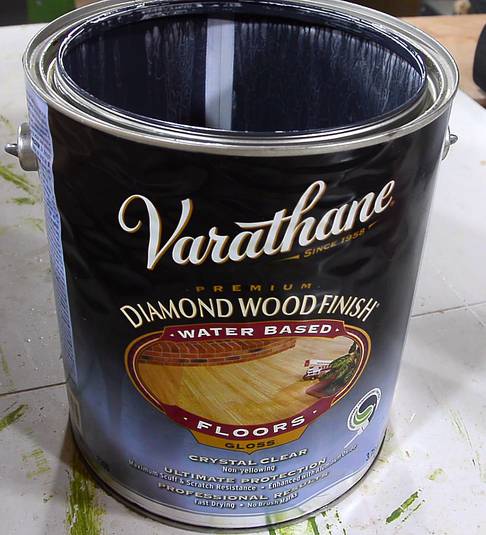 The varnish I use most often is this water based Varathane diamond floor varnish.
This all started with some remaining floor varnish (of a different brand) that was
left by the previous owner of the house I bought in 2007.
I used it on some of my projects, and I liked
how hard, smooth and slippery the surface came out. So I started buying floor varnish
after that. Don't know if it makes much difference, but I distinctly have the impression
this stuff is harder and smoother.
The varnish I use most often is this water based Varathane diamond floor varnish.
This all started with some remaining floor varnish (of a different brand) that was
left by the previous owner of the house I bought in 2007.
I used it on some of my projects, and I liked
how hard, smooth and slippery the surface came out. So I started buying floor varnish
after that. Don't know if it makes much difference, but I distinctly have the impression
this stuff is harder and smoother.
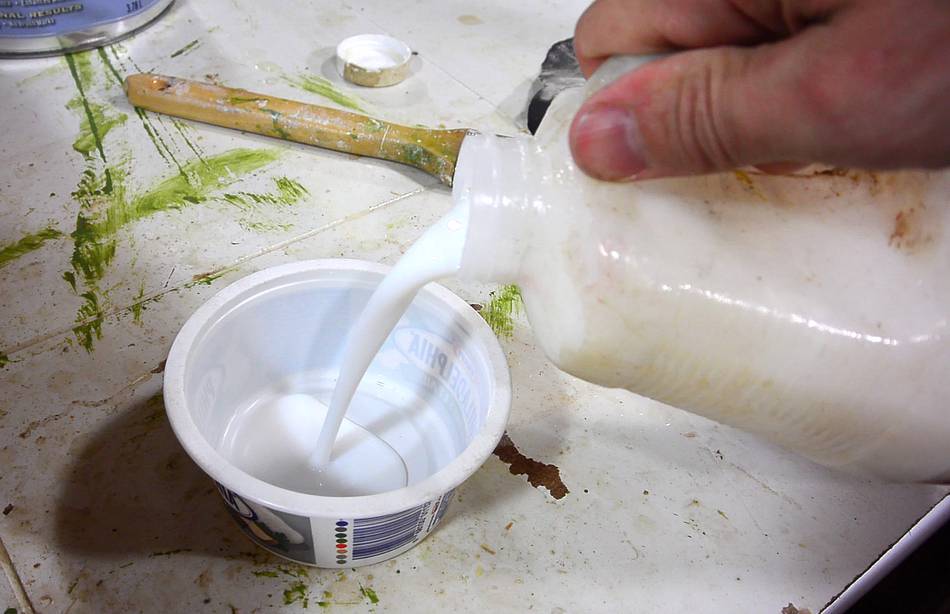
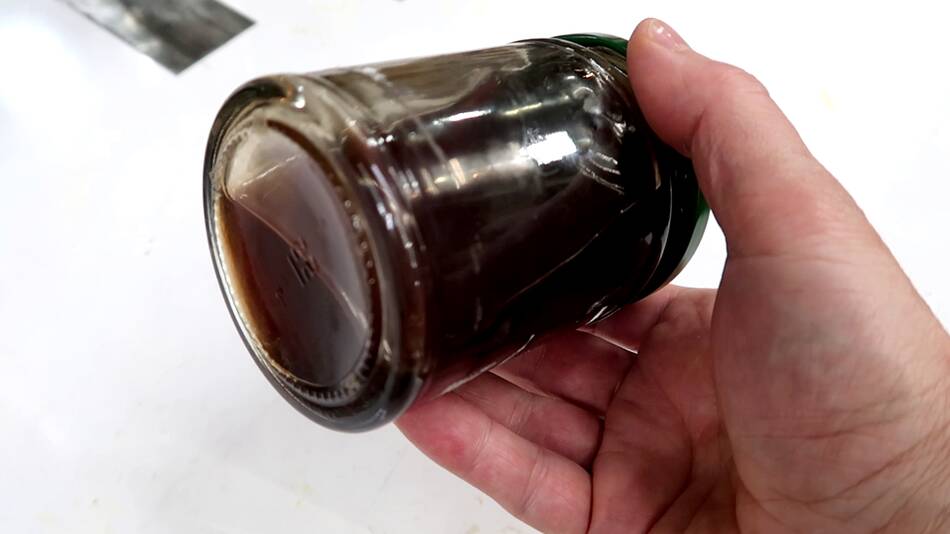
I transfer the content of the can to plastic jugs, which makes it easier to pour out small quantities and reseal the container. Unlike oil based varnishes, the water based varnish doesn't go bad in a plastic container, even if the container is mostly empty.
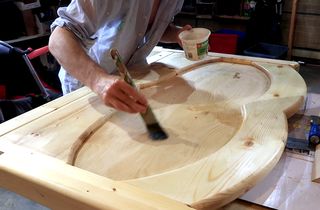
 I like to put it on quite thick on horizontal surfaces. Gravity causes it to level itself.
For vertical surfaces, I have to use thinner coats because otherwise it runs and I get
drip marks.
I like to put it on quite thick on horizontal surfaces. Gravity causes it to level itself.
For vertical surfaces, I have to use thinner coats because otherwise it runs and I get
drip marks.
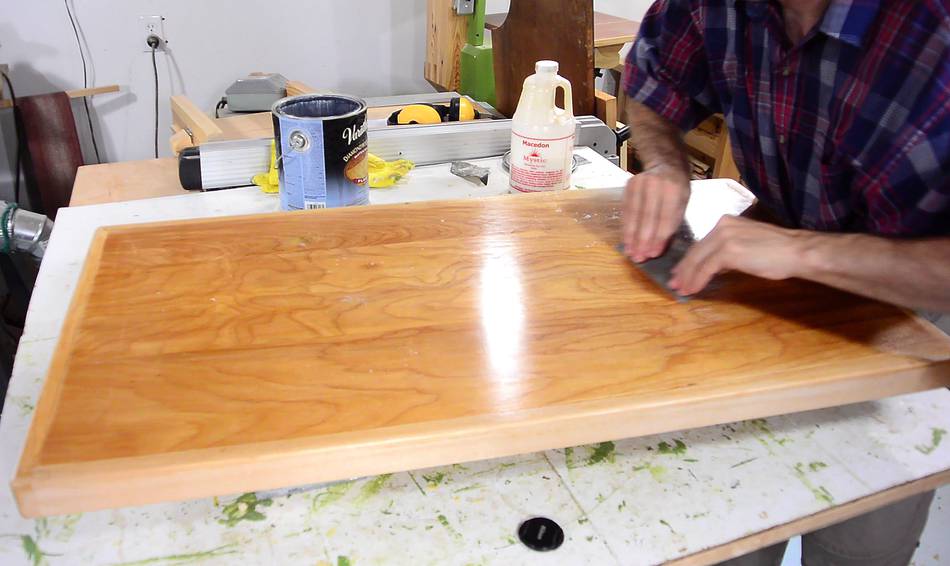
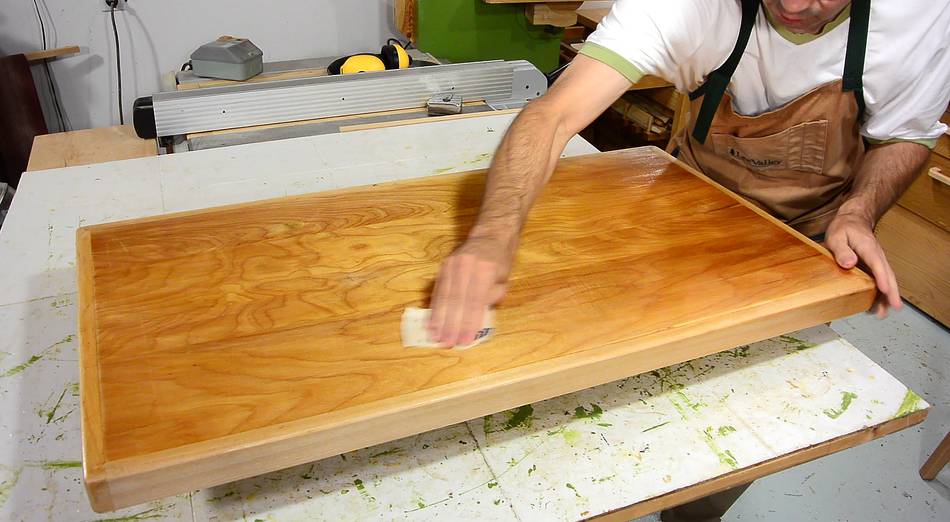
 Once the first coat is dry and no longer sticky, it's ready for a light sanding. If it's
warm and dry, this can be in as little as two hours. Sometimes I have to wait 12 hours.
Once the first coat is dry and no longer sticky, it's ready for a light sanding. If it's
warm and dry, this can be in as little as two hours. Sometimes I have to wait 12 hours.
I prefer to use a scraper instead of sandpaper for flat surfaces. The scraper cuts off the bumps more effectively than sandpaper.
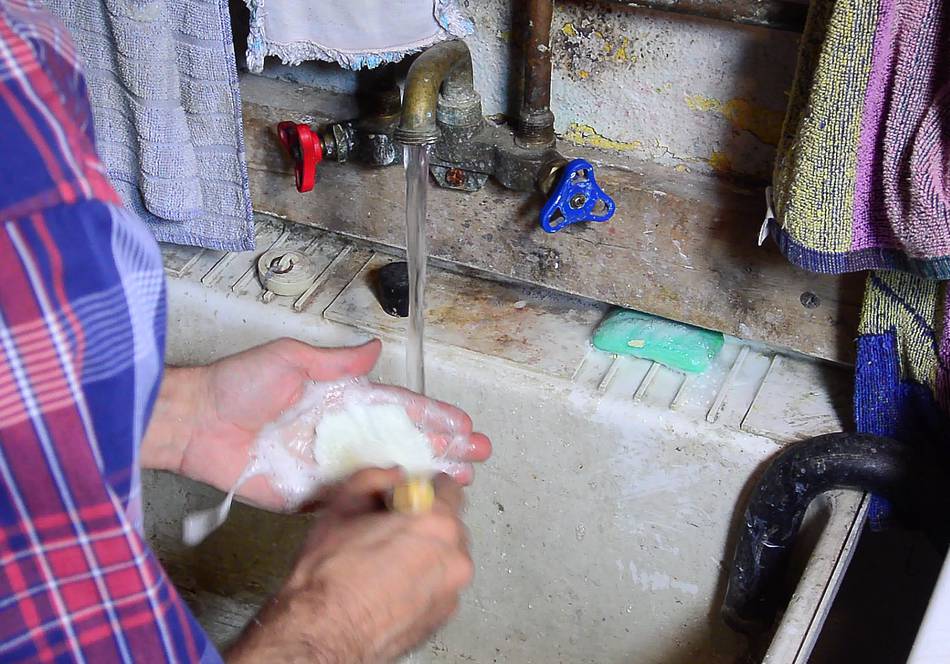 Between coats, I clean the brush with soap and hot water. I lather up the brush
with a bar of soap on the edge of the sink, then rub it in my hand until it becomes
foamy, and rinse it off, then repeat.
The varnish dries fast, so it's important to clean the brush immediately
after use. I reuse the same brush probably about 100 times.
Between coats, I clean the brush with soap and hot water. I lather up the brush
with a bar of soap on the edge of the sink, then rub it in my hand until it becomes
foamy, and rinse it off, then repeat.
The varnish dries fast, so it's important to clean the brush immediately
after use. I reuse the same brush probably about 100 times.
 It takes at least three coats with the water based varnish. For softwood, such as spruce,
pine or fir, it takes more coats, usually five.
It takes at least three coats with the water based varnish. For softwood, such as spruce,
pine or fir, it takes more coats, usually five.
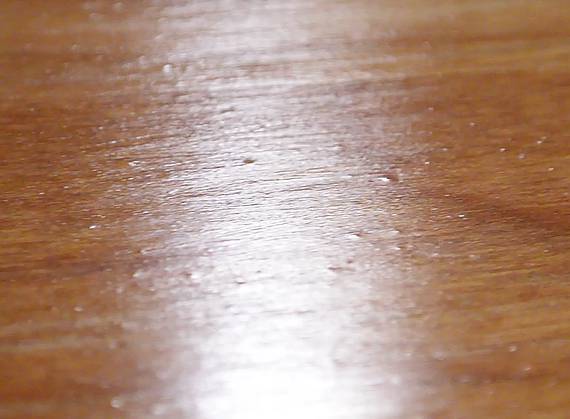
I only sand lightly before the final coat to avoid accidentally putting gashes in the surface with a scraper.
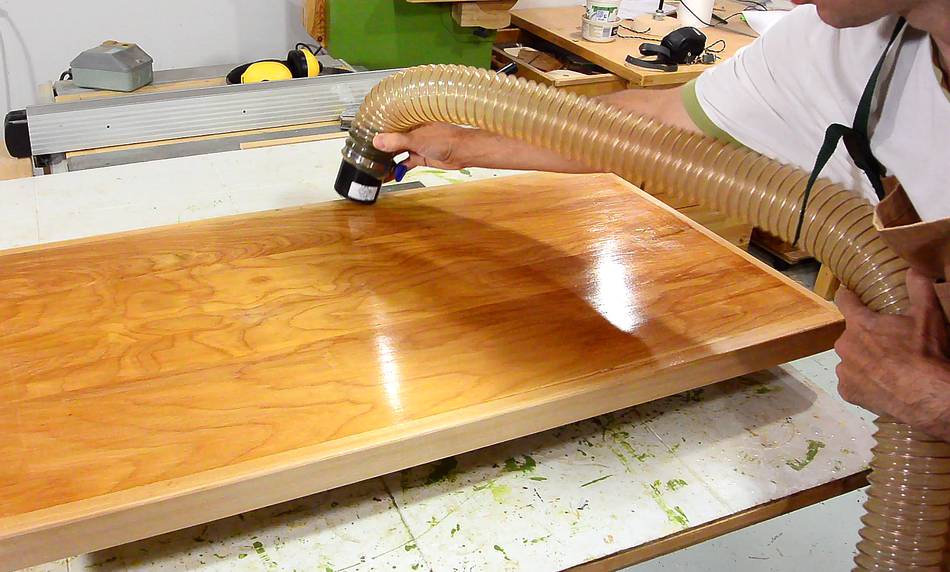 I also try to make sure the surface is free of dust. Here I'm sucking the dust off with
my dust collector.
I also try to make sure the surface is free of dust. Here I'm sucking the dust off with
my dust collector.

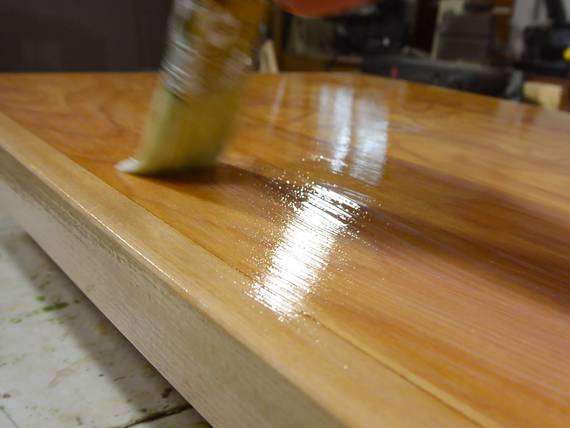 Final coat, being more careful not to miss a spot.
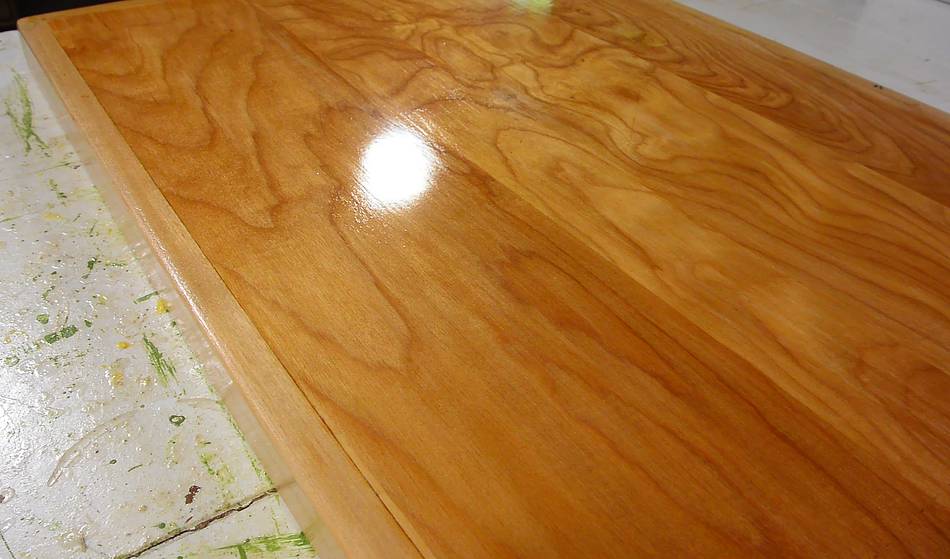 And here's the final result. Not perfect, but much better than it was.
On rare occasions, if I have a lot of complex parts to varnish, and I can work outside, I apply the varnish outside with spray gun. But most of the time, the hassle of spray gun cleanup and hazards of airborne overspray make using a spray gun not worth the trouble.
 The above is for a water based varnish. Water based varnishes are quicker and easier
than oil based varnishes, but oil based varnishes do have their advantages. Water based
varnishes really only became common in the 1990s. Anything hand-made before 1990
is most likely finished with an oil based varnish.
The above is for a water based varnish. Water based varnishes are quicker and easier
than oil based varnishes, but oil based varnishes do have their advantages. Water based
varnishes really only became common in the 1990s. Anything hand-made before 1990
is most likely finished with an oil based varnish.
There are applications where an oil based varnish would be better, but I use a water based varnish, simply because it's more convenient. A major disincentive for using oil based varnish is that after the second use, it's just about impossible to perfectly seal the paint can, and the varnish will go bad. And the oil based varnish will not keep in a plastic container. I tried pouring leftover varnish into glass containers, and it seem to keep well in those. The other major disadvantage is that brushes need to be cleaned with paint thinner. Cleaning with paint thinner is a lot more work because you can't just use your hands under a running tap. More on using oil based varnish
 Update 2020
The above was in 2015. It appears the formulation for Varathane changed some time between 2018 and 2020 to something darker and murky looking. But this newer varnish doesn't go bad as fast in a partly used can as the old stuff did. It also dries faster once applied, though not as fast as the water based stuff. It's also less smelly. This makes the oil based stuff nearly as convenient to use as the old water based stuff.
Advantages of water based varnishes
• Dries faster
• Less odour
• Cleanup with water
• Wood does not yellow or darken as much over time
• Very hard surface, scratch resistant
• Half empty cans don't "go bad" as fast
Advantages of oil based varnishes
• More flexible, resilient to cracking
• Better where it can get wet (won't crack from repeated moisture exposure)
• Less moisture permeable (acts as a vapour barrier)
• More working time, able to get smoother finishes
• Doesn't stick to fingers and fingernails as much
Of course, there are many other types of varnish, like shellac, linseed oil, beeswax, tung oil, etc. But I'm no expert at varnishing. The technique I use is relatively fast and it works for me. I hope this page is useful to someone just getting started. But if you really want to get fancy with varnishes, I'm the wrong person to ask.
 Varnishing tips (video)
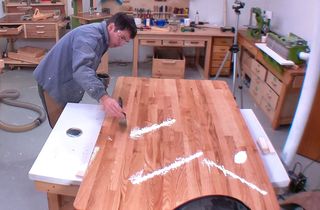 Table top glue-up and varnish
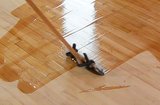 Floor refinishing by trial and error
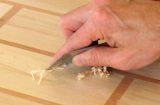 Working with cabinet scrapers
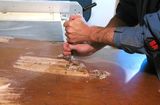 Refinishing a table top
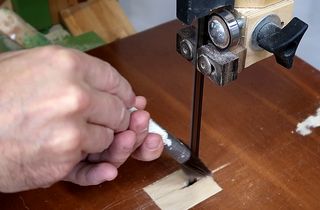 Soften a paintbrush with varnish dried into it
 Varnishing supports
 Experimenting with UV cured finish
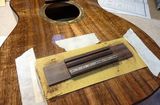 Pat Hawley on finishing a ukulele
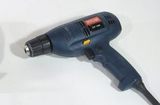 Beginning woodworking