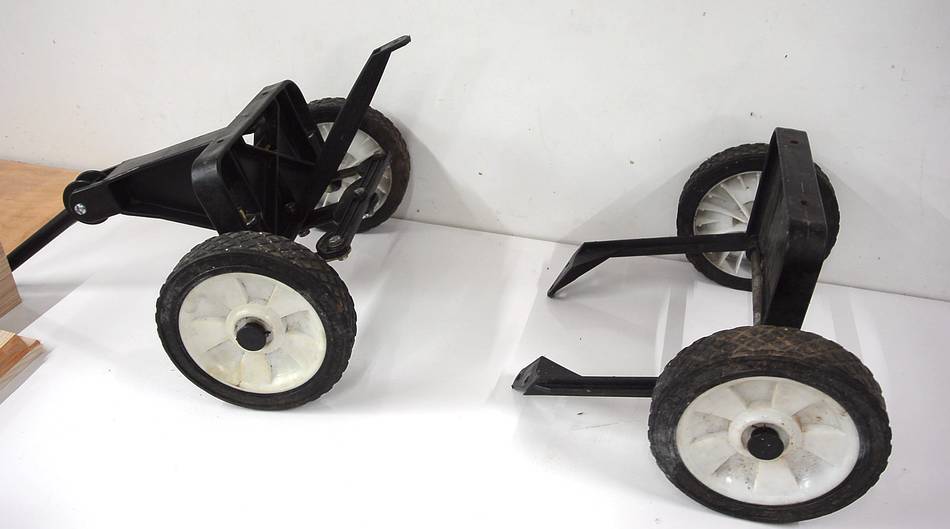
 This project started with parts of a small kid's wagon.
The particle board had long been destroyed from being left outside,
but the wheels and undercarriage, made of metal and plastic, were still good.
This project started with parts of a small kid's wagon.
The particle board had long been destroyed from being left outside,
but the wheels and undercarriage, made of metal and plastic, were still good.
This project started with parts of a small kid's wagon.
The particle board had long been destroyed from being left outside,
but the wheels and undercarriage, made of metal and plastic, were still good.
 I figured a deck with round-ish corners would be nice, so
I made an octagonal box to use as
a starting point.
I figured a deck with round-ish corners would be nice, so
I made an octagonal box to use as
a starting point.
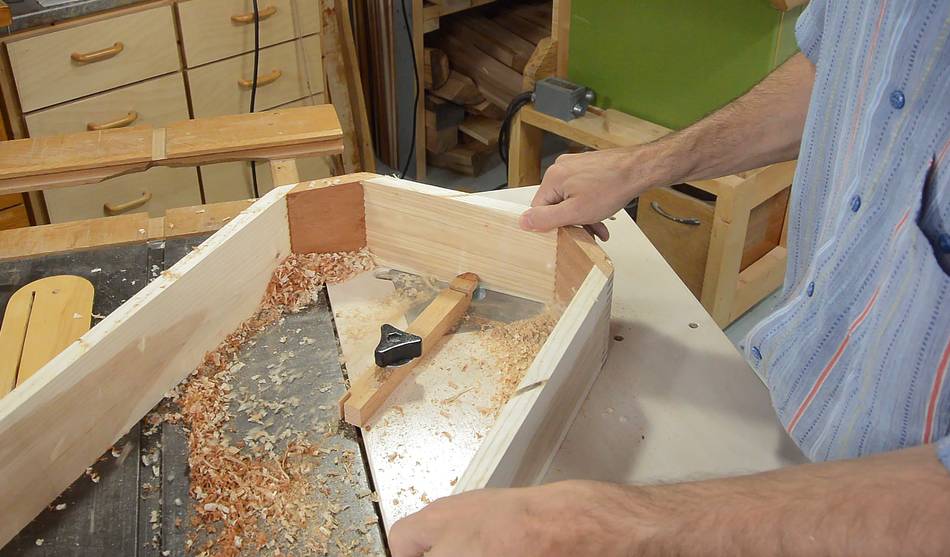
 I used my router (in the router lift)
to cut a rabbet on the bottom inside edge. I don't have a suitable rabbeting
bit, so I just made a guide to go over top of a 1" diameter straight bit
I used my router (in the router lift)
to cut a rabbet on the bottom inside edge. I don't have a suitable rabbeting
bit, so I just made a guide to go over top of a 1" diameter straight bit
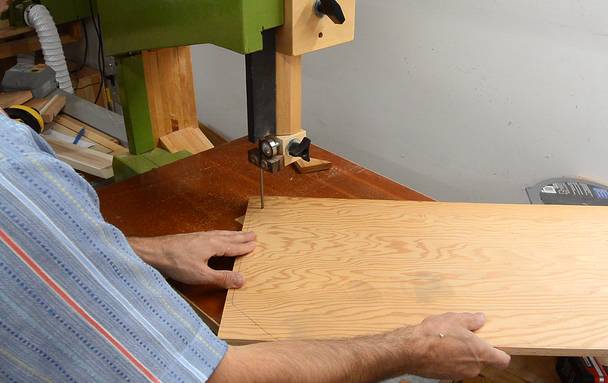 I then used a pencil to mark the rabbeted outline on a piece of plywood
and cut that out on the bandsaw.
I then used a pencil to mark the rabbeted outline on a piece of plywood
and cut that out on the bandsaw.
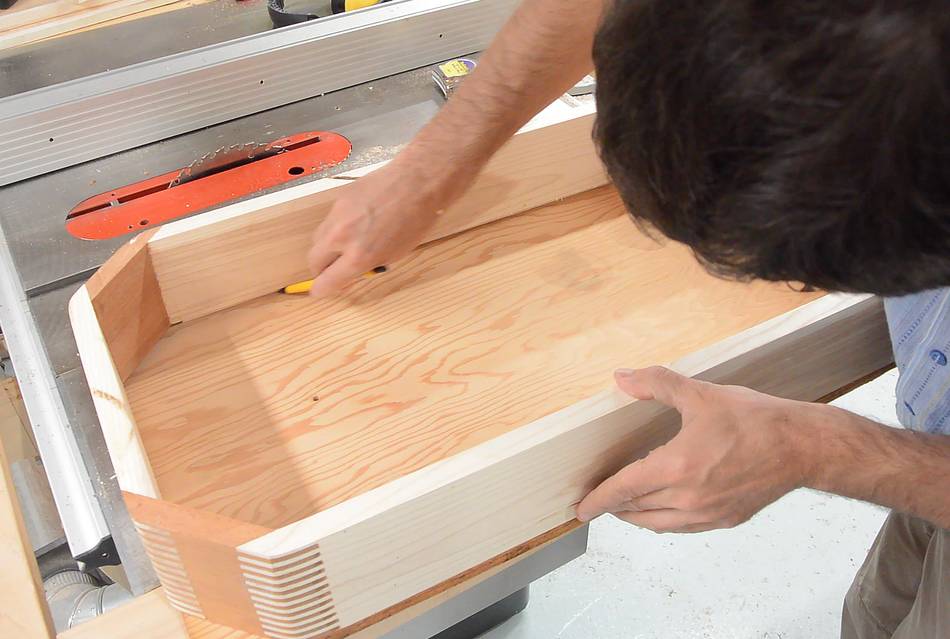
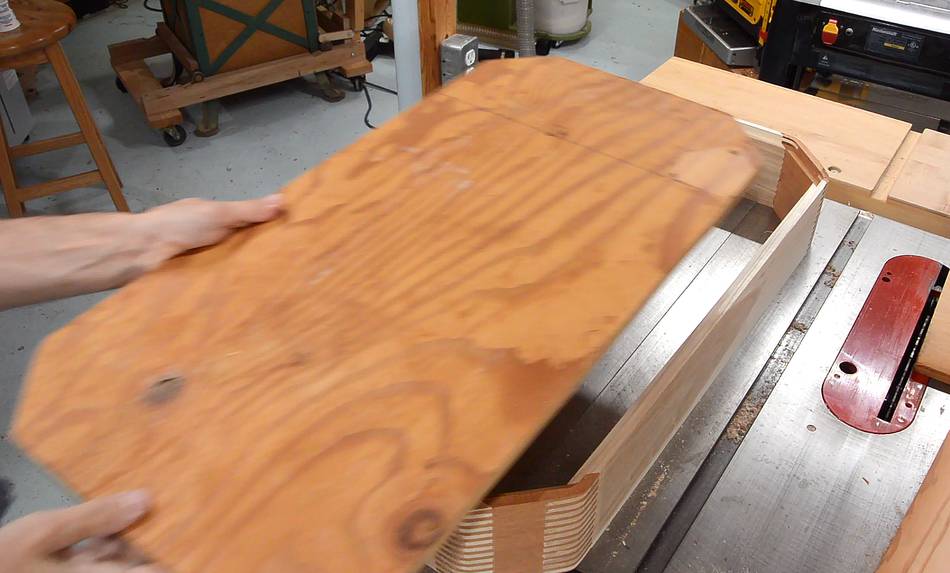 Checking the fit. It fit nicely (after a couple of tries and adjustments!)
This could be the wagon deck, but I had the idea of making it with gaps
in it to make it taller, look more interesting, and easier to hang on to.
 I cut the octagonal box into three layers...
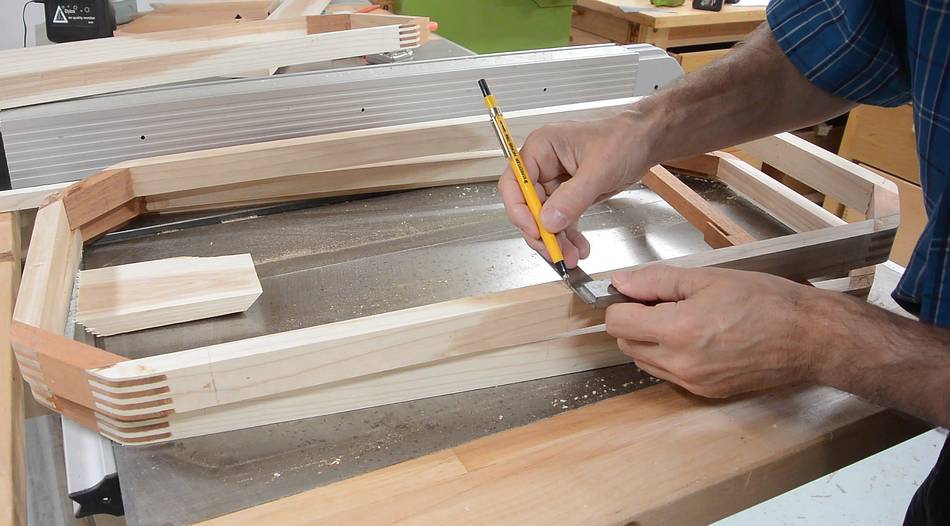
 ...then marked positions for dowel holes. First marking how far along
the wood to put the dowels (using lines I drew across the boards of the box
before cutting it into three strips)
...then marked positions for dowel holes. First marking how far along
the wood to put the dowels (using lines I drew across the boards of the box
before cutting it into three strips)
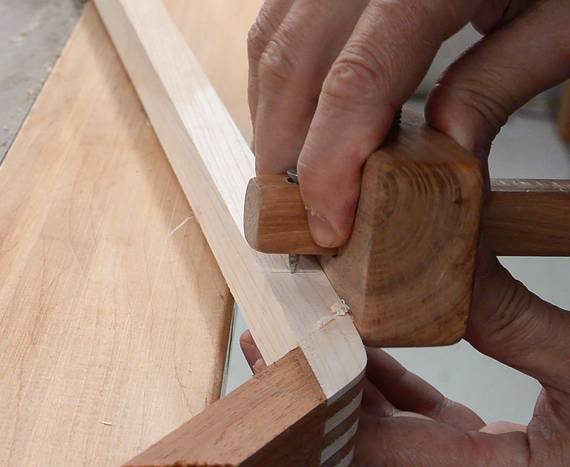
I used a marking gauge to make divots a consistent distance from the outside edge.
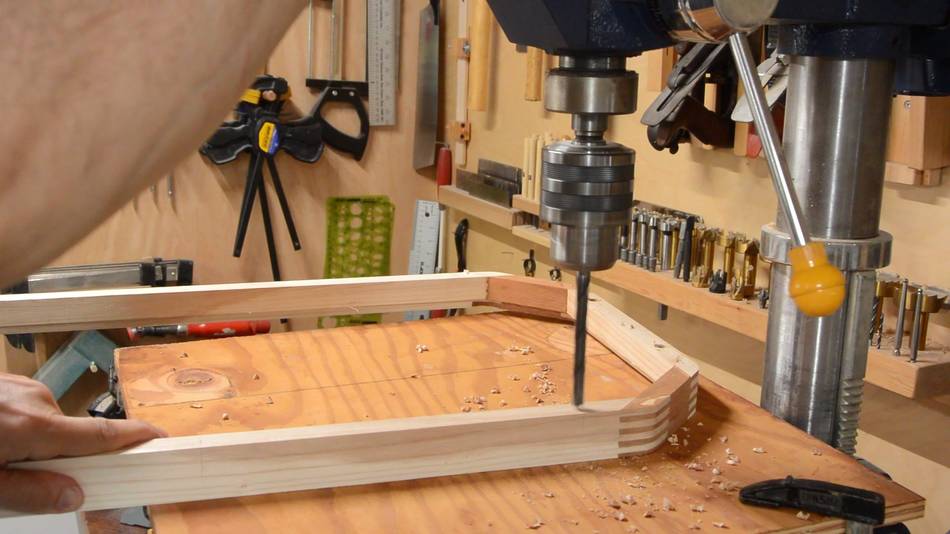 Then drilling 3/8" (9.5 mm) holes where marked, three along the long
edges, two along the short.
Then drilling 3/8" (9.5 mm) holes where marked, three along the long
edges, two along the short.
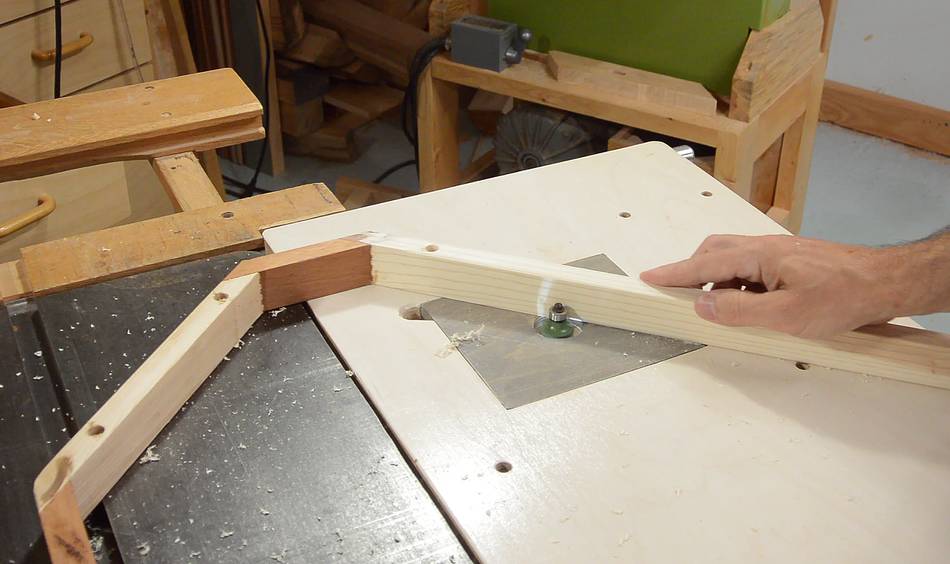
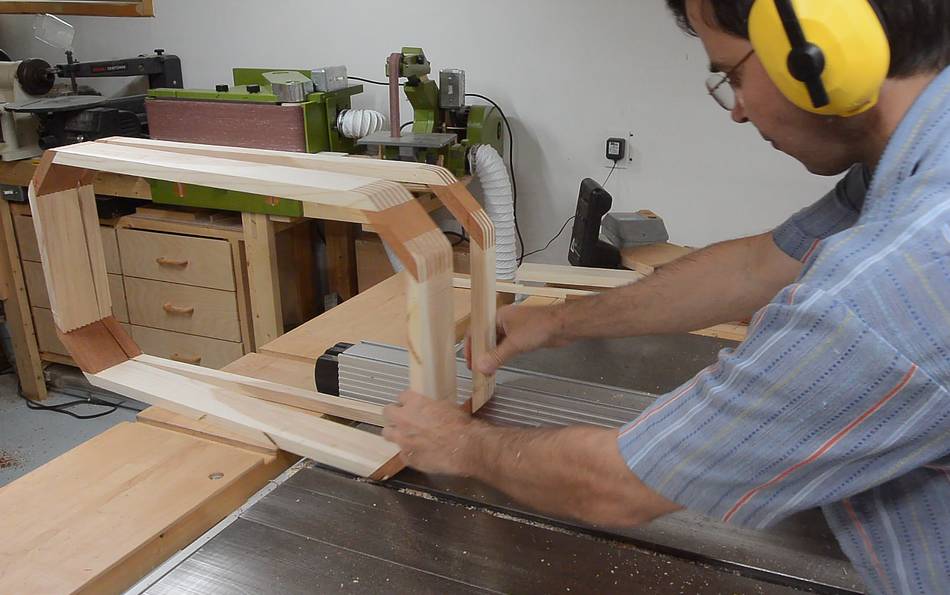
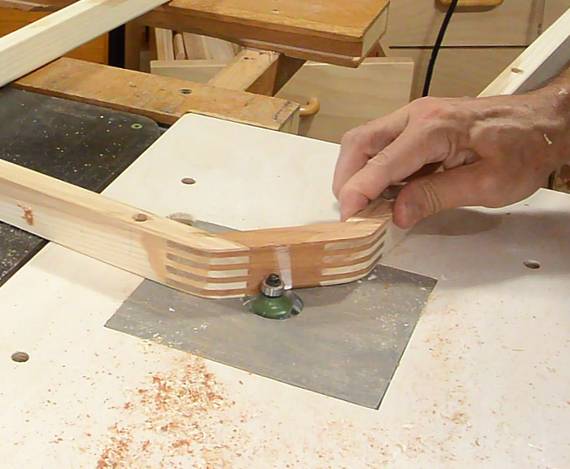 I also rounded the edges of the pieces using a 1/4" (6 mm) roundover bit.
I slightly lowered the bit for the edges between the boards to make for
less of a roundover.
I also rounded the edges of the pieces using a 1/4" (6 mm) roundover bit.
I slightly lowered the bit for the edges between the boards to make for
less of a roundover.
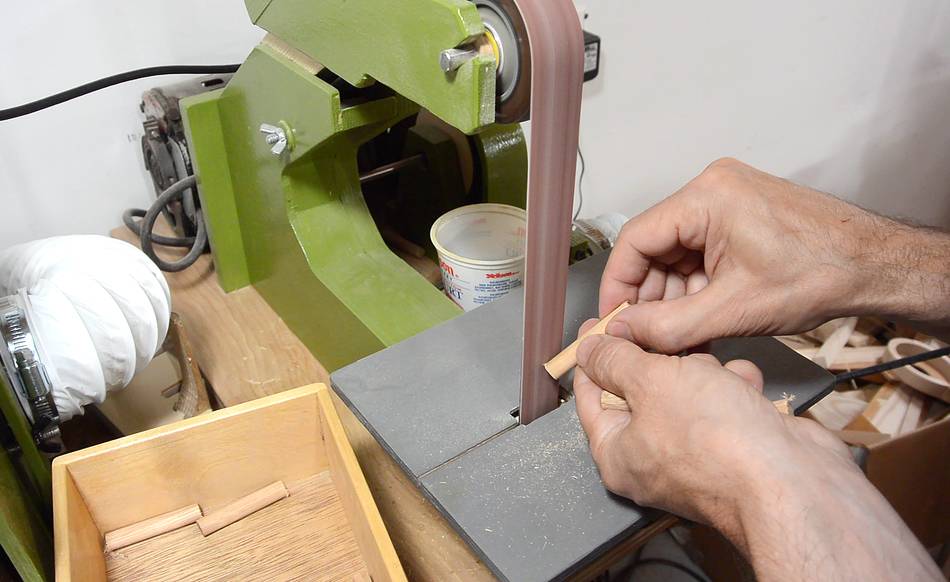
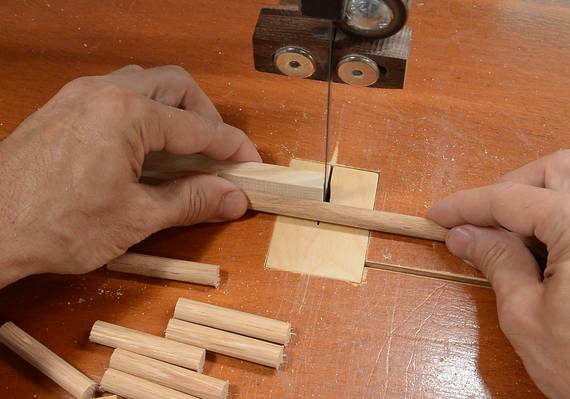 Then cutting 20 pieces of dowel 5 cm long and
adding a slight chamfer to the ends on the
1" belt sander.
Then cutting 20 pieces of dowel 5 cm long and
adding a slight chamfer to the ends on the
1" belt sander.
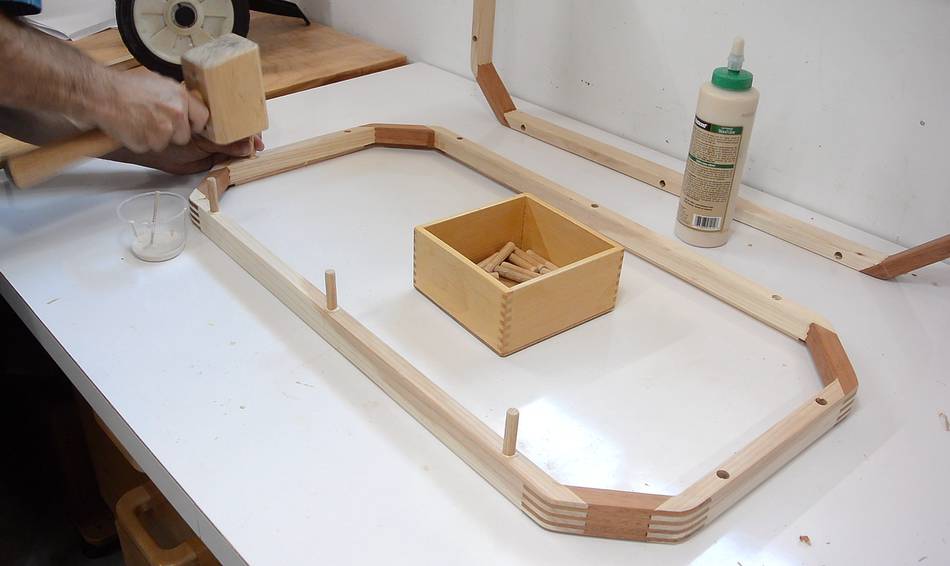
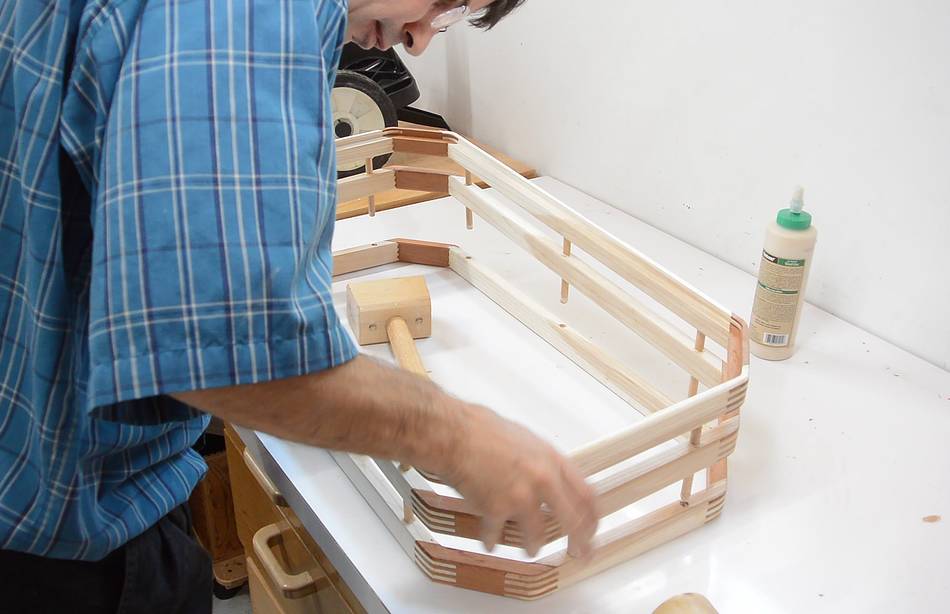
 I glued dowels in one of the pieces, then applied glue to the holes
in the mating piece and to the ends of the dowels I just glued in.
I glued dowels in one of the pieces, then applied glue to the holes
in the mating piece and to the ends of the dowels I just glued in.
 Then mating the pieces together.
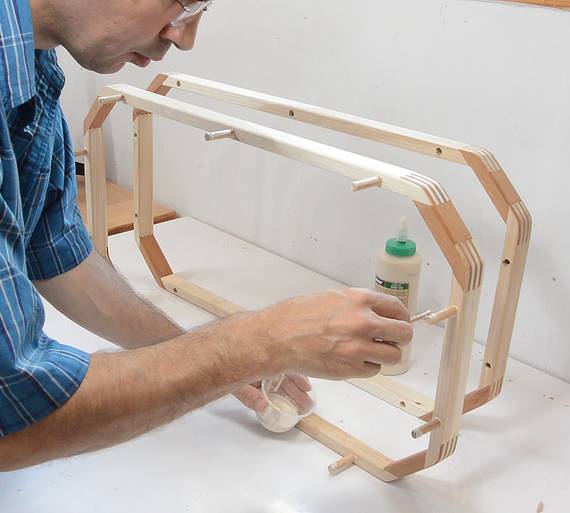
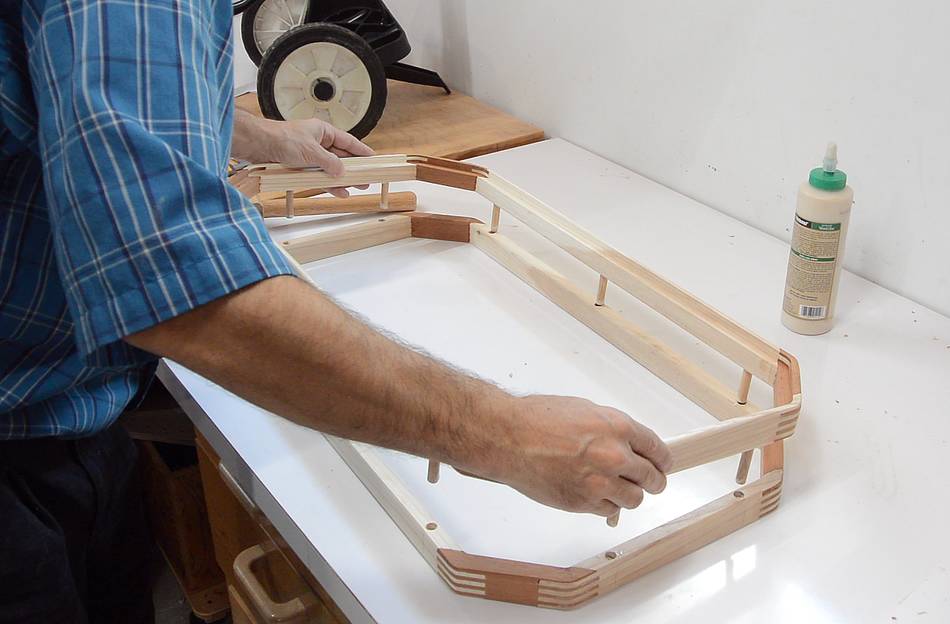
 Same procedure for adding the third layer.
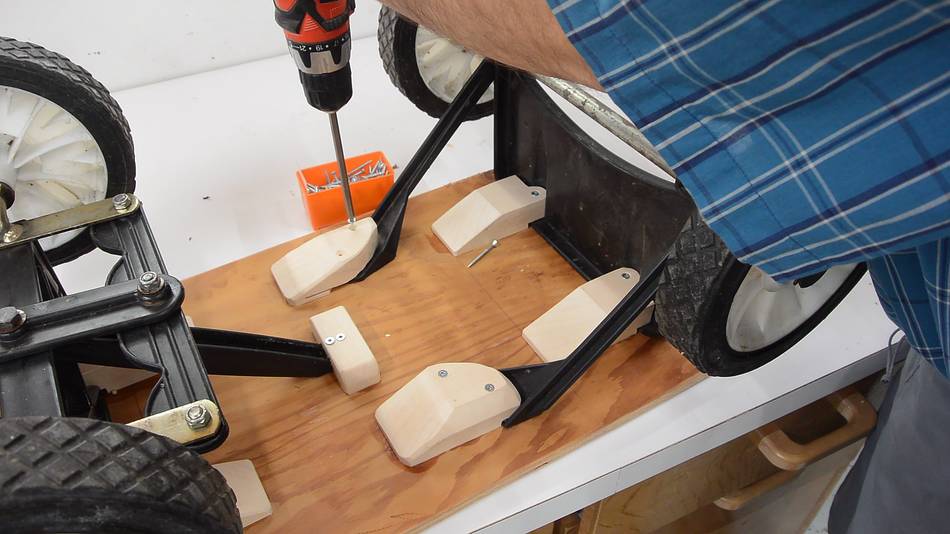 The wagon's undercarriage was originally attached to the deck with
carriage bolts. But I had the idea of making some wooden blocks to glue
to the underside instead, then attaching the under carriage by
screwing through the blocks and the plastic
supports. The screws are short enough not to protrude
through the deck.
The wagon's undercarriage was originally attached to the deck with
carriage bolts. But I had the idea of making some wooden blocks to glue
to the underside instead, then attaching the under carriage by
screwing through the blocks and the plastic
supports. The screws are short enough not to protrude
through the deck.
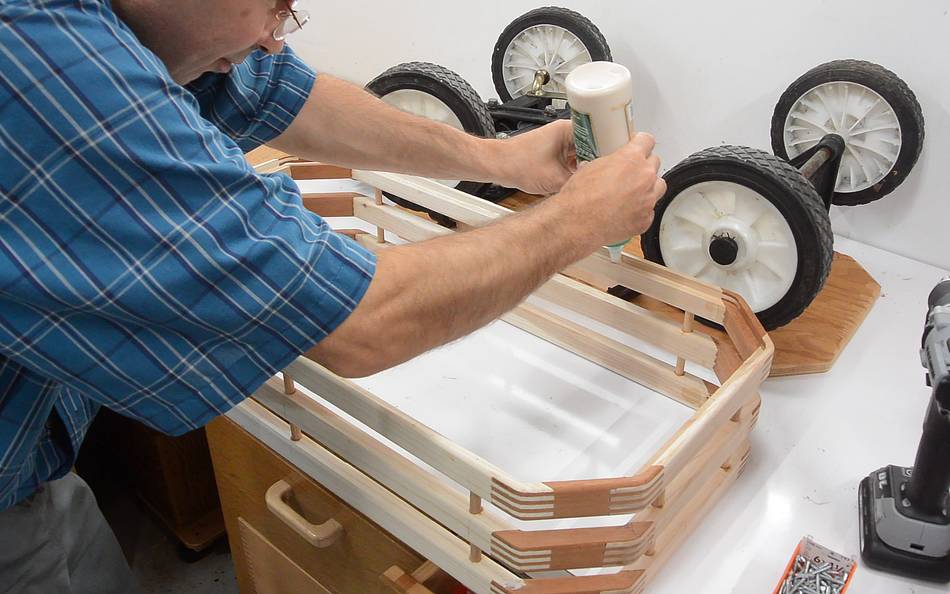 I applied a bead of glue inside the rabbet I routed earlier, then put the
deck bottom in place.
I applied a bead of glue inside the rabbet I routed earlier, then put the
deck bottom in place.
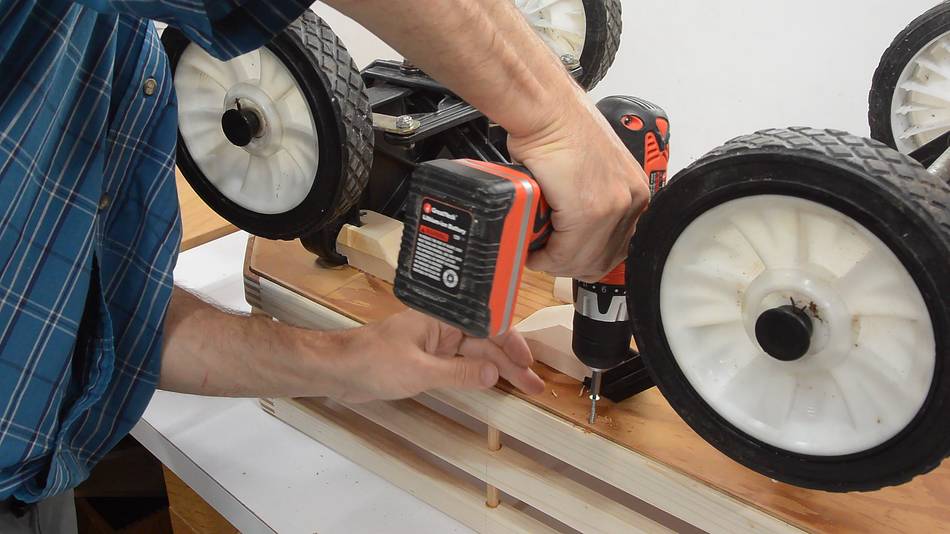 Two screws along each side help hold the deck and railing together.
 Being a kid's toy, this wagon is likely to get wet. My usual
water based varnish doesn't stand
up well to repeated water exposure, so I used some oil based Varathane
instead.
Being a kid's toy, this wagon is likely to get wet. My usual
water based varnish doesn't stand
up well to repeated water exposure, so I used some oil based Varathane
instead.
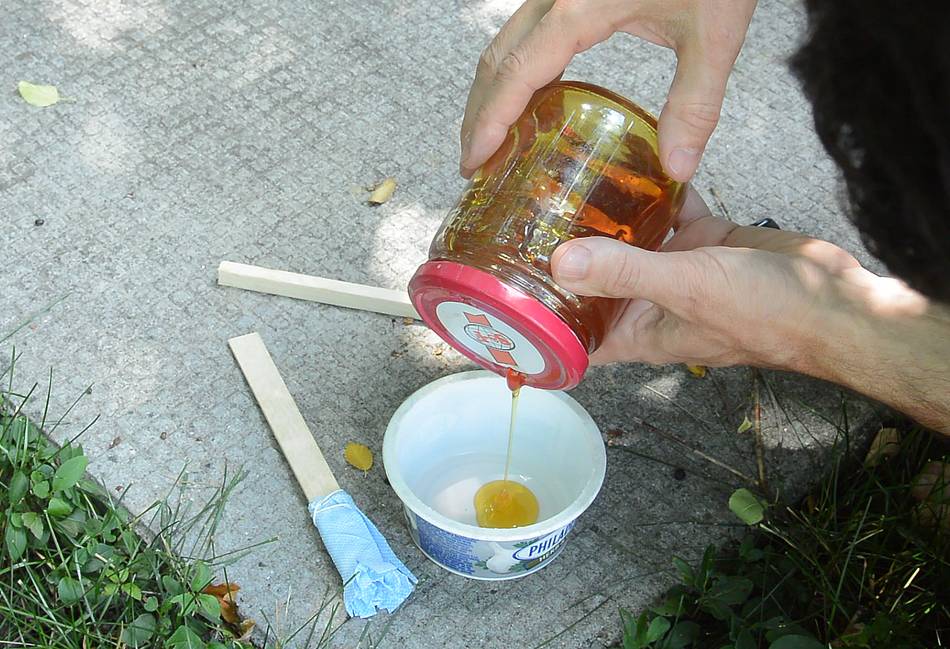
I had some left over that I had put in a glass jar, and when I last used some of it for this project a here earlier. It keeps surprisingly well in the glass jar, though the lid becomes impossible to get off, so I punched two holes to pour some out.
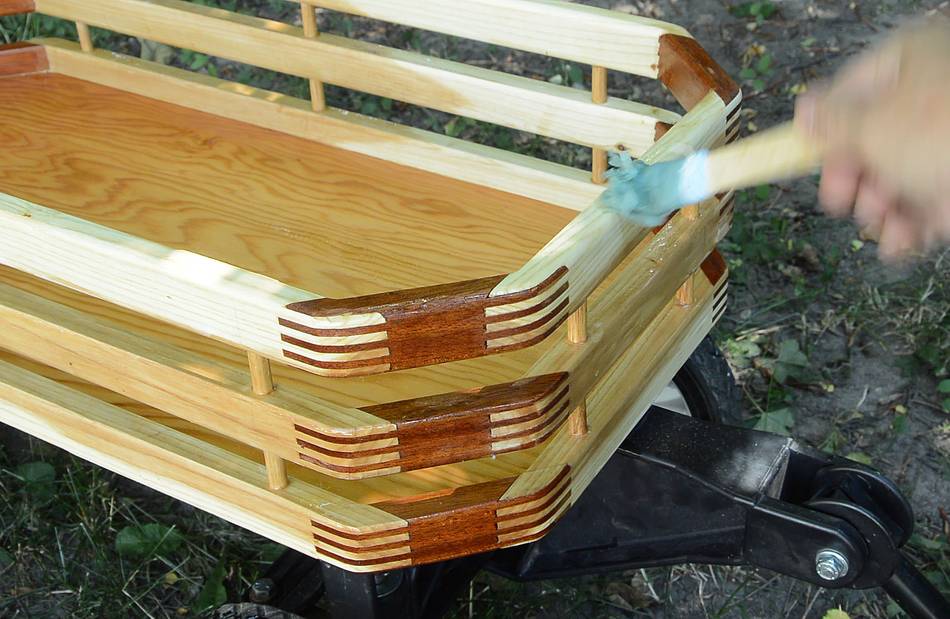
For small jobs, it's hardly worth the effort to clean a brush, so often I
just use a small rag or shop towel. This time I had the idea of attaching the
rag to a stick. It kind of looked like a brush but using it, it worked more like a mop.
I wasn't aiming for a super smooth finish, so it was good enough.
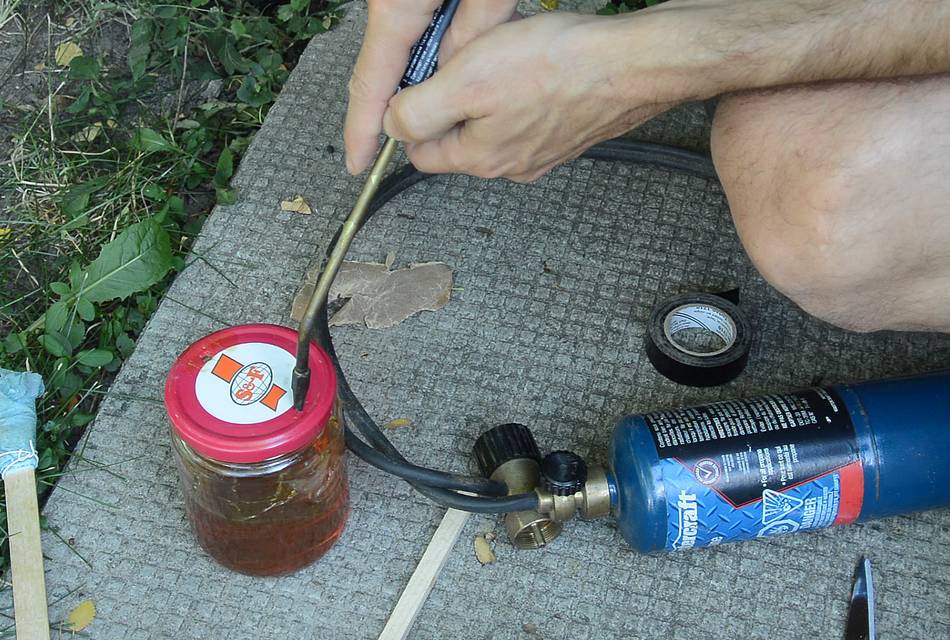 The reason the finish kept well without forming any skin on top was
probably because I purged the air out by blowing some propane into the jar.
So I repeated this, then sealed the small holes again with electrical tape,
like I did last time. The other thing that probably helped was keeping it
in the basement where the temperature is nearly constant.
Temperature changes cause the gas inside to expand and
contract, pushing gas out and pulling air (and oxygen) in.
The reason the finish kept well without forming any skin on top was
probably because I purged the air out by blowing some propane into the jar.
So I repeated this, then sealed the small holes again with electrical tape,
like I did last time. The other thing that probably helped was keeping it
in the basement where the temperature is nearly constant.
Temperature changes cause the gas inside to expand and
contract, pushing gas out and pulling air (and oxygen) in.
Update 2020 The formulation of varathane has since been changed, and this trick is no longer necessary. I think the new formulation hardens by solvent evaporation, as opposed to oxidation with the old version. It keeps quite well, even in a plastic container. It also dries much faster. more on that
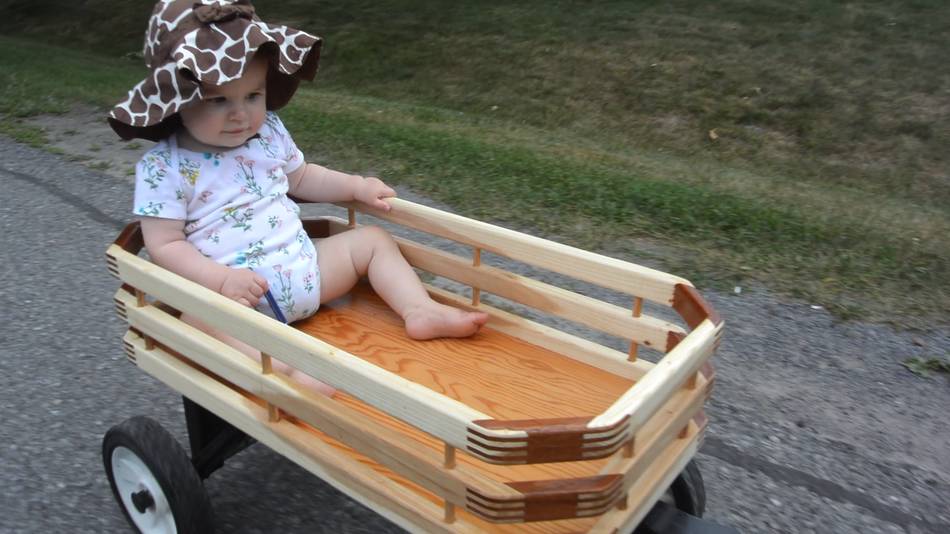
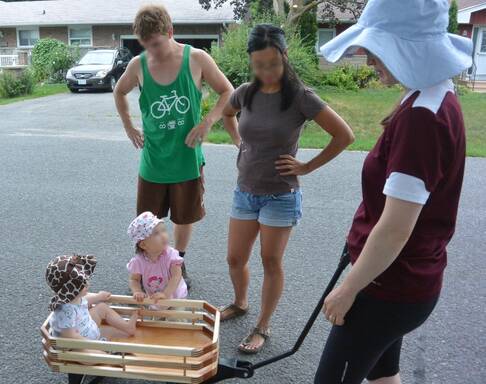 I put two thick coats on. Once the varnish was sufficiently dry, it was
time to take the wagon for a ride down the street to the community mailbox.
I put two thick coats on. Once the varnish was sufficiently dry, it was
time to take the wagon for a ride down the street to the community mailbox.
Baby Harriet was quite fascinated with this ride. And a whole lot of neighbours came to chat with us too. Though I think it wasn't all because of the wagon, but a baby is so much more visible in the wagon, so it may have had something to do with it.
Six years later, a neighbour was getting rid of a similar wagon with a broken floor and railings. With our kids fighting over the one wagon we have from time to time, I figured I'd take the time to fix it so we'd have two. I also added a "trailer hitch" to it so the two wagons could be hitched together as a sort of train.
Back to my woodworking website.
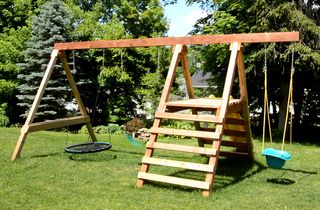 Swing set
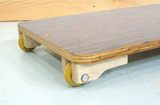 Wheelie board
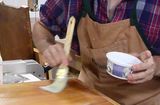 A simple varnish
 Balancing board
 Baby rocking machine
 Wood geared baby soothing machine