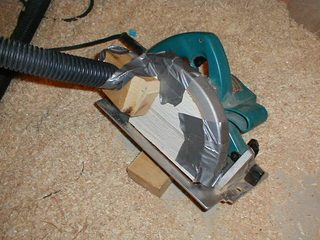
But this same property that makes the walls very solid makes them rather difficult to cut. The walls have a layer of masonry in them, so you can't just cut them with a utility knife like drywall. You need some sort of masonry saw blade to cut this stuff with. But masonry blades, of any sort, make an awful lot of rock dust. That rock dust gets into everything, and is also rather damaging to one's lungs.
 So I installed a masonry saw blade in my circular saw, closed off
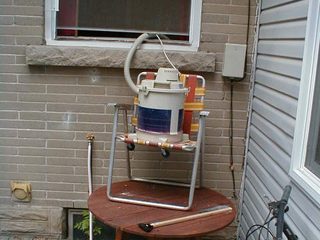
any openings on the saw, and attached a long plastic hose to suck away
any dust. This hose, I ran outside to a shop vac. I kept the shop vac outside,
because I knew much of the very fine rock dust would just go straight through
the shop vac's filter. The rock dust is also an abrasive, so its bad for the
vacuum, so I didn't use a good one for this job either.
So I installed a masonry saw blade in my circular saw, closed off
any openings on the saw, and attached a long plastic hose to suck away
any dust. This hose, I ran outside to a shop vac. I kept the shop vac outside,
because I knew much of the very fine rock dust would just go straight through
the shop vac's filter. The rock dust is also an abrasive, so its bad for the
vacuum, so I didn't use a good one for this job either.
The hose on the circular saw worked surprisingly well, and I didn't end up having any significant amount of dust in the kitchen.
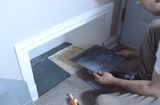
I cut the ceiling from below. To make sure I had the right spot, I just drilled
some holes through the ceiling from above. I drilled these holes a few inches
in from where I needed to make the actual cut though, because drilling
from the back would chip the front. I then first cut a smaller hole, so I could
measure everything precisely, and then cut the final sized hole.
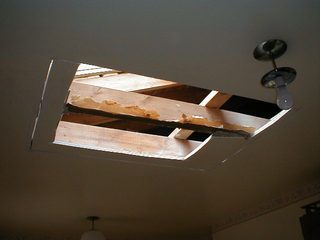
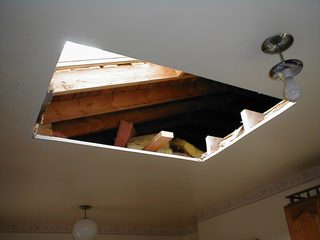
Note from the second shot above that I actually cut away two ceiling joists. This because the way my house was built, the ceiling joists were nailed to the sides of the rafters on the outside walls. As such, the ceiling joists were offset by a joist width from the rafters, and the joist on one side would have ended up inside the light shaft. So I cut away the joist on that side. And, having cut that away, I decided to taper the hole out just a little bit to hit the joist on the other side. The joist on the other side being a joist width further out.
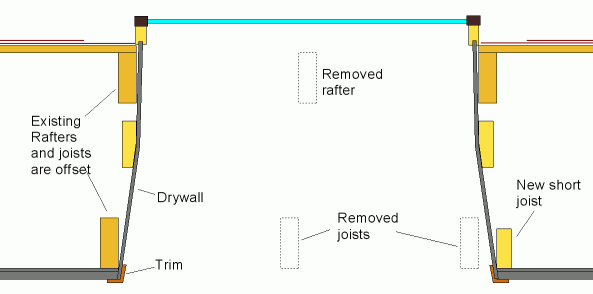
I tapered the hole to open a little. The wall below the top end of the skylight I sloped so that it was perpendicular to the roof slope, while the short wall on the low end, I made vertical.
The side walls, I made vertical up to a point, and then tapered them out towards the bottom. I made the line at which it bends horizontal, or the geometry would have gotten a little difficult to handle.
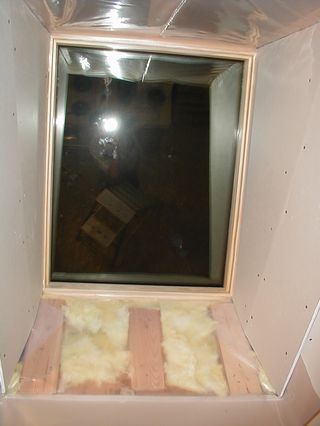
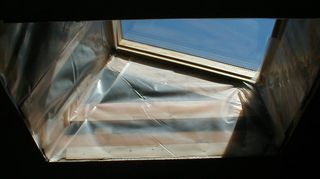
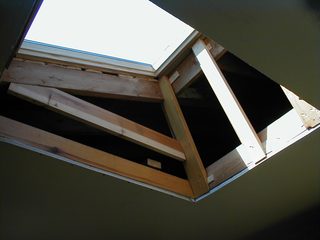
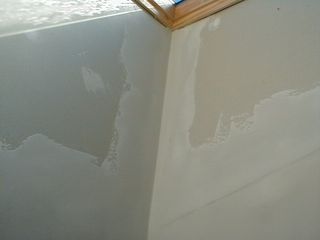
Next came the vapour barrier, and then the drywall.
The photo at left, with the drywall installed on the sides, more clearly shows where the sides have a slight bend in them to taper out. Above that bend, the sides are vertical, below that, they taper out by 1.5 inches on either side.
To avoid having another drywall joint to mud, I did these bends by scoring a deep
line into the other side of the drywall, and removing some gypsum from that score.
That way, I could bend the drywall back a little, without breaking the paper
on the convex side of the bend. This trick worked rather nicely, and didn't require
wetting it or anything fancy like that.
With the framing and drywall done, I could now crawl back into the attic, and put the insulation back in place. I also stacked a lot of it around the framing of the skylight.

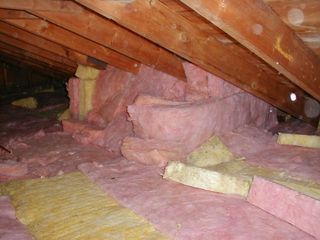
Its kind of funny how, in the photo with the insulation back in place, you can't really tell that there is a skylight in this spot from the attic.
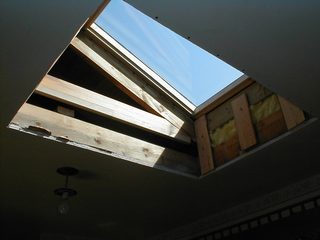
once I had all four pieces of drywall installed, it was time to mud and sand it. This unfortunately does involve a bit of dust - you can see the dust in the air in the photo below showing the light coming in the skylight.
Fortunately, drywall dust is not nearly as bad as rock dust.
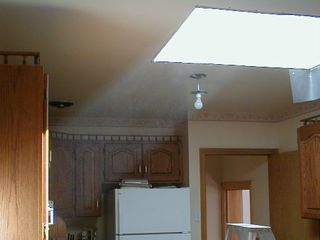
After I had the drywall all mudded, sanded, mudded again, sanded, primed, and painted, all that was left to do was install some trim.
I chose not to try to form a nice outside edge with the drywall on the joint to the ceiling, especially because the kitchen ceiling used a different type of paint, and I didn't want to repaint it. So I made some wide L-shaped trim in my workshop by gluing two strips of wood together.
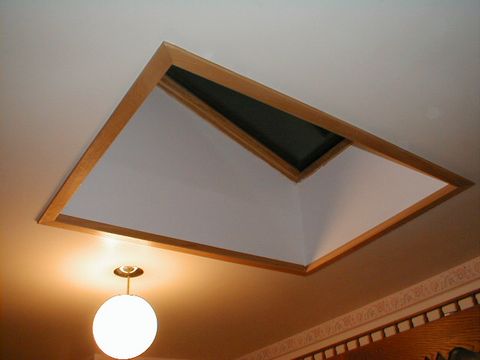 I kind of like how it came out looking with the trim.
It looked even better with light coming in it.
Back to Skylight installation part 1
More Home improvement projects
 Installing a boot nook
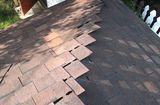 Reshingling a garage
 Building a deck
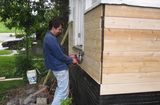 Porch repairs
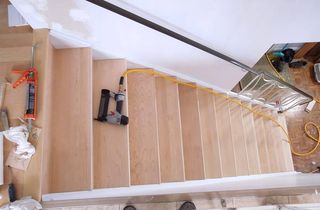 New treads for old stairs
 Sheet metal roof
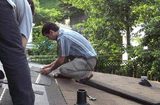 Low sloped roof