 This project is just a quickie. I wanted to shoot a video comparing
speed control
on three different routers, and I figured it would be easier if
each had its own router table.
This project is just a quickie. I wanted to shoot a video comparing
speed control
on three different routers, and I figured it would be easier if
each had its own router table.
This project is just a quickie. I wanted to shoot a video comparing
speed control
on three different routers, and I figured it would be easier if
each had its own router table.
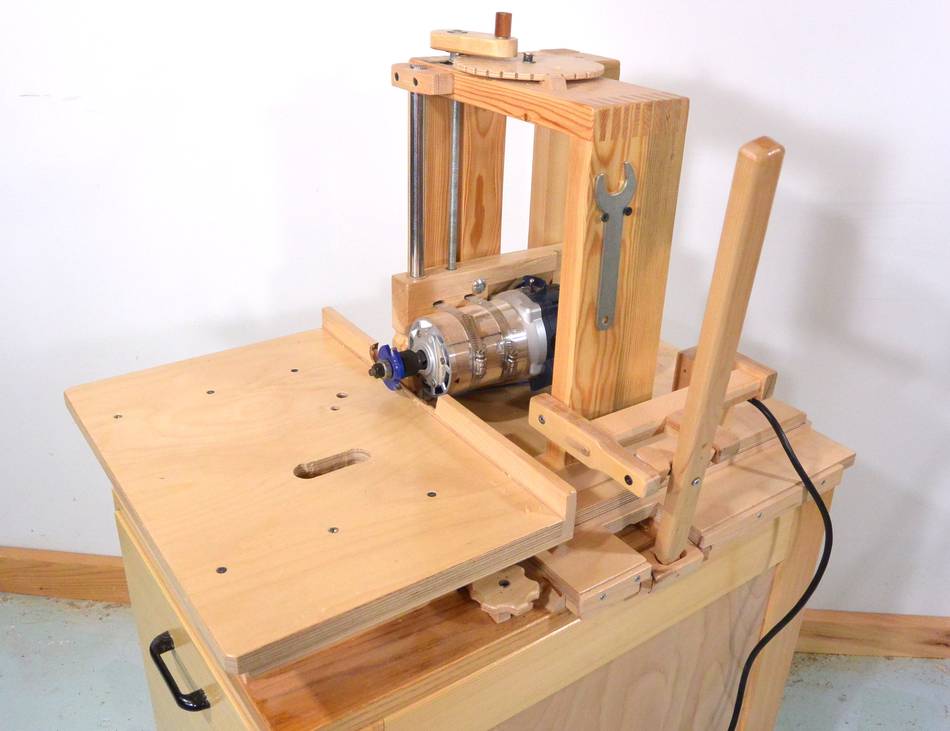
So I had the idea of making a table to go on top of the slot mortiser to use it as a horizontal router table.
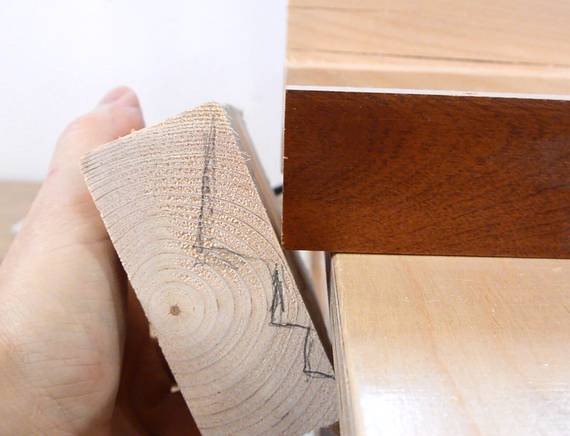
 To make the new table go back as far as the existing fence, I had to
make an odd shaped rail.
To make the new table go back as far as the existing fence, I had to
make an odd shaped rail.
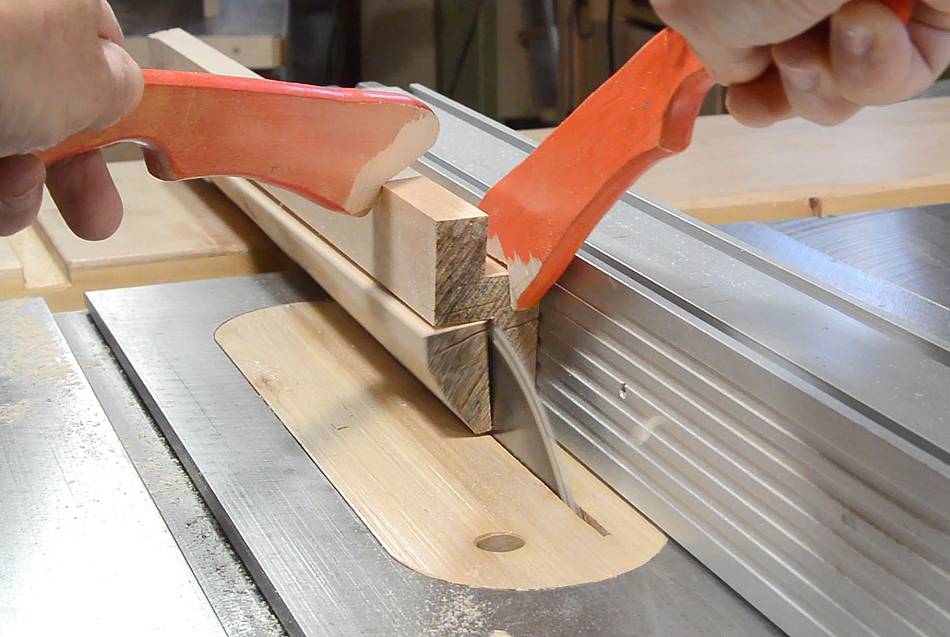
 I cut that out of a piece of firewood on the table saw.
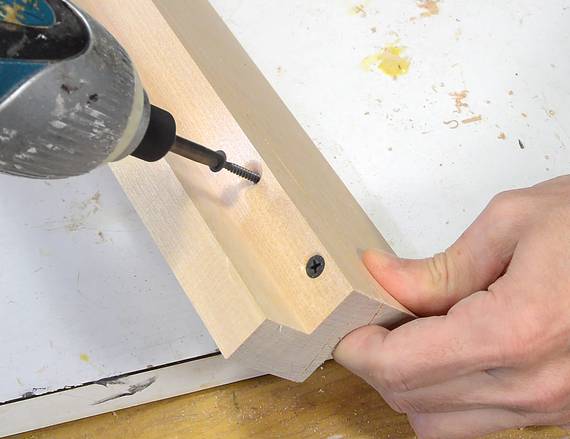
Some of the cracks in the end grain extended much further into the wood than I anticipated. I didn't want to make a new piece, so I just put some screws across the crack.
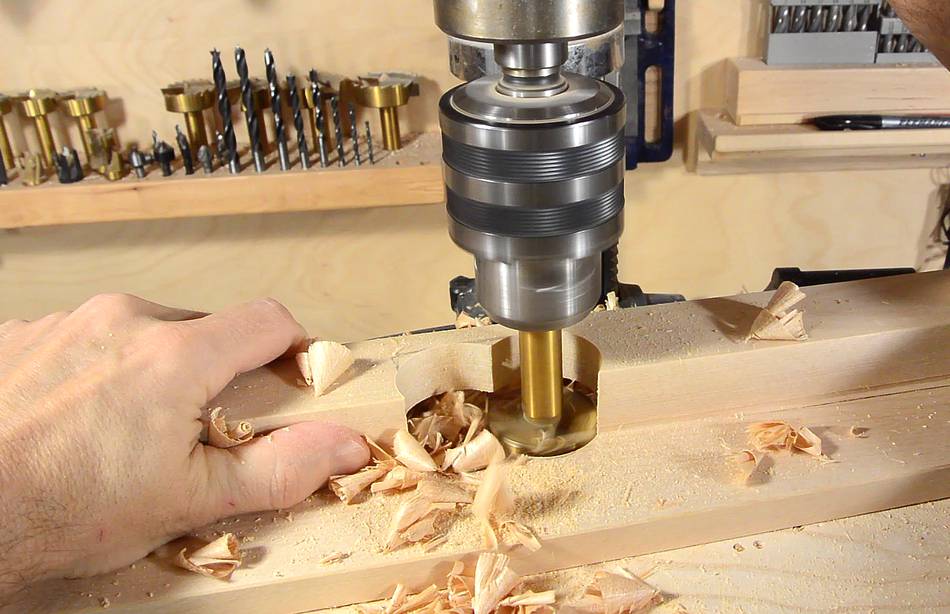
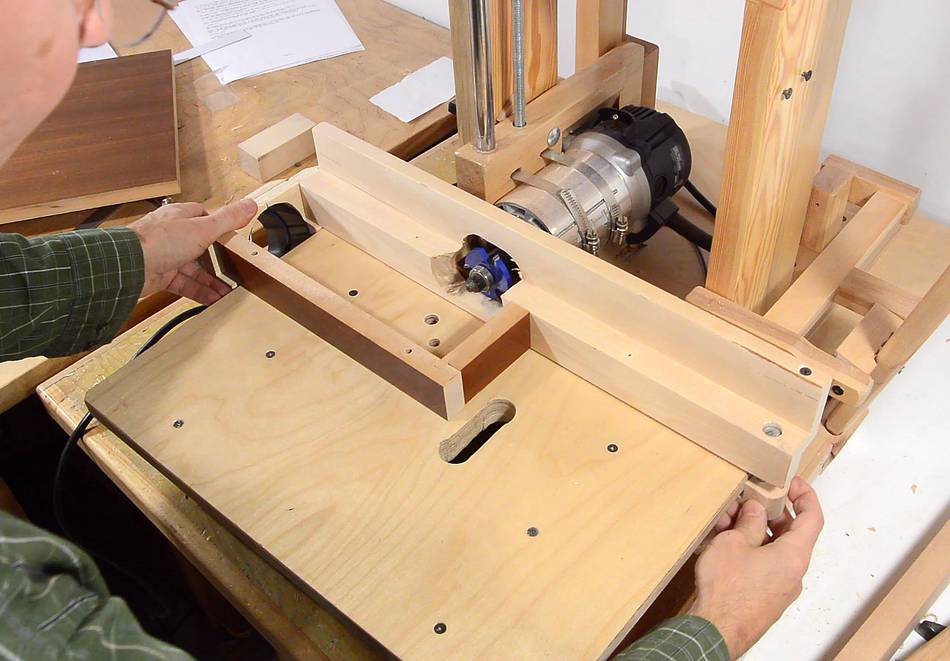
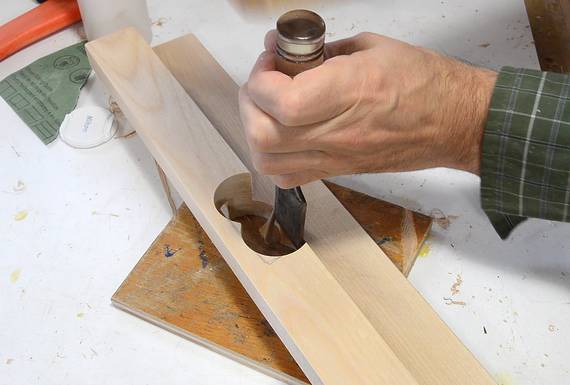 I used a large Forstner bit to drill the opening for the router bit,
then cleaned that up with a chisel.
I used a large Forstner bit to drill the opening for the router bit,
then cleaned that up with a chisel.
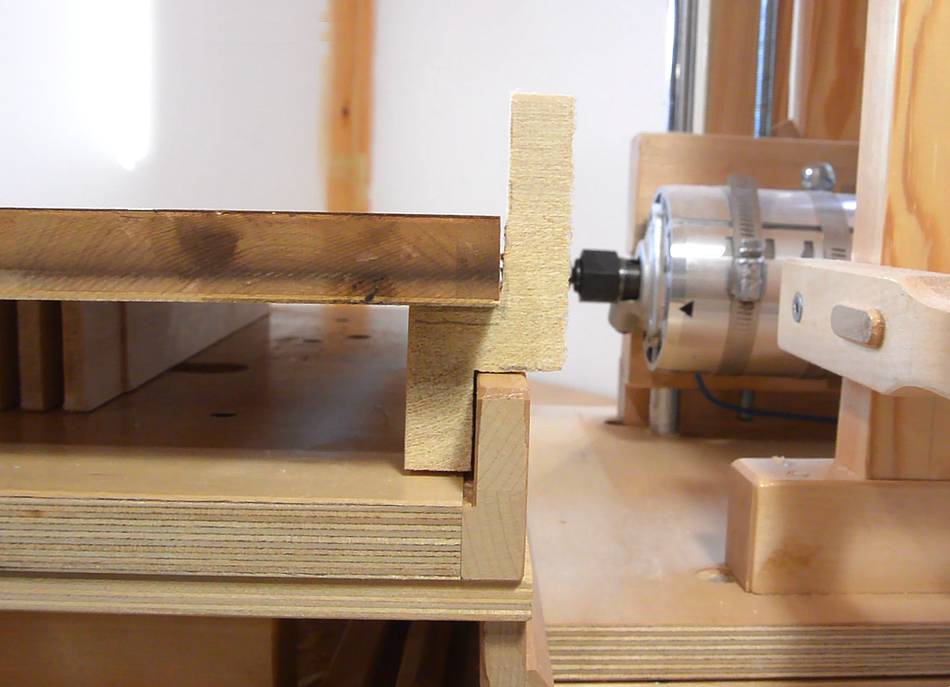
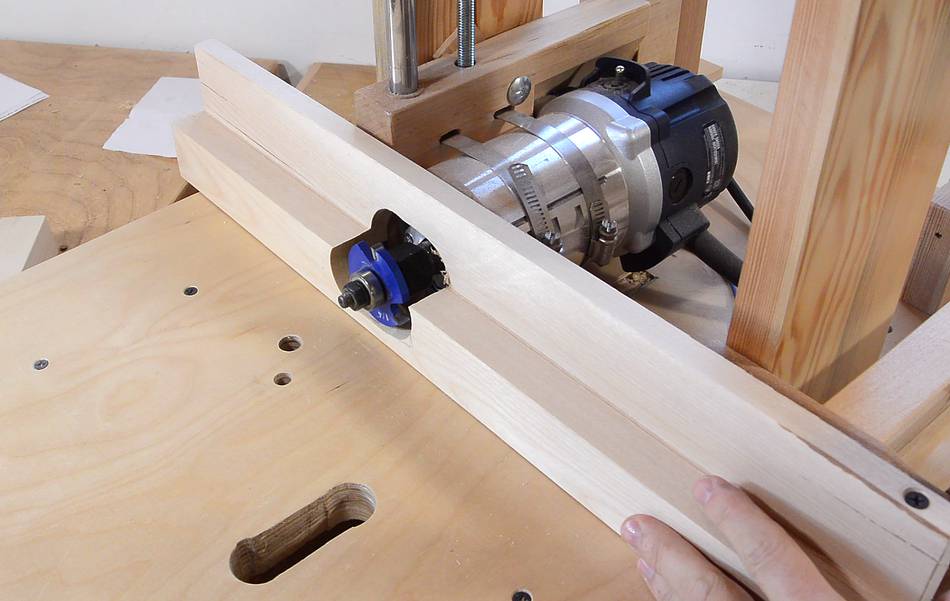 Checking the fit, with a slot cutting bit. I figure that will be the
largest diameter bit I'll ever use with this setup.
Checking the fit, with a slot cutting bit. I figure that will be the
largest diameter bit I'll ever use with this setup.
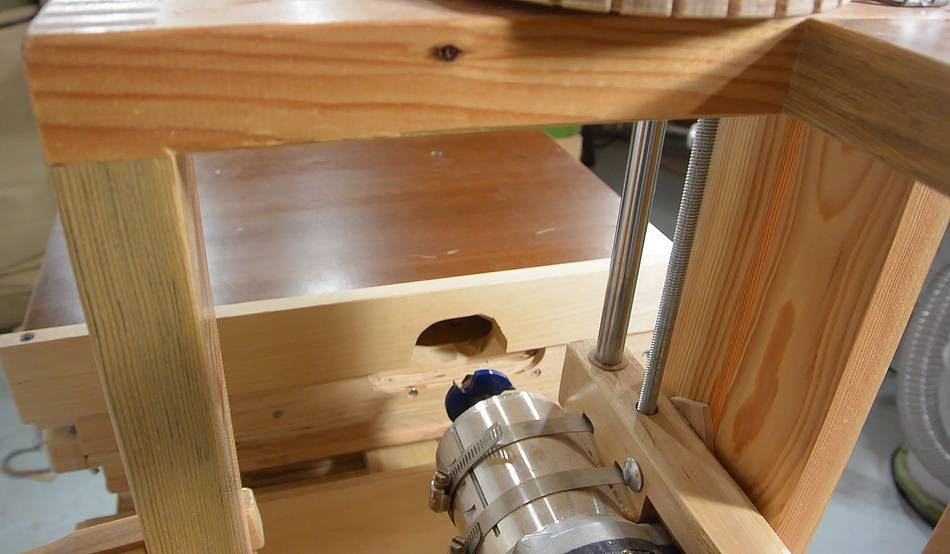
 The key to making this work is active dust collection, otherwise the chips will just
accumulate between the tables.
The key to making this work is active dust collection, otherwise the chips will just
accumulate between the tables.
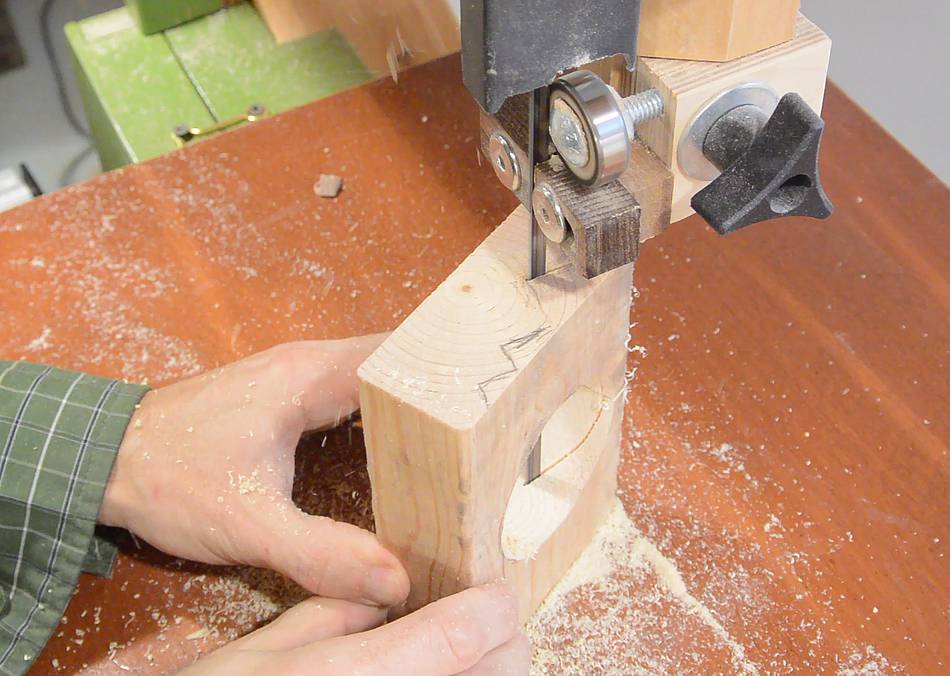
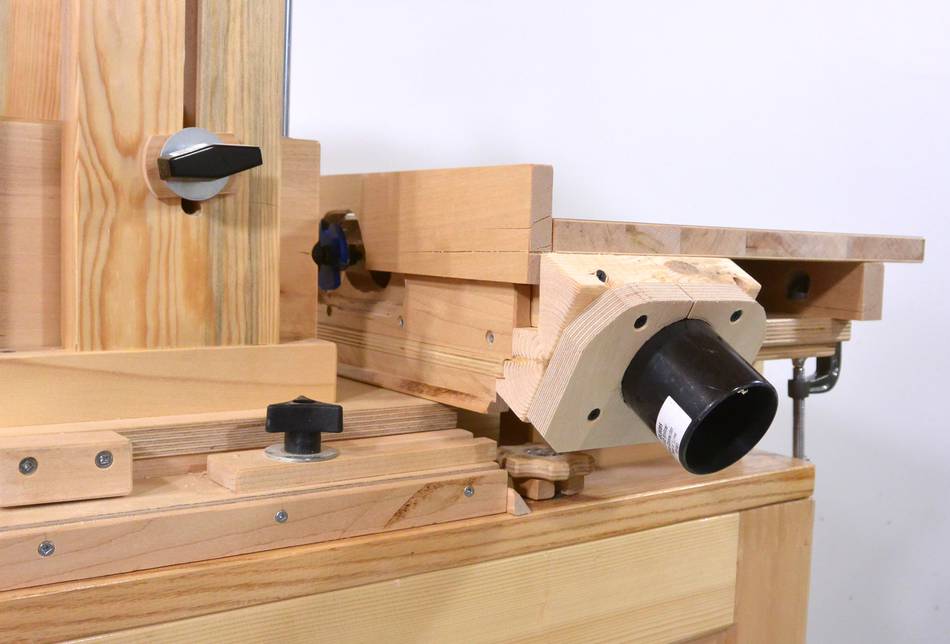
I marked what sort of profile I'd need for making an adapter for the dust collector hose, then cut that free hand, upright, on the bandsaw.
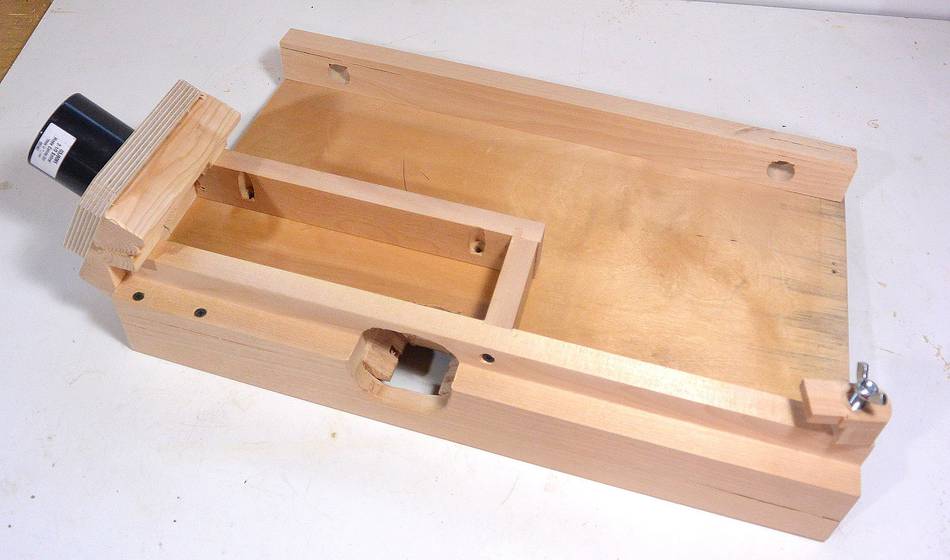
 Dust collection part glued and screwed together. The air will be coming from where
the router is, and from the hole through which the bit cuts.
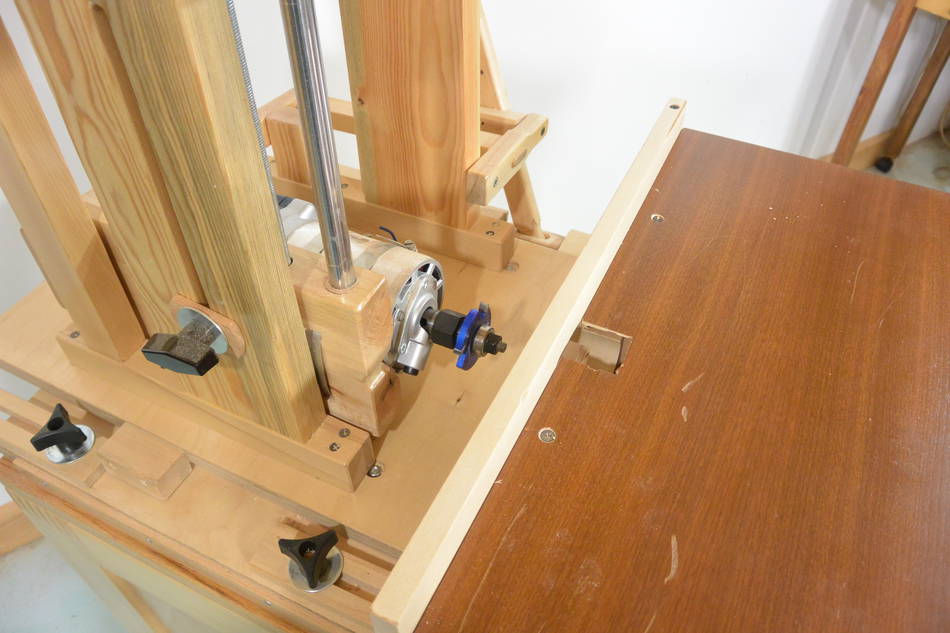
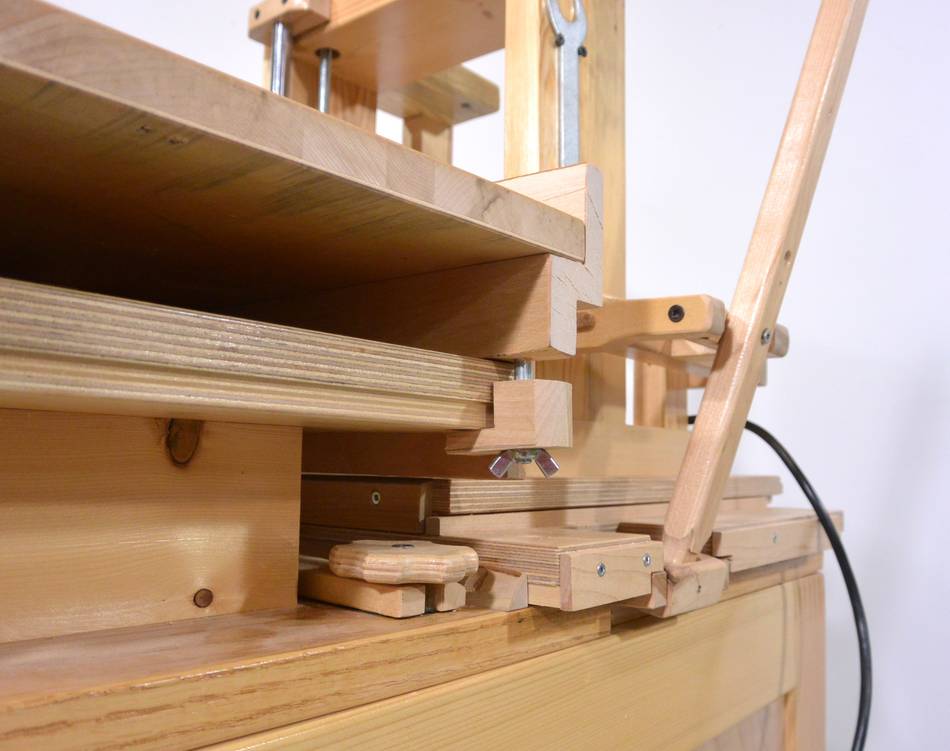
A little tab, held on a bolt with a wing nut on the right corner holds it down. On the
left side, the dust collection fitting holds it down against the table.
Dust collection part glued and screwed together. The air will be coming from where
the router is, and from the hole through which the bit cuts.
A little tab, held on a bolt with a wing nut on the right corner holds it down. On the
left side, the dust collection fitting holds it down against the table.
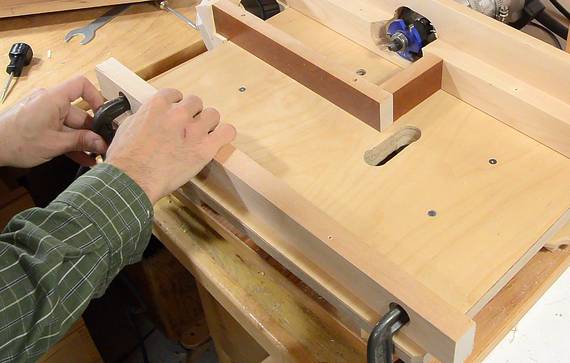
On the front, another rail, held down with two C-clamps, provides support.
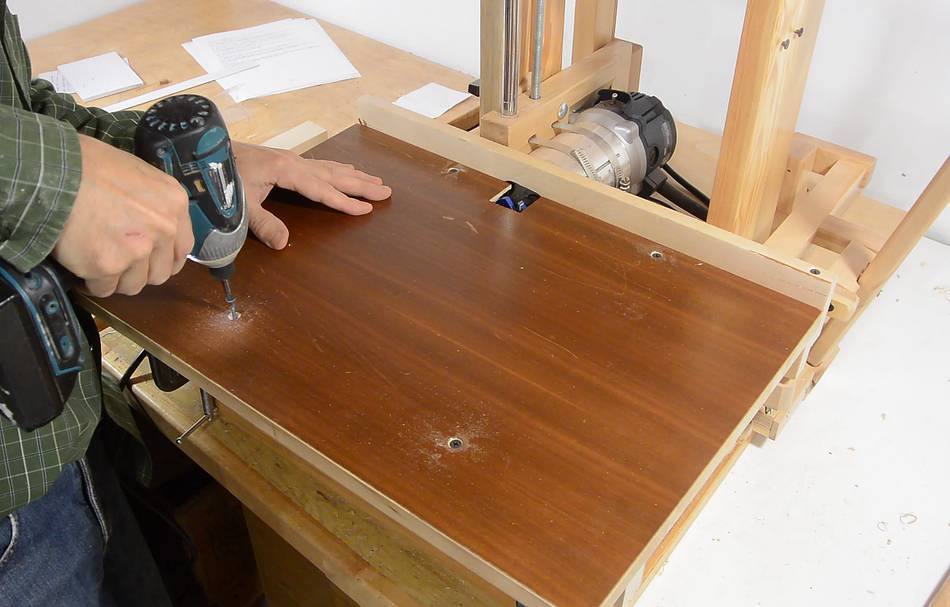 The table is screwed to these supports.
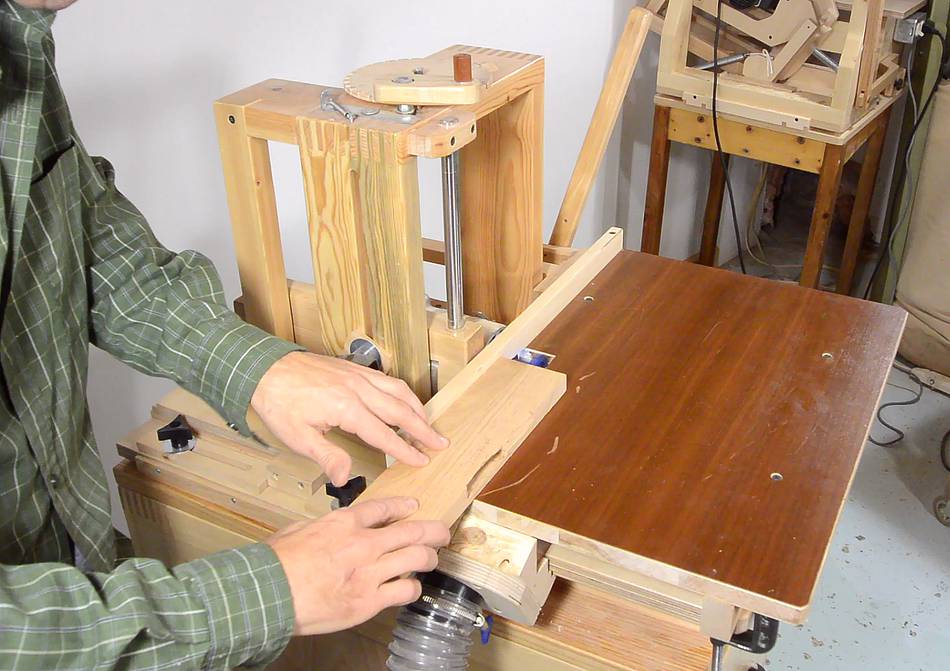 With the dust collector running,
I proceeded to cut some slots with the
slot cutter.
With the dust collector running,
I proceeded to cut some slots with the
slot cutter.
 Checking afterwards, there were no chips between the two tables.
So it appears to be a very usable horizontal router table.
Checking afterwards, there were no chips between the two tables.
So it appears to be a very usable horizontal router table.
I built this table for my slot mortiser, but one could also build such a table for the pantorouter, although you will also need a way to make a special "template" to secure the follower Having the router move unexpectedly in a set-up like this could be very dangerous.
I took a few more pictures of the setup, just in case this inspires you to build your own and you want to have a closer look.
 Comparing
router
Comparing
router Home made slot
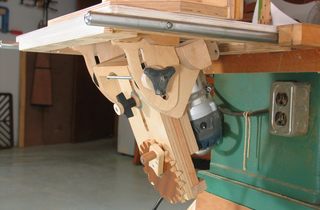 Tilting router lift
 Rudolf's touter table
 Momemade dust
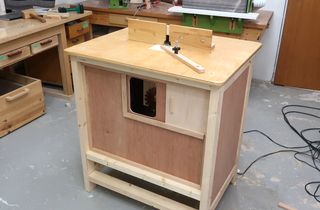 A router table that's its own dust collector