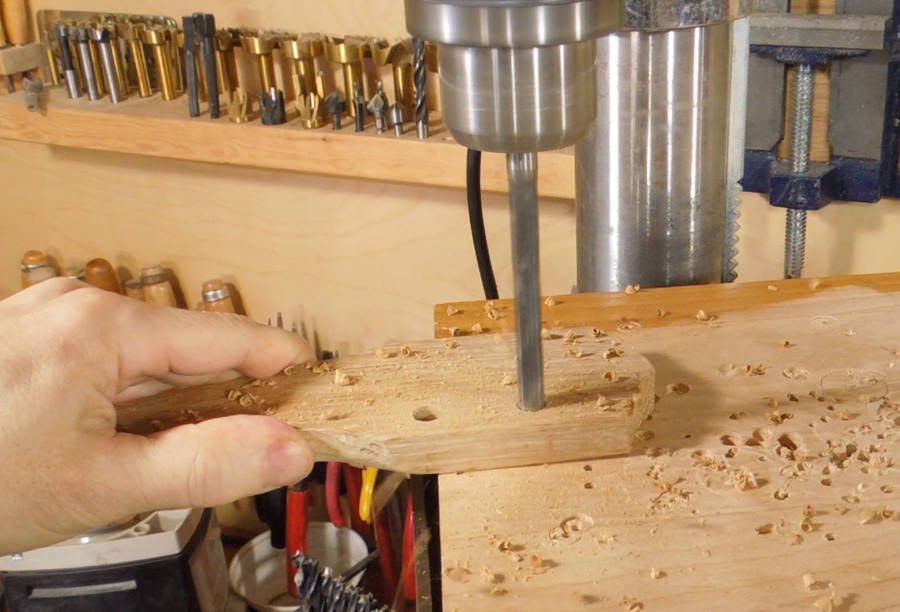
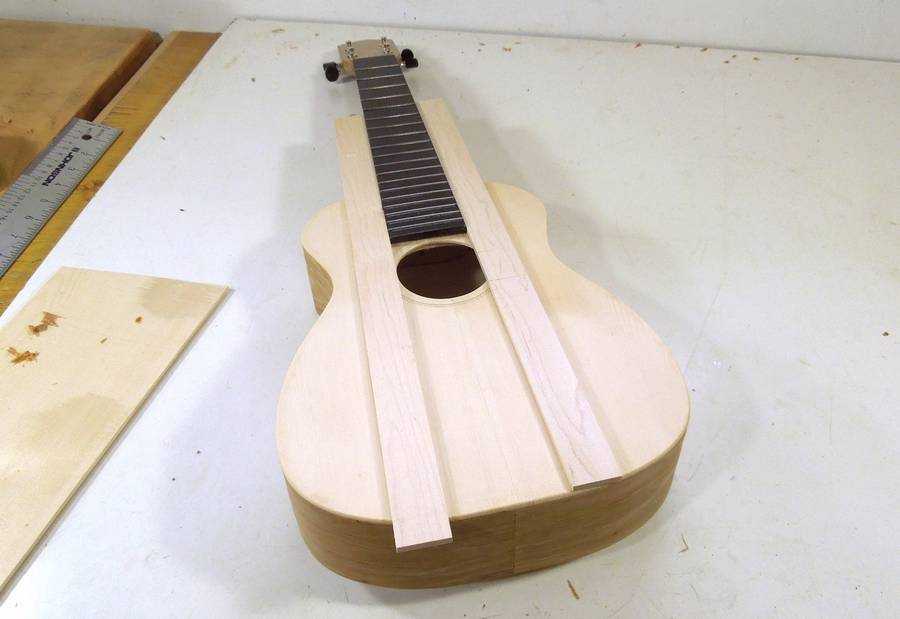
 I figured it was best to mount the tuners before attaching the fretboard.
I figured it was best to mount the tuners before attaching the fretboard.
I didn't make a template for the tuner holes. I just measured and drilled in place.
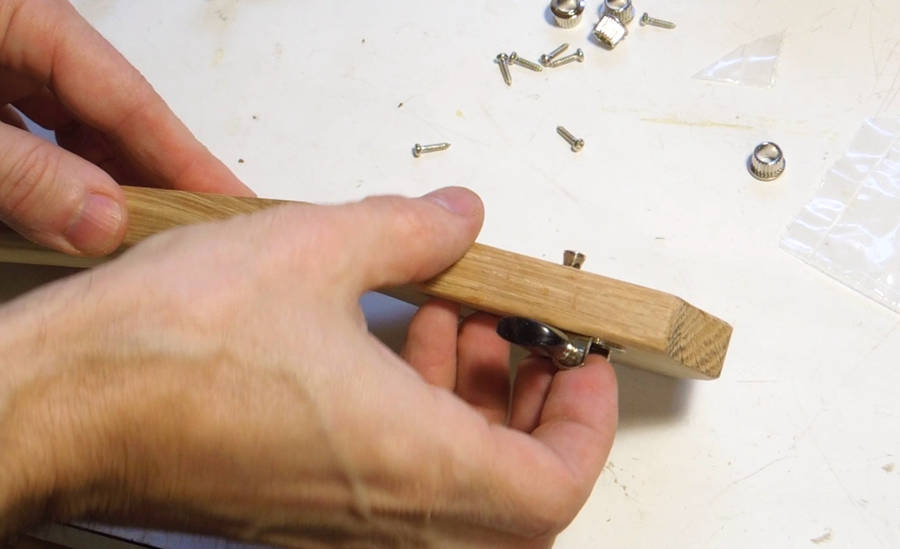 But when I tried to mount the tuners, I realized the shafts on my tuners were much too short.
There wasn't much room for the string to wrap around the post.
But when I tried to mount the tuners, I realized the shafts on my tuners were much too short.
There wasn't much room for the string to wrap around the post.
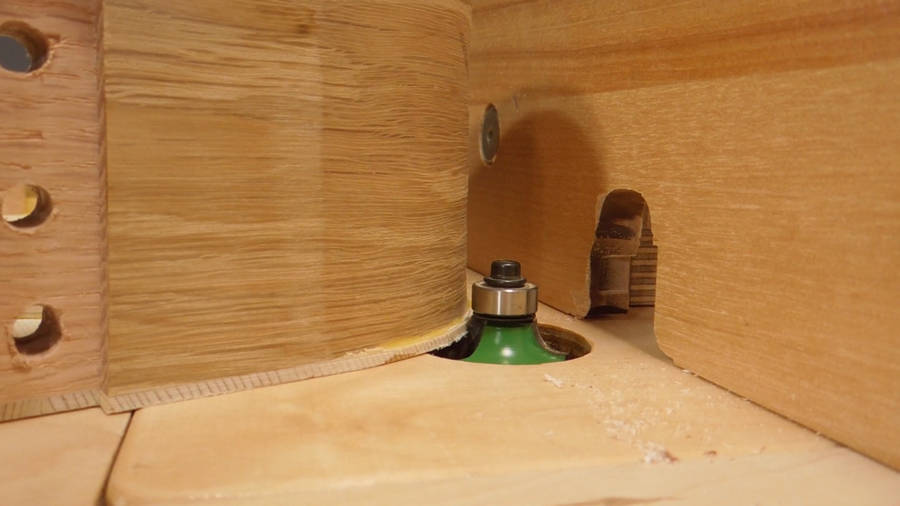
The best solution I could think of was to cut a cavity in the back of the head to mount the tuners in.
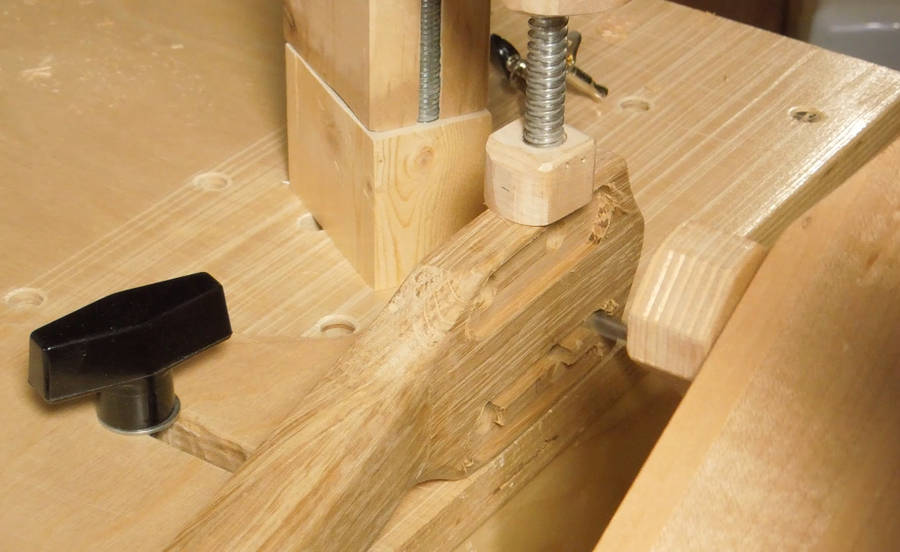 I thought about how to best cut the cavity, and once again my
pantorouter came to the rescue. I clamped two rails to it as a template, then used that to
route out a cavity on the back for the tuners. (I guided the pantorouter frehand
for the ends of the two cavities)
I thought about how to best cut the cavity, and once again my
pantorouter came to the rescue. I clamped two rails to it as a template, then used that to
route out a cavity on the back for the tuners. (I guided the pantorouter frehand
for the ends of the two cavities)
 I also had to carve notches on the sides for the knob's shaft. I just cut those
with a carving knife.
I also had to carve notches on the sides for the knob's shaft. I just cut those
with a carving knife.
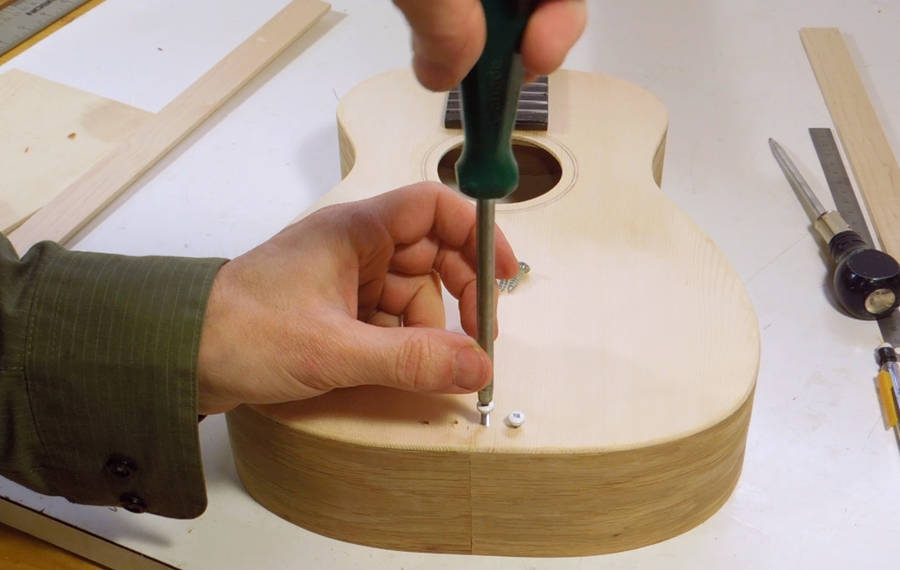
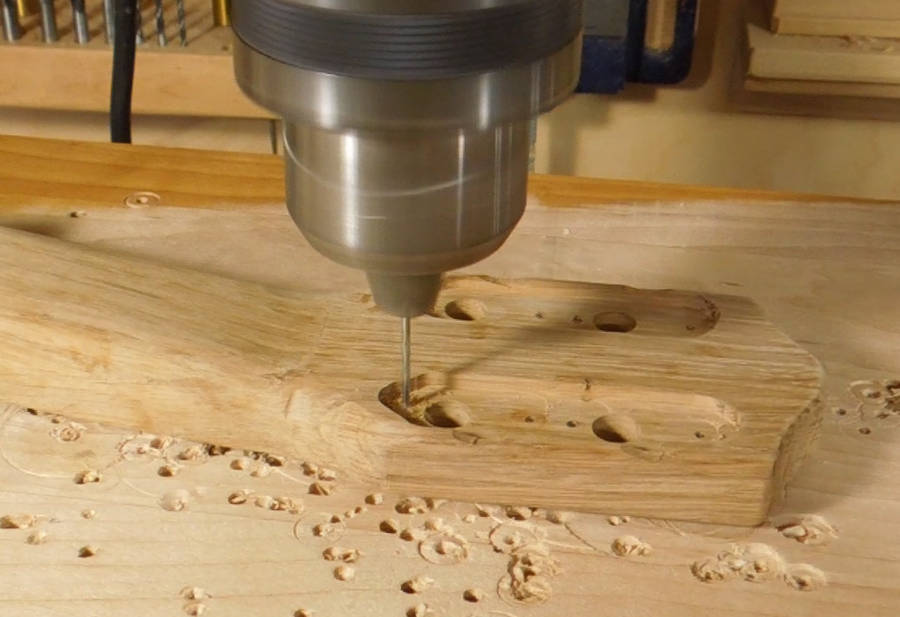 Next, drilling out the mounting holes...
 ... and mounting the tuners. It turns out, I put the tuners too close together, so I had to file
a bit off the ends of them so they would fit. But I like how they are close together, so I might
do this intentionally if I did it again.
... and mounting the tuners. It turns out, I put the tuners too close together, so I had to file
a bit off the ends of them so they would fit. But I like how they are close together, so I might
do this intentionally if I did it again.
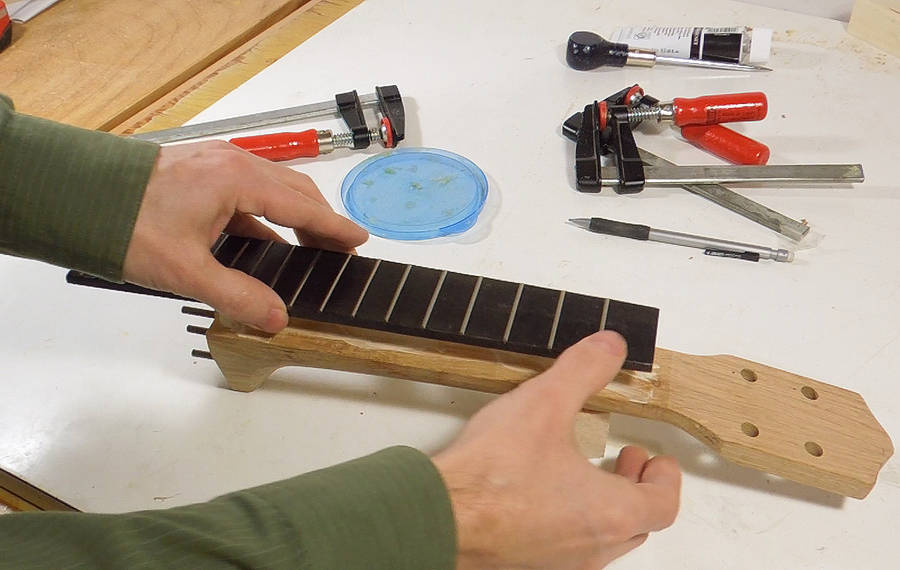 I'm gluing the fretboard onto the neck with just regular yellow carpenters glue,
as I did with the rest of the instrument.
I'm gluing the fretboard onto the neck with just regular yellow carpenters glue,
as I did with the rest of the instrument.
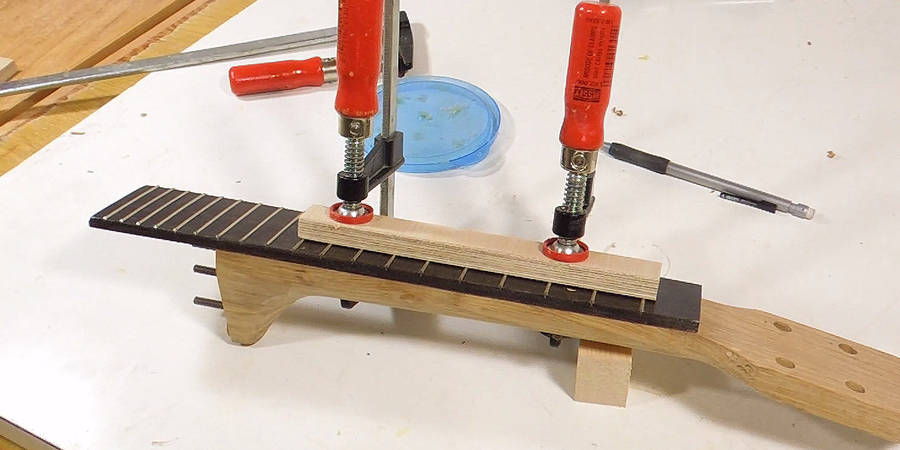 The fretboard had bowed slightly convex both along
its length and across its width from applying the frets, so I really needed
to push it down in the middle to force it straight.
The fretboard had bowed slightly convex both along
its length and across its width from applying the frets, so I really needed
to push it down in the middle to force it straight.
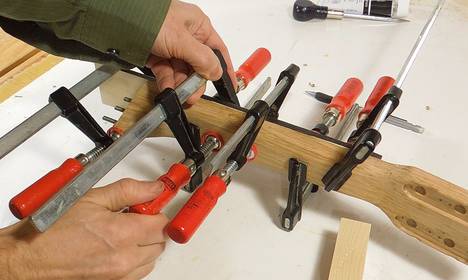 I ended up using a lot of clamps!
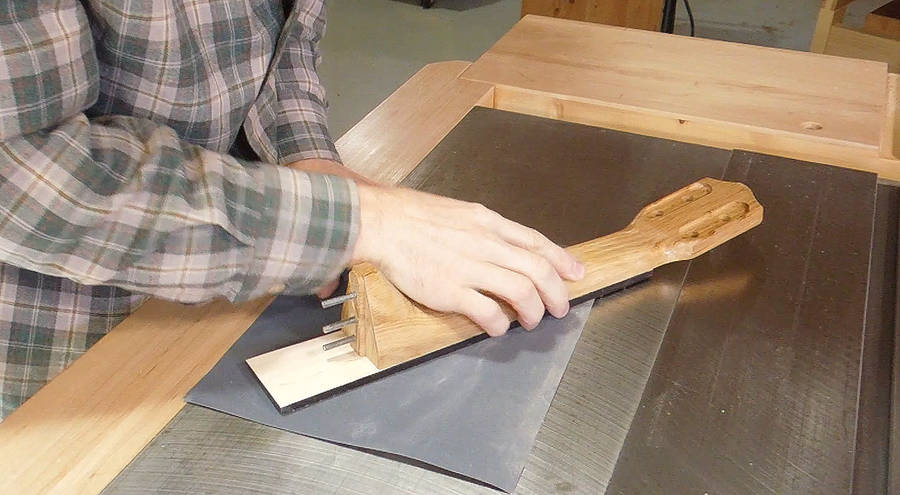 Checking the frets with a ruler, I realized that they were not entirely level,
so I used some fine sandpaper (the kind used for sharpening tools) on my table
saw to grind them level.
Checking the frets with a ruler, I realized that they were not entirely level,
so I used some fine sandpaper (the kind used for sharpening tools) on my table
saw to grind them level.
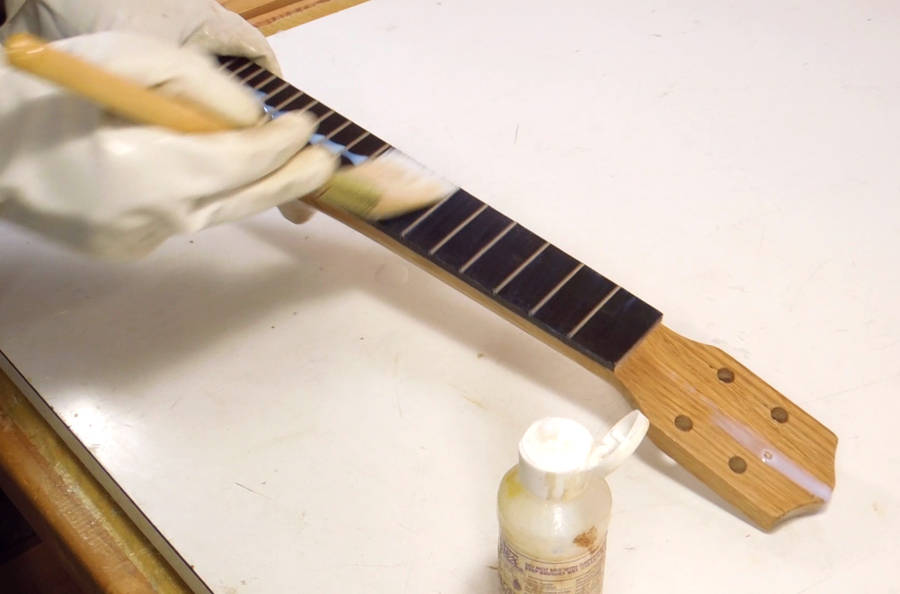
 I applied some varnish to all sides of the neck, including the fretboard.
I figure the fretboard will get some wear, so I might as well varnish that
some more. I had applied one coat of varnish to the fretboard before installing
the frets. But some of my experiments with applying frets to pre-varnished
pieces resulted in cracks in the varnish, so I figured I'd be better off
applying the rest of the varnish after installing them.
I applied some varnish to all sides of the neck, including the fretboard.
I figure the fretboard will get some wear, so I might as well varnish that
some more. I had applied one coat of varnish to the fretboard before installing
the frets. But some of my experiments with applying frets to pre-varnished
pieces resulted in cracks in the varnish, so I figured I'd be better off
applying the rest of the varnish after installing them.
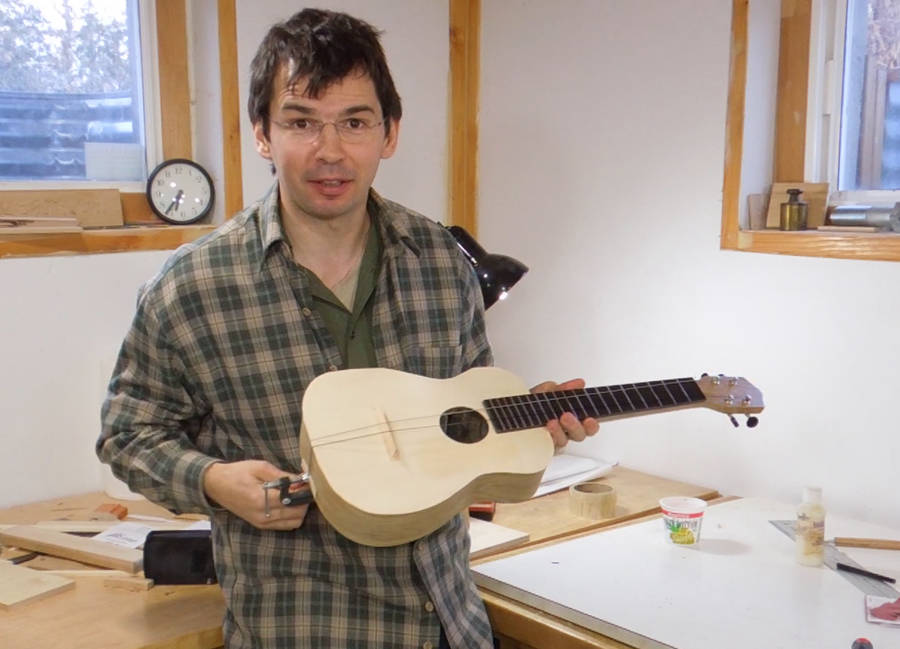 With the rest of the instrument unfinished as it was, still without a back on the body.
I was too curious to hear what it sounded like.
So I clamped some strings to the tail of the instrument,
used a scrap of wood as a temporary bridge, and strung some strings on it.
Plucking it, it sounded promising.
With the rest of the instrument unfinished as it was, still without a back on the body.
I was too curious to hear what it sounded like.
So I clamped some strings to the tail of the instrument,
used a scrap of wood as a temporary bridge, and strung some strings on it.
Plucking it, it sounded promising.
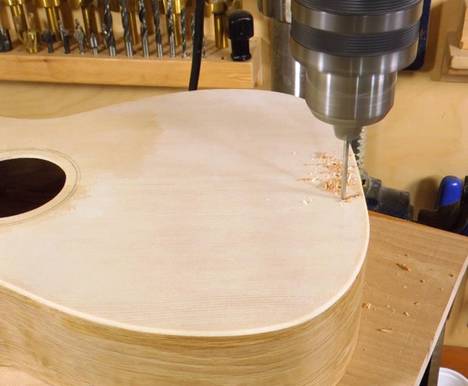
 Back to work on the ukulele. It was now finally time to trim the front. I used a 1/4"
round over bit to flush trim and round the sound board edges. No binding on this ukulele.
Back to work on the ukulele. It was now finally time to trim the front. I used a 1/4"
round over bit to flush trim and round the sound board edges. No binding on this ukulele.
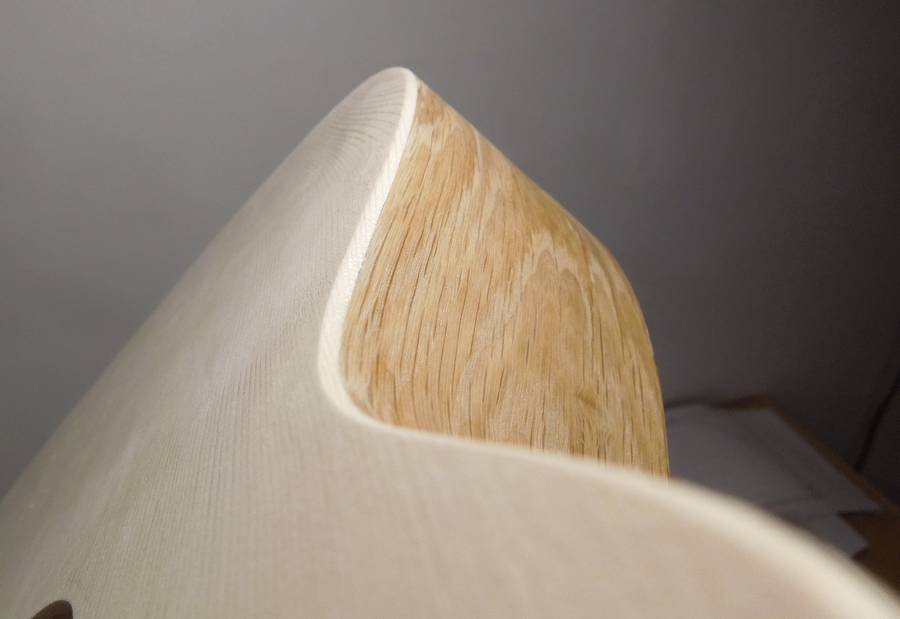 With a bit of sanding, I like how the front of it came out.
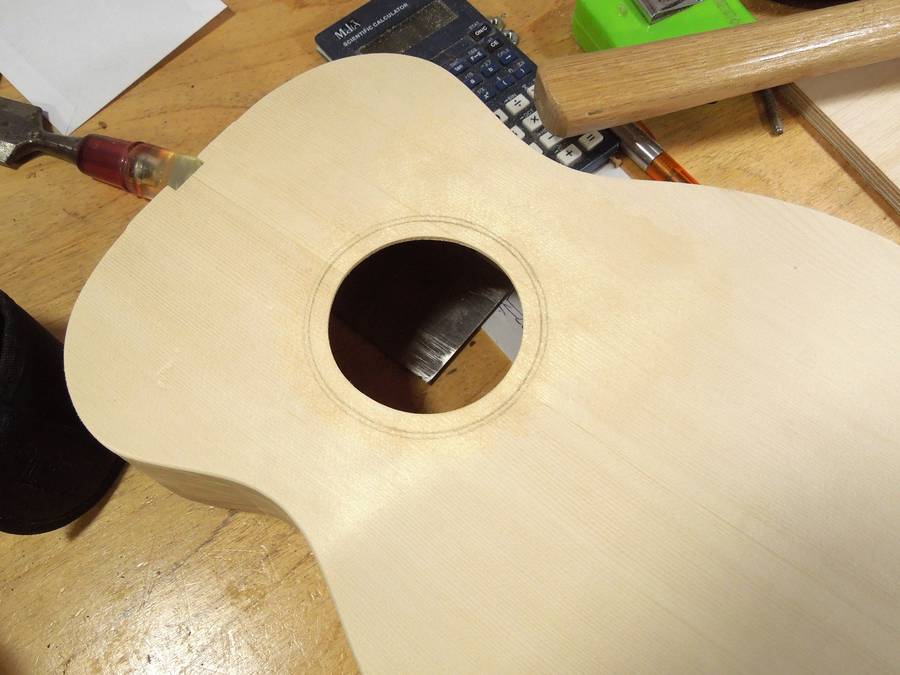 There is no "rosette" on mine, but I drew some circles around the sound hole
with pencil to give it an extra touch. I dabbed some varnish on it to prevent the
pencil marks from getting smeared.
There is no "rosette" on mine, but I drew some circles around the sound hole
with pencil to give it an extra touch. I dabbed some varnish on it to prevent the
pencil marks from getting smeared.
I always wonder about the merit of decorative touches like rosettes and purfling. But then again, if you add reinforcement around the sound hole, it should be ok. The sound hole is actually not the part that needs to vibrate, so adding mass to that area should not affect the sound much.
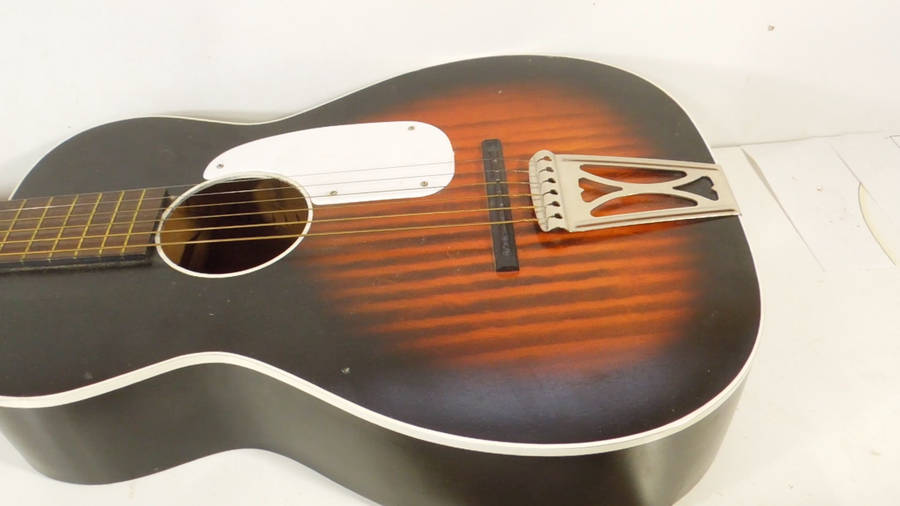 I bought a cheap guitar for $10 at a yard sale some time ago. My initial thought was to scavenge
parts off of it for a ukulele. Cheap as this guitar is, it was still too good to just
destroy.
I bought a cheap guitar for $10 at a yard sale some time ago. My initial thought was to scavenge
parts off of it for a ukulele. Cheap as this guitar is, it was still too good to just
destroy.
This guitar has an extra metal piece to anchor the strings with, and a floating bridge that is just wedged under the strings. Seems to work ok.
I figured anchoring the strings separately from the bridge might be good for keeping the bridge really light, so I copied this approach.
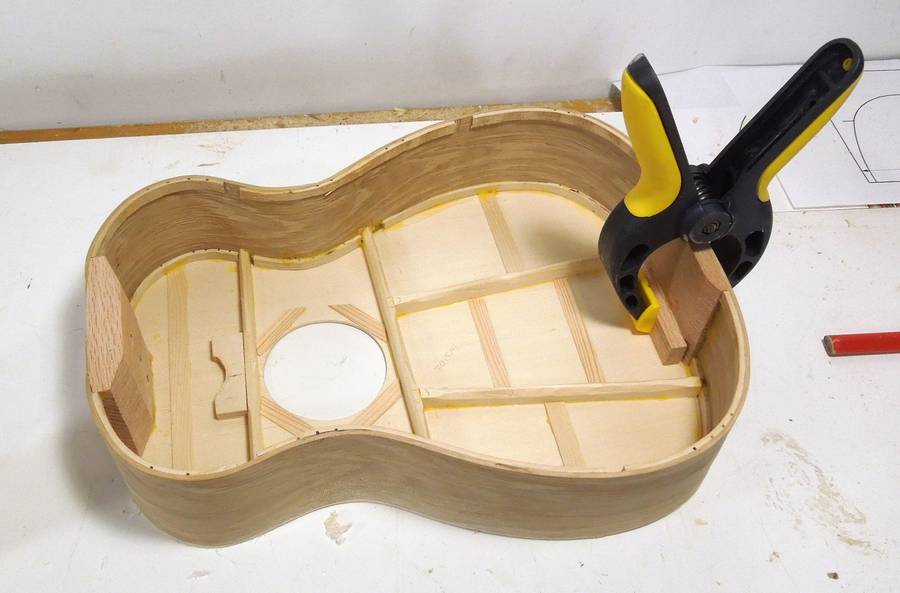 Anchoring the strings directly to the tail block would be the simplest. But the tail block
I used was not that big, so I glued an extra piece of wood to it as an anchor for some screws.
Anchoring the strings directly to the tail block would be the simplest. But the tail block
I used was not that big, so I glued an extra piece of wood to it as an anchor for some screws.
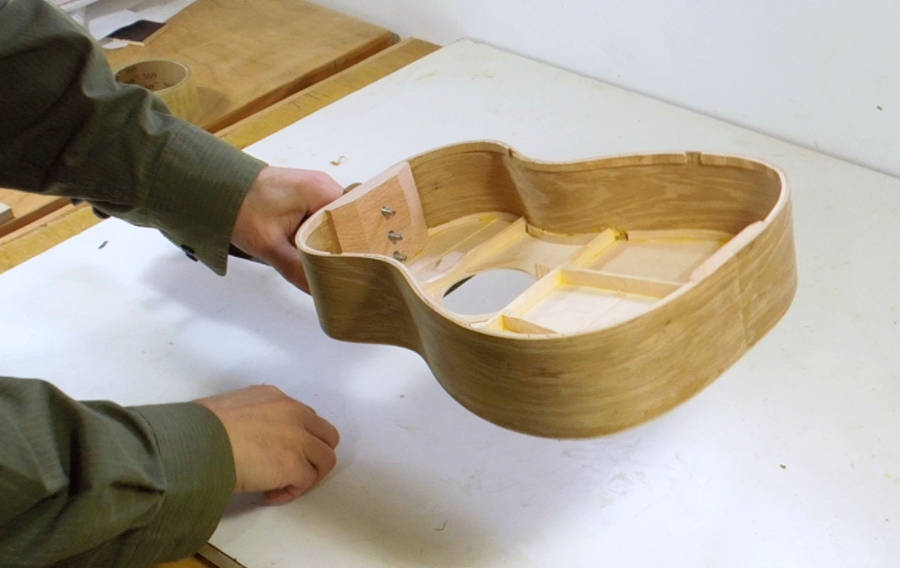 Now adding the neck on again (I had the neck on and off quite a few times)
 Here I'm checking how the neck aligns with the ukulele. I had to tweak it slightly
to line up with the tail of the instrument.
Here I'm checking how the neck aligns with the ukulele. I had to tweak it slightly
to line up with the tail of the instrument.
I think my sound hole is a little bit off-center.
 I then pre-drilled the holes for some screws. I guess this is where I could have
used drywall screws, but I chose some slightly less ugly looking white
painted screws instead.
I then pre-drilled the holes for some screws. I guess this is where I could have
used drywall screws, but I chose some slightly less ugly looking white
painted screws instead.
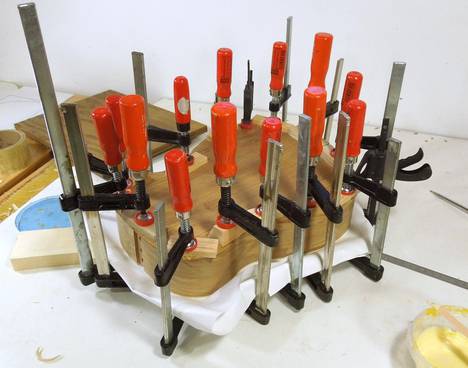 Everything seemed good so far, so I decided to finally glue the back onto
the instrument, using lots of clamps, as always.
Everything seemed good so far, so I decided to finally glue the back onto
the instrument, using lots of clamps, as always.
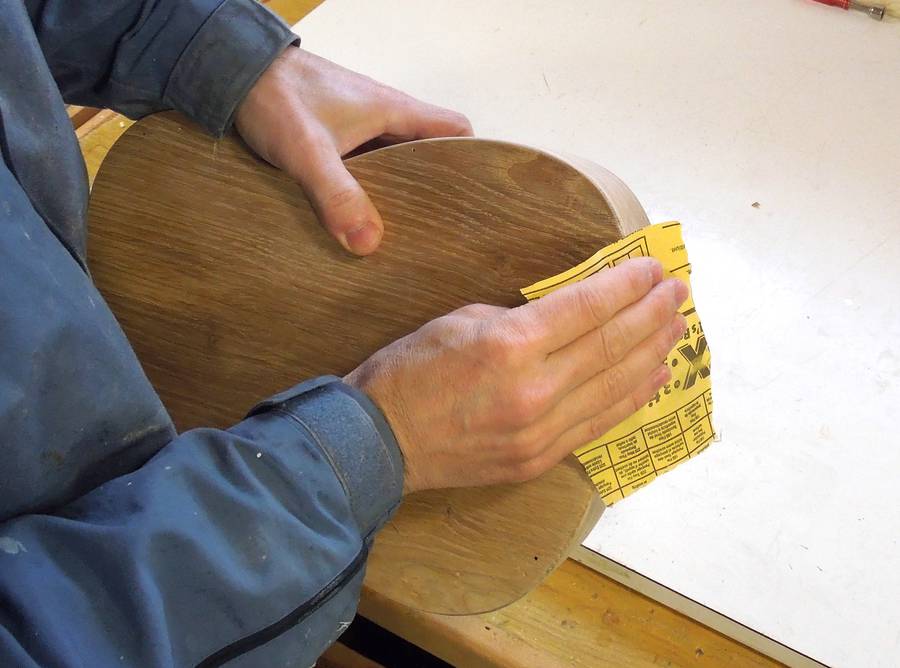 I routed and sanded the back edge, same as the front, then sanded it.
Next: Finishing up — varnishing, bridge and nut
Back to the Ukulele index
![]()