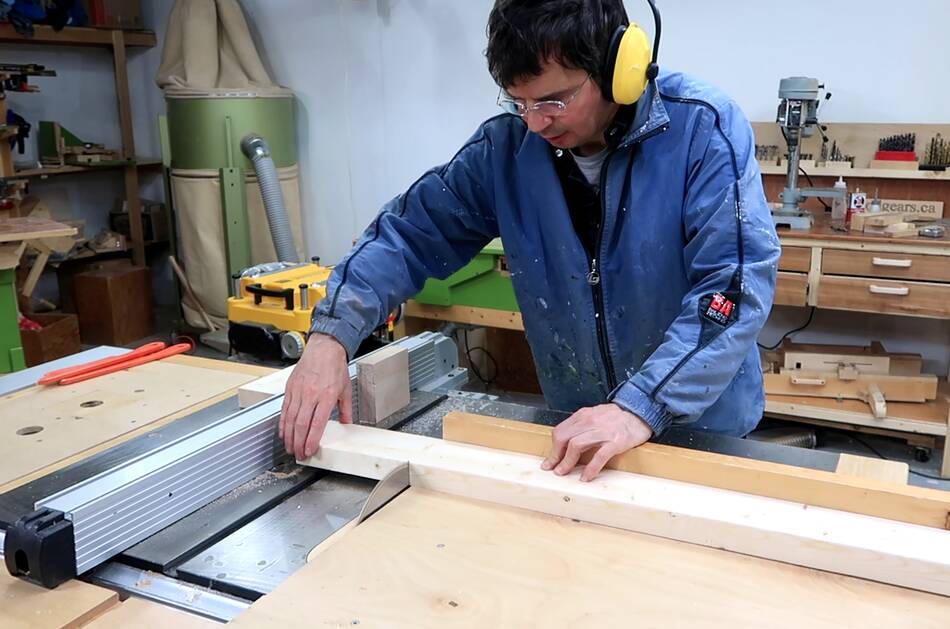
 I needed to build a bed for our nearly four year old.
As always for a project of this size, I use construction
lumber because it's much cheapere than hardwood.
I needed to build a bed for our nearly four year old.
As always for a project of this size, I use construction
lumber because it's much cheapere than hardwood.
I needed to build a bed for our nearly four year old.
As always for a project of this size, I use construction
lumber because it's much cheapere than hardwood.
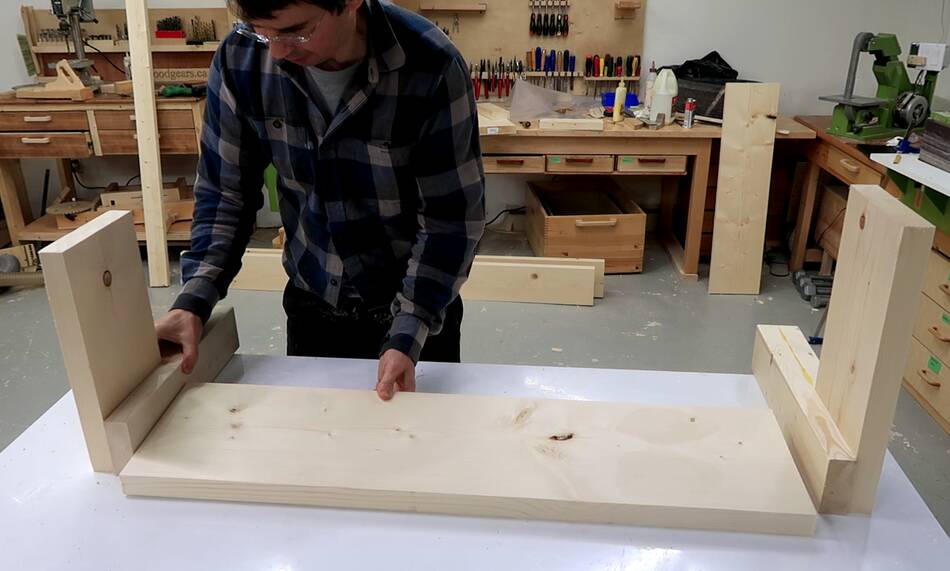
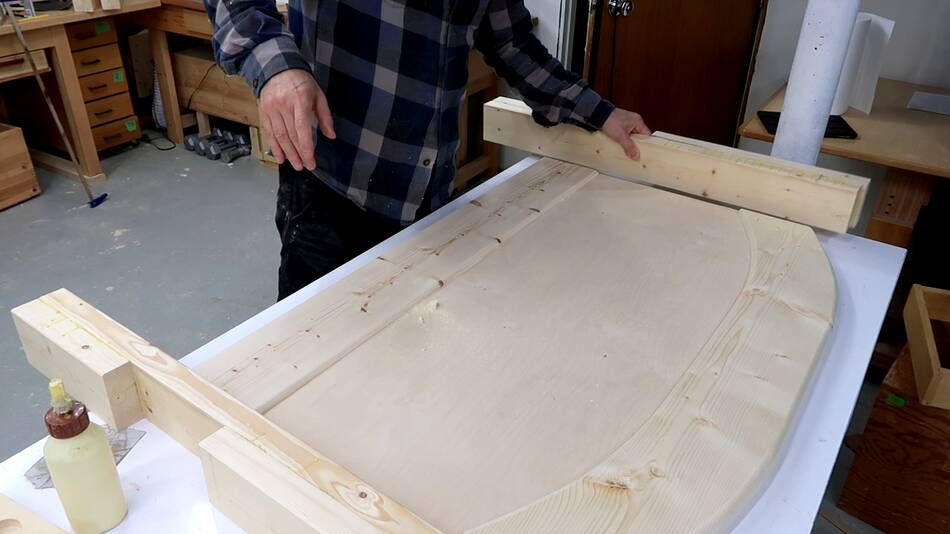
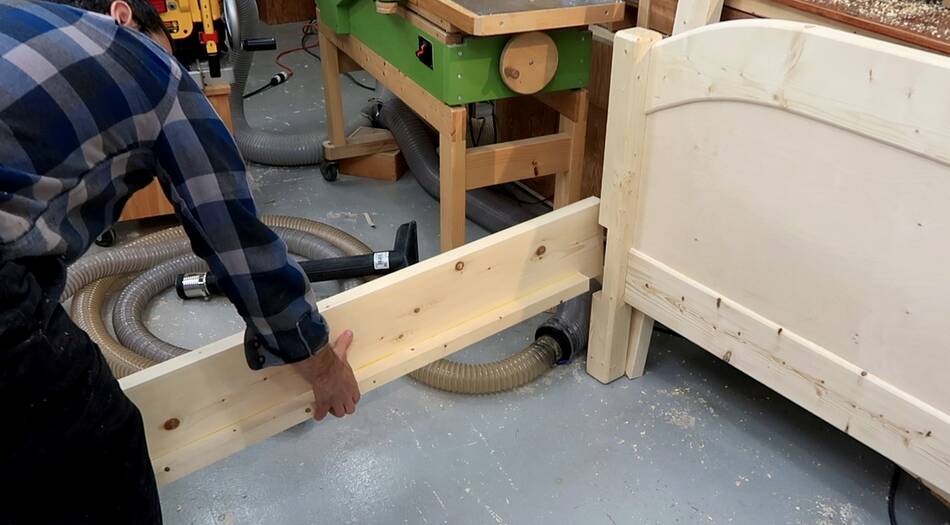
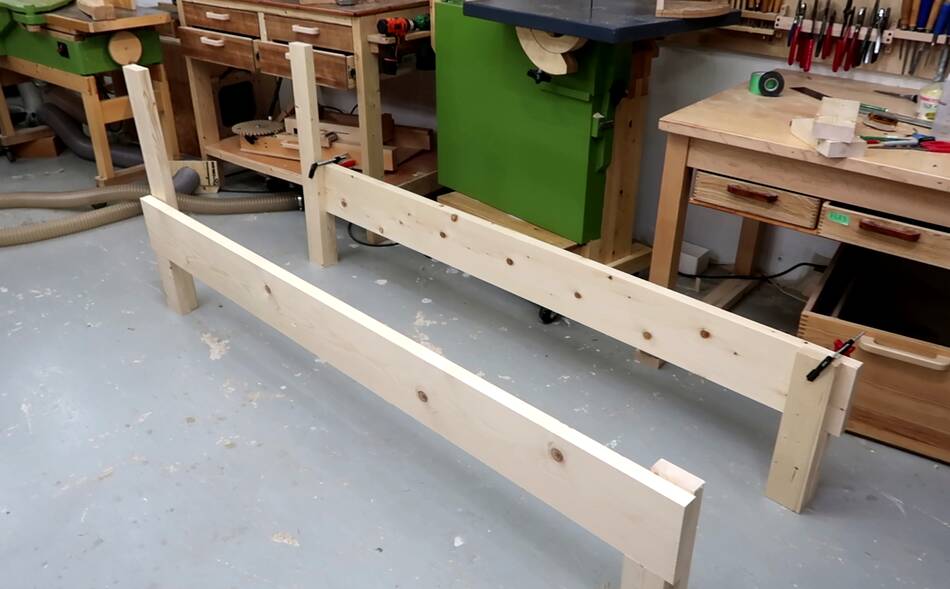 After I cut the wood to length I arranged it together
to get a sense of how it would look. I realized the legs were a
little too short so I cut longer ones.
After I cut the wood to length I arranged it together
to get a sense of how it would look. I realized the legs were a
little too short so I cut longer ones.
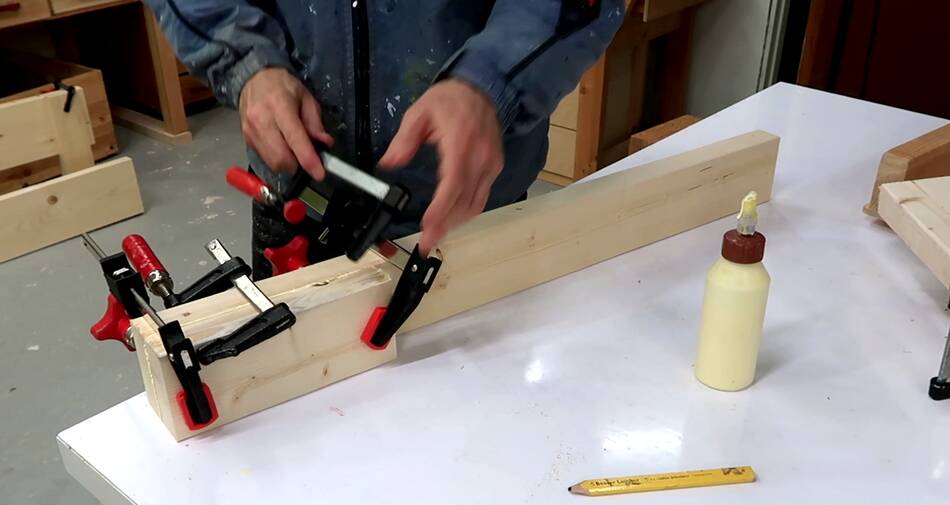
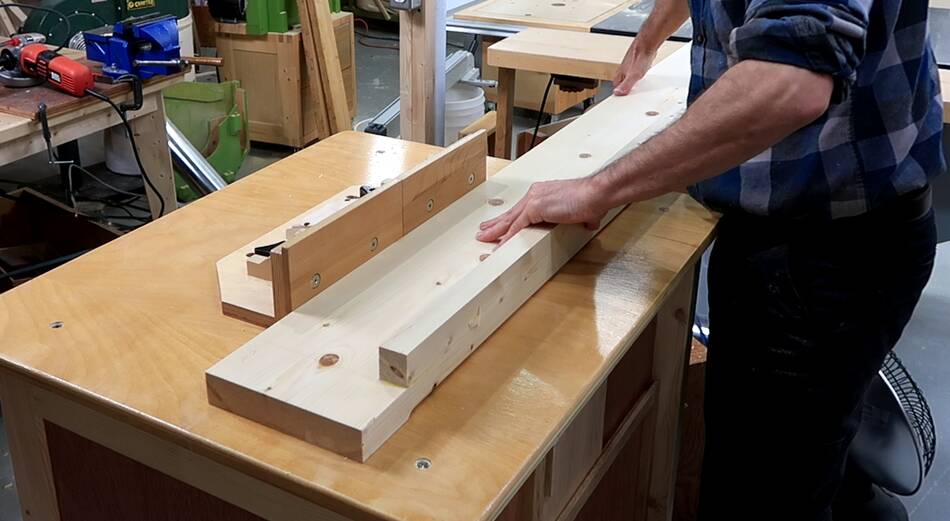
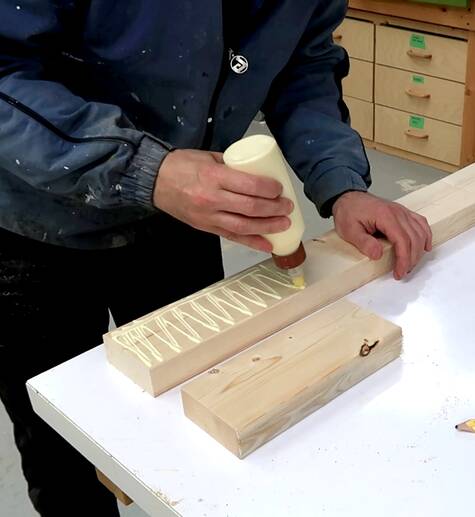 The legs consist of 2 pieces of 2x4 glued together to make
square posts.
The legs consist of 2 pieces of 2x4 glued together to make
square posts.
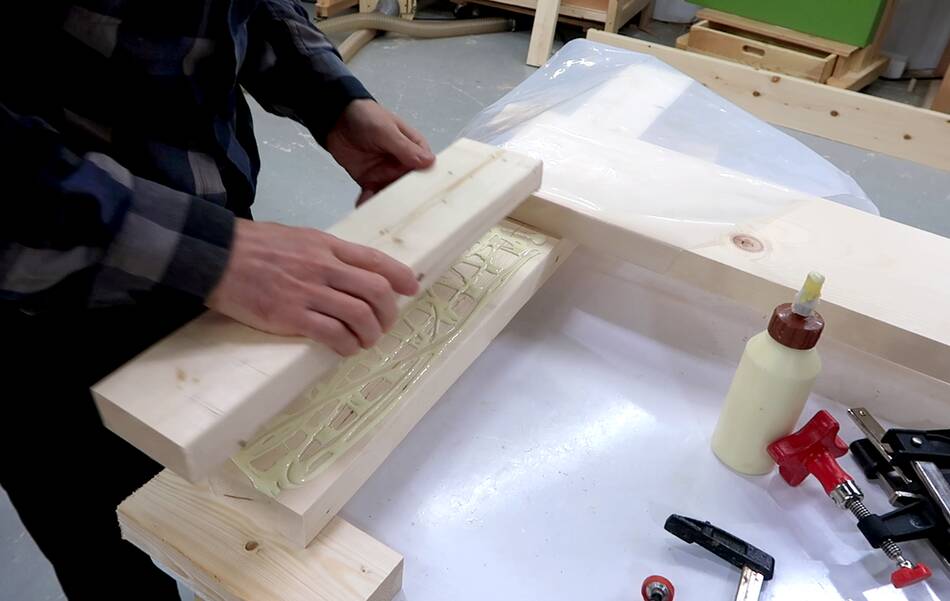
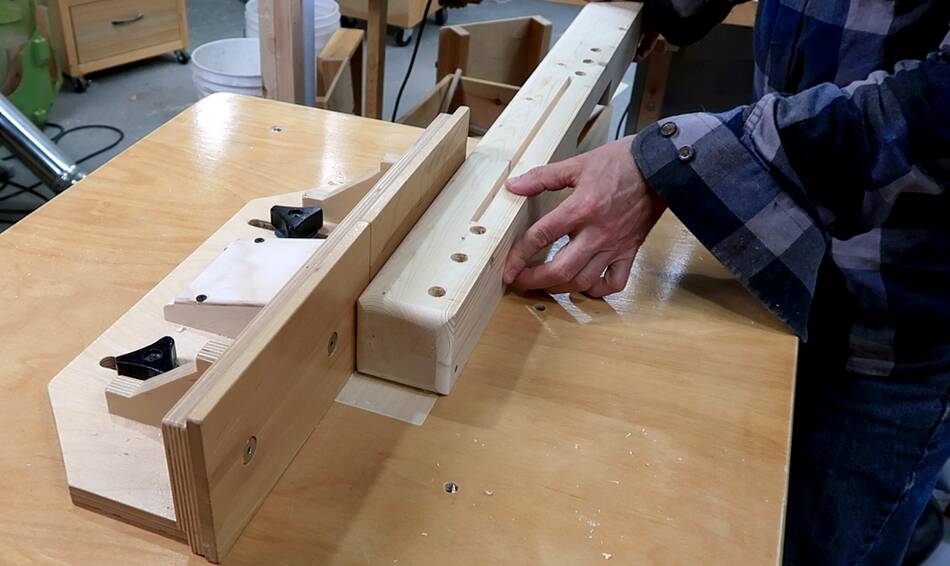
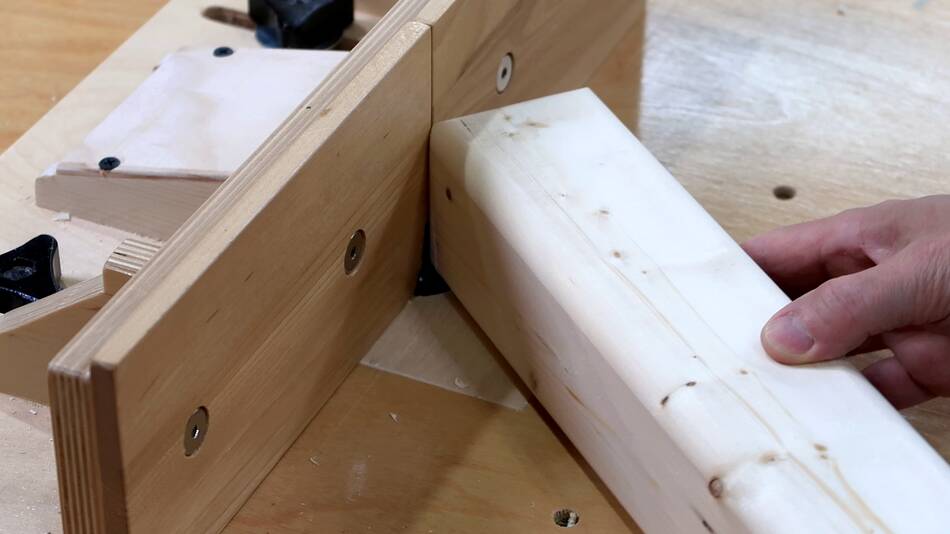
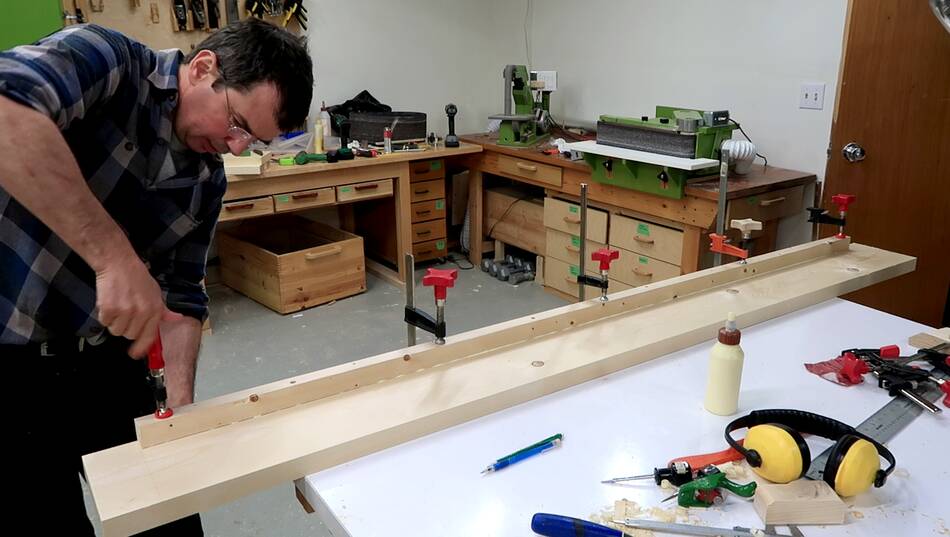
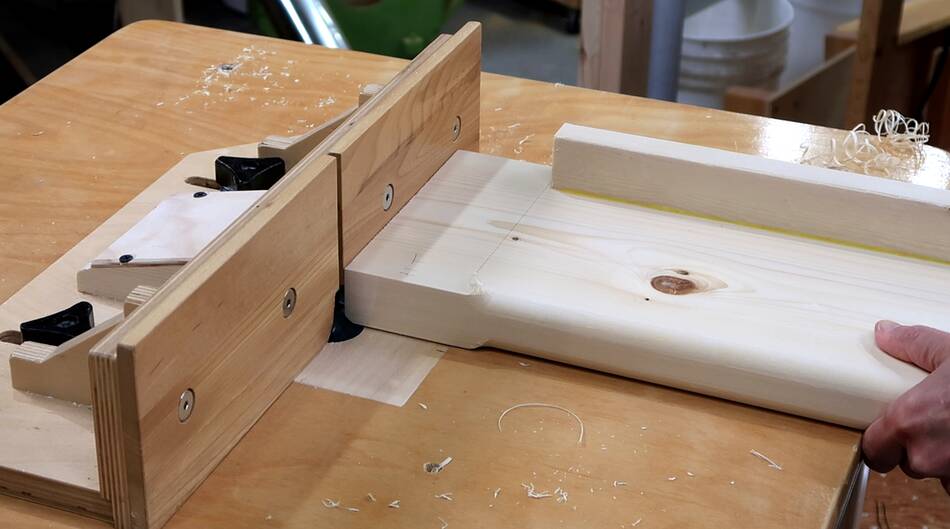
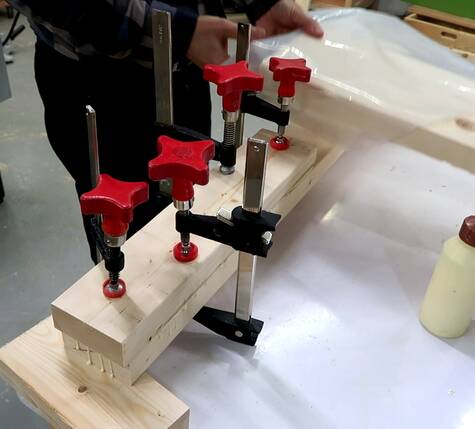 The outer layer of the leg post has a gap in it to join with the
bed rail. I use the bed rail itself as a spacer while gluing the pieces
together to leave the correct sized gap.
The outer layer of the leg post has a gap in it to join with the
bed rail. I use the bed rail itself as a spacer while gluing the pieces
together to leave the correct sized gap.
But I didn't want to get glue on that part, so I used a piece of plastic wrapped around it to prevent it to keep glue off of it.
 I used some 2x10 material to make the headboard and footboard.
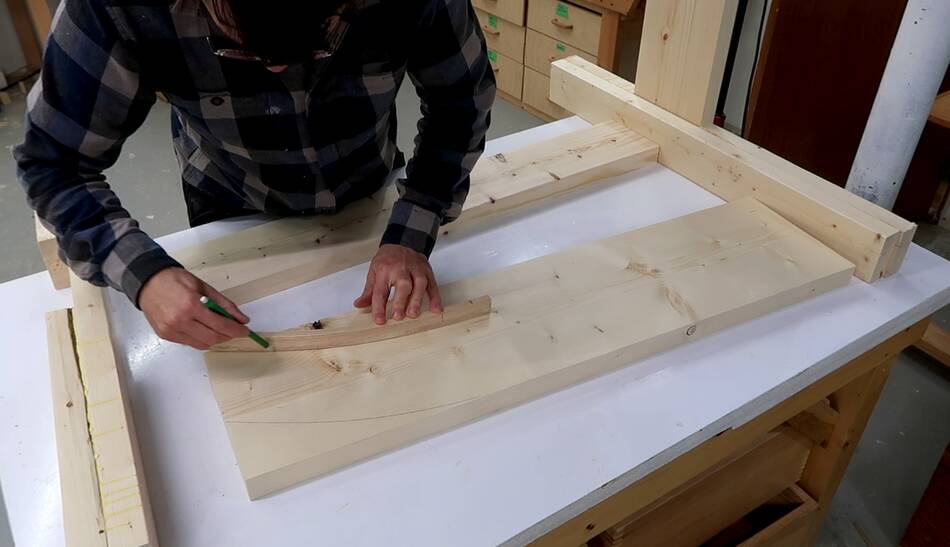
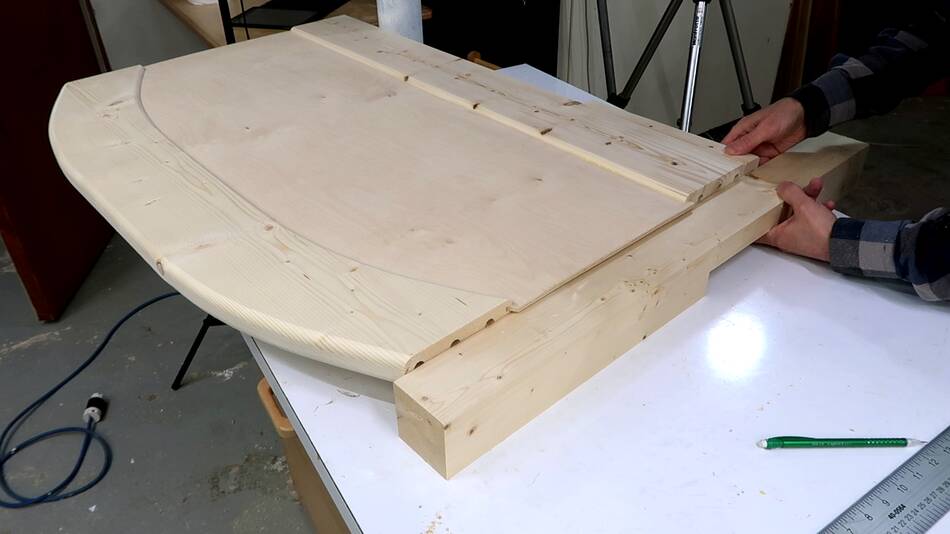
 I used two 2x8 offcuts as stand-ins for the bed
rails while working out the layout for the footboard.
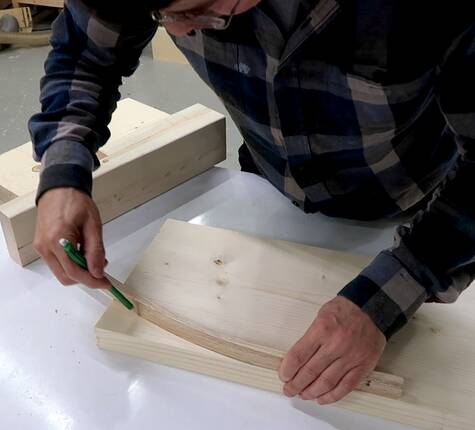
The main footboard piece is a bit wider than the bed rails and it
needs a curve cut into the top edge.
I used two 2x8 offcuts as stand-ins for the bed
rails while working out the layout for the footboard.
The main footboard piece is a bit wider than the bed rails and it
needs a curve cut into the top edge.
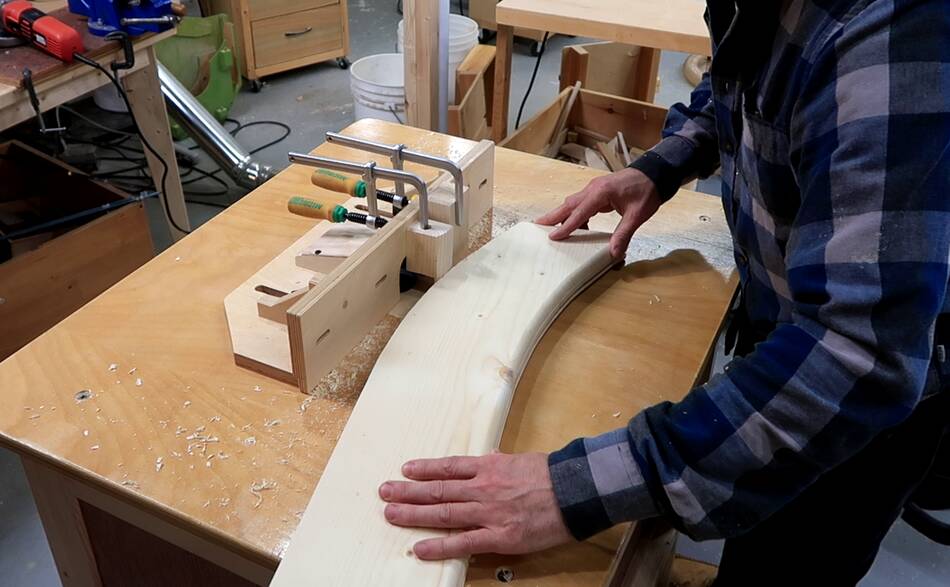
I used to bent piece of wood for marking the curves. this piece is from experiments I did before making bent chair back rungs.
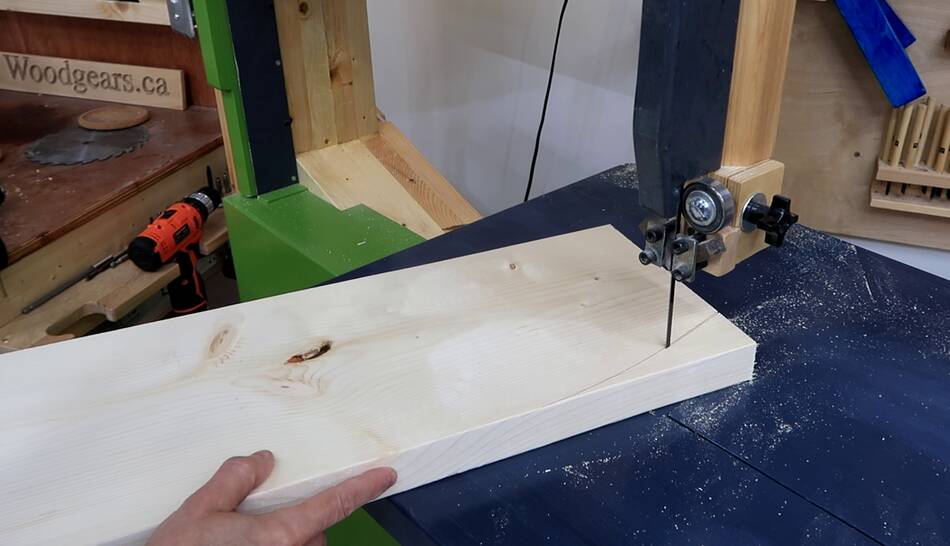
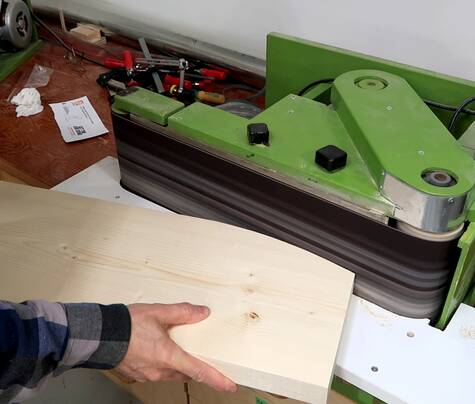 Then cutting it out in the bandsaw and smoothing the cut
on the belt sander.
Then cutting it out in the bandsaw and smoothing the cut
on the belt sander.
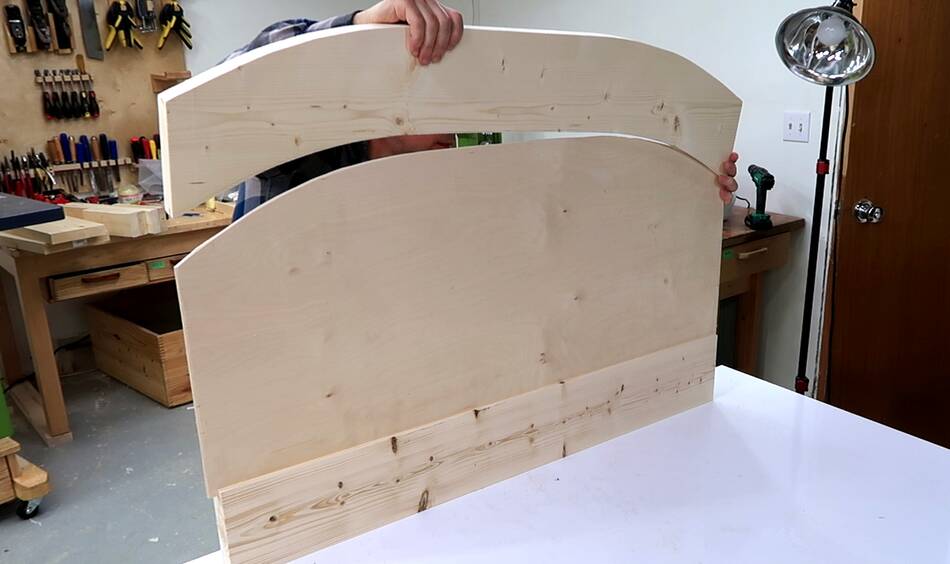
 I used the same bent piece of wood to mark the profile of the headboard.
The top piece of the headboard also has a curve on the bottom.
I used the same bent piece of wood to mark the profile of the headboard.
The top piece of the headboard also has a curve on the bottom.
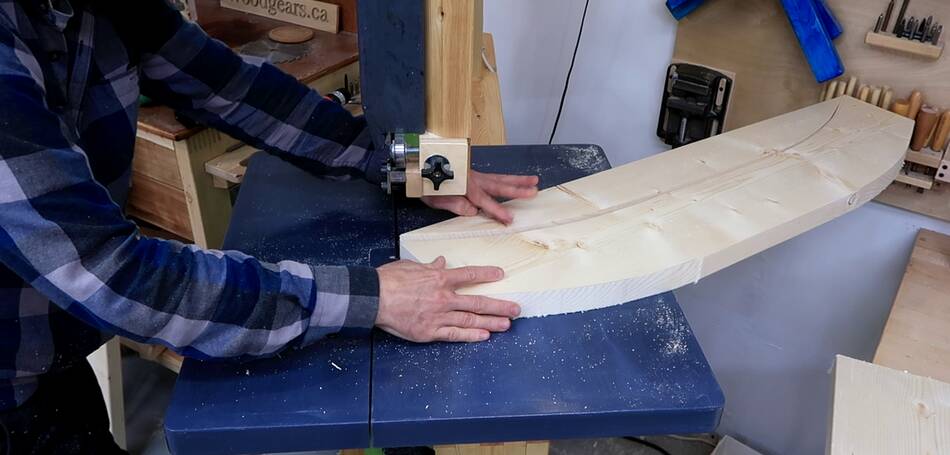 The work piece bumped into the wall as I cut it in the band saw.
Fortunately my bandsaw is relatively light and on wheels so I could
pull the saw away from the wall midway through the cut.
The work piece bumped into the wall as I cut it in the band saw.
Fortunately my bandsaw is relatively light and on wheels so I could
pull the saw away from the wall midway through the cut.
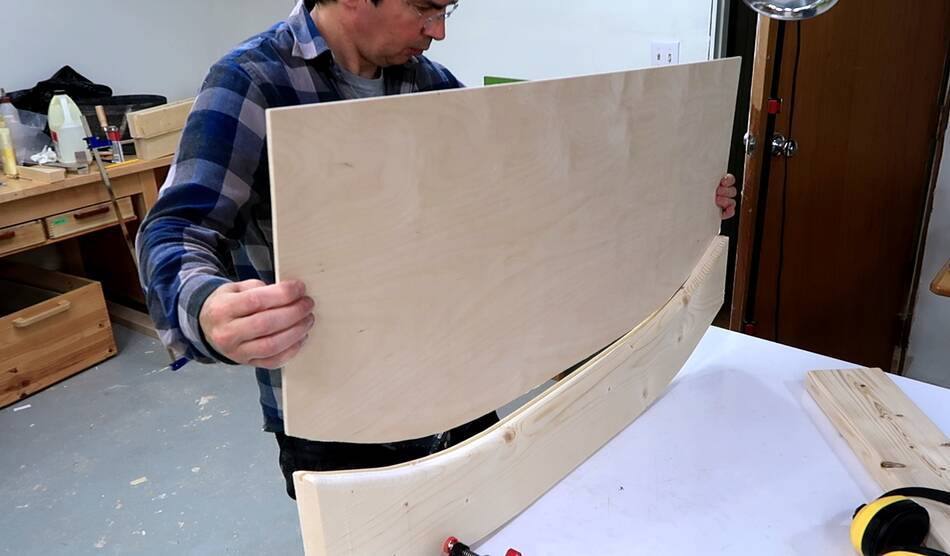
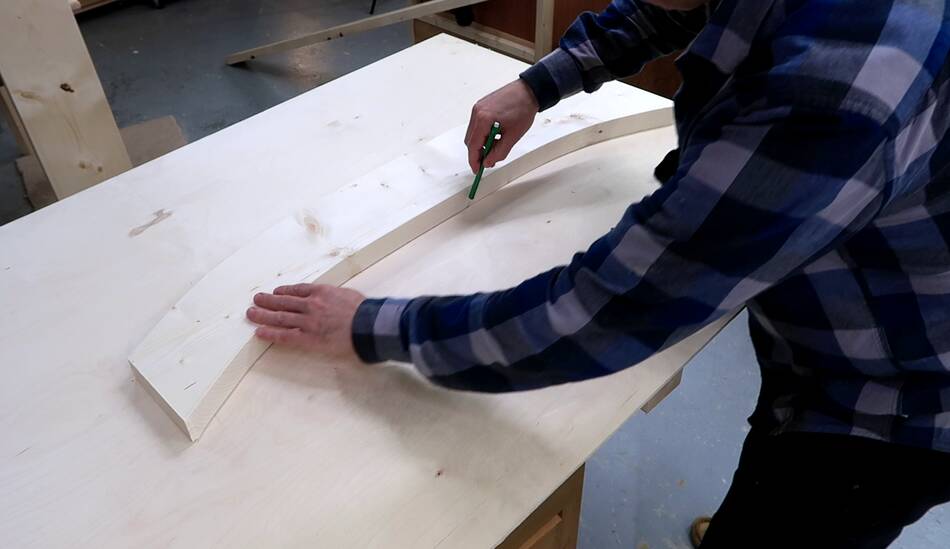 Then marking the profile from the top piece on to the plywood that
will form the middle of the headboard.
Then marking the profile from the top piece on to the plywood that
will form the middle of the headboard.
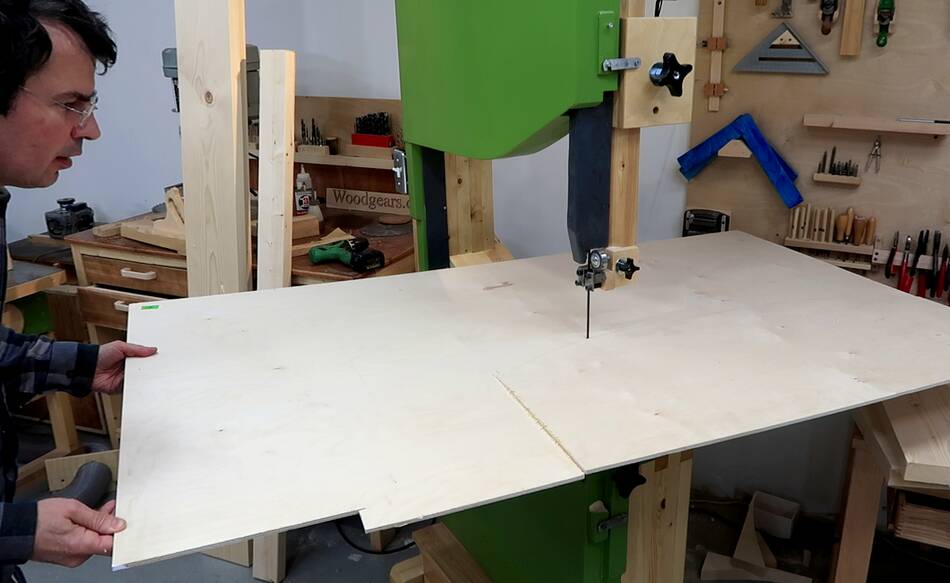 And cutting it up on my 26" bandsaw.
On a smaller bandsaw this would have required cutting it out rectangular
on the table saw first to make it fit on the bandsaw.
But if I had a 40" bandsaw I would have been able to cut it out without
the need to flip over the plywood for part of the cut.
And cutting it up on my 26" bandsaw.
On a smaller bandsaw this would have required cutting it out rectangular
on the table saw first to make it fit on the bandsaw.
But if I had a 40" bandsaw I would have been able to cut it out without
the need to flip over the plywood for part of the cut.
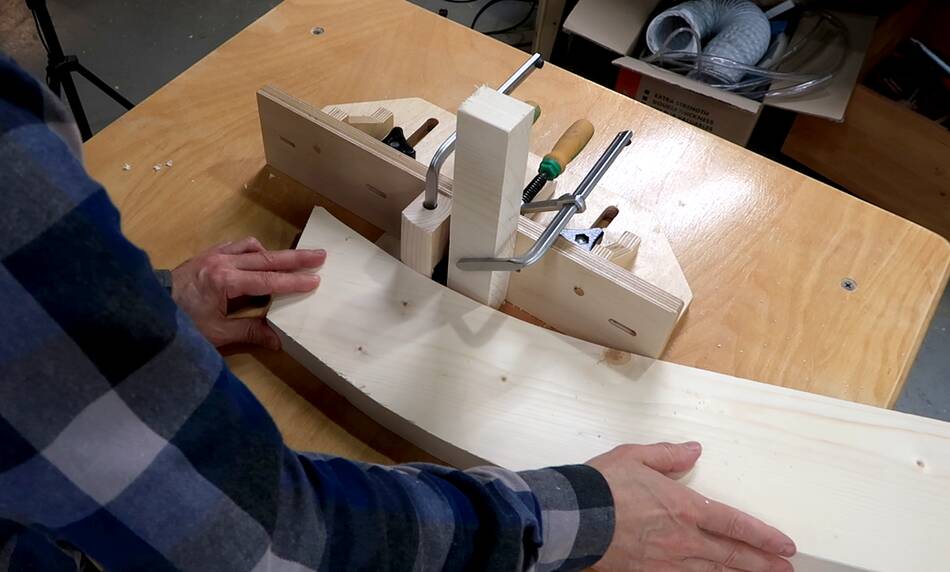
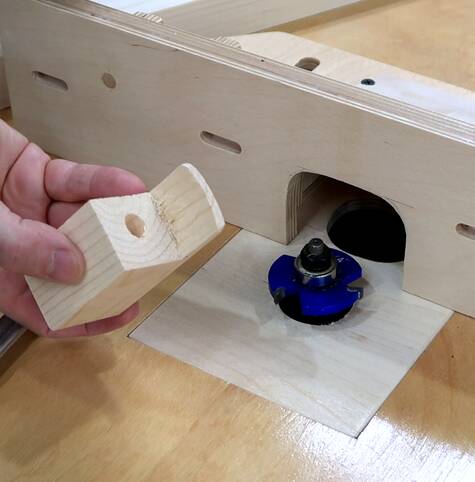 I'm routing a slot into the curved piece to accept a piece of
plywood for the middle of the headboard.
I'm routing a slot into the curved piece to accept a piece of
plywood for the middle of the headboard.
I didn't have a guide bearing of the right size for my slot-cutting bit so I made this wooden guide to use instead.
Another piece of wood clamped to the router fence helps to deflect the chips into the router table.
 checking that the plywood fits into the curve slot I just cut.
 Before gluing it together I put a half inch roundover on all the
outside edges.
Before gluing it together I put a half inch roundover on all the
outside edges.
 Then assembling it with glue.
 I have to cut the leg posts to their final width to make them square
before joining the legs to the headboard.
I have to cut the leg posts to their final width to make them square
before joining the legs to the headboard.
 First smoothing one side on the jointer...
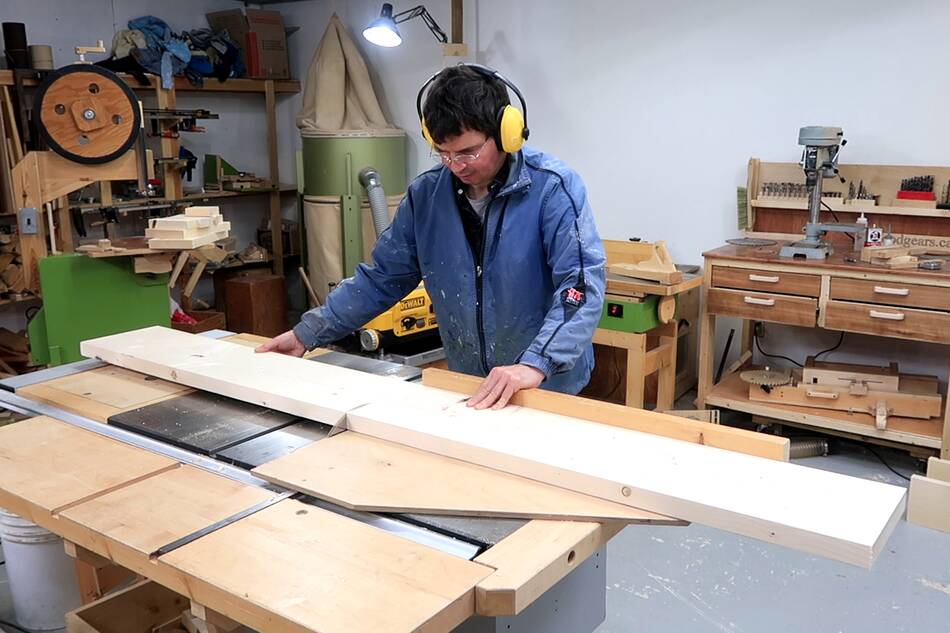
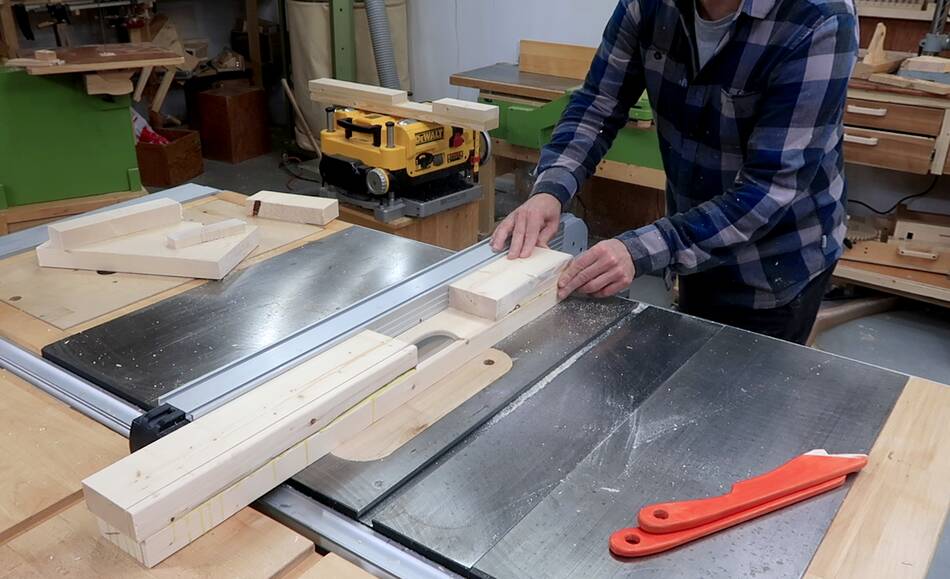 Then cutting it to final width on the table saw.
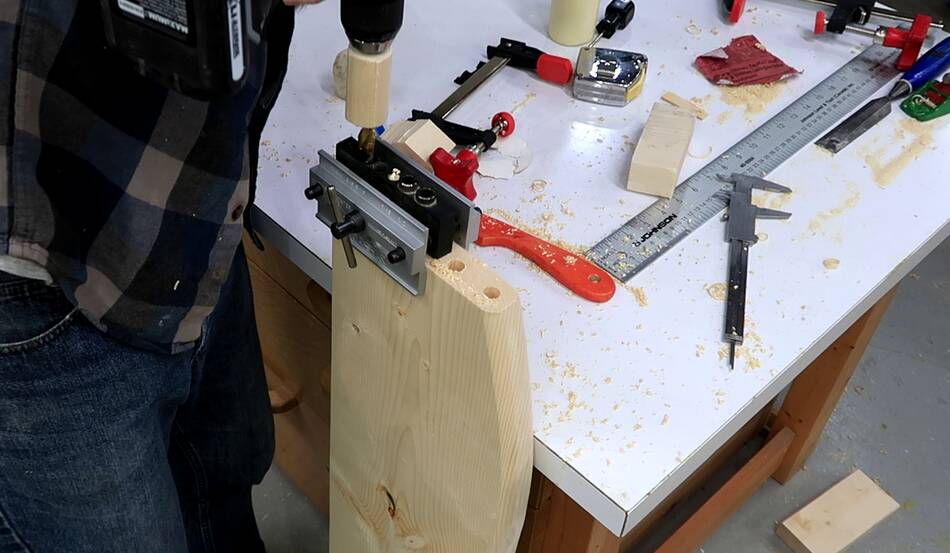
 I use my self centering doweling jig to drill dowel holes into the edges
of the headboard.
I use my self centering doweling jig to drill dowel holes into the edges
of the headboard.
Unfortunately this doweling jig only has one hole for a 1/2" drill bit, so I had to reposition it for each hole. I repositioned it freehand each time.
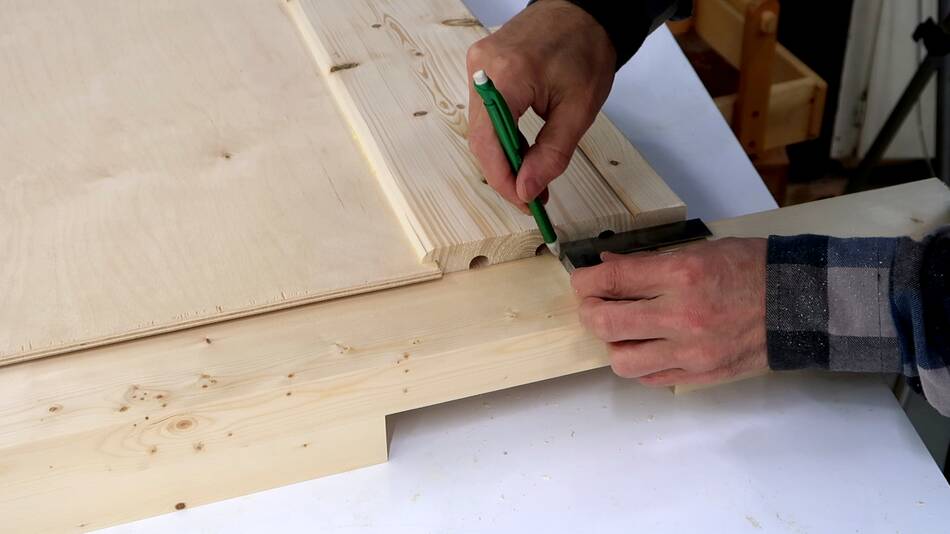
 Then transferring the lateral dowel hole locations onto the posts,
just with a pencil and a small square.
Then transferring the lateral dowel hole locations onto the posts,
just with a pencil and a small square.
I use my calipers to to mark how far from the edge of the post the holes should be.
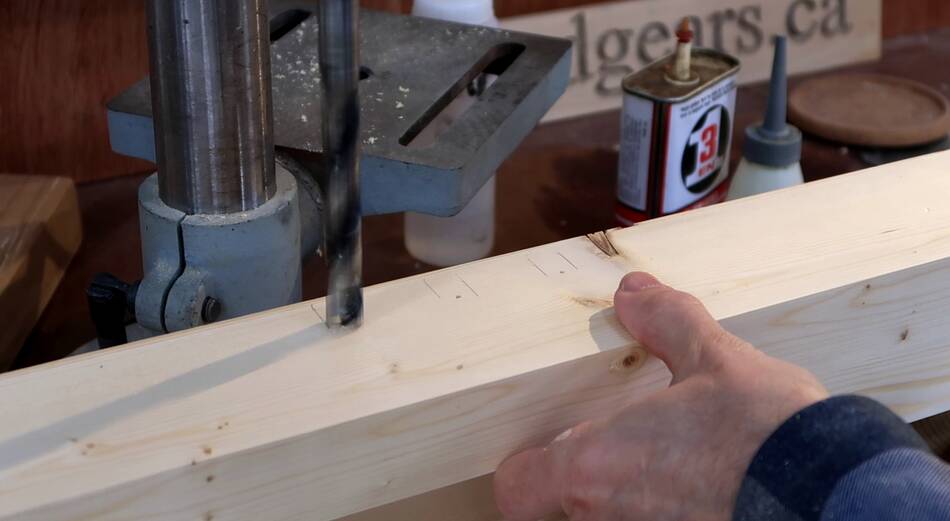 With divots poked into the wood for where the centers of the holes go,
I lined up the point of a bad point bit with the divots and
drilled the hole.
With divots poked into the wood for where the centers of the holes go,
I lined up the point of a bad point bit with the divots and
drilled the hole.
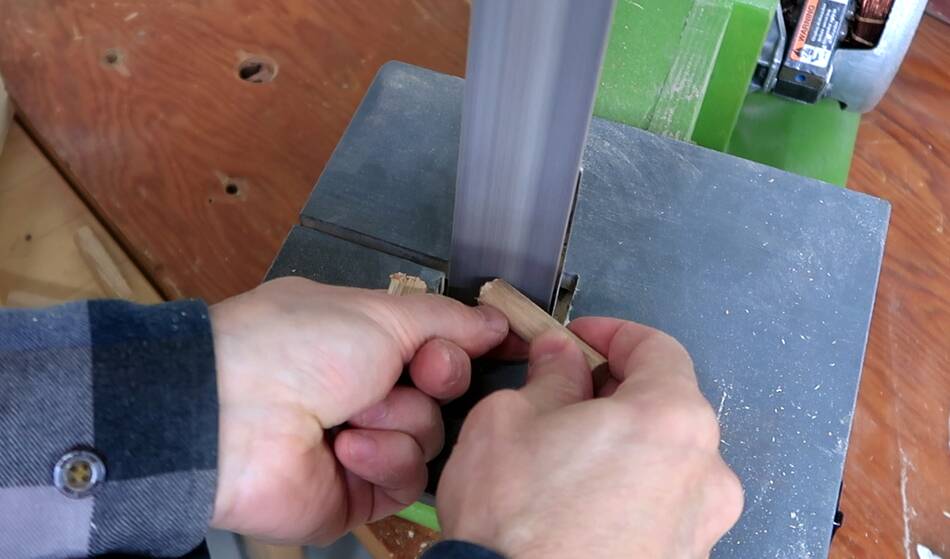 I chamfered the ends of the dowels with my
strip sander to make them
easier to line up later.
I chamfered the ends of the dowels with my
strip sander to make them
easier to line up later.
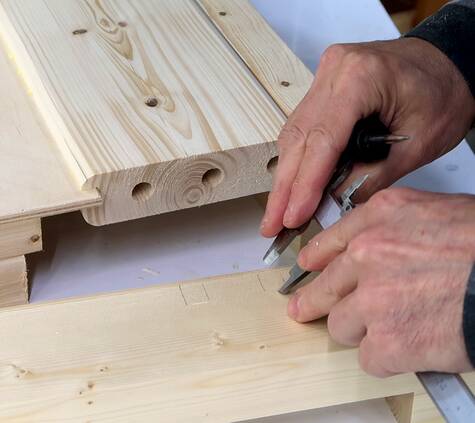
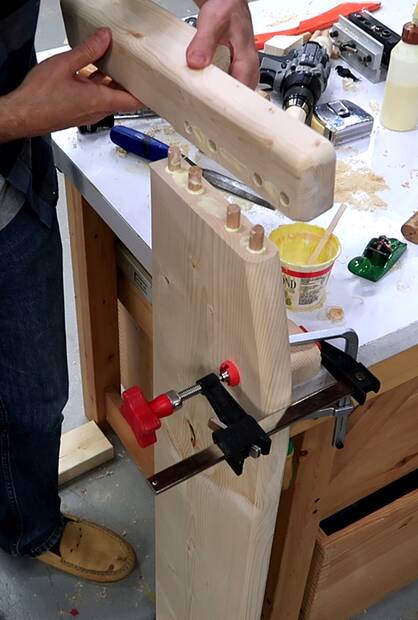
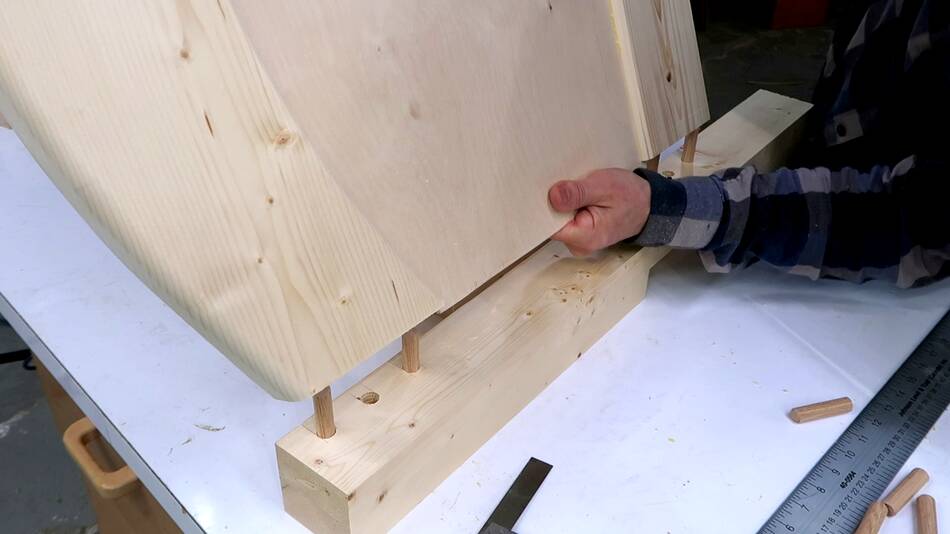 Dry fitting the headboard to the posts.
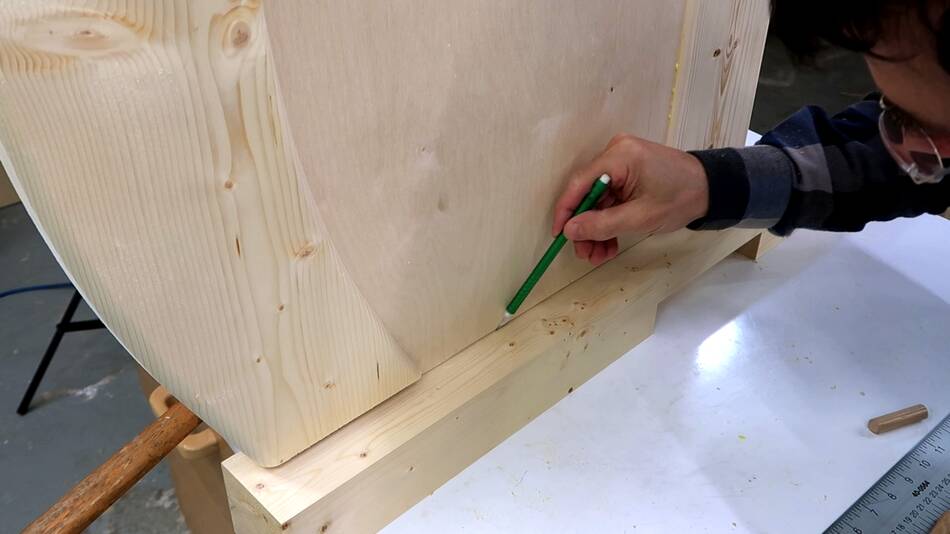 This allowed me to mark where to cut the slot for the plywood
to fit into the posts.
This allowed me to mark where to cut the slot for the plywood
to fit into the posts.
 I cut that that slot with a slot cutting bit on my
router table.
I cut that that slot with a slot cutting bit on my
router table.
 I then put a 1/2" roundover on all the edges of the post
 For the corners of the post I rotated it around the bit to make
the corners more or less spherical.
For the corners of the post I rotated it around the bit to make
the corners more or less spherical.
 Then finally gluing it together.
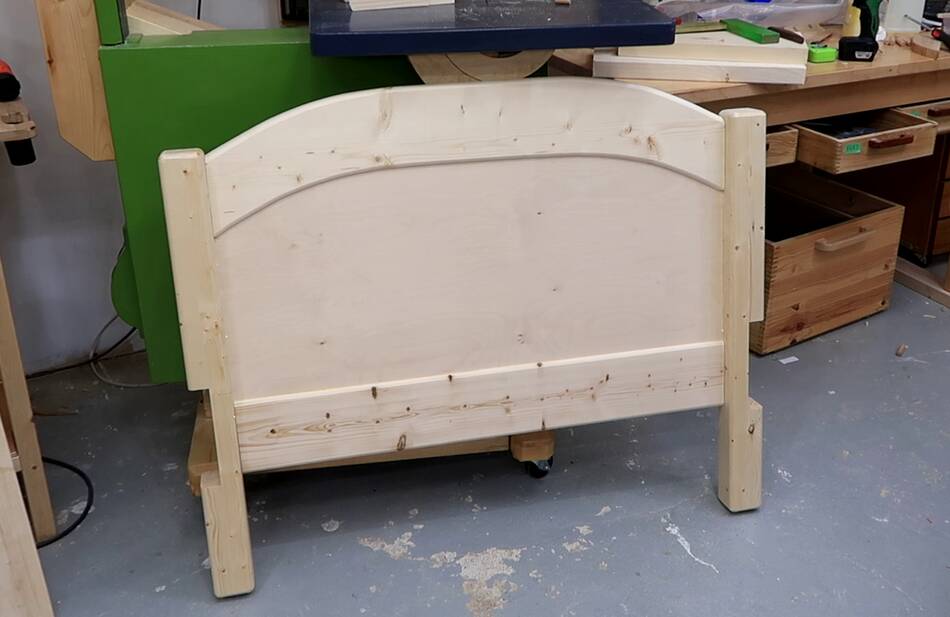 Headboard completed.
 The footboard is joined together the same way, except it is much simpler
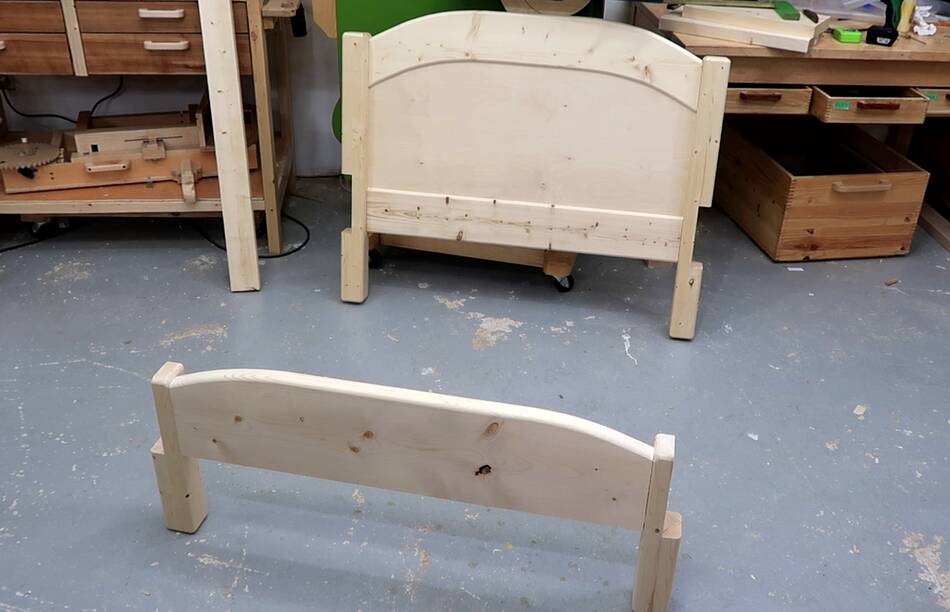
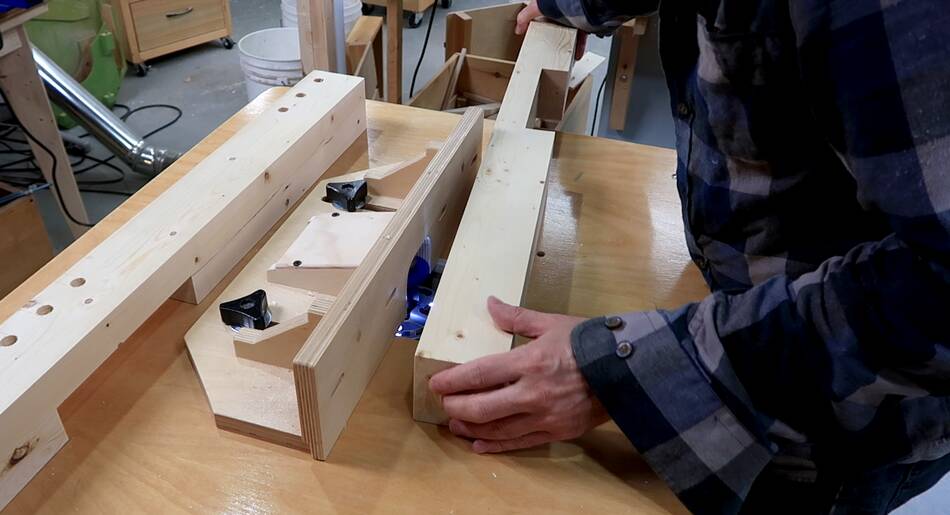
 Headboard and footboard done. now I need to make the side rails.
 I glued a ledge to the inside bottom edge of the side rails.
This ledge will support the slats.
I glued a ledge to the inside bottom edge of the side rails.
This ledge will support the slats.
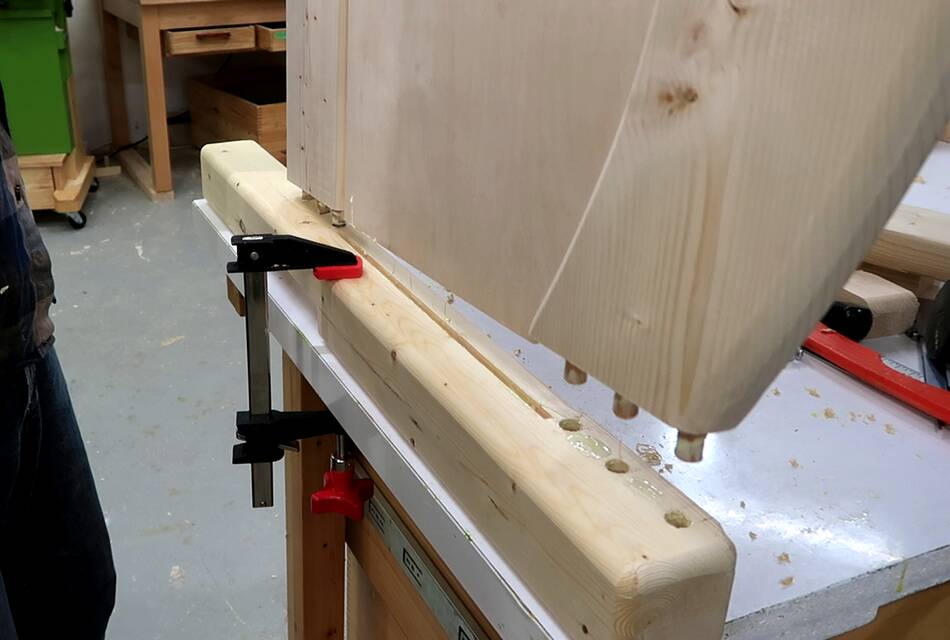
 This is how the side rail joins with the headboard.
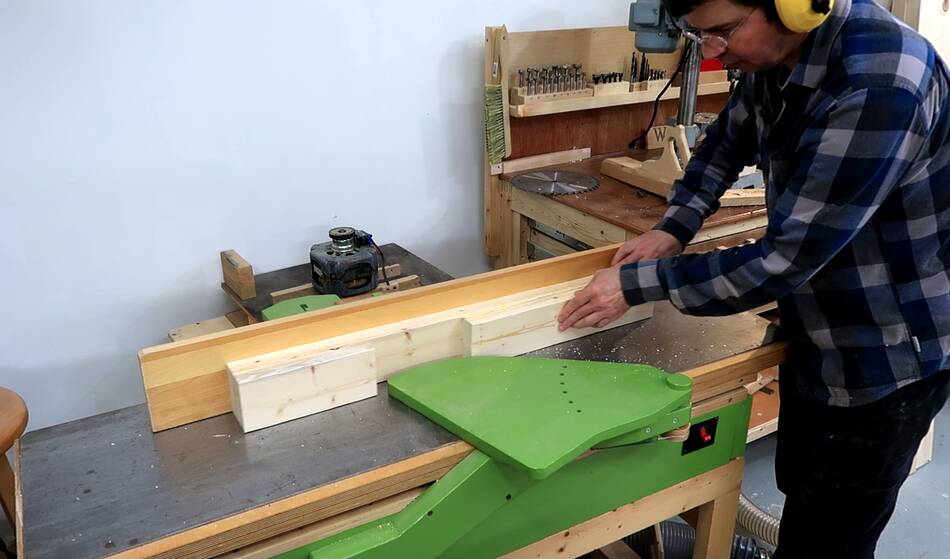
 I put the same 1/2" roundover on all the exposed
edges of the side rail.
I put the same 1/2" roundover on all the exposed
edges of the side rail.
With such a large workpiece this would have been easier with a handheld router, but the router table has dust collection, so I used that instead.
 It was a bit tricky to hold that long piece while routing the
roundover onto the end of it. A handheld router would have been easier.
It was a bit tricky to hold that long piece while routing the
roundover onto the end of it. A handheld router would have been easier.
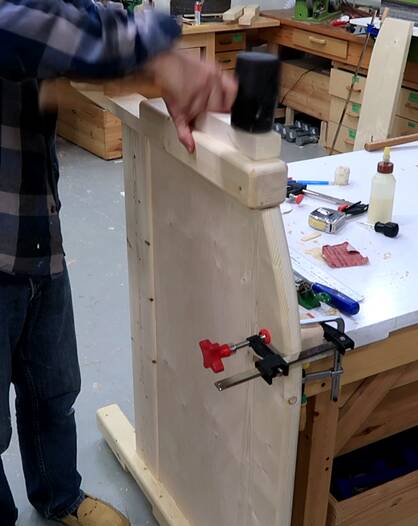
 With the side rail in place, I'm checking that the roundovers all
match the ones on the headboard piece.
With the side rail in place, I'm checking that the roundovers all
match the ones on the headboard piece.
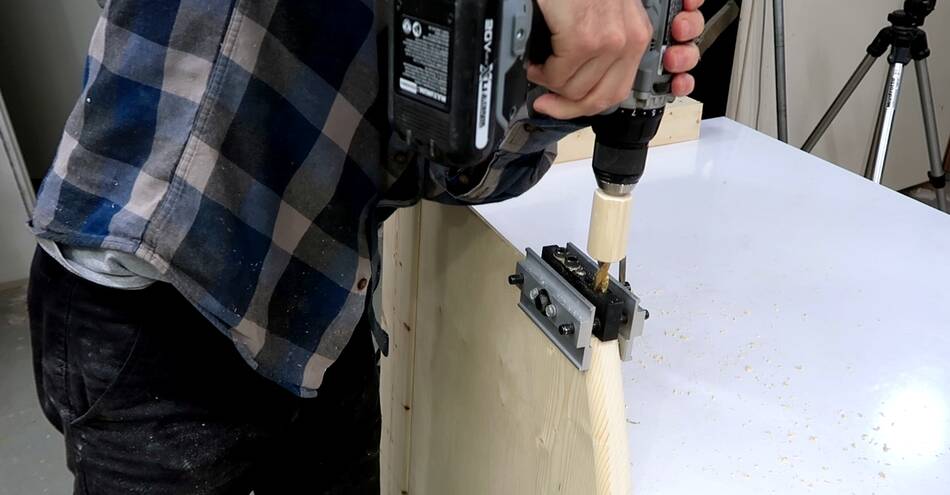
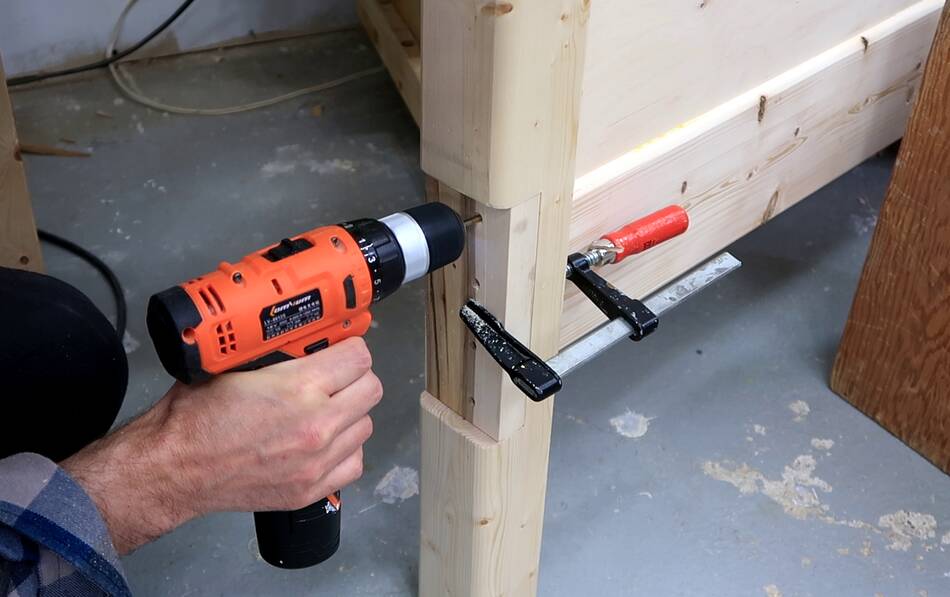 I made a drill guide out of a block of hardwood
and clamped it onto to the post to help position the
drill while drilling the screw holes.
I made a drill guide out of a block of hardwood
and clamped it onto to the post to help position the
drill while drilling the screw holes.
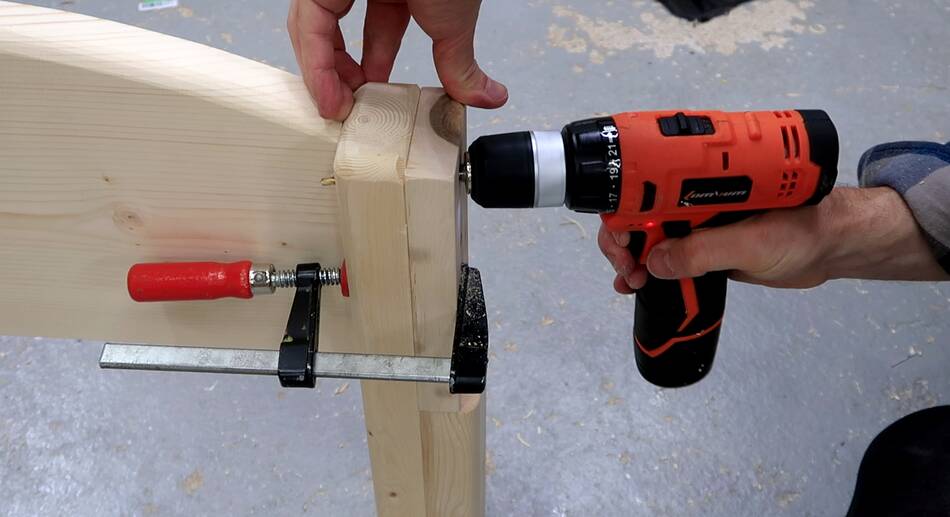 I use that same block as a drill guide for the footboard.
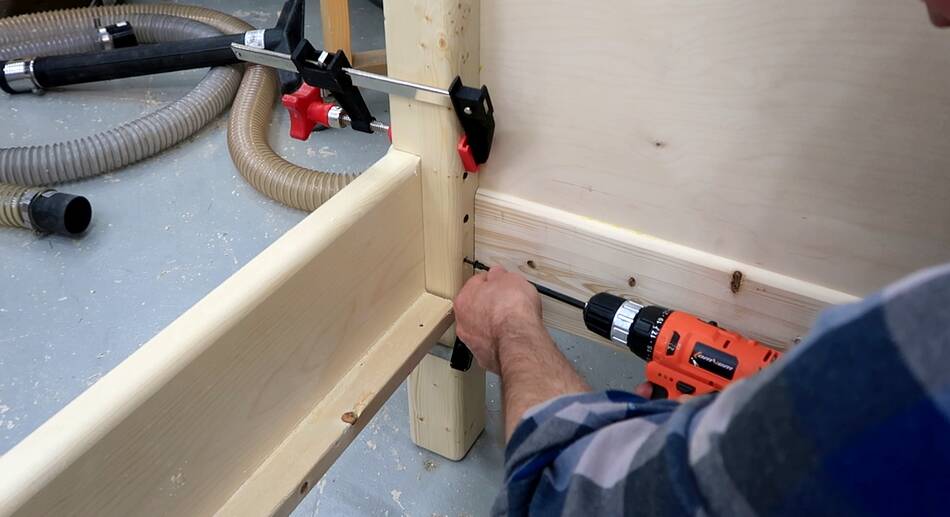 Then screwing it together. I like to use smaller screws
than I will for the final assembly for this initial test so I don't
wear out the screw holes in the wood too early.
Then screwing it together. I like to use smaller screws
than I will for the final assembly for this initial test so I don't
wear out the screw holes in the wood too early.
 I joined the bed slats with a piece along the bottom. This will help
to space the slats and also helps to support the slats against each other.
This is needed because kids sometimes jump on beds.
I joined the bed slats with a piece along the bottom. This will help
to space the slats and also helps to support the slats against each other.
This is needed because kids sometimes jump on beds.
It's very important that the mattress is not supported by a solid piece of plywood so that the mattress can "breathe" towards the bottom. Otherwise, moisture builds up inside the mattress.
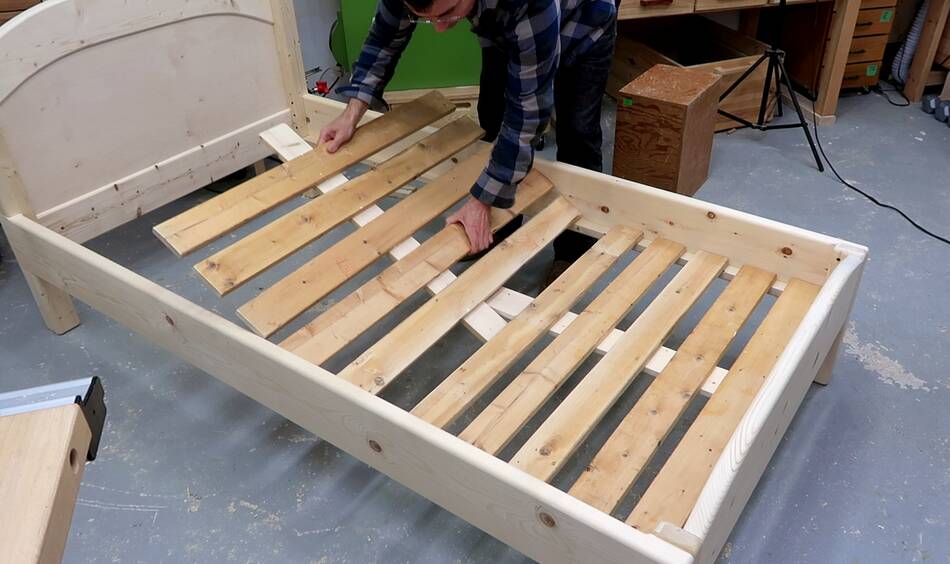 The piece connecting the slats extends beyond the last slat to overlap
with the one of the next group of slats.
The piece connecting the slats extends beyond the last slat to overlap
with the one of the next group of slats.
That way the edge slats are also supported by the connecting piece from the adjoining group of slats. Hopefully this will help prevent breakage from kids jumping.
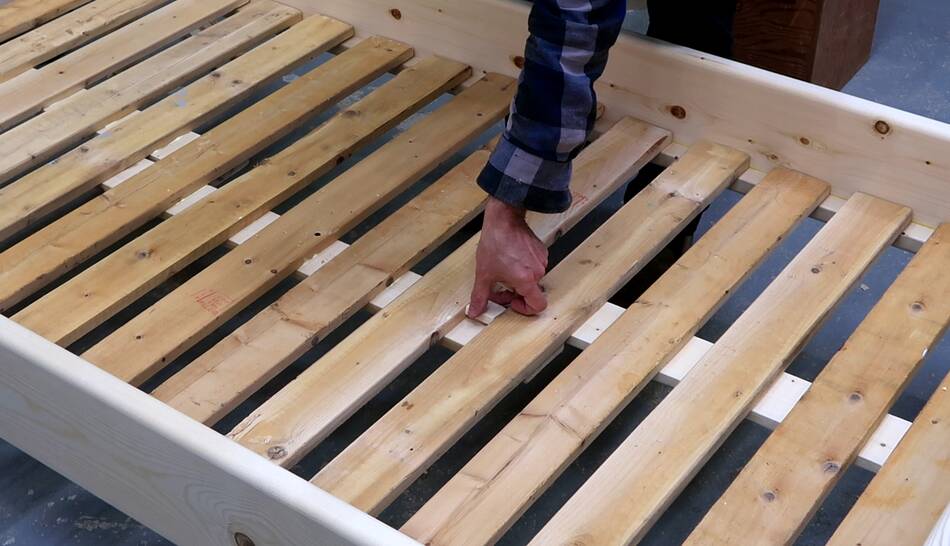 Two little blocks glued to the connecting pieces prevent the panels
from sliding too close to each other.
Two little blocks glued to the connecting pieces prevent the panels
from sliding too close to each other.
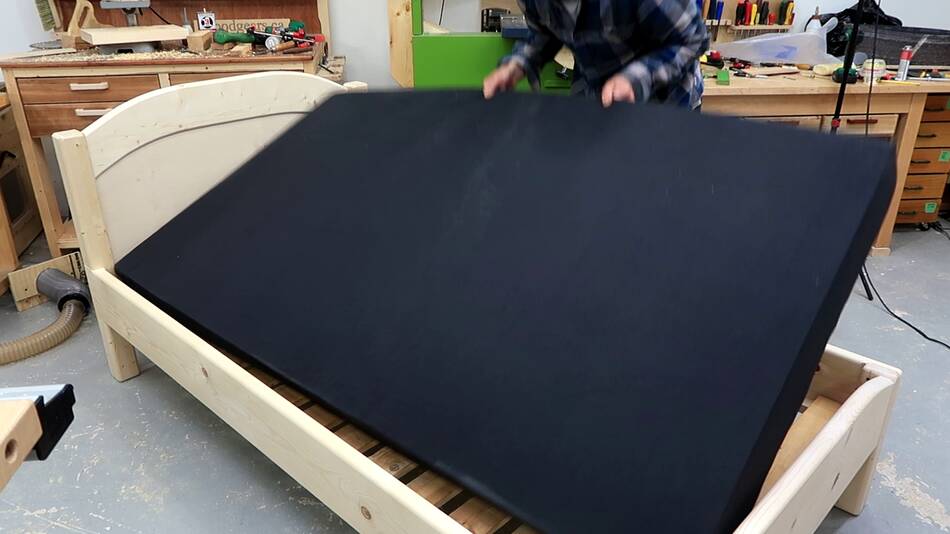 Then trying it out with a mattress.
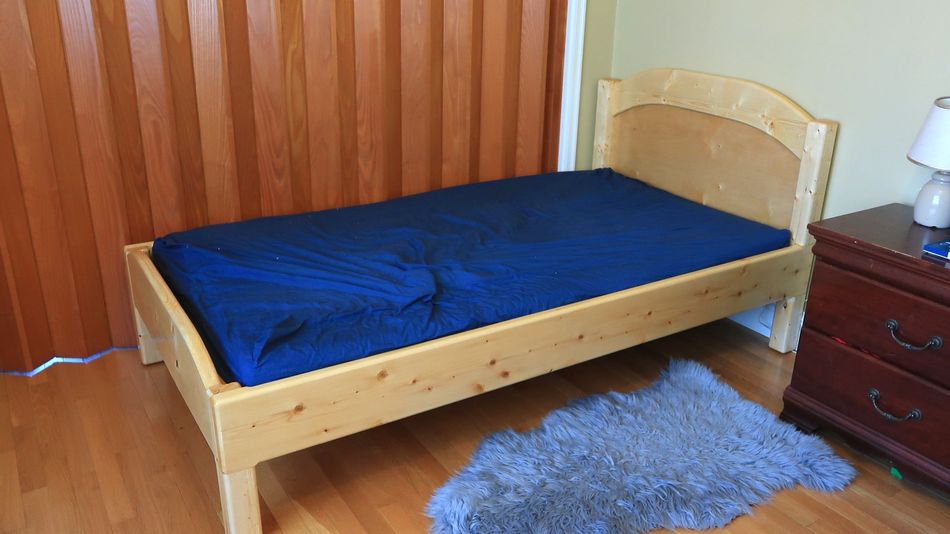 And all set up in the bedroom.
With kid #2 having a bed that I built, Kid #1 wanted one too. So I had to make another one.
This time I made the headboard heart shaped. I filmed the part focusing on making
the headboard, less so the rest of the bed because it was nearly identical to the previous one.
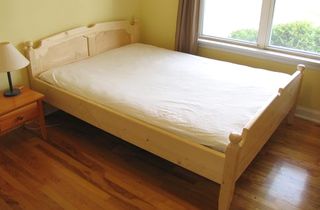 Fancy queen size bed build (2009)
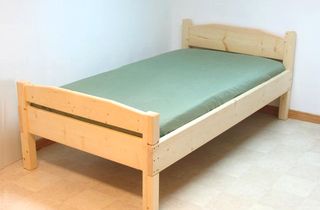 Twin size bed build (2008)
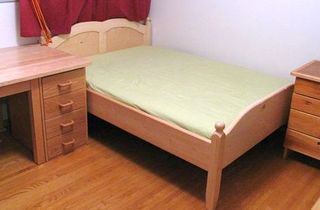 Another bed build (2006)
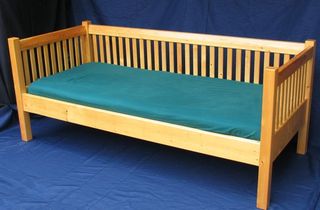 Building a daybed (1998)
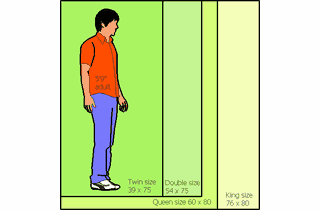 Bed sizes comparison twin, double, queen, king
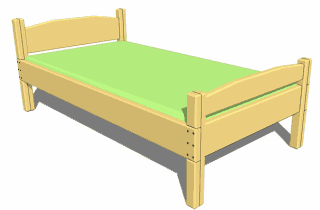 Bed plans (King, Queen, double, single)
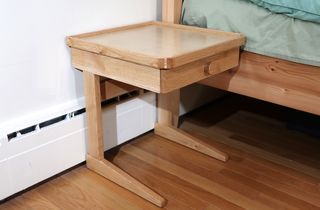 Building nightstands (2020)
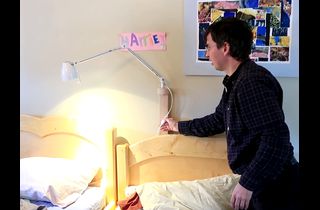 Behind headboard lamp stand #shorts
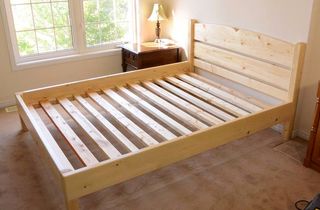 Queen size bed from 2x4 lumber
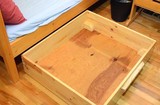 Rolling under-bed drawer
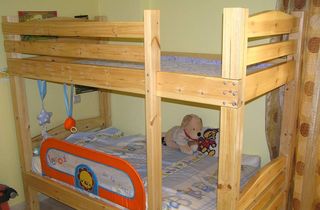 Giorgos's bunk bed build