Porch stairs
(Continued from Porch repairs)
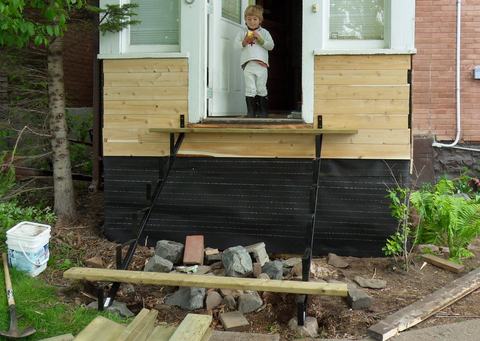
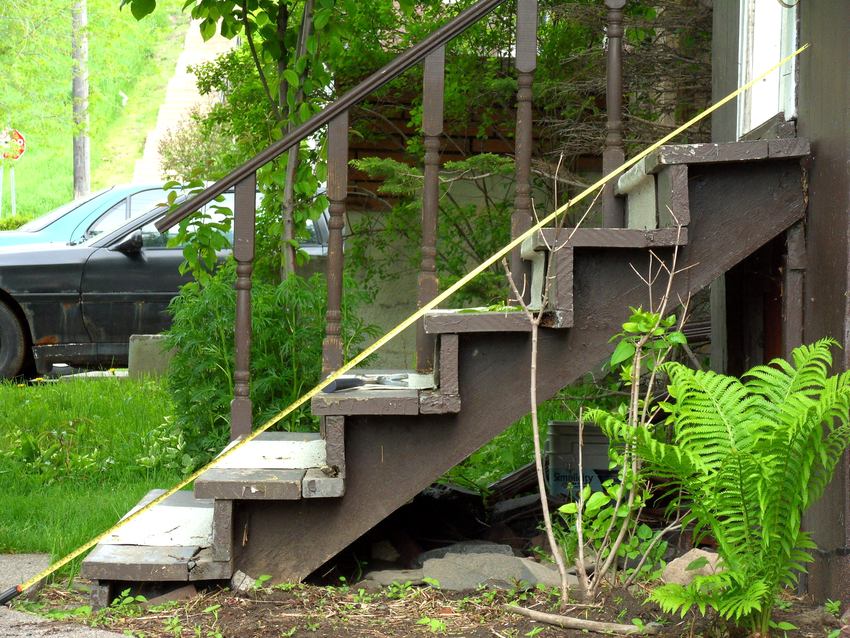
 Before the demolition of the old stairs, I had taken a lot of measurements, even a photo with the
tape measure for scale, just in case there's some measurement I might have forgotten.
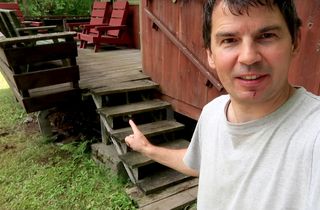
The old stairs seemed to be well proportioned for where they were, so I wanted the new stairs
to be as close as possible to the same dimensions.
Before the demolition of the old stairs, I had taken a lot of measurements, even a photo with the
tape measure for scale, just in case there's some measurement I might have forgotten.
The old stairs seemed to be well proportioned for where they were, so I wanted the new stairs
to be as close as possible to the same dimensions.
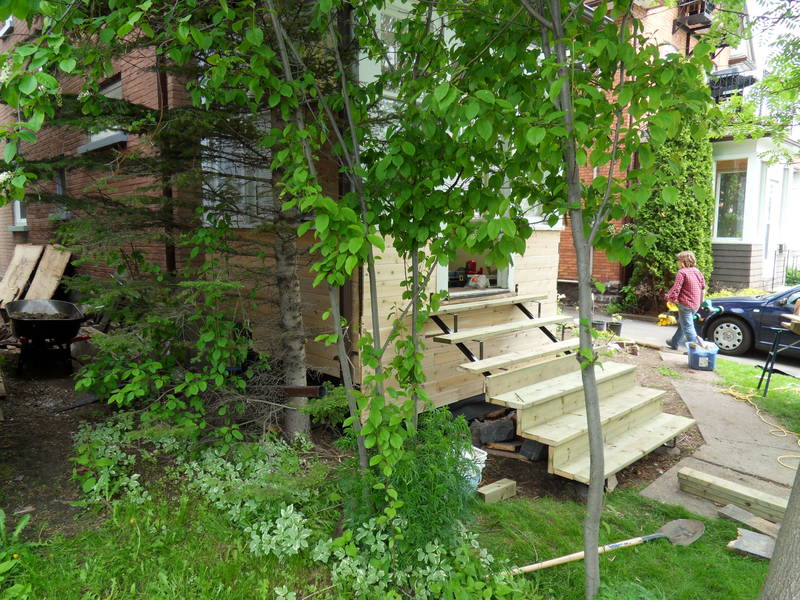
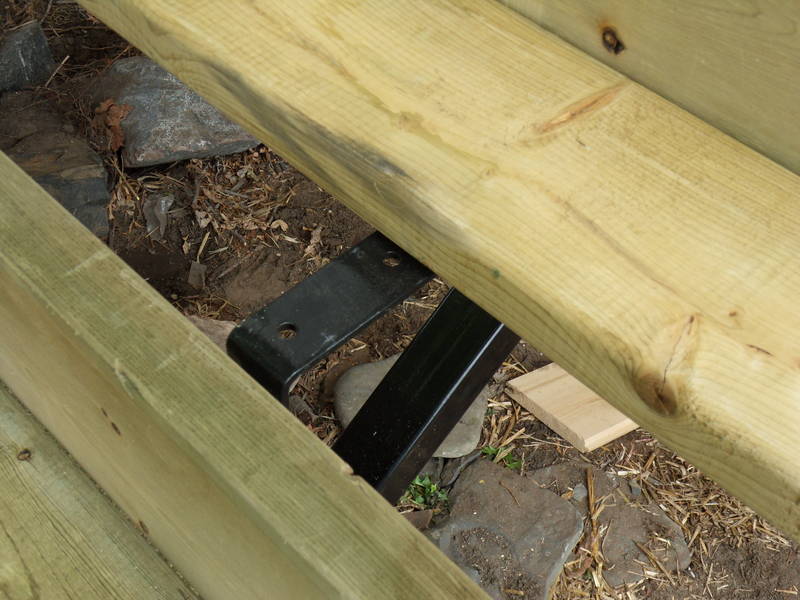
 Starting the stairs. I used pre-made metal stringers. Pressure-treated lumber
is only treated on the outside, so if you cut stringers from it, the edges need to be treated.
And the pre-cut wooden stringers all were too steep. but the metal ones had the right slope
so that the stairs would reach up to the cement walkway like the old ones did.
Starting the stairs. I used pre-made metal stringers. Pressure-treated lumber
is only treated on the outside, so if you cut stringers from it, the edges need to be treated.
And the pre-cut wooden stringers all were too steep. but the metal ones had the right slope
so that the stairs would reach up to the cement walkway like the old ones did.
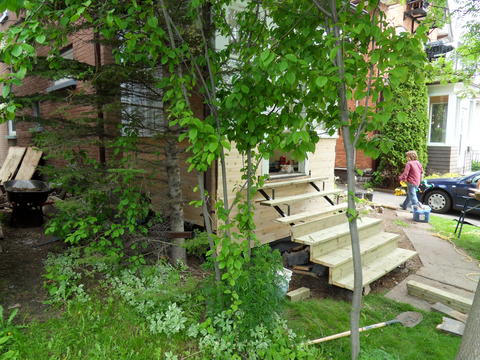 About half done. The boards on the top half are just resting on the stringers so I could
go up and down the unfinished stairs.
About half done. The boards on the top half are just resting on the stringers so I could
go up and down the unfinished stairs.
 The metal stringers had four holes on each step for attaching the steps. Unfortunately,
some of the holes lined up mostly with the edges of the lumber. I started by placing a piece
of wood below, then screwing through the holes from above. But for the holes near the edges,
I had to put the screws in at an angle to still be in the wood, and screwing those screws
in from the top so that they'd hit the hole on the bottom was quite a challenge!
The metal stringers had four holes on each step for attaching the steps. Unfortunately,
some of the holes lined up mostly with the edges of the lumber. I started by placing a piece
of wood below, then screwing through the holes from above. But for the holes near the edges,
I had to put the screws in at an angle to still be in the wood, and screwing those screws
in from the top so that they'd hit the hole on the bottom was quite a challenge!
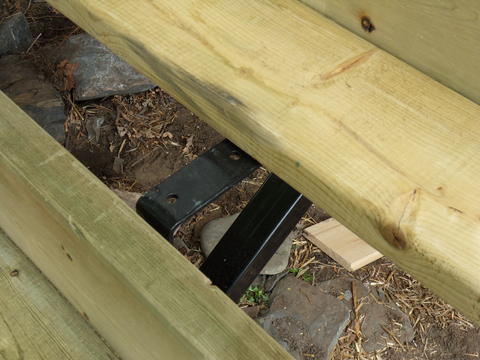
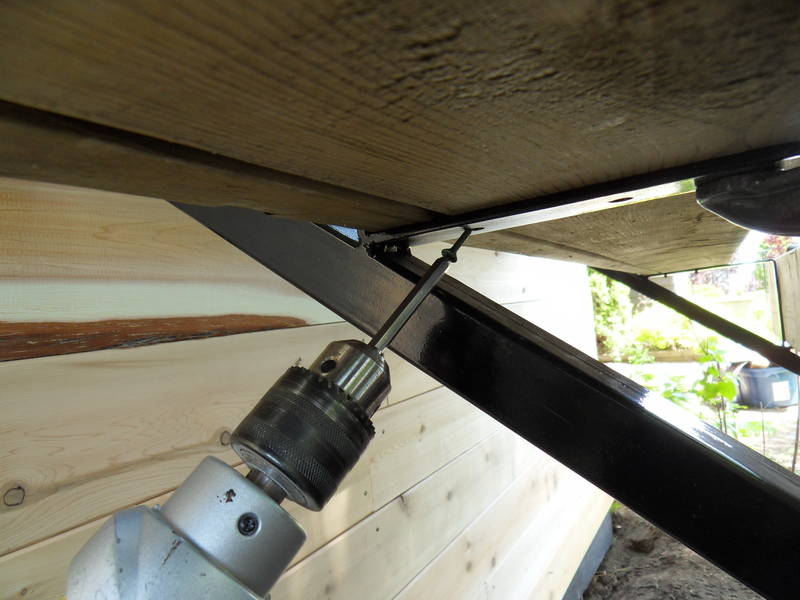
 After the first three steps, I had enough of trying to hit those holes from above, and just
put the screws in at a 45-degree angle from below.
After the first three steps, I had enough of trying to hit those holes from above, and just
put the screws in at a 45-degree angle from below.
Looks ugly from underneath, but you can't see it from above.
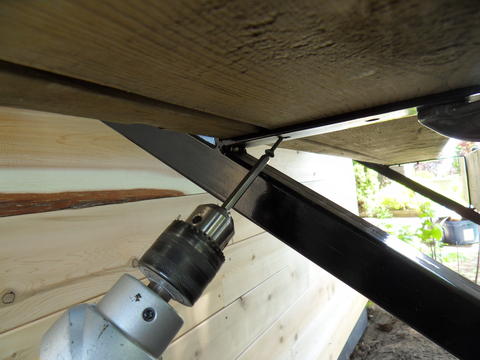
 A bit of jigging getting everything to line up. I wanted the risers to touch the steps above
them. If everything was perfect, they'd just be resting on the stringers below, but this was
not the case. So I jigged them in place to hit what would be the bottom edge of the next step,
then screwed them to the step below from the back.
A bit of jigging getting everything to line up. I wanted the risers to touch the steps above
them. If everything was perfect, they'd just be resting on the stringers below, but this was
not the case. So I jigged them in place to hit what would be the bottom edge of the next step,
then screwed them to the step below from the back.
I don't know if it made any sense to do this. The lumber was fairly wet, so there's going
to be some shrinkage still. Hopefully, nothing will crack on account of that.
All those fiddly bits
 The last few fiddly bits of a project always end up taking a disproportionate amount of time.
Here's getting the last boards on the bottom in.
The last few fiddly bits of a project always end up taking a disproportionate amount of time.
Here's getting the last boards on the bottom in.
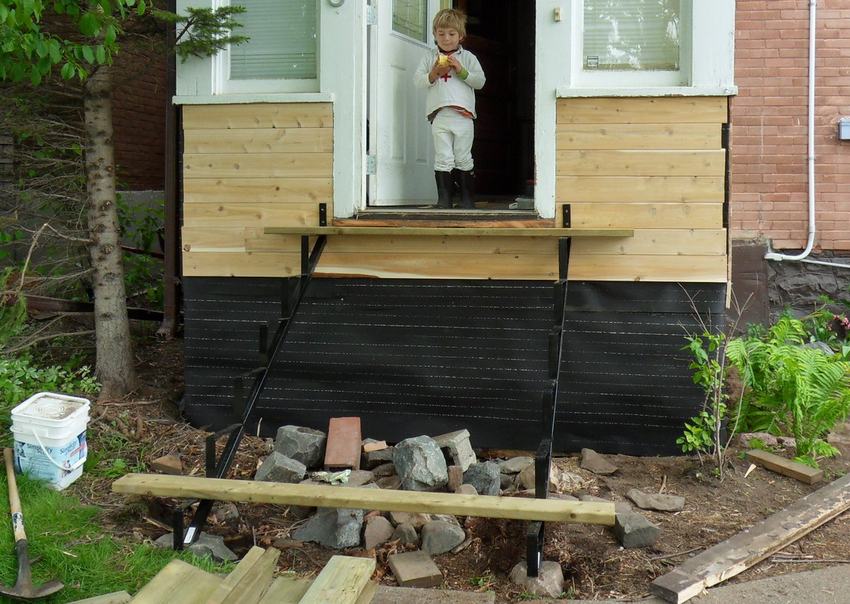
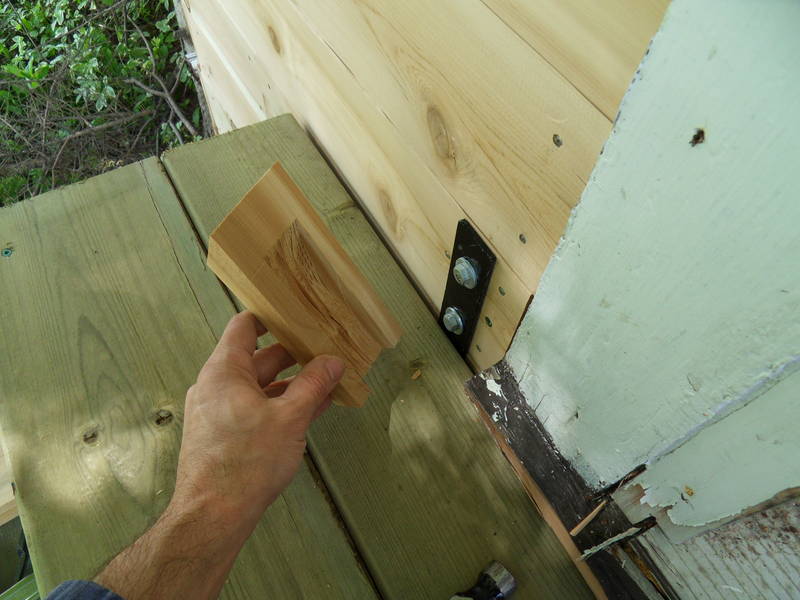
 I made Some covers for the stair mounts. I deliberately mounted the stringers onto the
siding. That way, the top step would be wider - my sister likes to sit on the front
steps with the kids. Also, there'd be one extra layer of wood to help hold the bolts.
I made Some covers for the stair mounts. I deliberately mounted the stringers onto the
siding. That way, the top step would be wider - my sister likes to sit on the front
steps with the kids. Also, there'd be one extra layer of wood to help hold the bolts.
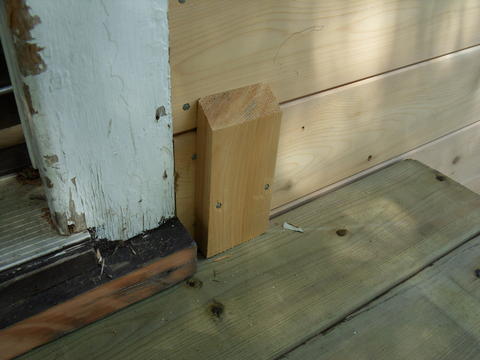 I made these wooden covers to cover up the metal and bolts.
 More fiddly bits.
I also had to make some trim to go over the corners, but I neglected to take photos of that.
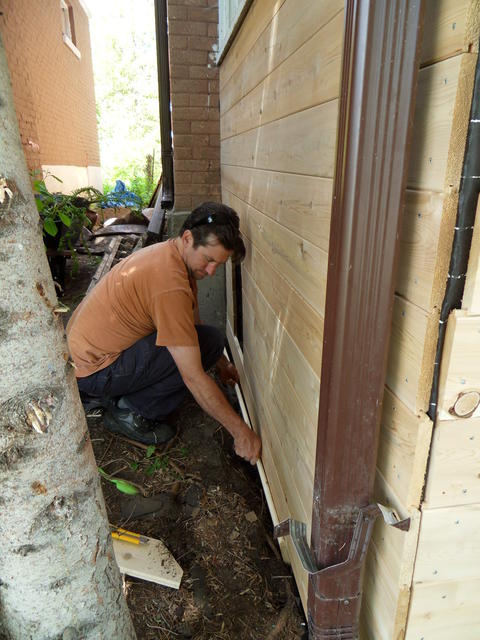
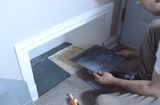
 I made a screen to go over the hole in the previous photo. This is for getting under
the porch, and also to provide some ventilation. I made a smaller screen on the other side,
so hopefully, there will be enough air flow to keep it dry under there. With the way it was
before, it was a bit damp under there from lack of air flow. Hopefully,
with it drier, it won't rot as much.
I made a screen to go over the hole in the previous photo. This is for getting under
the porch, and also to provide some ventilation. I made a smaller screen on the other side,
so hopefully, there will be enough air flow to keep it dry under there. With the way it was
before, it was a bit damp under there from lack of air flow. Hopefully,
with it drier, it won't rot as much.
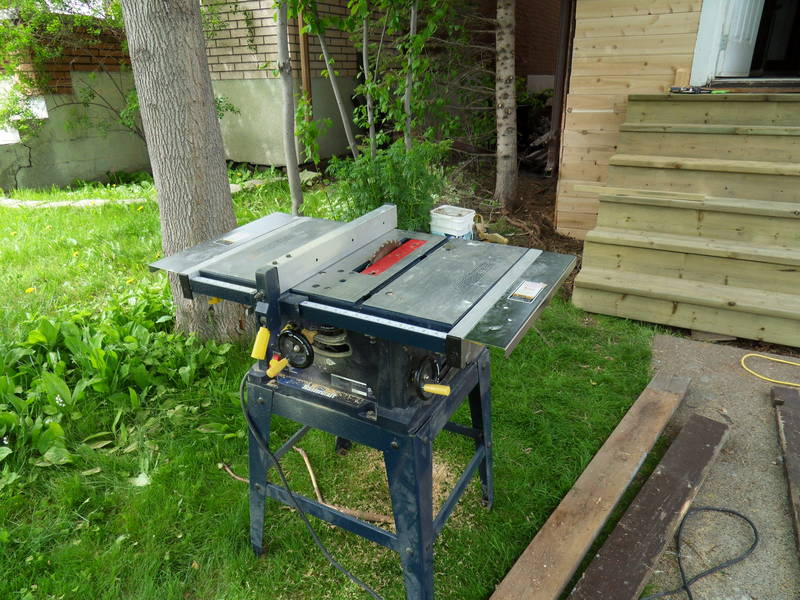
 We borrowed a table saw and a miter saw from a neighbour. This is one of those cheap sub-$200
kind of table saws. It really didn't feel very safe to use, and it certainly wasn't that accurate,
but still much better than no table saw.
We borrowed a table saw and a miter saw from a neighbour. This is one of those cheap sub-$200
kind of table saws. It really didn't feel very safe to use, and it certainly wasn't that accurate,
but still much better than no table saw.
 By this point, I'd put the trim on the edges.
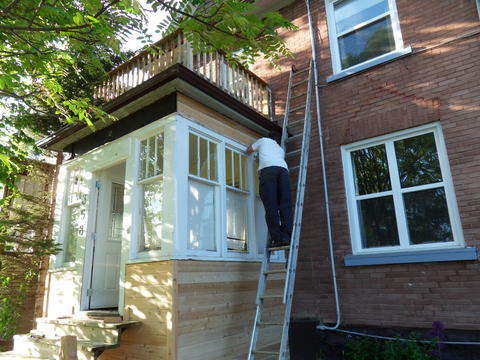
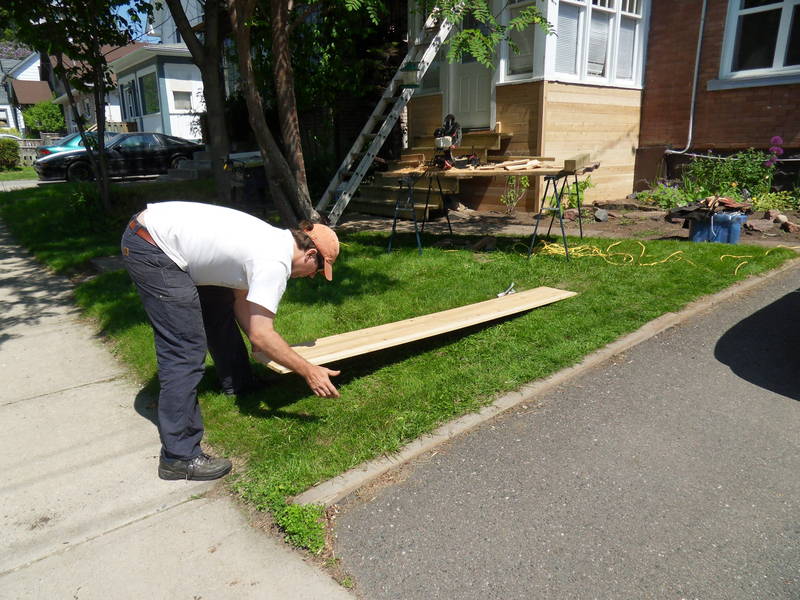
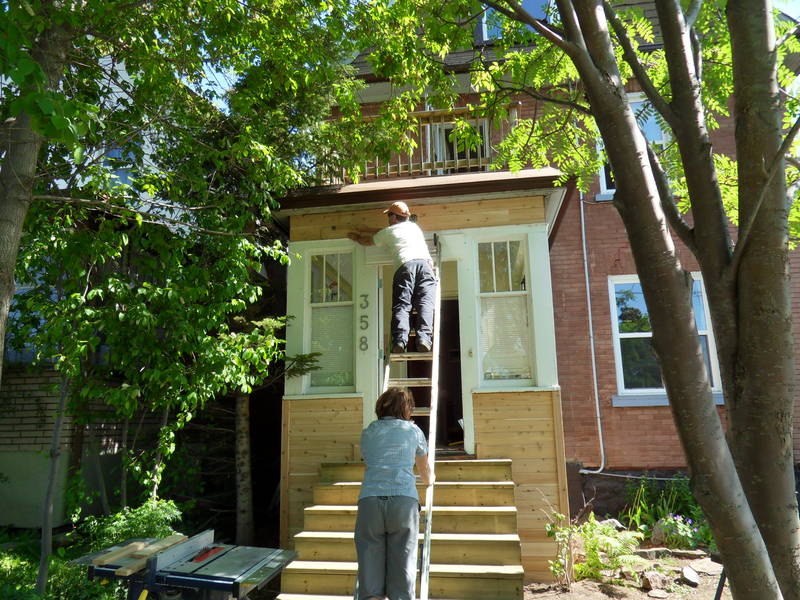
Here's Olivier - putting new siding at the top, just below the
deck that I'd built on a previous visit.
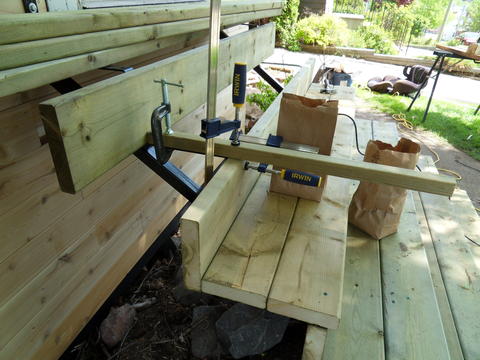
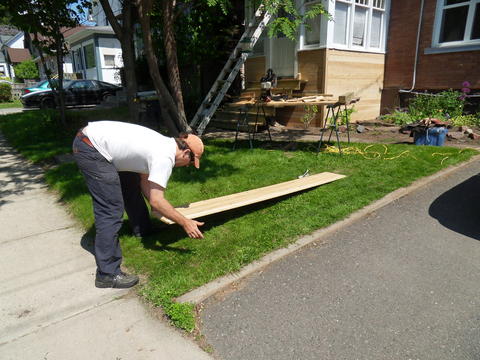 Getting the tongue and grooves into each other is a bit tricky, and would have been hard to do while standing
on a ladder. I had the clever idea of assembling the panels on the ground.
Getting the tongue and grooves into each other is a bit tricky, and would have been hard to do while standing
on a ladder. I had the clever idea of assembling the panels on the ground.
Here's Olivier pushing
three boards together. We then put a few staples across the back to hold the
tongue and grooves together while we lifted the assembled panel up and nailed it in
place.
 Almost done. There's a hole in the panel for the porch light, which still needed to be mounted.
That turned out to be another one of those fiddly time consuming bits!
Almost done. There's a hole in the panel for the porch light, which still needed to be mounted.
That turned out to be another one of those fiddly time consuming bits!
By this time, the weather was positively summer-like, even in Thunder Bay.
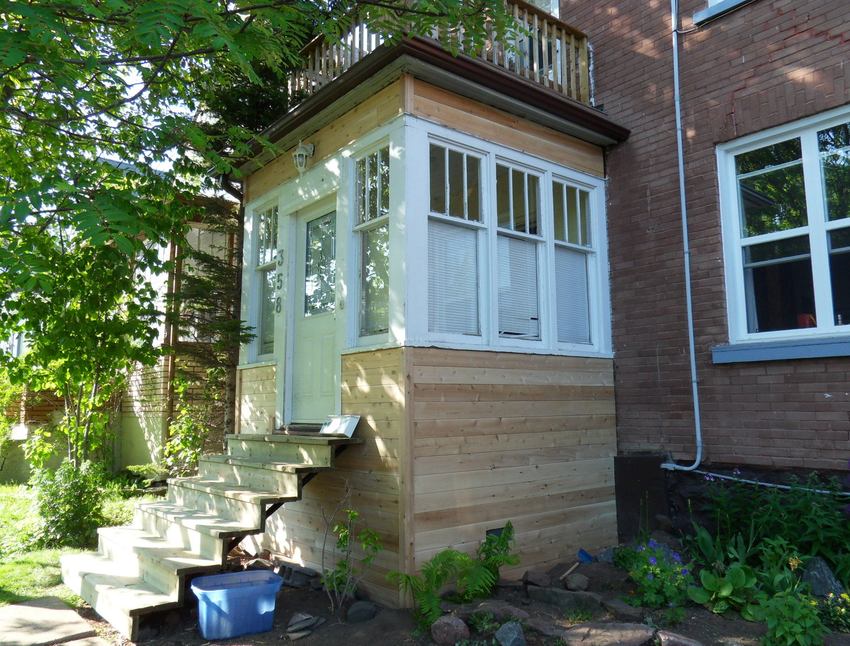
 All done. This was Sunday evening, after five days of working on it on and off.
And the next day, it was time to fly back. What a vacation!
All done. This was Sunday evening, after five days of working on it on and off.
And the next day, it was time to fly back. What a vacation!
Next visit will be a smaller project for sure!
 Before the demolition of the old stairs, I had taken a lot of measurements, even a photo with the
tape measure for scale, just in case there's some measurement I might have forgotten.
The old stairs seemed to be well proportioned for where they were, so I wanted the new stairs
to be as close as possible to the same dimensions.
Before the demolition of the old stairs, I had taken a lot of measurements, even a photo with the
tape measure for scale, just in case there's some measurement I might have forgotten.
The old stairs seemed to be well proportioned for where they were, so I wanted the new stairs
to be as close as possible to the same dimensions.


 Making new deck steps
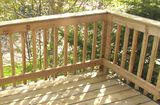 Building a small deck
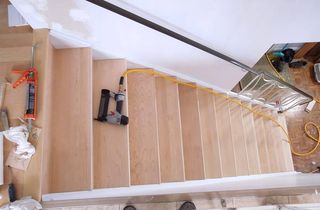 New treads for old stairs
 Pulling wires
 New deadbolt install
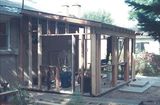 Small House Addition
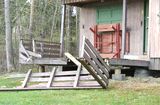 Smashed deck repair
 Installing a boot nook
 Swing set
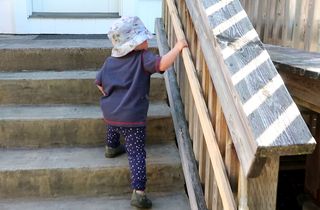 Toddler stair handrail