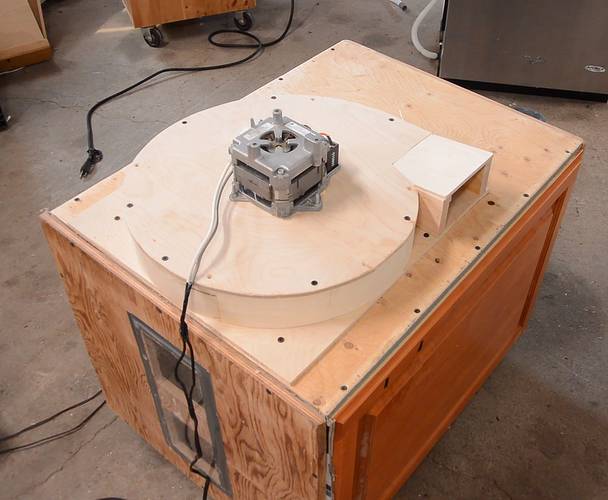
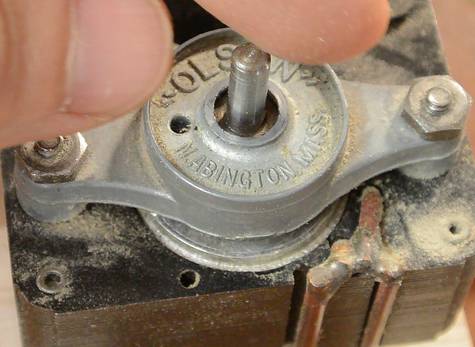
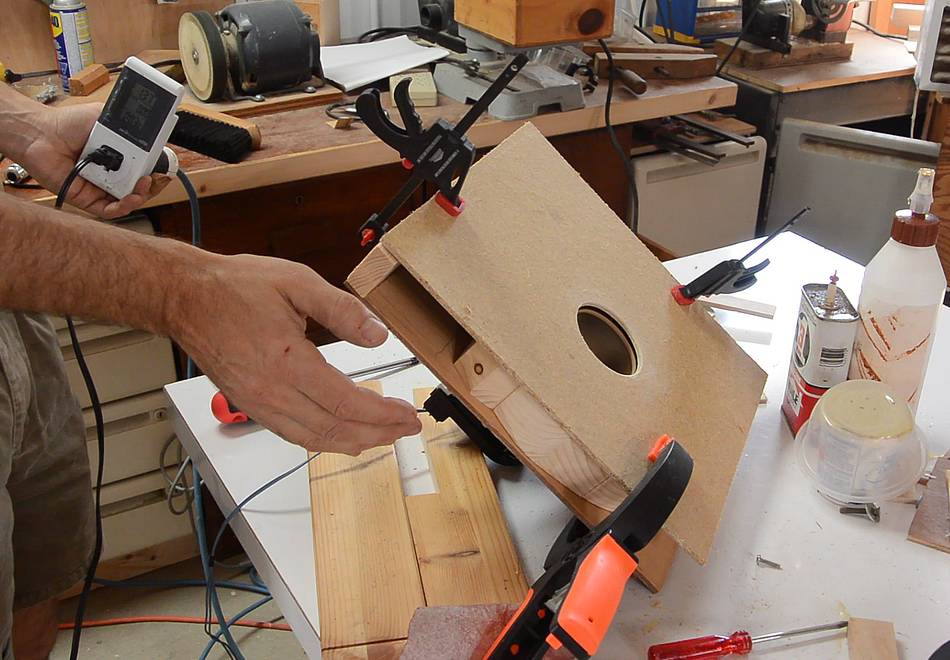
 I used a dishwasher pump motor for my box
dust collector (at left) and was happy with how that worked out.
I used a dishwasher pump motor for my box
dust collector (at left) and was happy with how that worked out.
I used a dishwasher pump motor for my box
dust collector (at left) and was happy with how that worked out.
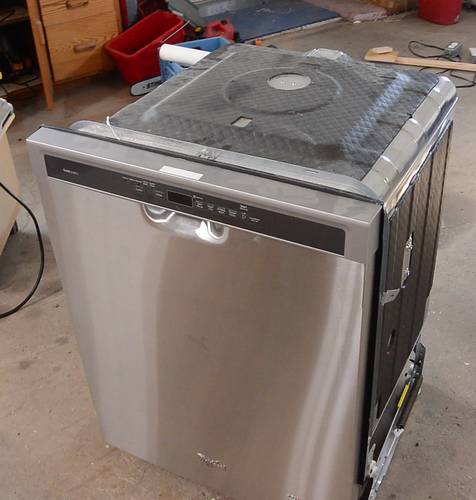
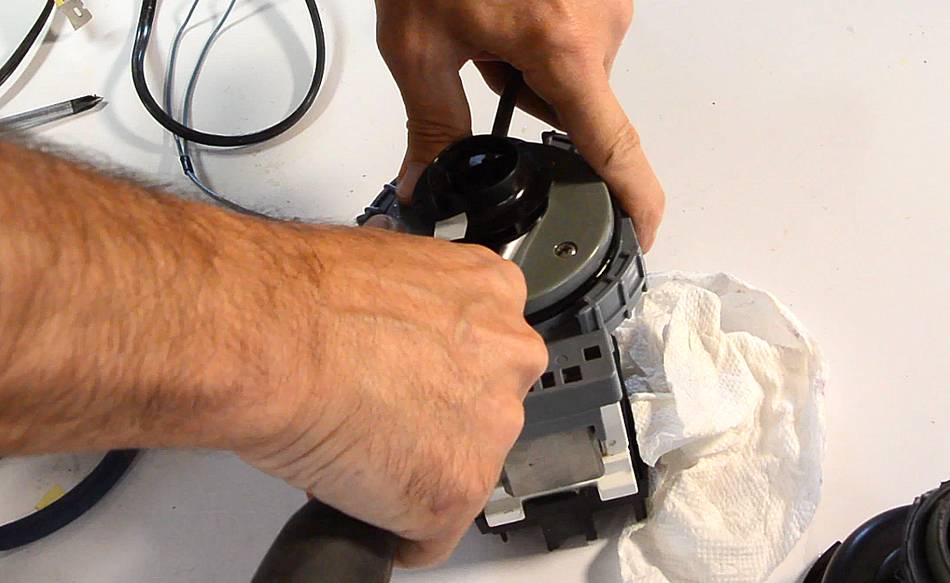
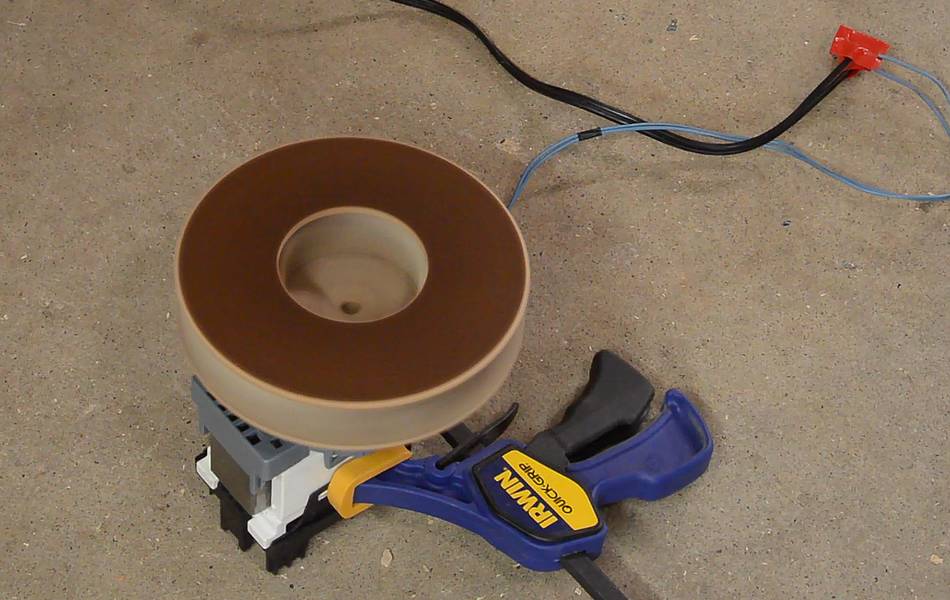
So when some friends were throwing out an almost new dishwasher (it was broken and already replaced), I took it for the motor.
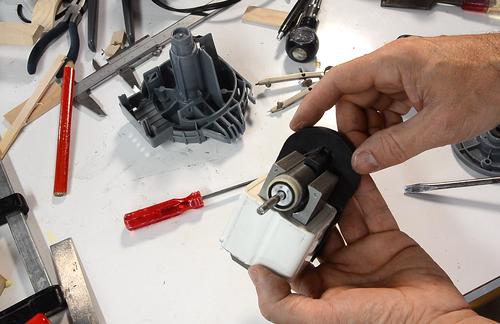
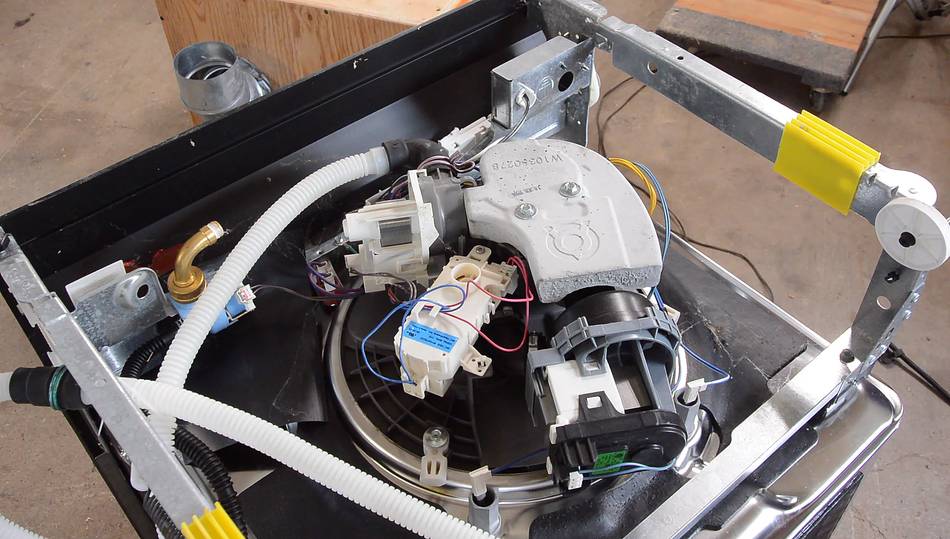 But the pump motor in this is a bit odd and much smaller.
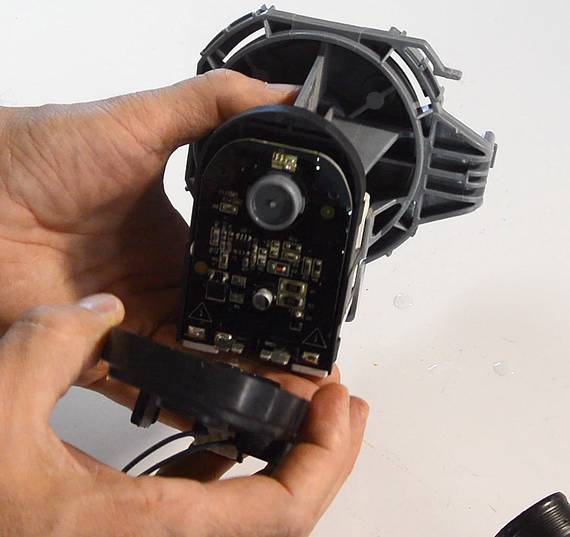 It had some electronics on the back of it.
 Having removed it and opened up the pump part, I noticed the motor shaft would snap
towards certain orientations, so probably a magnetized rotor. I figured it
must be some sort of brushless DC motor.
Having removed it and opened up the pump part, I noticed the motor shaft would snap
towards certain orientations, so probably a magnetized rotor. I figured it
must be some sort of brushless DC motor.
At left prying the impeller off. After I completely destroyed the impeller, I realized it was just screwed onto the shaft. Oops!
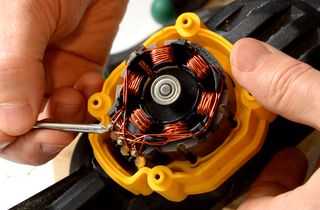
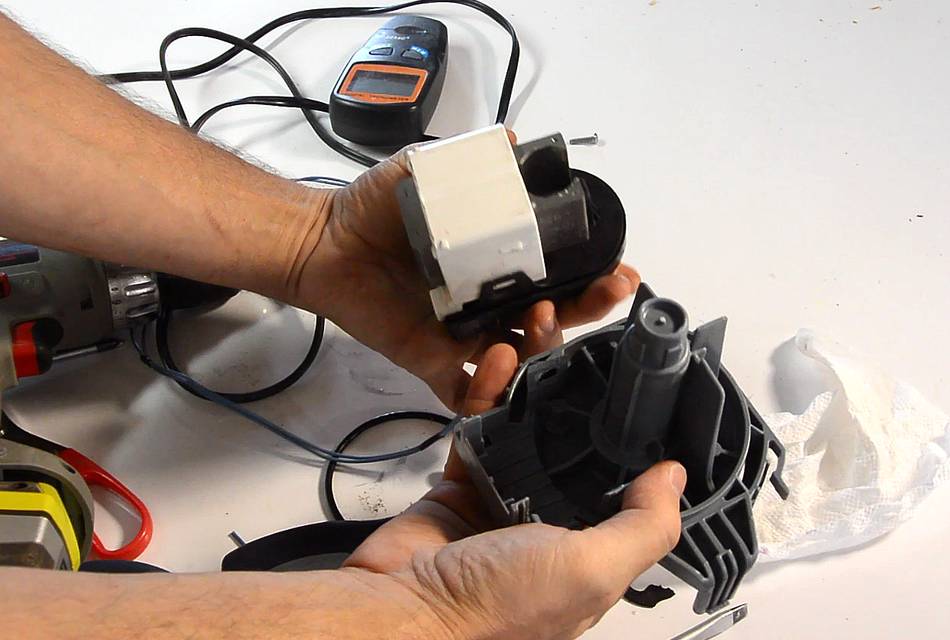 I popped the plastic housing off, only to realize the rotor and bearings are part
of the plastic housing. So I had to keep that part.
I popped the plastic housing off, only to realize the rotor and bearings are part
of the plastic housing. So I had to keep that part.
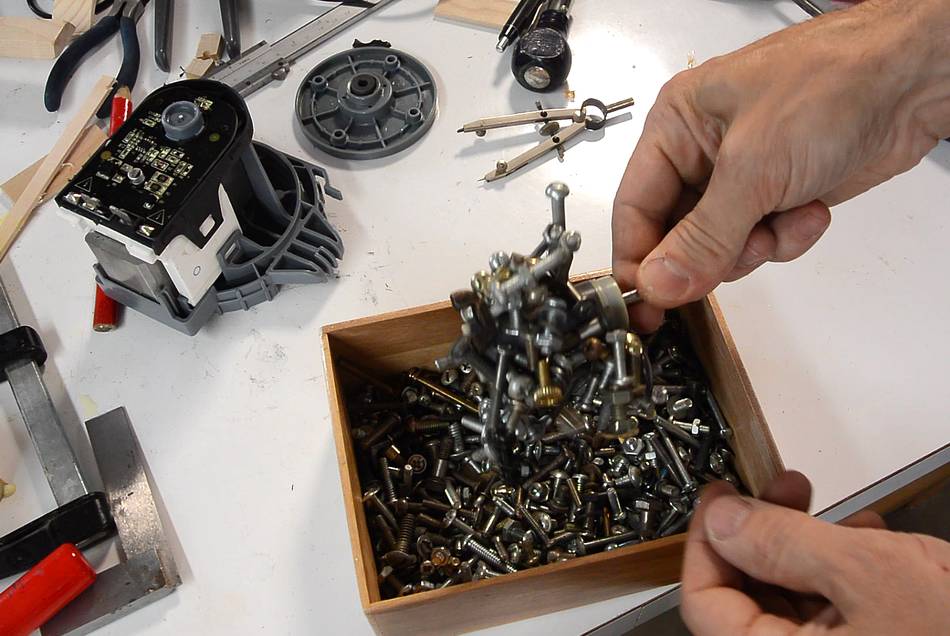 The motor's rotor is a fairly powerful permanent magnet. Here picking
up some screws with it.
The motor's rotor is a fairly powerful permanent magnet. Here picking
up some screws with it.
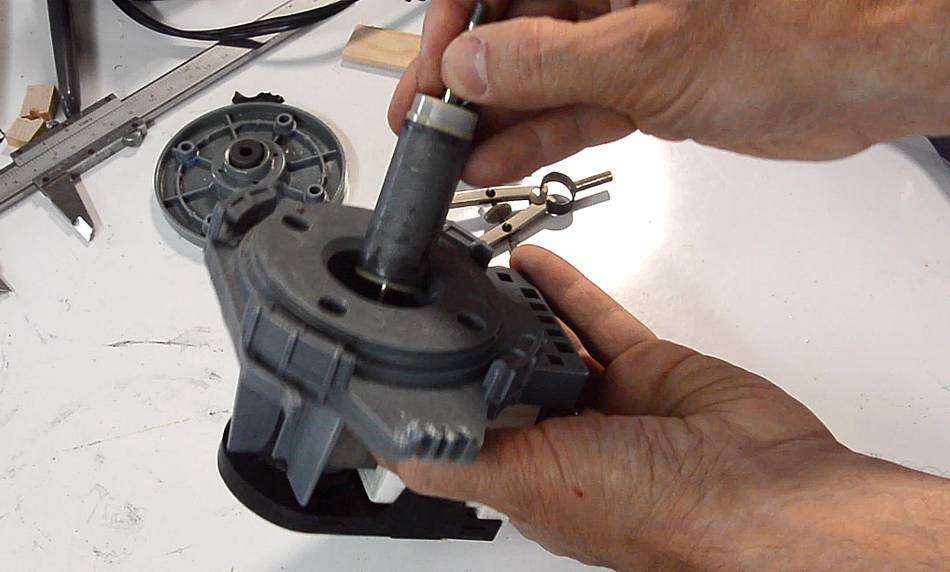 The rotor fits inside the plastic housing. The inside of this housing
is not sealed off from the pump housing in any way. In fact, there was water inside
and there are holes to allow water to pass in and out of the motor.
The rotor fits inside the plastic housing. The inside of this housing
is not sealed off from the pump housing in any way. In fact, there was water inside
and there are holes to allow water to pass in and out of the motor.
Basically, the rotor of this motor is submerged in the fluid that is pumped.
Searching around the net, I found this type of motor is called a "wet rotor motor",
though there is relatively little
information about this type of motor on the web. This is surprising, given that it's
used in something as mundane as a kitchen appliance. Searching some more, I found
more about this type of motor in German.
The German name for this type of motor is "Nassläufer".
A problem with having a plastic housing between the stator and the rotor is that the gap between the two is rather large, where on most motors it's a fraction of a millimeter (see image at right — you can't really see the gap).
At left with the rotor stuck in the stator (it's stuck to one pole), you can see the gap is rather large. This means a lot of current is needed in the stator coils to get enough field strength to get sufficent magnetic flux across the large gap, which makes for an inefficient motor.
But by making the rotor a permanent magnet, the magnetism of the rotor is used to overcome the gap, so less current is needed in the stator coils. However this means the rotor has to turn at exactly the same rate that the AC current in the field windings changes (which is why motors like this are called synchronous motors).
If you apply AC to such a motor from a standstill, it will just sit there and hum, so the electronics are there to make some approximate waveform to gradually bring the rotor up to speed. Sort of like a variable frequency drive, though, given that there are no large capacitors or switching transistors, I suspect it's not as clean a solution as a variable frequency drive.
Still, it's a clever way to start a synchronous motor to make it more usable, and it makes for a very efficient motor, despite the large gap.

 I figured I should still try to make a blower with this motor. The first step was to see how big
a wooden paddle it could spin in mid-air. That tells me how large an impeller the motor
should be able to spin.
I figured I should still try to make a blower with this motor. The first step was to see how big
a wooden paddle it could spin in mid-air. That tells me how large an impeller the motor
should be able to spin.
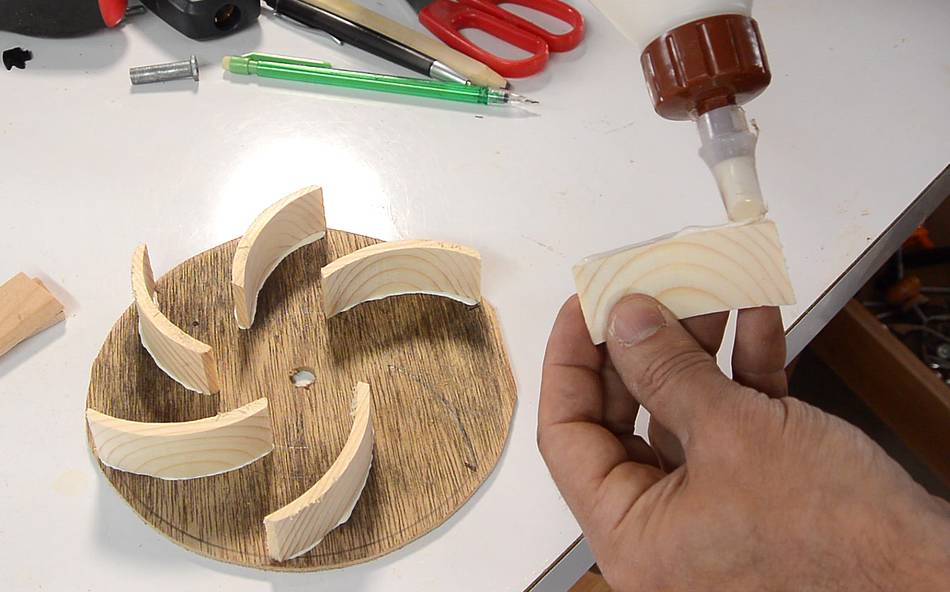
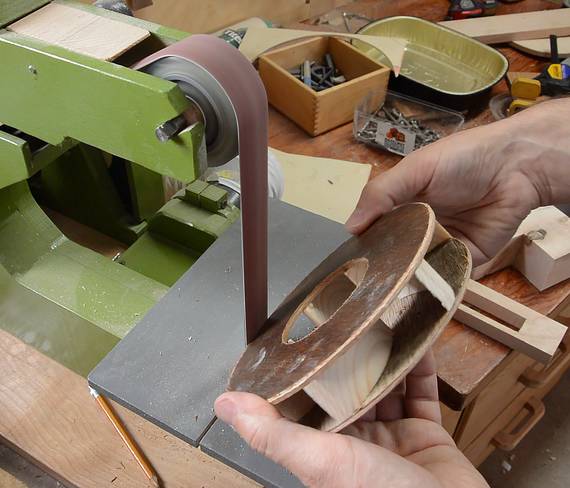
 I made a wooden blower impeller, like I did many times before, most recently
here.
I made a wooden blower impeller, like I did many times before, most recently
here.
 Gluing on the outer ring layer.
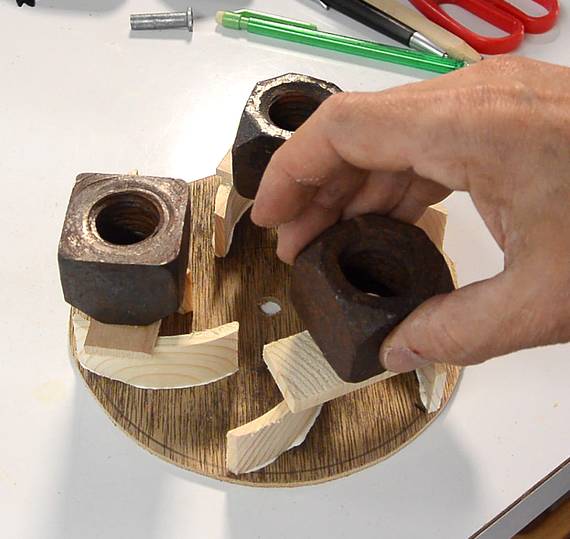
 The impeller mounts to the motor via the brass nut from the old impeller, which I pressed
into an undersized hole in a small piece of Baltic birch plywood, which is in turn glued to the back
of the impeller (the motor's shaft is very short, so I had to put the flange on the back
of the impeller. A flange on the front side would have been better.)
The impeller mounts to the motor via the brass nut from the old impeller, which I pressed
into an undersized hole in a small piece of Baltic birch plywood, which is in turn glued to the back
of the impeller (the motor's shaft is very short, so I had to put the flange on the back
of the impeller. A flange on the front side would have been better.)
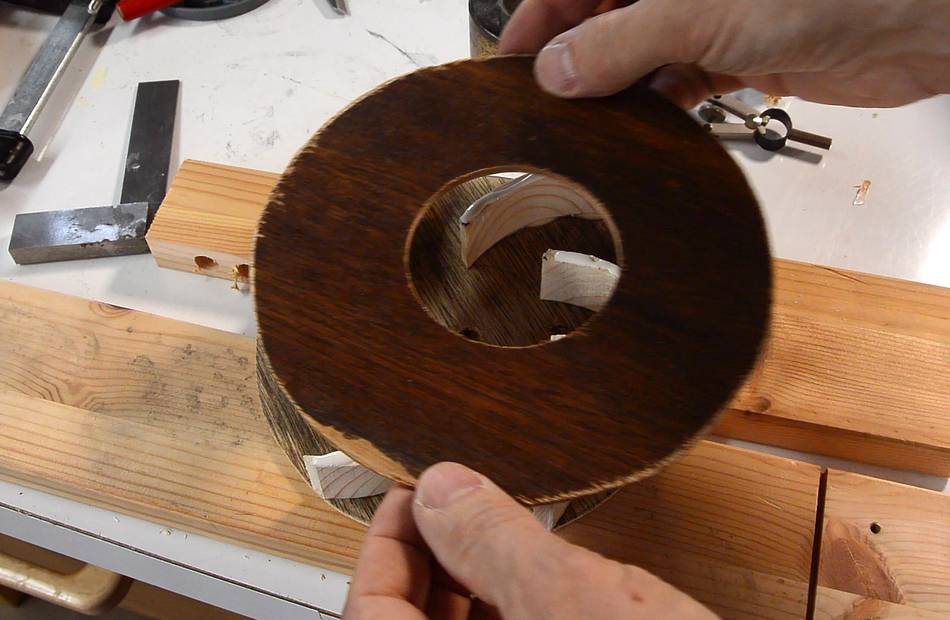
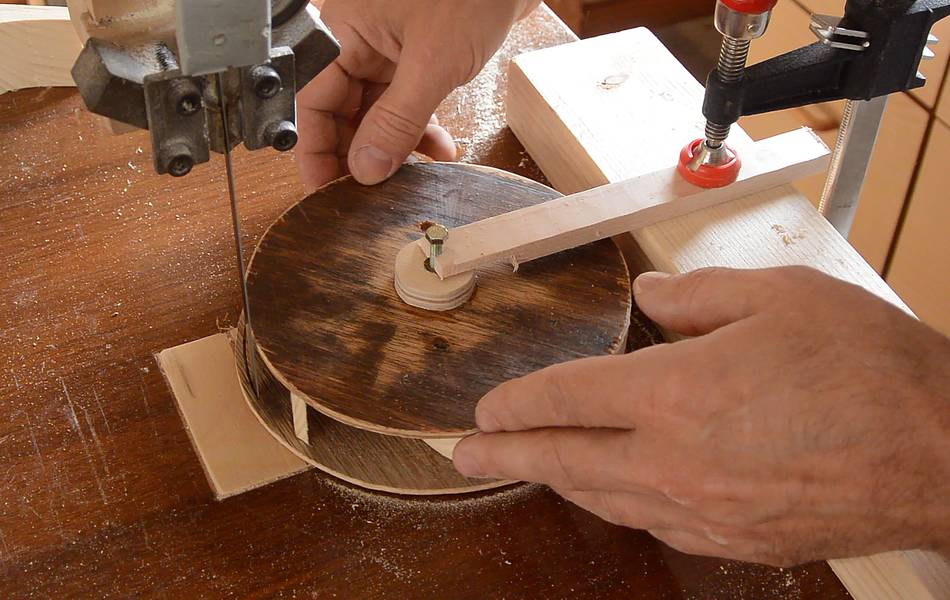
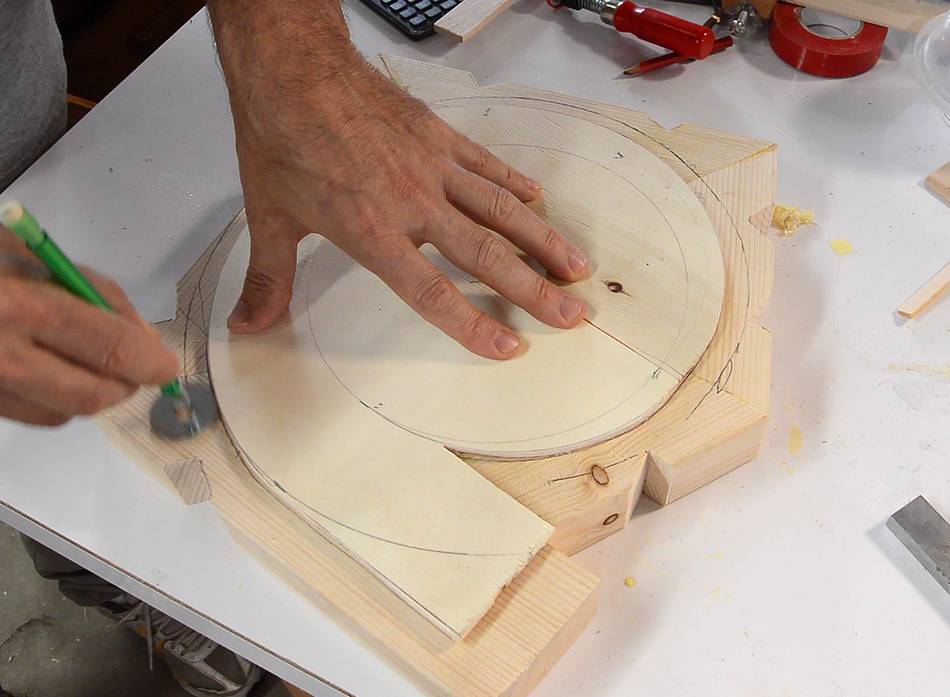
I stuck a screw in the nut and used that screw as a pivot to cut the impeller round, like a circle jig.
 I put the rotor on the floor and tested it with the motor. It jumped around a lot,
so I knew it was not well balanced. I put a countersink screw into the impeller and suspended
it from the hole in a washer, then observed which side hung lowest and cut a bit off that side.
I put the rotor on the floor and tested it with the motor. It jumped around a lot,
so I knew it was not well balanced. I put a countersink screw into the impeller and suspended
it from the hole in a washer, then observed which side hung lowest and cut a bit off that side.
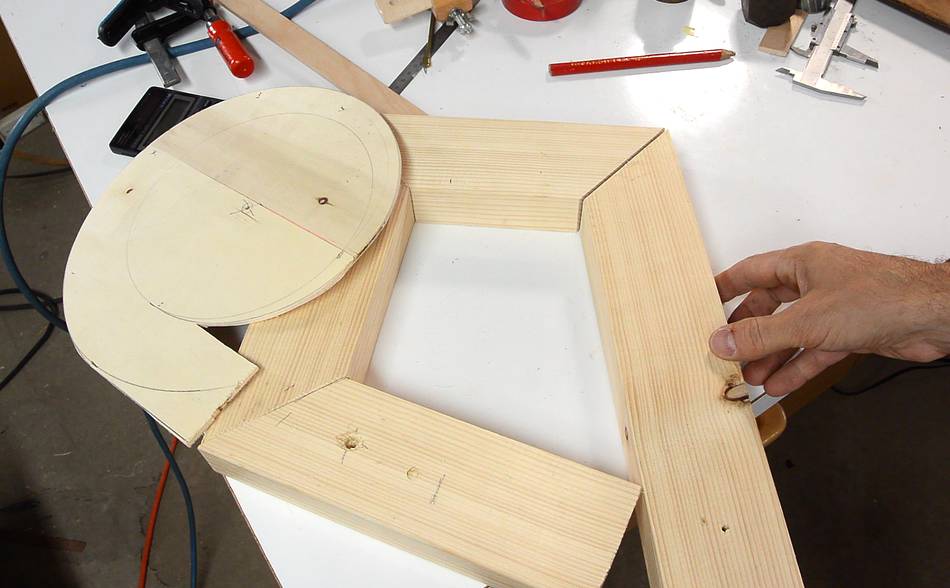
 I drew a spiral housing and made a plywood cut-out of the inside of it. I used the same
method for drawing that spiral as I did here.
I drew a spiral housing and made a plywood cut-out of the inside of it. I used the same
method for drawing that spiral as I did here.
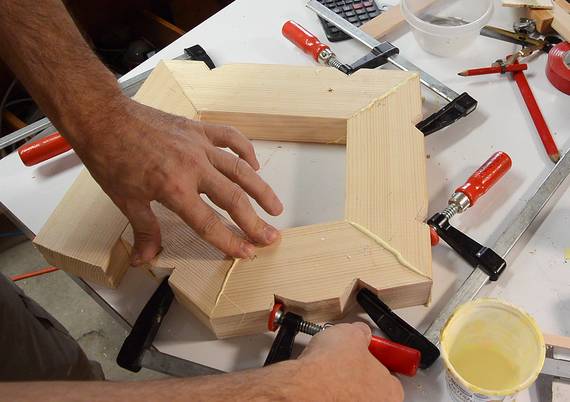
I glued some pieces of 2x4 together to make a blank for cutting out the spiral.
 I then traced around the shape, then traced around it again with a washer to offset the shape
for the outside of the housing.
I then traced around the shape, then traced around it again with a washer to offset the shape
for the outside of the housing.
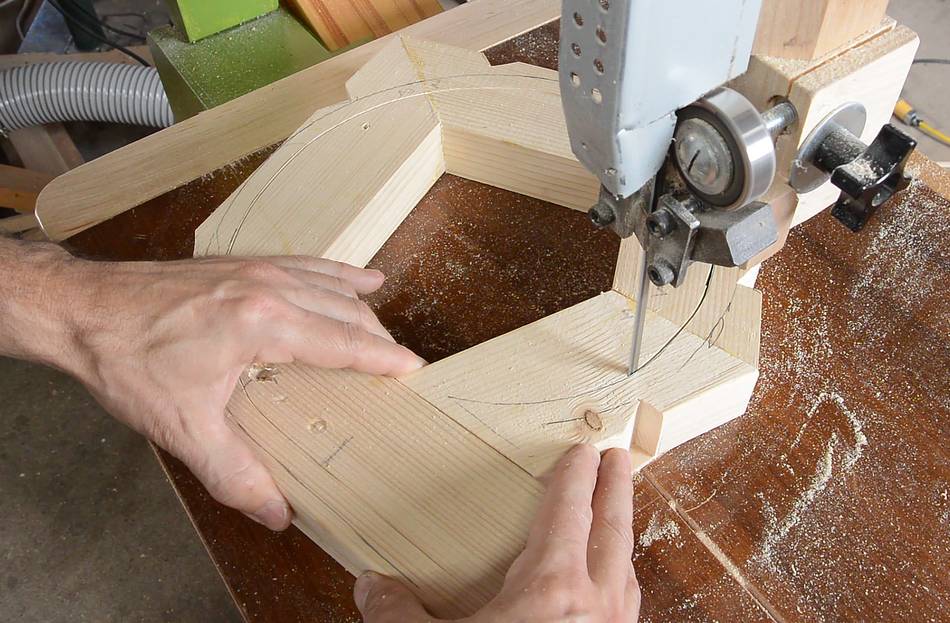 Then cutting it out on the bandsaw.
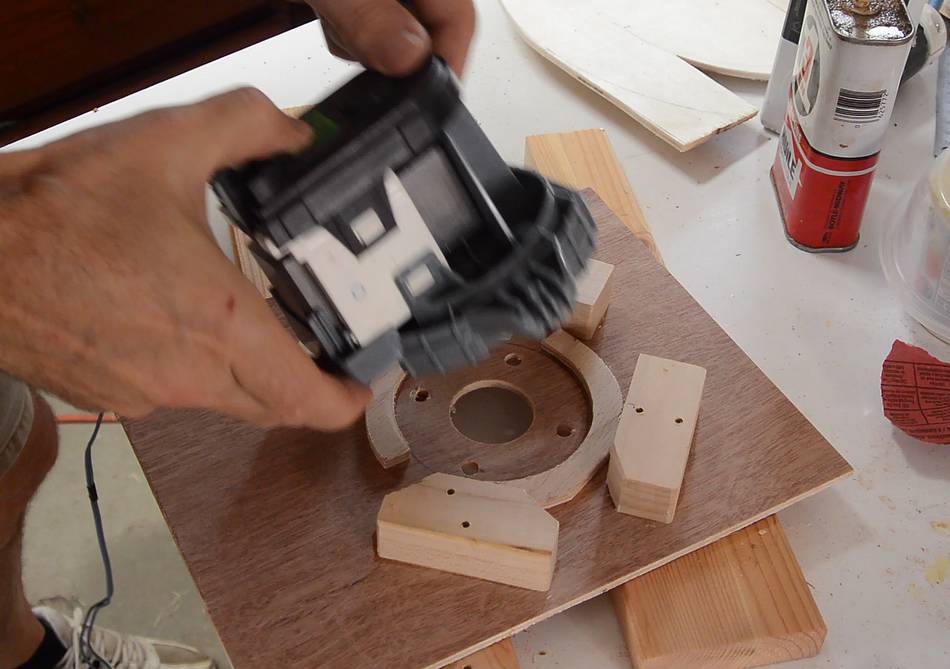
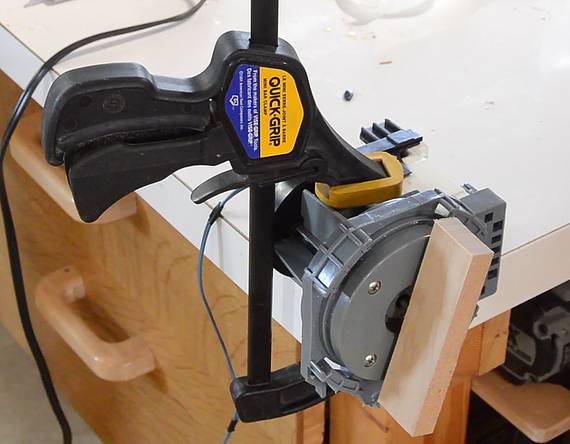
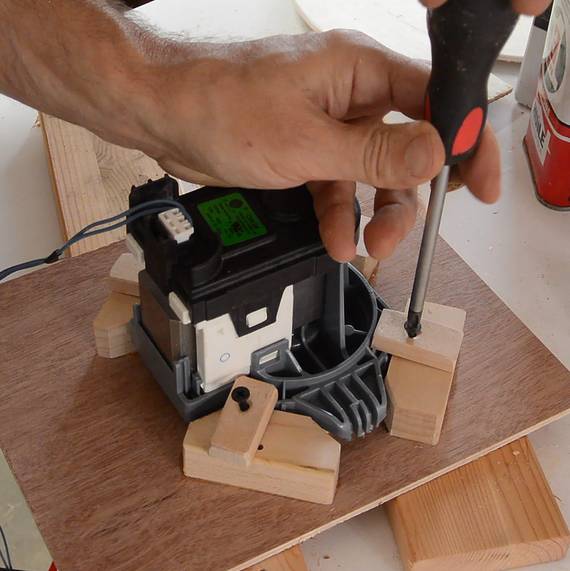 The motor originally mounted with plastic tabs that engaged when the motor was rotated
in place. I made some mounting blocks with screws to clamp the motor in place instead.
The motor originally mounted with plastic tabs that engaged when the motor was rotated
in place. I made some mounting blocks with screws to clamp the motor in place instead.
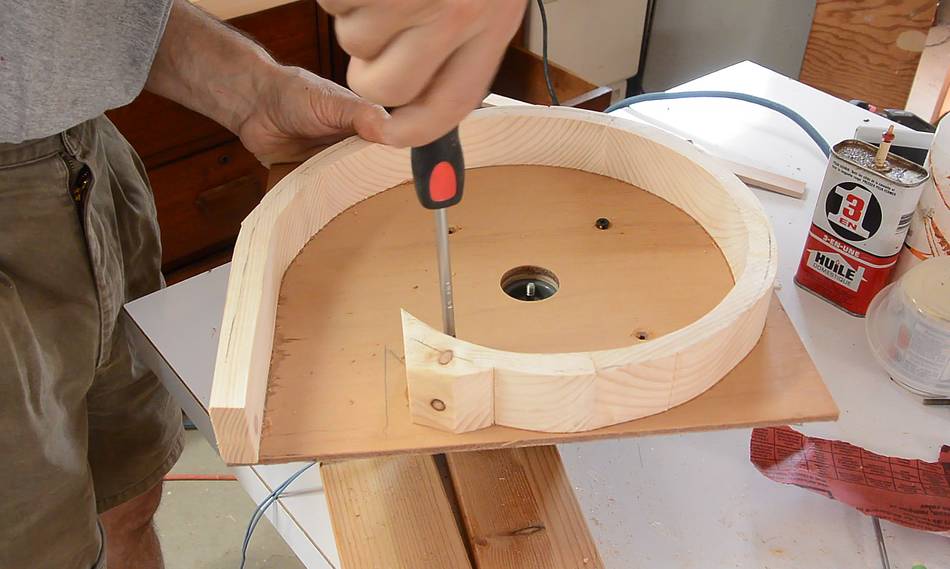 Then attaching the motor mount to the back of the blower housing.
The motor mount is separate from the blower housing because I wasn't sure if this would work. If it doesn't work, I could change it to use a different motor.
 Testing it, still quite a bit of shaking.
 I made some wire clips to hook to the rotor and tried those to different fins on
the rotor, trying it each time, until it ran with less vibration (balancing by trial and error).
I made some wire clips to hook to the rotor and tried those to different fins on
the rotor, trying it each time, until it ran with less vibration (balancing by trial and error).
 But I found the blower often didn't make it to its proper speed of 3600 RPM. The rotor was
too heavy, and the load too great for the motor to get to synchronous speed. The electronics
manipulate the waveform to make some AC of increasing frequency to slowly ramp up
the speed to synchronous speed. After a few seconds, the electronics gave up and stopped the motor.
But I found the blower often didn't make it to its proper speed of 3600 RPM. The rotor was
too heavy, and the load too great for the motor to get to synchronous speed. The electronics
manipulate the waveform to make some AC of increasing frequency to slowly ramp up
the speed to synchronous speed. After a few seconds, the electronics gave up and stopped the motor.
But if I blocked off the air flow, the load was reduced and it was able to get to synchronous speed and stay at speed even after unblocking the air flow.
 I'm not sure how long this will last, but I figure I might as well use it and find out.
The motor's bearings are meant to be lubricated by water, but, lacking a wet environment,
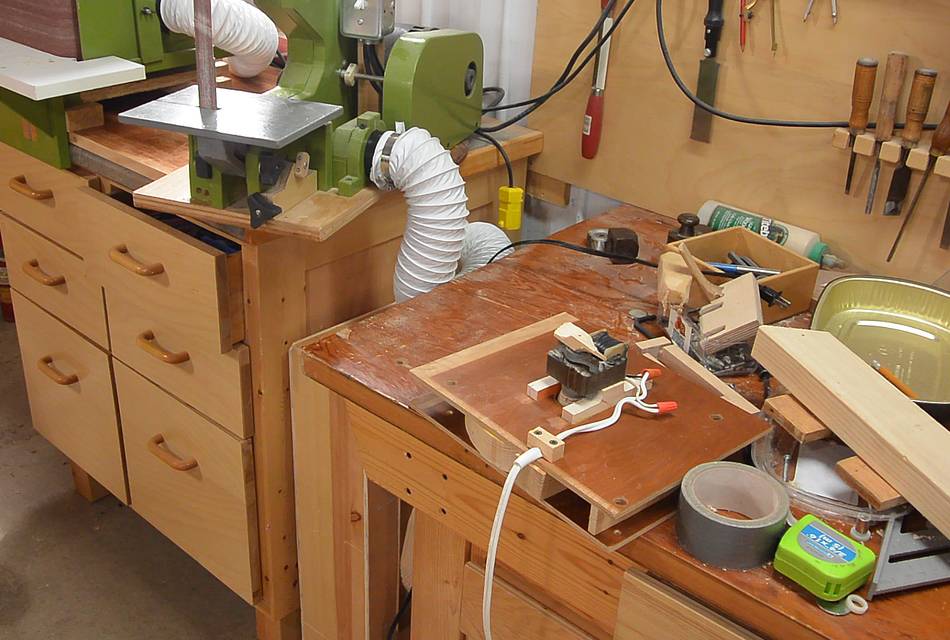
I just oiled the bearings. I swapped this blower into this
mini dust collector attached to my
strip sander. Between the dust collector, filters,
hose, and strip sander, air flow is sufficiently constricted that the motor is able to make
it up to synchronous speed.
I'm not sure how long this will last, but I figure I might as well use it and find out.
The motor's bearings are meant to be lubricated by water, but, lacking a wet environment,
I just oiled the bearings. I swapped this blower into this
mini dust collector attached to my
strip sander. Between the dust collector, filters,
hose, and strip sander, air flow is sufficiently constricted that the motor is able to make
it up to synchronous speed.
The cool thing is, this blower blows a lot harder than the one I had on there before, and consumes less power (22 watts, vs. 31 watts with the old blower). The old blower has a shaded pole motor. Shaded pole motors are not very efficient.
I'm not sure how long this motor will last in this application until it breaks, but when it does break, I'll just swap the old blower and motor back in.
Overall, I think this sort of motor is a very cool technology, but for this application, more trouble than it's worth.
 Brushless DC motor, and a dumb way to drive it (video only)
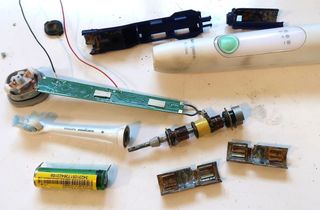 What's inside a sonicare toothbrush (video only)
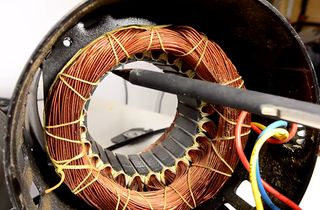 Reversing single phase induction motors
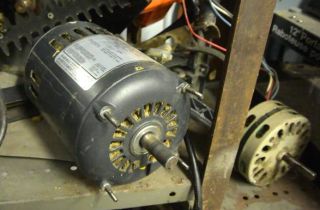 Where do you get your motors from?
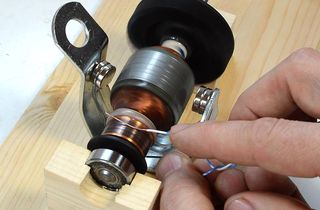 How DC motors work
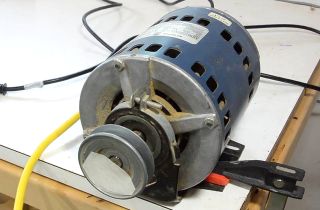 How induction motors work
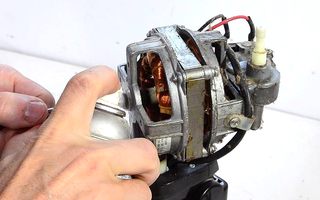 Fixing seized
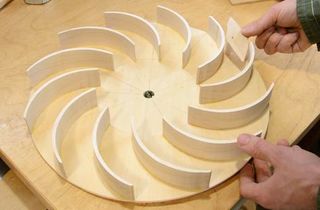 Building a dust collector
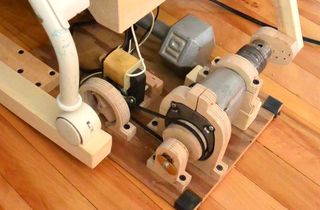 Baby rocking machine
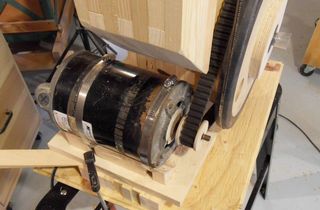 Motorizing the bandsaw
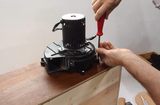 A small dust collector for each machine
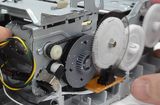 Ink jet printer teardown