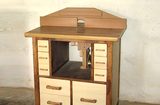
 The next step was to attach the top. I opted for threaded
inserts and machine screws because I figured I'd take the top
off from time to time.
The next step was to attach the top. I opted for threaded
inserts and machine screws because I figured I'd take the top
off from time to time.
The next step was to attach the top. I opted for threaded
inserts and machine screws because I figured I'd take the top
off from time to time.
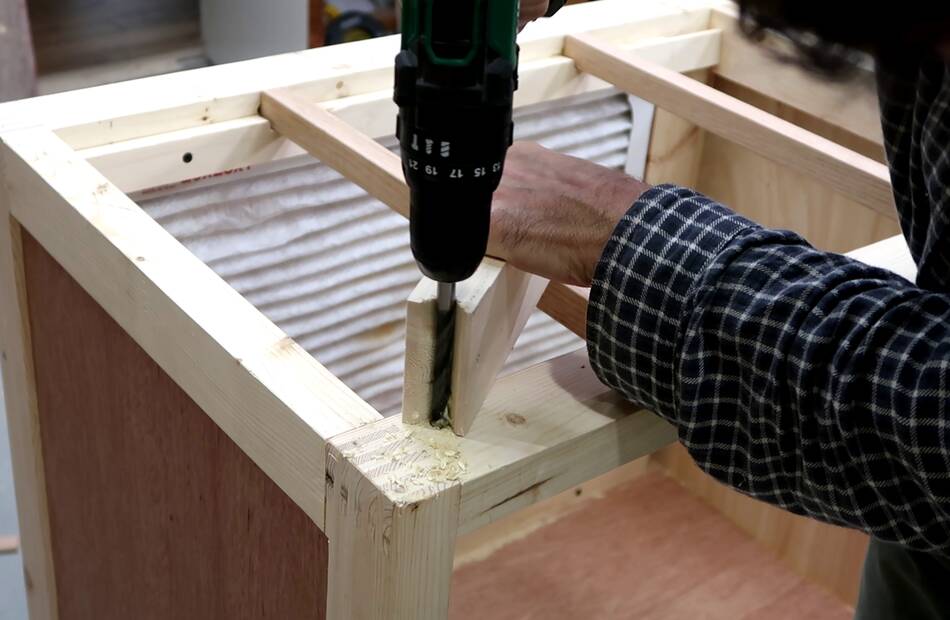
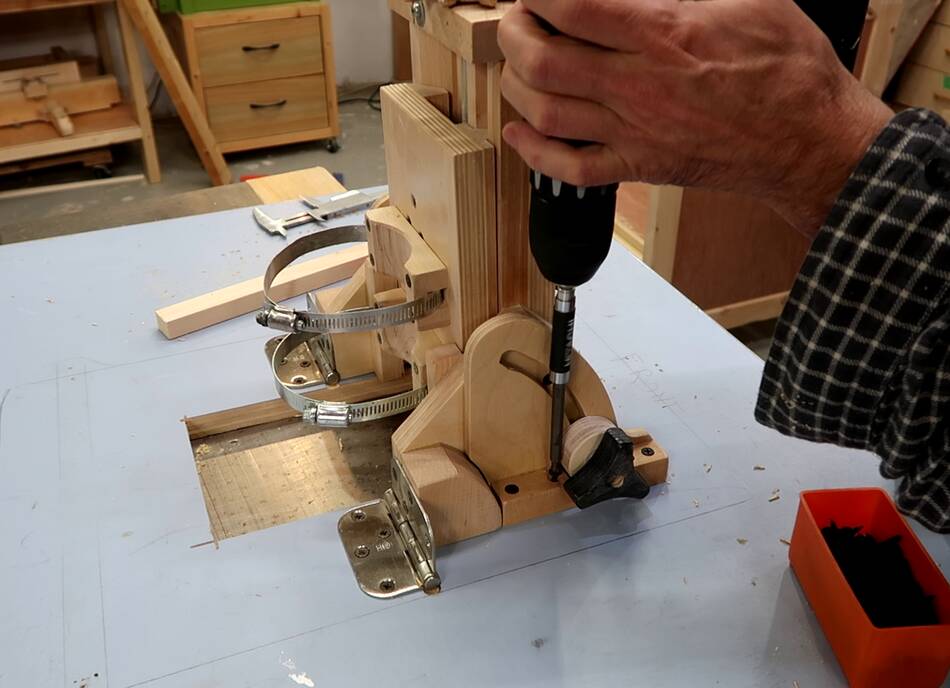
I used a pice of wood with a V-shaped notch cut into the end to gude my drill vertical and also limit how deep I was drilling, then screwed threaded inserts into the holes.
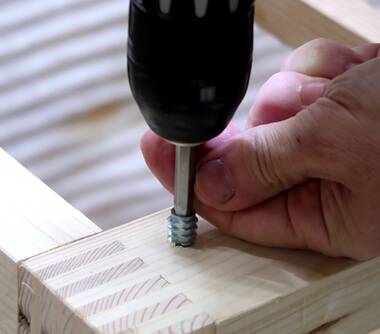
 I needed a way to accurately transfer the locations of these holes to
the top. I put in some philips head screws in the inserts, then rested
a small countersink screw on the big screw....
I needed a way to accurately transfer the locations of these holes to
the top. I put in some philips head screws in the inserts, then rested
a small countersink screw on the big screw....
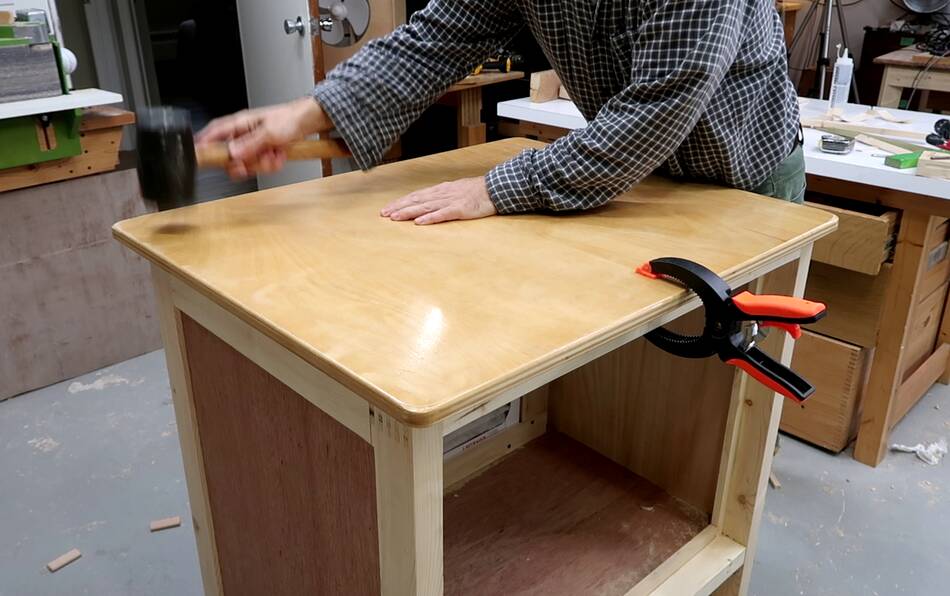
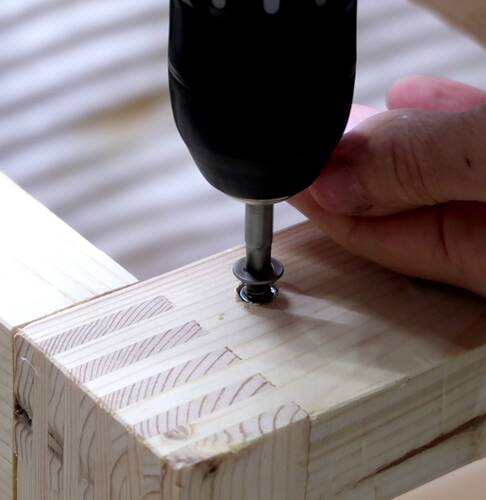
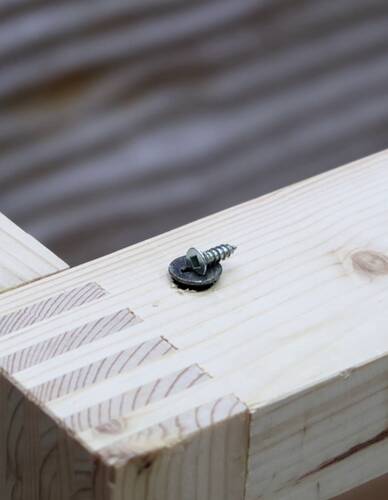
 ... I then placed the top on where I wanted it and tapped all the corners
so the screws would make indents in the plywood. After that I drilled
pilot holes from the
bottom, then drilled from both sides with a forsnter bit to avoid tear-out
where the drill exits, and added a countersink to recess the screw heads
below the table top.
... I then placed the top on where I wanted it and tapped all the corners
so the screws would make indents in the plywood. After that I drilled
pilot holes from the
bottom, then drilled from both sides with a forsnter bit to avoid tear-out
where the drill exits, and added a countersink to recess the screw heads
below the table top.
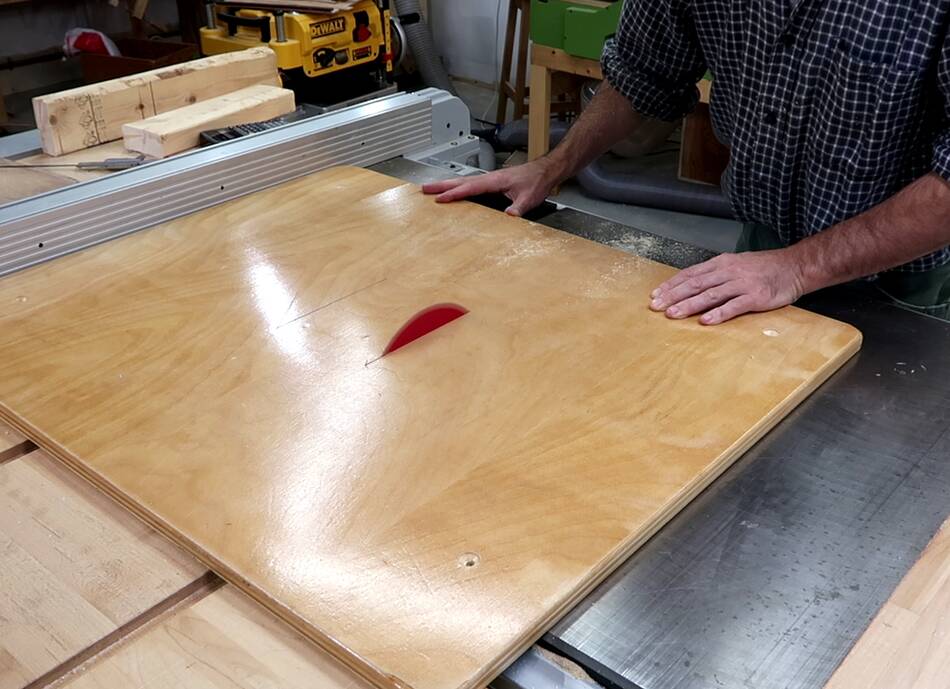
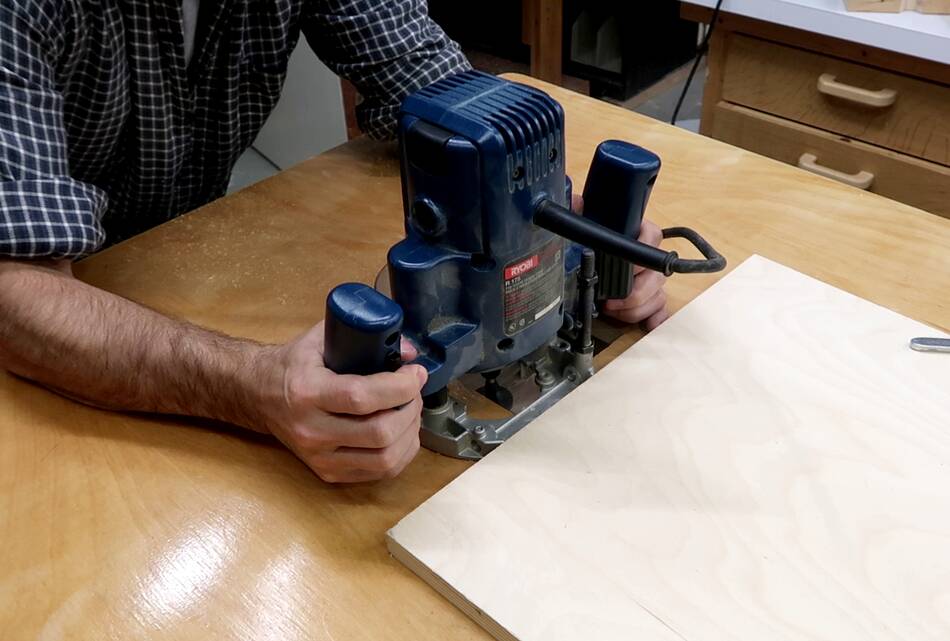
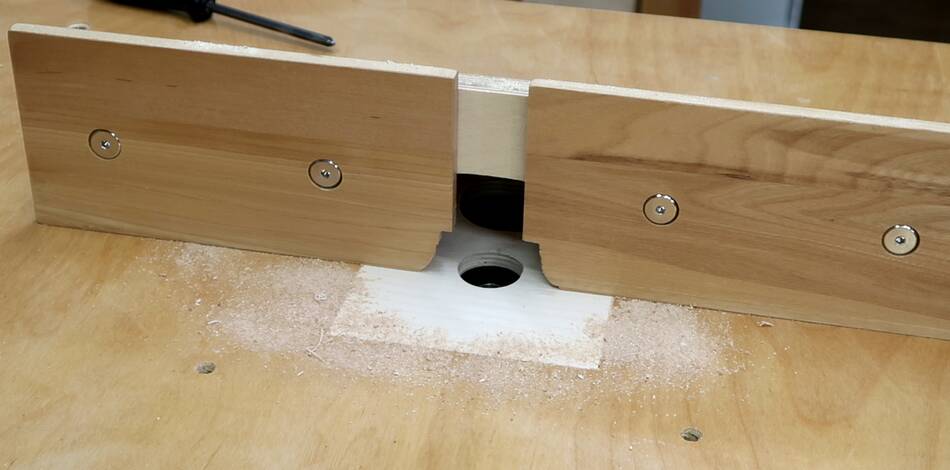
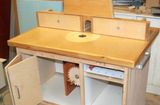
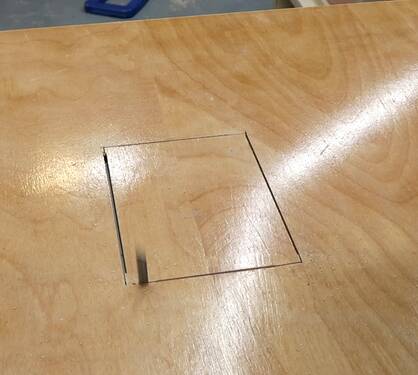 I wanted an accurate rectangular opening in the top for the insert.
I made four plunge cuts to make most of this cut. But I didn't cut
all the way to the corners becauase the circular blade makes a longer
cut on the bottom and I didn't want to cut beyond the corners.
I wanted an accurate rectangular opening in the top for the insert.
I made four plunge cuts to make most of this cut. But I didn't cut
all the way to the corners becauase the circular blade makes a longer
cut on the bottom and I didn't want to cut beyond the corners.
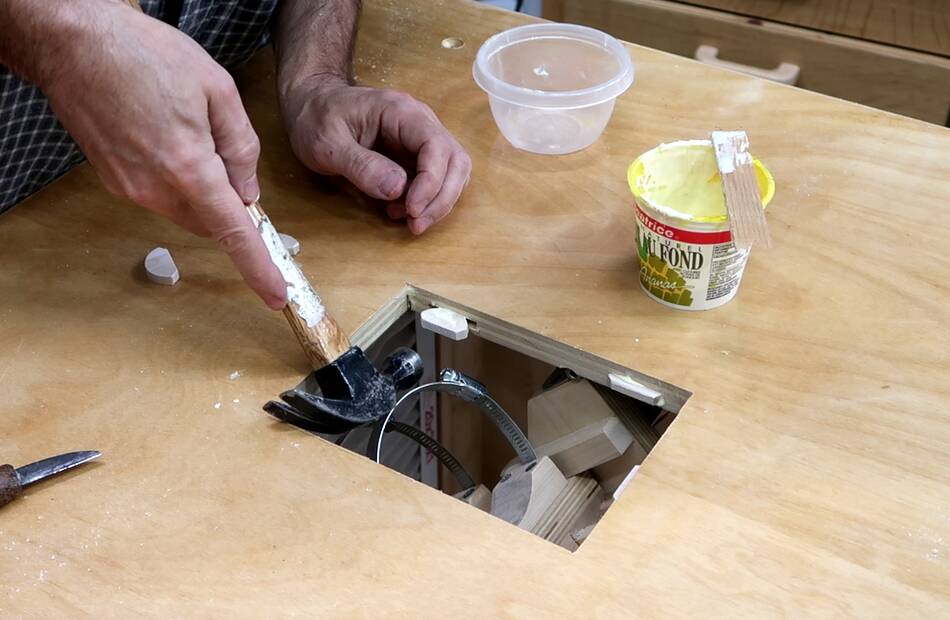
I finished the corners with a jigsaw, but cutting from below to avoid tear-out on the top.
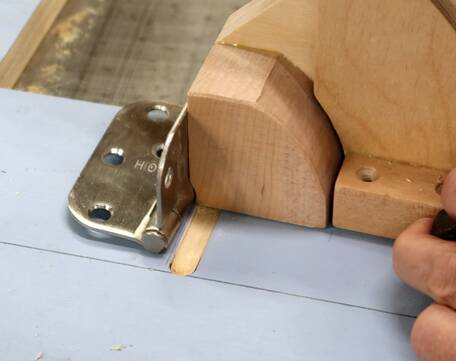 I needed to route a shallow indent for the barrel parts of the hinges
on the underside of the table. The plywood is painted grey on the
bottom because it used to be part of a large wardrobe cabinet that I
bought at a surplus sale because it was made of very nice plywood.
The quick set tenon jig I built in 2008
was made of the same painted plywood, so it was the same color.
I needed to route a shallow indent for the barrel parts of the hinges
on the underside of the table. The plywood is painted grey on the
bottom because it used to be part of a large wardrobe cabinet that I
bought at a surplus sale because it was made of very nice plywood.
The quick set tenon jig I built in 2008
was made of the same painted plywood, so it was the same color.
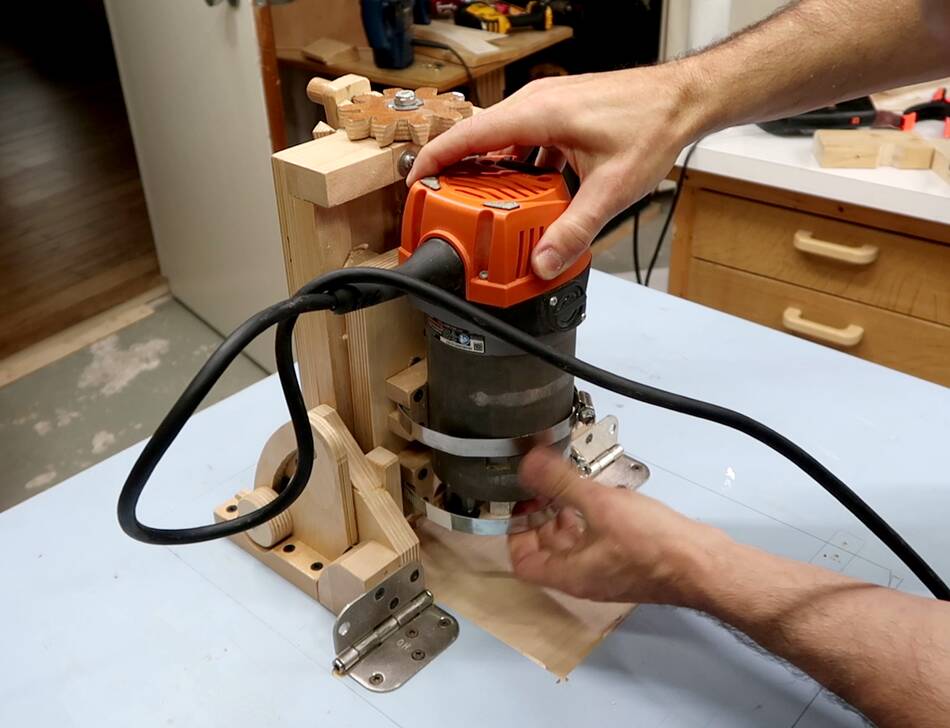
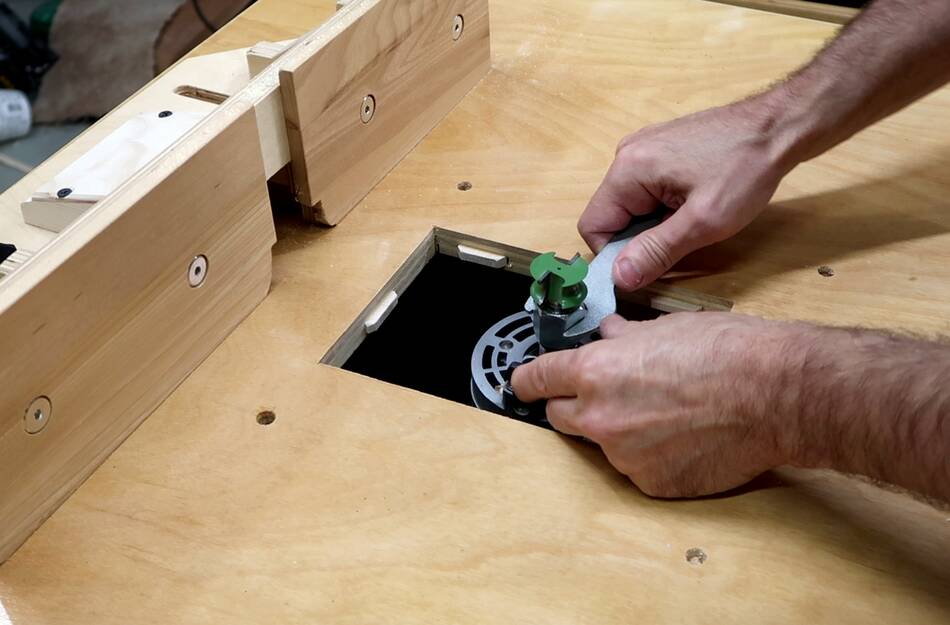
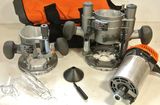
 Then attaching my tilting router
lift that I built in 2012 to the table.
Then attaching my tilting router
lift that I built in 2012 to the table.
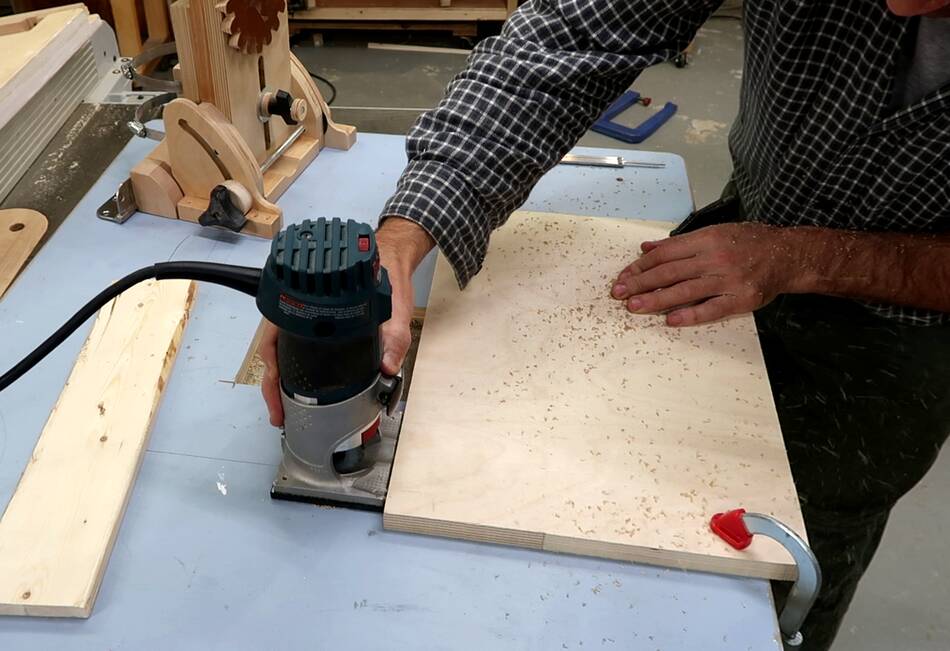
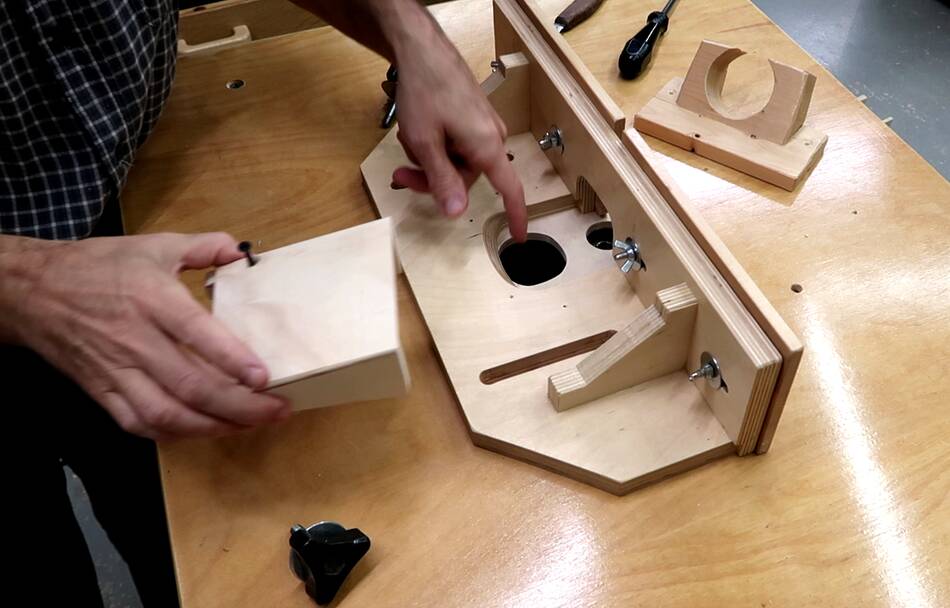
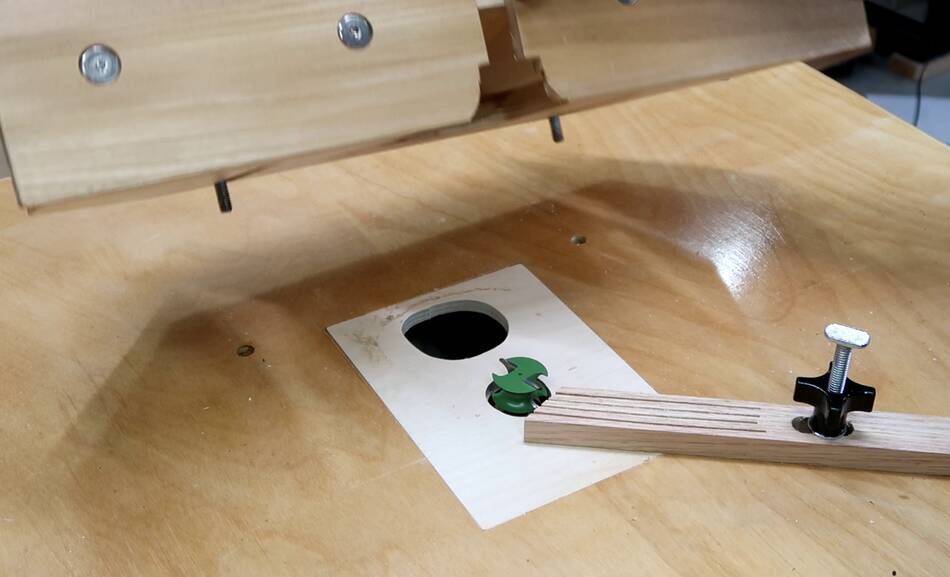
 At this point I realized I forgot to leave any sort of ledge to hold the
insert. So I used a slot cutting bit and cut six slots on the edges
of the hole.
At this point I realized I forgot to leave any sort of ledge to hold the
insert. So I used a slot cutting bit and cut six slots on the edges
of the hole.
My first thought was to use my biscuit jointer for this, but it wouldn't fit in the hole.
 Then glued in some half-round pieces of wood on all sides. These
protrude into the hole and will support the insert.
Then glued in some half-round pieces of wood on all sides. These
protrude into the hole and will support the insert.
 Installing the router on the lift again.
 The insert hole I cut is big enough to have room for a big dust
hole on the back of the insert.
The insert hole I cut is big enough to have room for a big dust
hole on the back of the insert.
I made a shroud to go on the back of the fence to direct the suction from this hole through the front of the fence.
 I sprinkled some bandsaw sawdust on the table, then turned on the
dust collection. It only pulled in dust from a few millimeters in front
of the fence.
I sprinkled some bandsaw sawdust on the table, then turned on the
dust collection. It only pulled in dust from a few millimeters in front
of the fence.
 But then I realized I hadn't closed the door on the front of the router
lift, once I closed that, it cleared a small area in front of the fence.
But then I realized I hadn't closed the door on the front of the router
lift, once I closed that, it cleared a small area in front of the fence.
I tried the same test on my non-tilting router lift installed on my table saw, hooked up with a 2.5" hose to my biggest dust collector, and it only did marginally better in this test.
 But a real test is to do some routing. Having no project that
needed routring, I decided to restock my dowels drawer by
making dowels with a half round router bit.
But a real test is to do some routing. Having no project that
needed routring, I decided to restock my dowels drawer by
making dowels with a half round router bit.
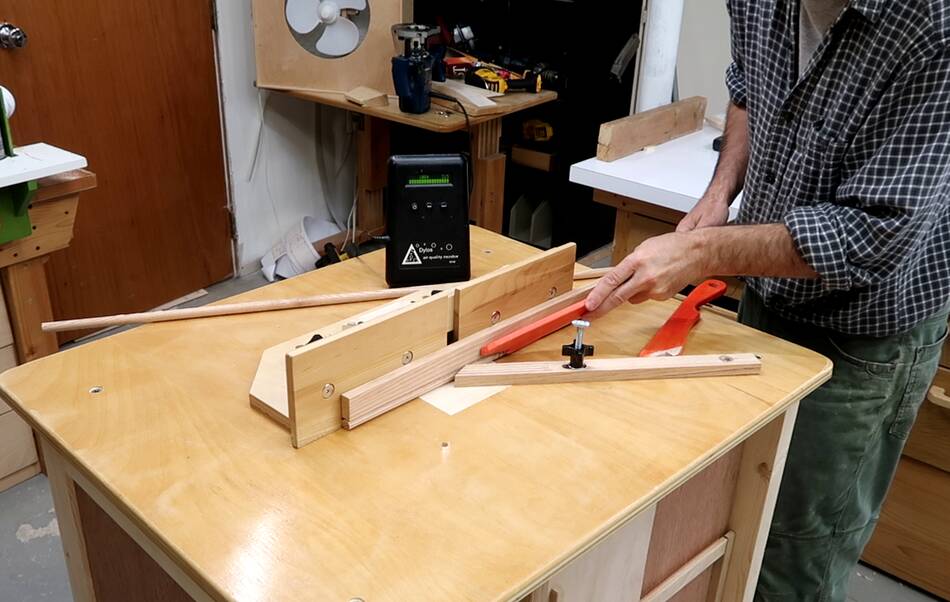 With my Dylos air quality meter running,
I routed a whole bunch of dowels.
With my Dylos air quality meter running,
I routed a whole bunch of dowels.
The dust count went up by about 20% on the Dylos, but then again, I had just run all of my air cleaners for 10 minutes to clear the air, so the shop air was cleaner than it normally is while I'm working.
I was expecting it to do worse because the filter isn't seasoned yet.
At any rate, I couldn't see any sawdust getting spread, so it all got sucked into the table.
 Taking the fence off, there was only a slight bit of dust under it.
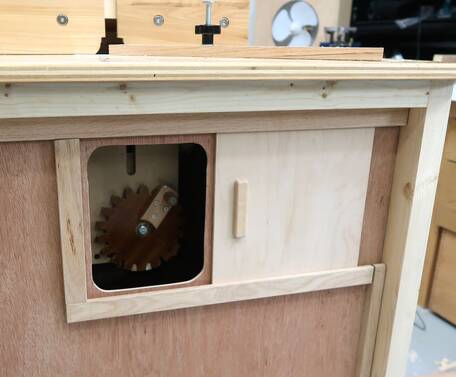
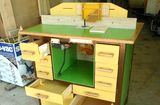
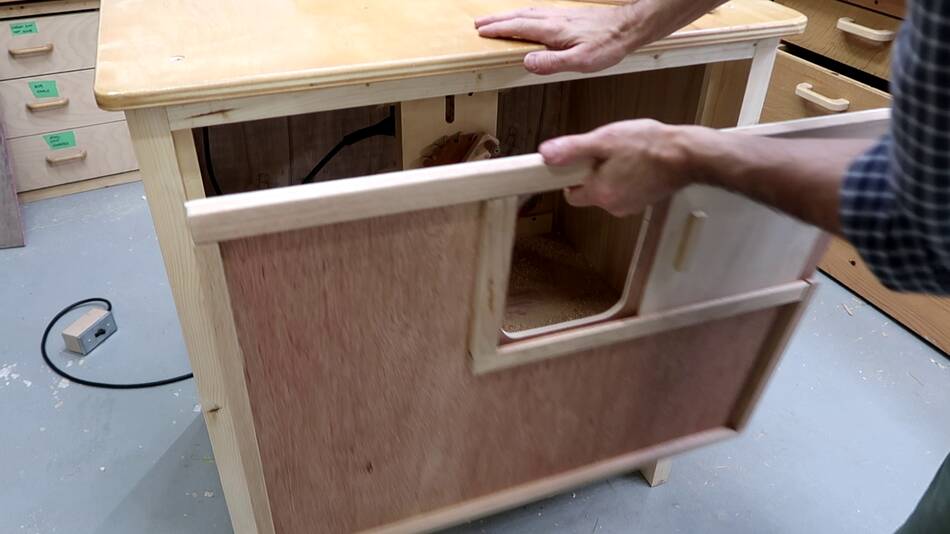 Opening the front (note small sliding door on the front for quick access
to the router lift's adjustments) to see what it looks like inside.
Opening the front (note small sliding door on the front for quick access
to the router lift's adjustments) to see what it looks like inside.
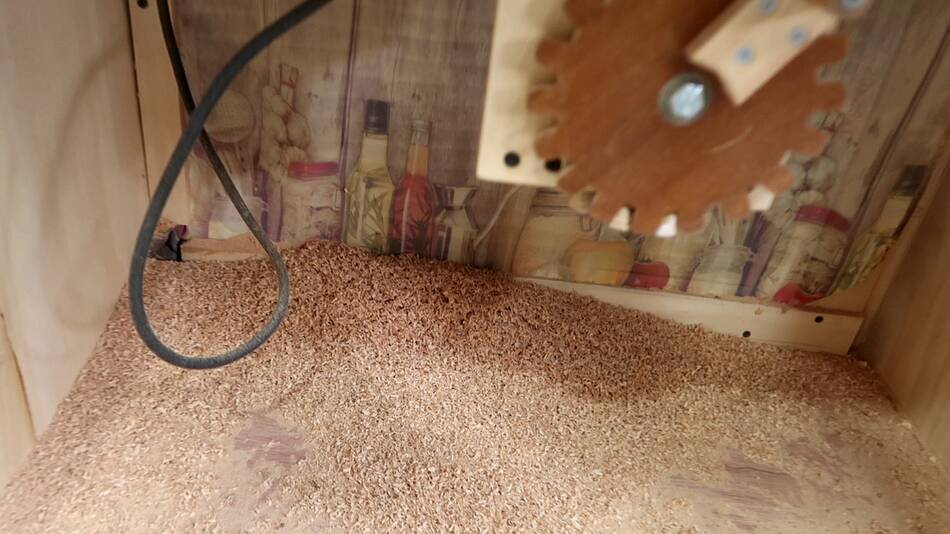 A small pile of shavings inside. Still plenty of room before there is
any risk of it getting sucked into the router. The whole idea of
making the router compartment as big as I made it was to have lots
of room for dust to accumulate and also to settle out, so less dust
gets re-circulated through the router itself.
A small pile of shavings inside. Still plenty of room before there is
any risk of it getting sucked into the router. The whole idea of
making the router compartment as big as I made it was to have lots
of room for dust to accumulate and also to settle out, so less dust
gets re-circulated through the router itself.
Next: Drawer, electrical, more balancing, and dust flow
 Building the router table cabinet
 Building the blower for this router table
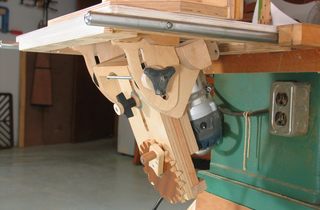
 Why not just usee a shopvac for the router table?