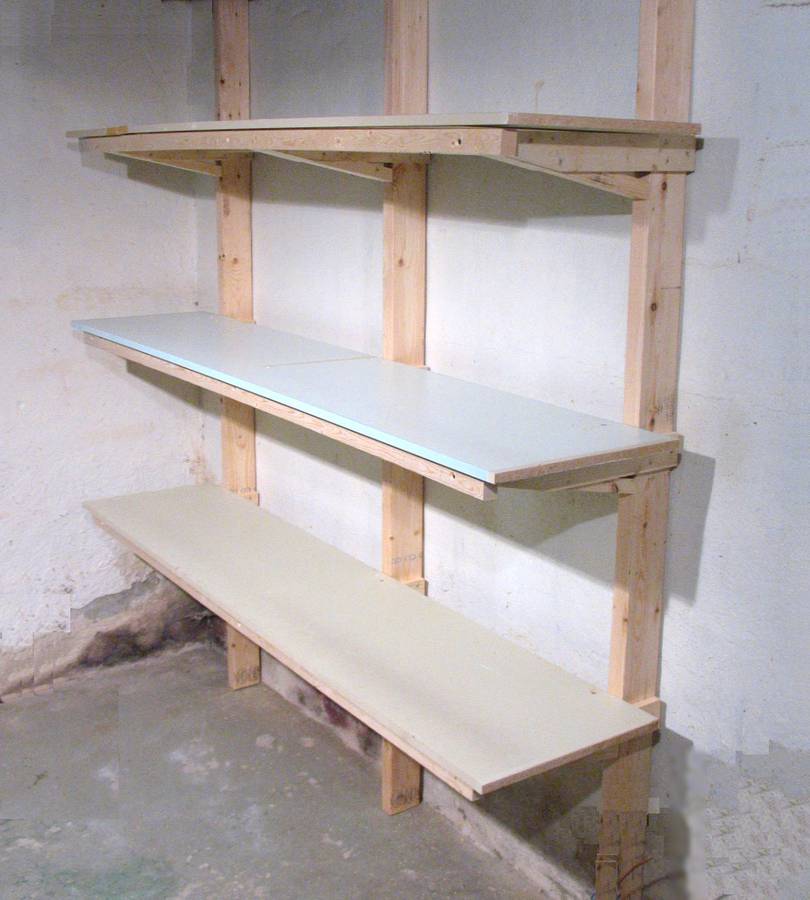
You can buy simple garage shelving kits at places like Home Depot or Ikea for about as much as it would cost to buy the lumber. But these shelves are typically not overly sturdy. This page describes how to build these cantilevered shelves of my design. Properly built, the shelves are strong enough one can climb up the front of them.
 The basic design uses two boards nailed to either side of a 2x4, with a smaller diagonal
piece to brace the shelf.
The basic design uses two boards nailed to either side of a 2x4, with a smaller diagonal
piece to brace the shelf.
All the joints are glued to give it the necessary stiffness. Nails or screws alone have too much 'give', so the shelf supports would end up sagging without glue.
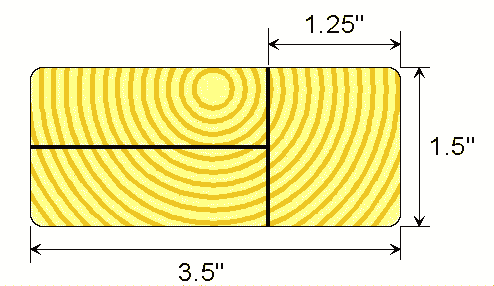 If you have a table saw handy, the parts for one shelf support can be cut from
one short piece of 2x4 as shown at left. If you don't have a table saw, just buy
some 2x2's for the diagonals, and some 1x3's for the boards.
If you have a table saw handy, the parts for one shelf support can be cut from
one short piece of 2x4 as shown at left. If you don't have a table saw, just buy
some 2x2's for the diagonals, and some 1x3's for the boards.
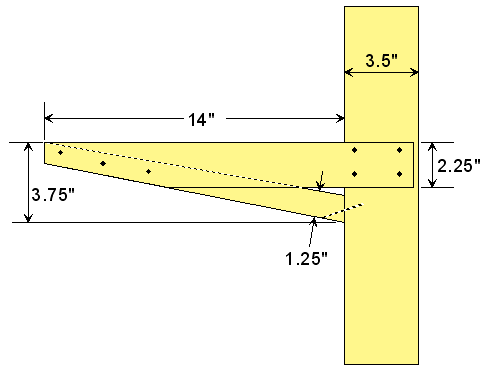
People have on occasion asked me about what angle to cut the wood at. I have since drawn some more elaborate shelf plans with more dimensions and notes.
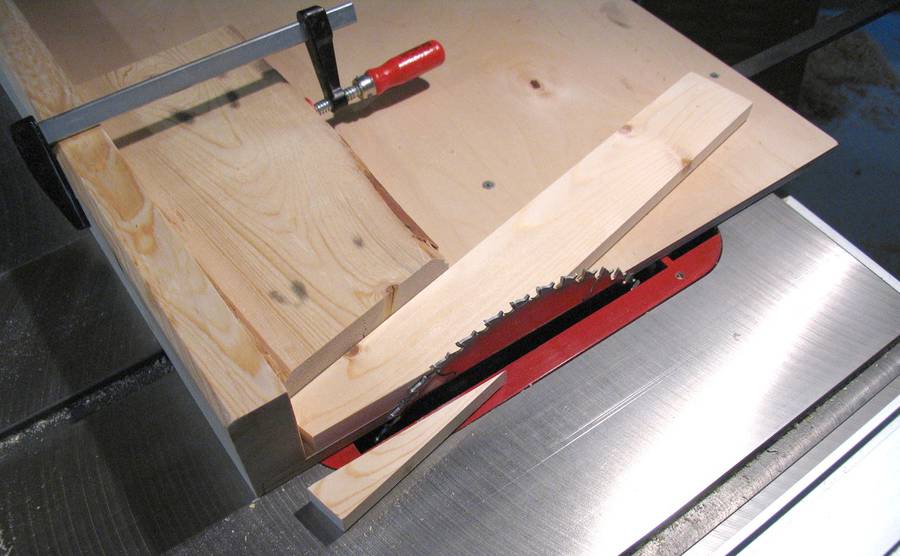 I cut the taper of the boards with simple jig consisting of a piece of lumber
cut at an angle on my table saw sled.
With the shelf in this article, I needed to make 9 brackets, two boards each, for a total
of 18 boards, so it was worth jigging something up.
I cut the taper of the boards with simple jig consisting of a piece of lumber
cut at an angle on my table saw sled.
With the shelf in this article, I needed to make 9 brackets, two boards each, for a total
of 18 boards, so it was worth jigging something up.
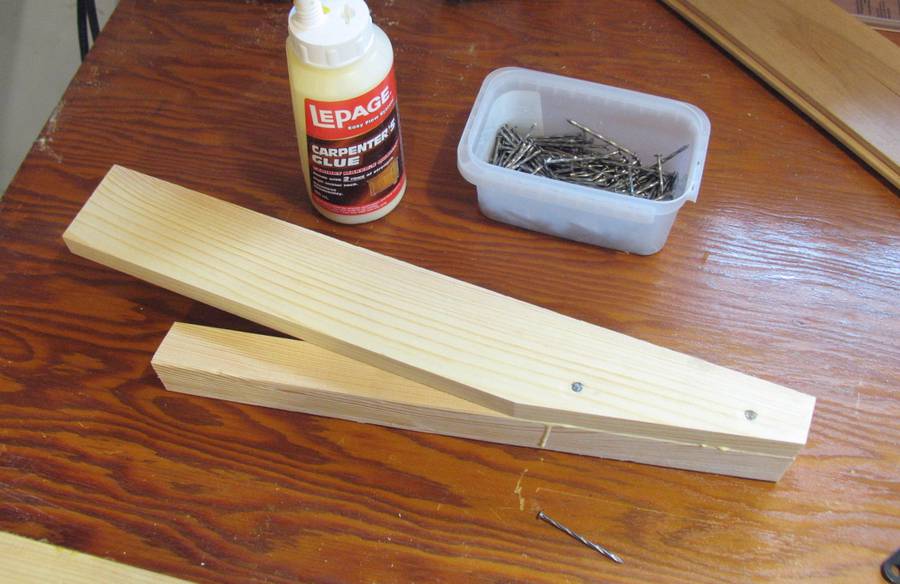 The next step was to nail one half of each bracket together.
This half is subsequently nailed to the side of the upright 2x4. Then the board on the other side of the bracket is nailed in place. This is all done on the workbench. It Would be kind of awkward to do with the 2x4's already mounted upright.
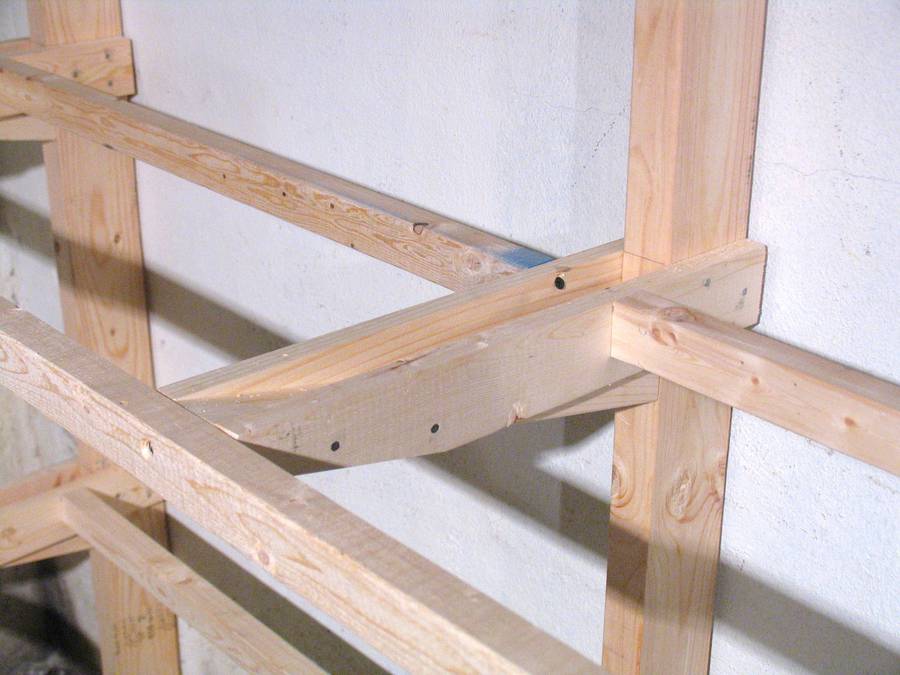 For the shelves I was building, I was using some leftover 3/4" particle board, which
was not quite strong enough to span the distance between the shelf supports. 3/4" Plywood
would have been strong enough. For my shelf, I just ran a rail along the front of the
shelf, as well as a rail between the back of the shelf brackets to give the particle board
extra support.
For the shelves I was building, I was using some leftover 3/4" particle board, which
was not quite strong enough to span the distance between the shelf supports. 3/4" Plywood
would have been strong enough. For my shelf, I just ran a rail along the front of the
shelf, as well as a rail between the back of the shelf brackets to give the particle board
extra support.
The rails along the back are simply attached with one screw screwed from the inside of the shelf support.
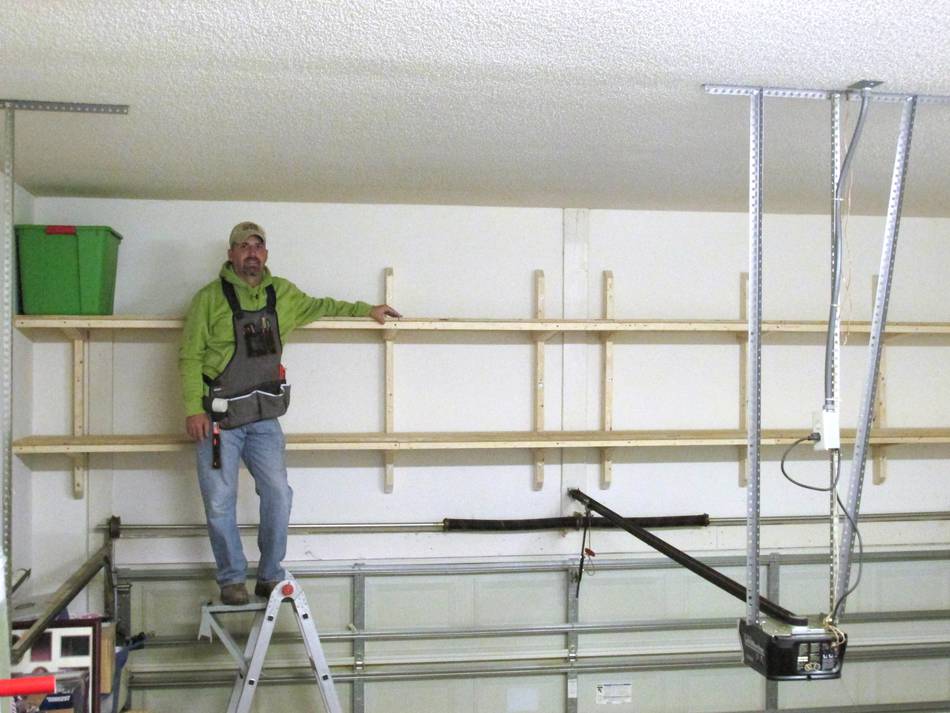
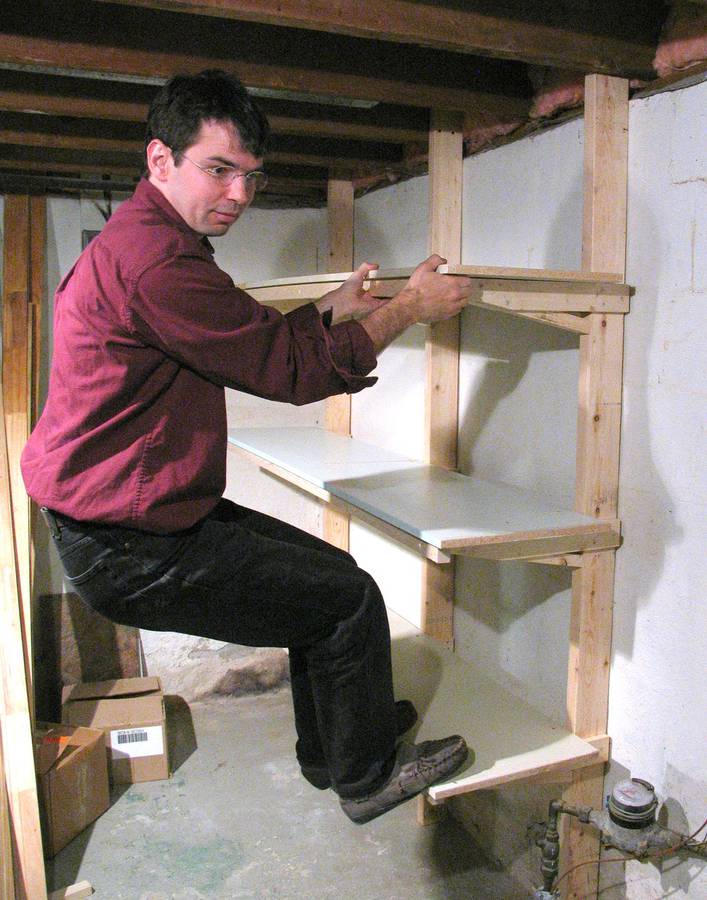 Here's testing the strength of the shelf. The verticals are screwed directly into
the floor joists above, so it's strong enough.
Here's testing the strength of the shelf. The verticals are screwed directly into
the floor joists above, so it's strong enough.
With me standing directly above one of the shelf supports, my entire weight goes into that support bracket, and it holds just fine. For taller rooms, this might be handy to be able to climb up the shelf. For my low basement, there's no need to climb up the shelves, but good to know it's that strong all the same.
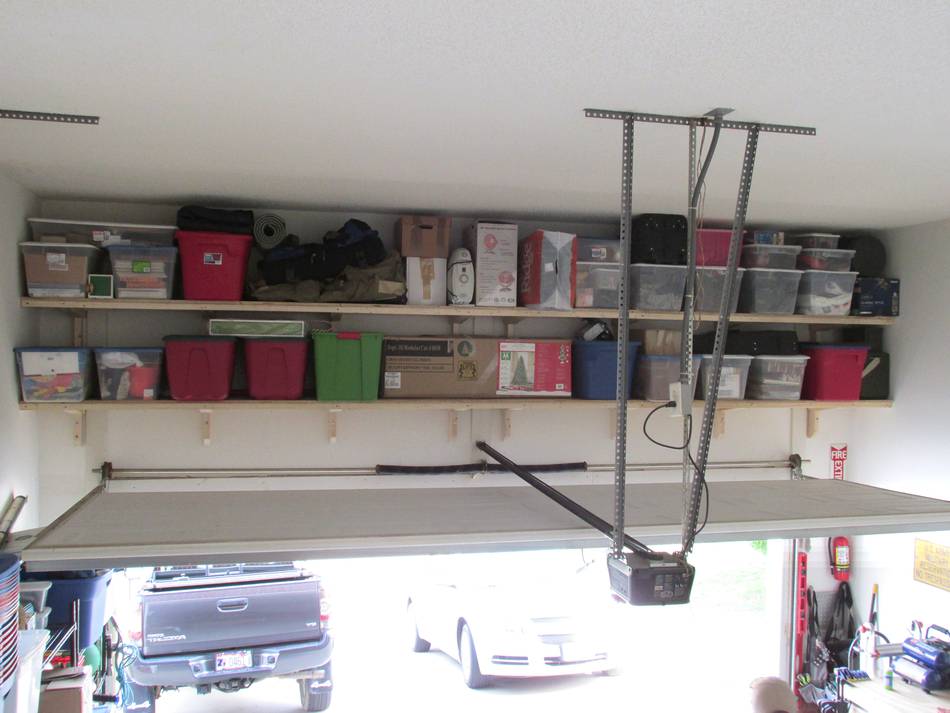
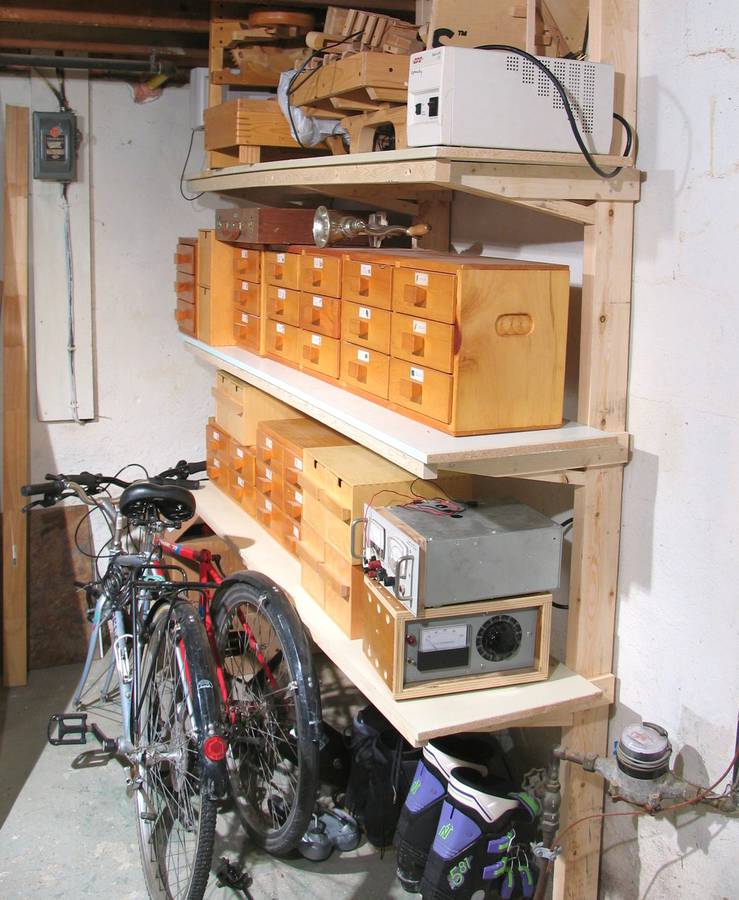 And fully loaded with junk. Of course, an even better alternative would be to have
less junk, but that would be too easy :)
And fully loaded with junk. Of course, an even better alternative would be to have
less junk, but that would be too easy :)
By the way, that's some of my marble machines on the top shelf.
John Iwaniszek sent me a link to his blog about building shelves of this design
Greg Roberts sent phtos of his canitlieverd shelf above his garage door.
Greg Writes:
Hey buddy,
Thank you very much for your tutorial on building cantilever garage
shelves. I used your plans to build shelves above my garage door, and
they turned out great.
Keep up the good work, and thanks again.
Greg Roberts
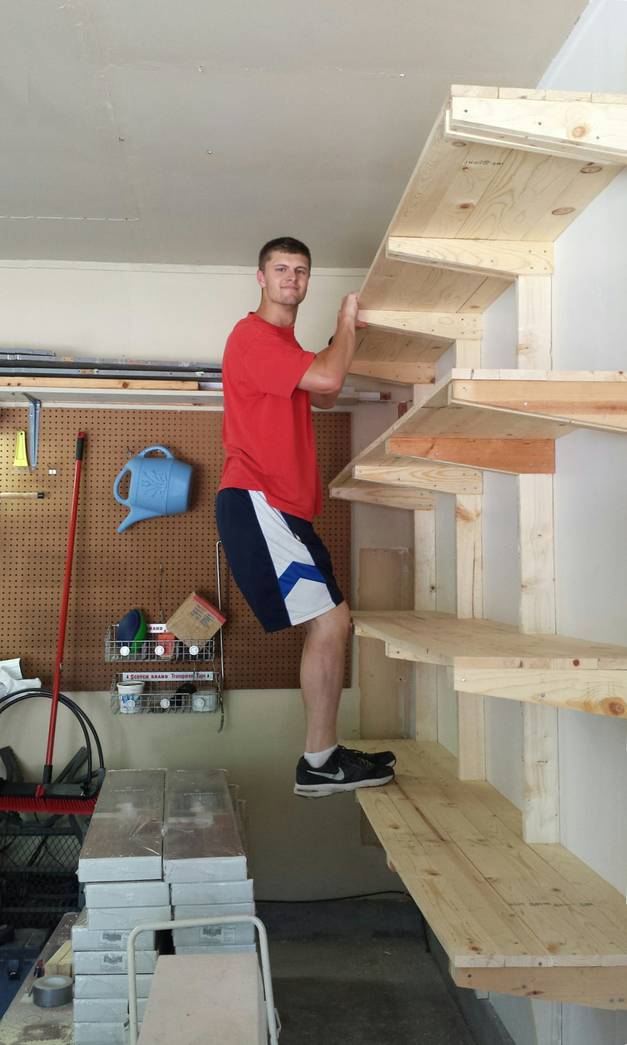
Ryan Damman also sent me a pictues of some shelves he built using this design.
Ryan writes:
Hi Matthias,
I've recently finished building some shelves in my garage using your shelving plans. Recently moving into a new house, I needed to get the clutter off the garage floor. This was my first project at this house. Thanks for providing your plans for your projects. For these shelves I countersunk 4" screws into the studs and have them spanning a little over 8 feet. The top shelf is about 8.5 feet high. I'm 6'4" and about 205 lb for reference. Thanks again!
Ryan Damman
 Shelves for my desk (2024)
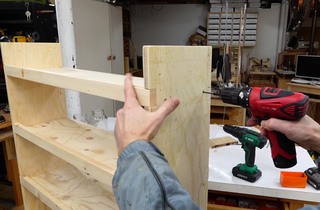 Mason jar shelf
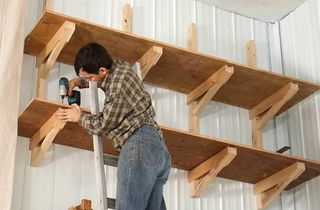 Up high garage shelves (2015)
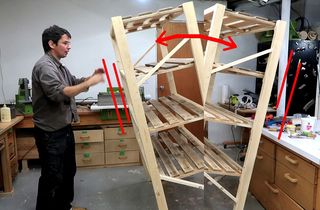 A shelf so stiff it rocks (2021)
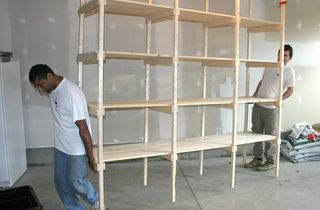 Building storage shelves (2009)
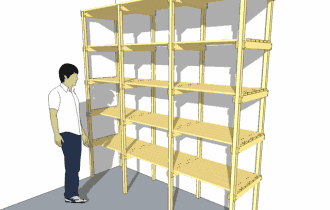 Storage shelf plans (2009)
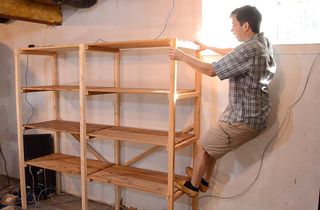 Yet another shelf build
With double mortise and tenon joints (2017)
Yet another shelf build
With double mortise and tenon joints (2017)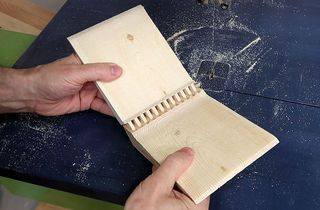 Making shelf brackets (2022)
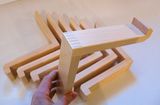 Box joined shelf brackets (2009)
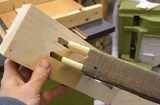 Double tenon shelves (2016)
 Building a bookcase for DVDs (2008)
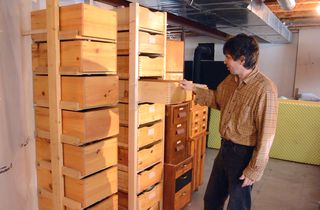 Rack of storage boxes (2018)
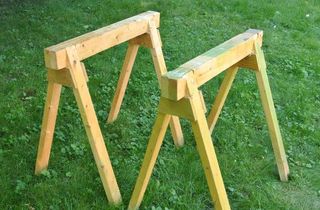 Builindg sawhorses (2013)
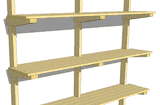 Plans for these garage shelves
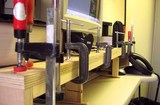 Fixing a sagigng plywood shelf
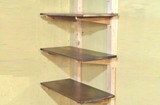 Quick shelves with mortise and tenon joints
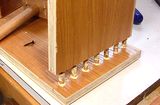 A bookcase joined with dowels
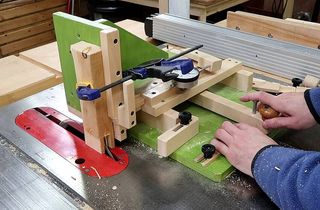 Making double tenon shelf brackets using my tenon jig
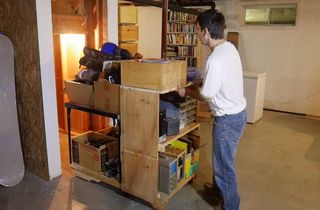 Under stairs storage on wheels