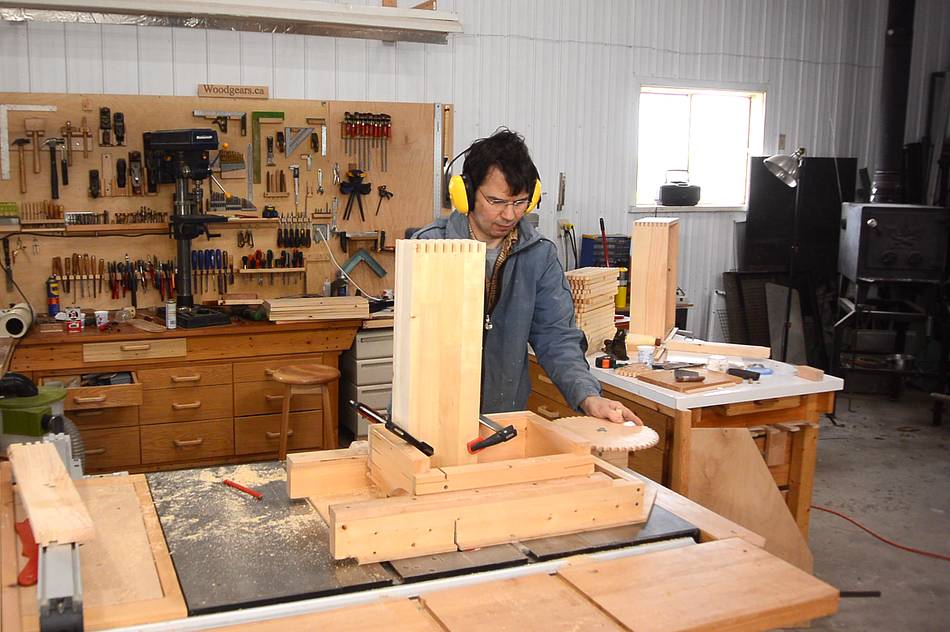
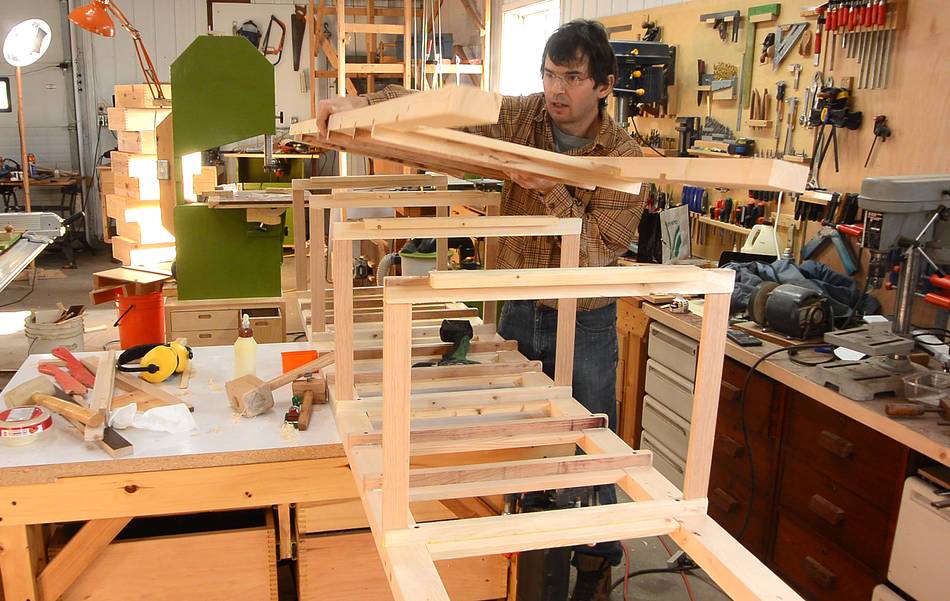
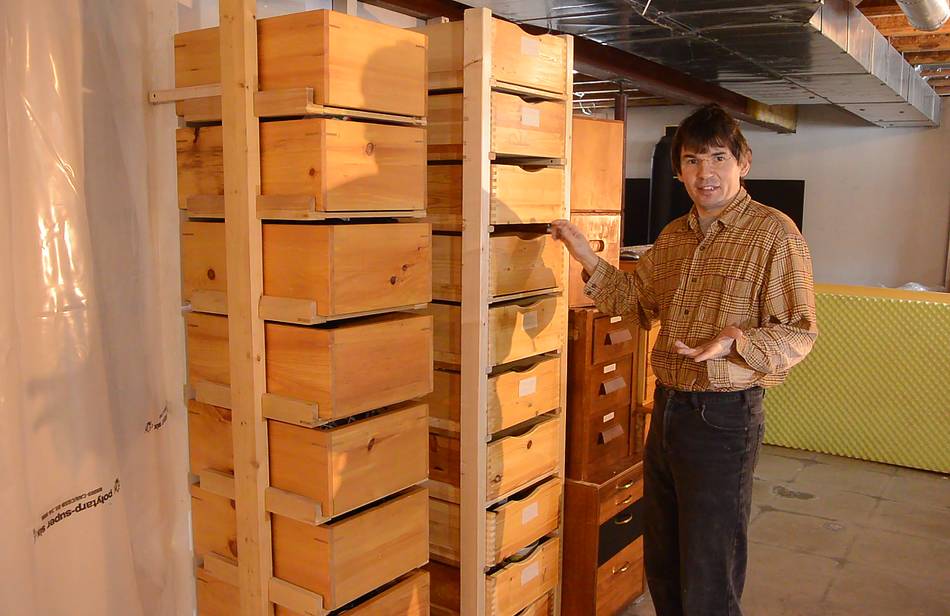
 I needed a place to put away a lot of random junk in the basement, so I decided
to build a rack with ten wooden boxes, similar to
this rack I built in 2001.
I needed a place to put away a lot of random junk in the basement, so I decided
to build a rack with ten wooden boxes, similar to
this rack I built in 2001.
I needed a place to put away a lot of random junk in the basement, so I decided
to build a rack with ten wooden boxes, similar to
this rack I built in 2001.
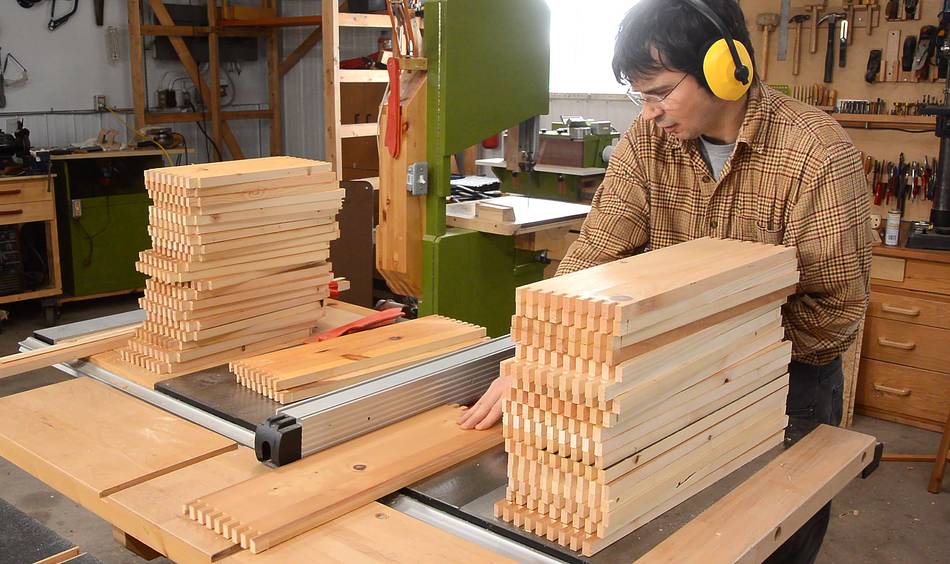
On a whim, I figured I'd make all the boxes with box joints.
With 10 boxes, four sides to a box, two ends to each piece, and 8 or 9 notches for the joints, that makes for 680 notches (with 3/8" fingers). But loading five pieces into the jig at a time, cutting these didn't actually take very long.
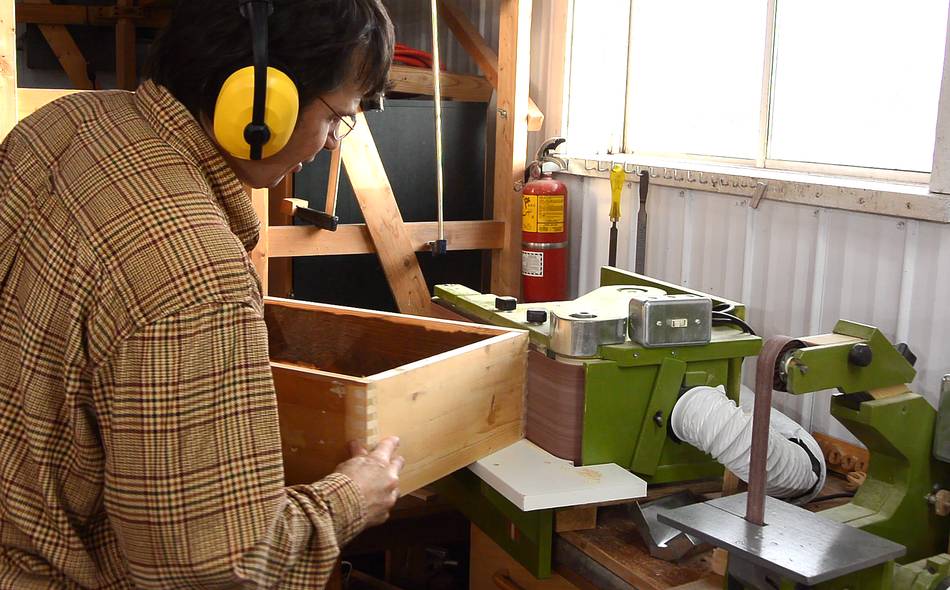
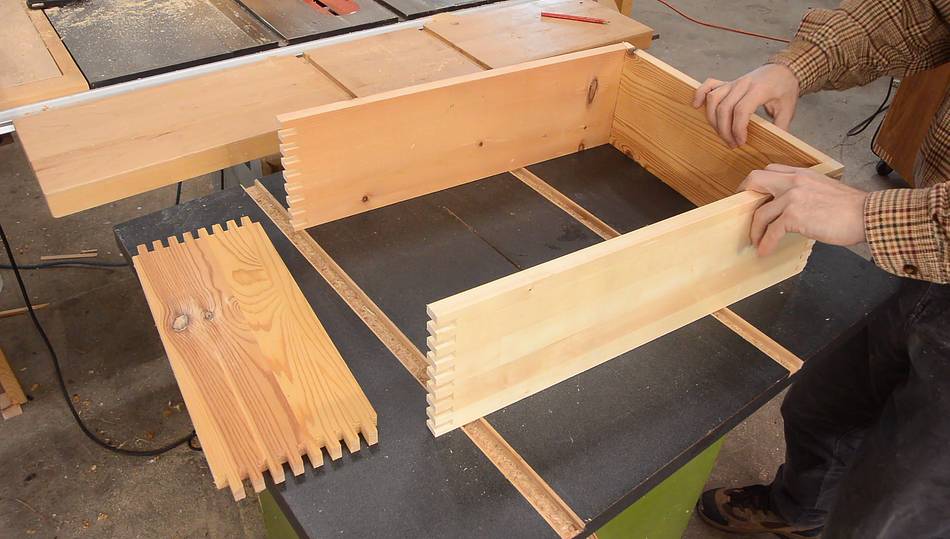 Test fitting one of the boxes together.
 Then cutting a groove to hold the bottom of the boxes.
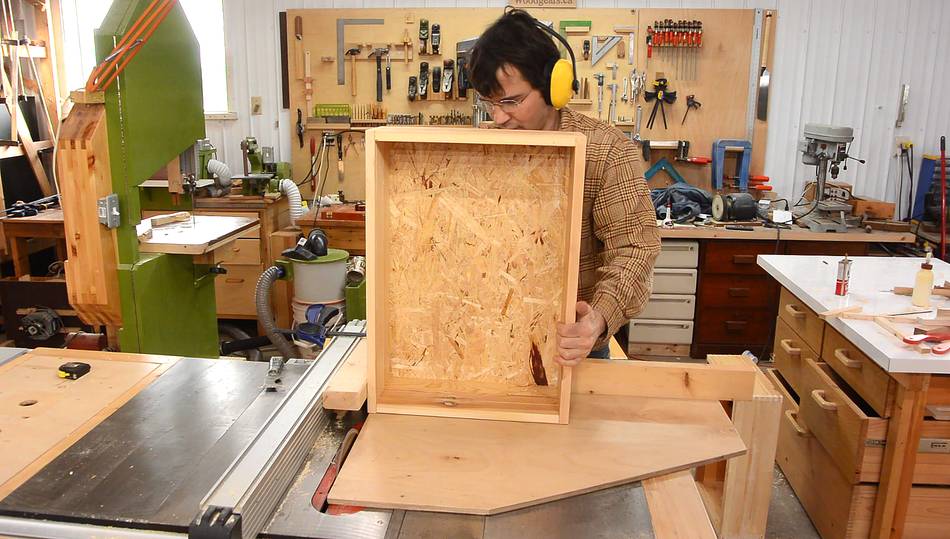
I often just glue the bottom flat on, but I had a bunch of fairly rough OSB to use up, and that OSB would not make for a good sliding surface on the bottom.
It was at about this stage of progress in this project that Rogers TV interviewed me for their TV series "Celebrate Ottawa".
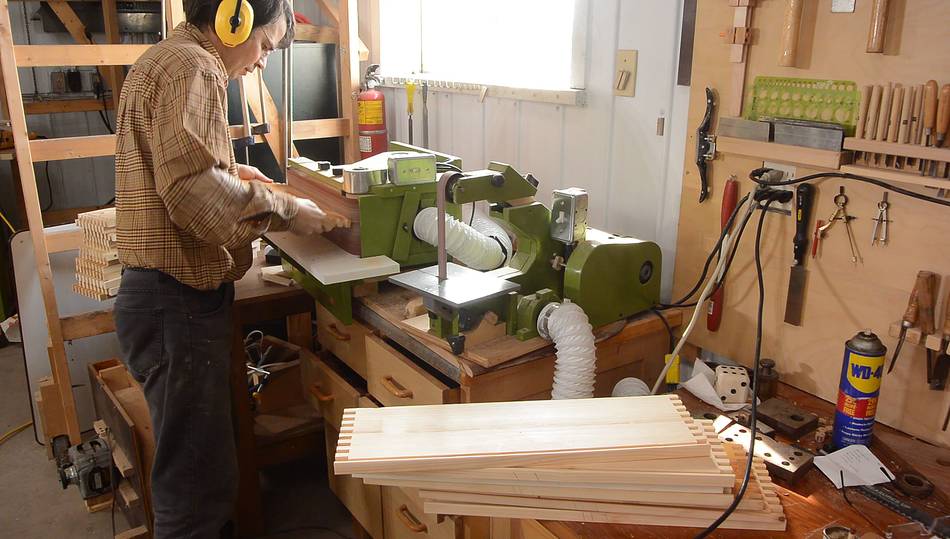 Sanding the edges of all the box pieces before assembling them.
 I then assembled one corner for each box and let the glue dry.
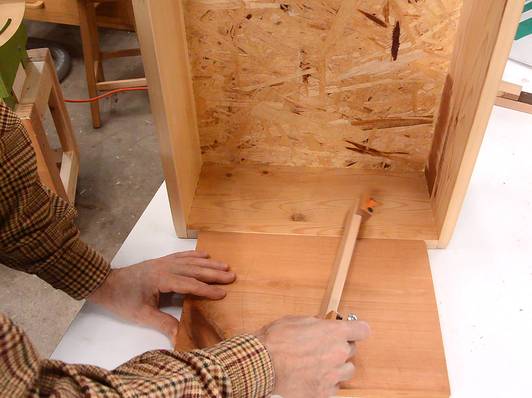
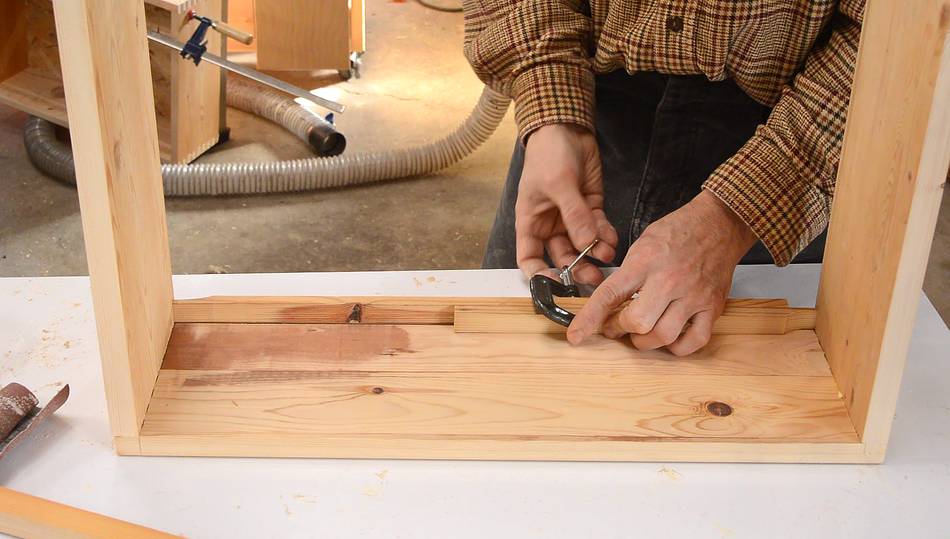 With a third piece test fit in place, I used two thin pieces of wood to measure
the size I needed for the bottom. I put one end in each groove and used
a small C-clamp to clamp the pieces together.
With a third piece test fit in place, I used two thin pieces of wood to measure
the size I needed for the bottom. I put one end in each groove and used
a small C-clamp to clamp the pieces together.
 Then using those same pieces of wood, still clamped together, to get the final
size that the bottom needs to be cut to.
Then using those same pieces of wood, still clamped together, to get the final
size that the bottom needs to be cut to.
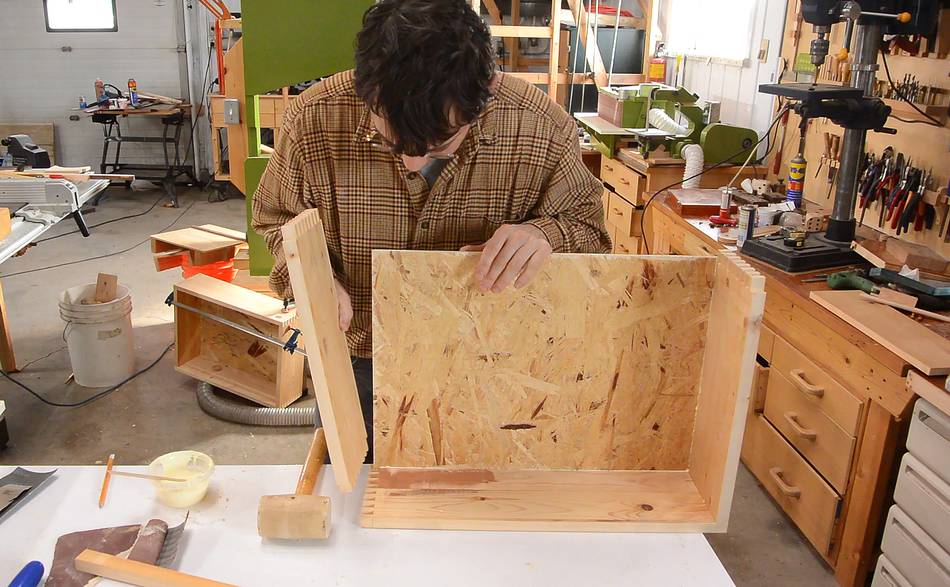 Assembling one of the boxes. I cut the groove for the bottom a little tight,
so it took some pressing to get it together. The bottoms are all gued in
(for more strength), so I have to make sure the bottom fully sits in the
groove before the glue starts to set.
Assembling one of the boxes. I cut the groove for the bottom a little tight,
so it took some pressing to get it together. The bottoms are all gued in
(for more strength), so I have to make sure the bottom fully sits in the
groove before the glue starts to set.
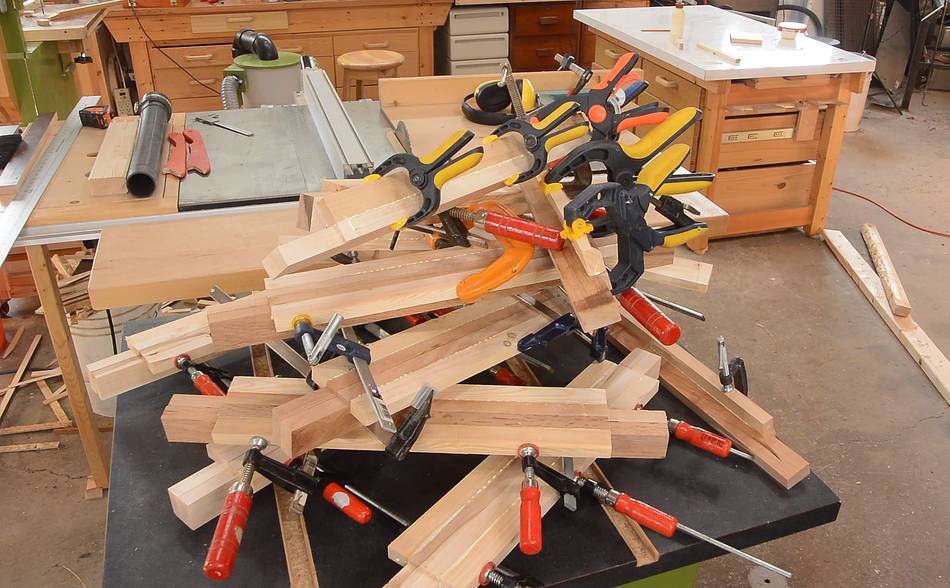
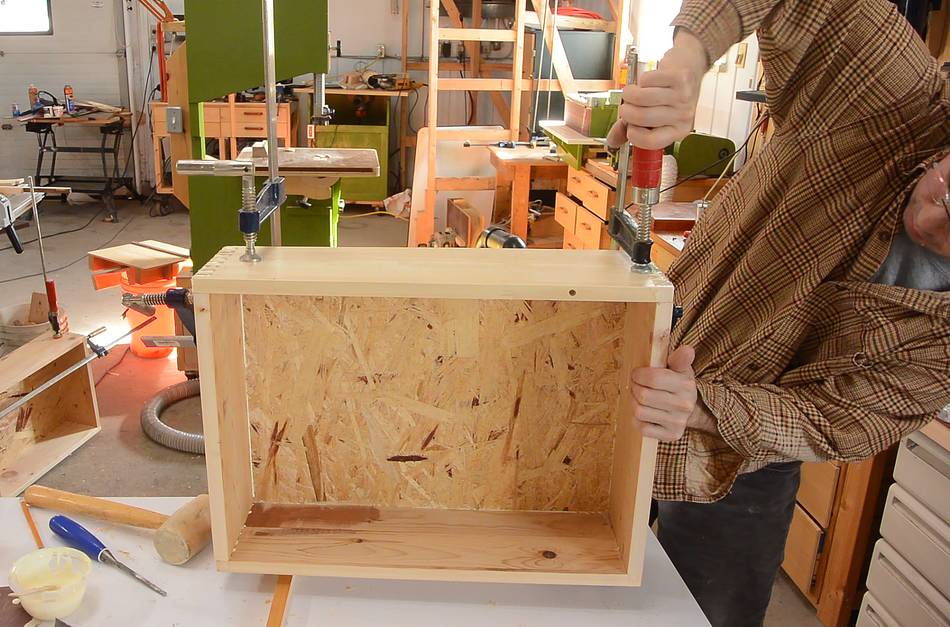 Clamping it to make sure the joints are fully seated.
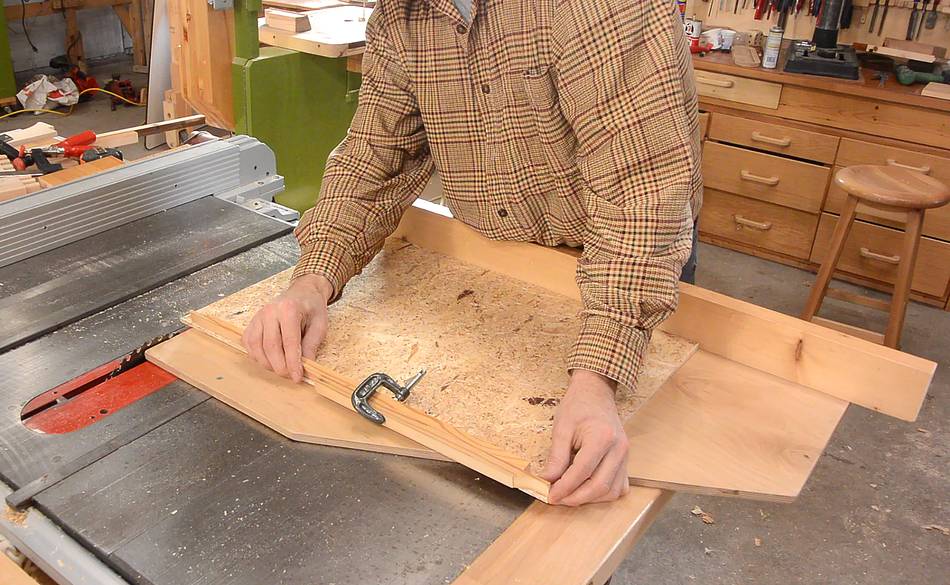
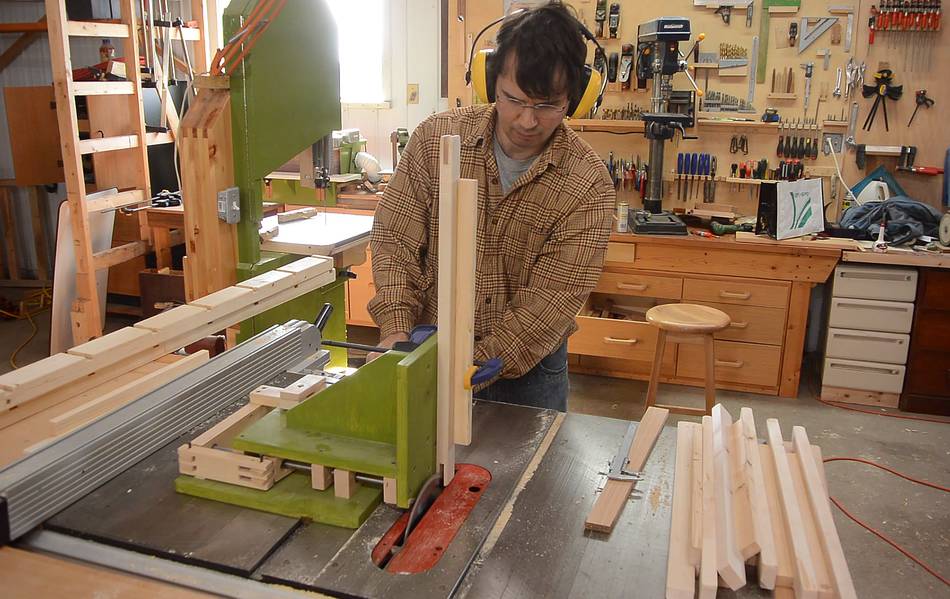
 Then cutting the box joints flush on the table saw. I have a temporary
stop to position the box just right. I tilted the blade by about a degree
away from the box so I don't end up with a cut edge where the top of the
blade is.
Then cutting the box joints flush on the table saw. I have a temporary
stop to position the box just right. I tilted the blade by about a degree
away from the box so I don't end up with a cut edge where the top of the
blade is.
 Then sanding the edges round. The box is a bit taller than the sander,
so after sanding the corners, I flipped the box upside-down and sanded
the rest of the corners.
Then sanding the edges round. The box is a bit taller than the sander,
so after sanding the corners, I flipped the box upside-down and sanded
the rest of the corners.
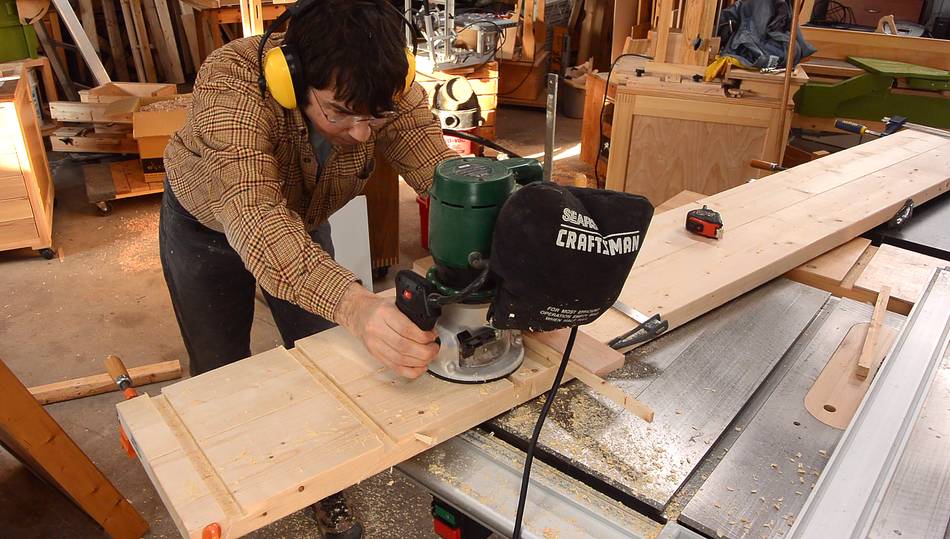 I clamped two pieces of 2x6x8' lumber side-by-side, then used a T-square
as a router guide to cut dadoes for the pieces that support the drawers.
I clamped two pieces of 2x6x8' lumber side-by-side, then used a T-square
as a router guide to cut dadoes for the pieces that support the drawers.
The dadoes I needed were about 3/4" (19 mm) wide. I had a 1/2" wide (12.7 mm) bit in the router, so I cut one pass, then put a 1/4" wide spacer between the T-square and the router and cut a second pass. You can see the spacer in this photo.
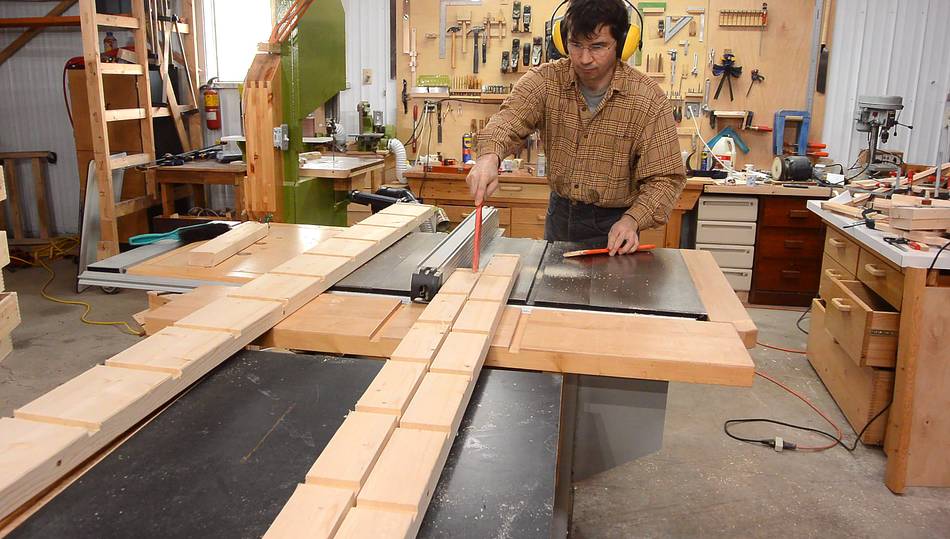 After that I cut the 2x6" pieces down the middle to make four posts for the four
corners of the rack.
After that I cut the 2x6" pieces down the middle to make four posts for the four
corners of the rack.
 I glued up some L-shaped pieces that the boxes can slide on. I needed 20
of these. I glued them up two at a time, back to back, so I didn't need
as many clamps.
I glued up some L-shaped pieces that the boxes can slide on. I needed 20
of these. I glued them up two at a time, back to back, so I didn't need
as many clamps.
 Some of these L-brackets are joined with cross pieces to keep the two
sides of the rack at a constant distance. These are joined with bridle
joints, which I'm cutting with my quick-set
tenon jig.
Some of these L-brackets are joined with cross pieces to keep the two
sides of the rack at a constant distance. These are joined with bridle
joints, which I'm cutting with my quick-set
tenon jig.
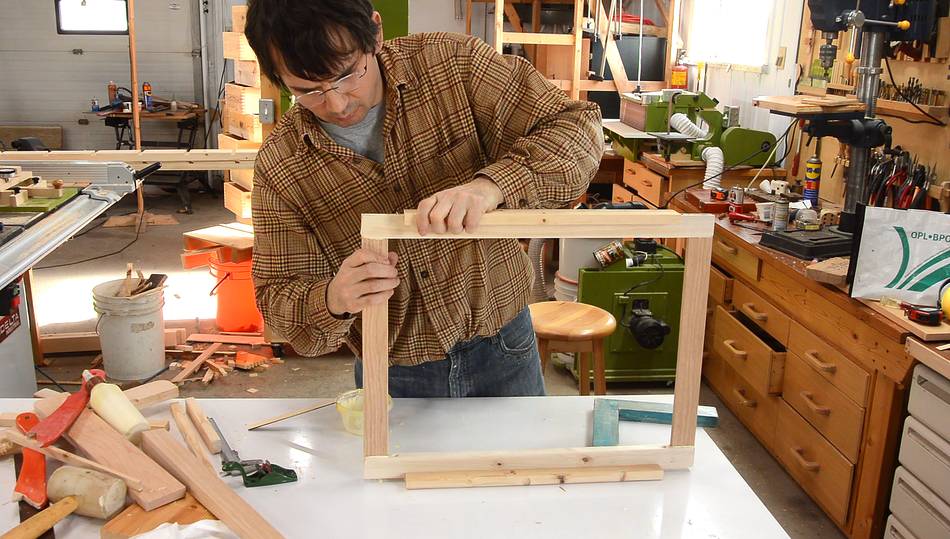 Gluing together one of the frames (there are four of these frames).
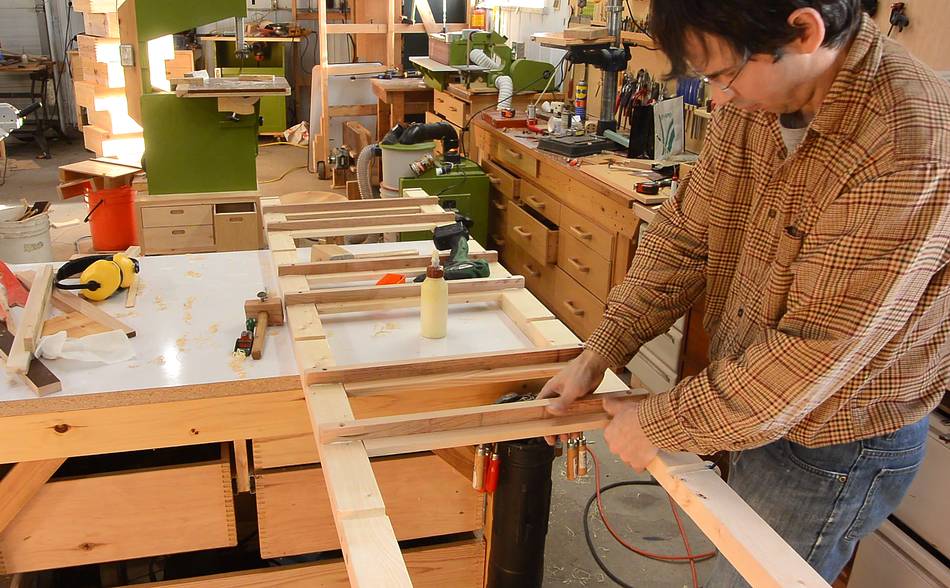 Then gluing and screwing the guides into the vertical pieces, first the
ones that aren't part of a frame.
Then gluing and screwing the guides into the vertical pieces, first the
ones that aren't part of a frame.
 Then the four that are frames and then adding on the other side of the rack.
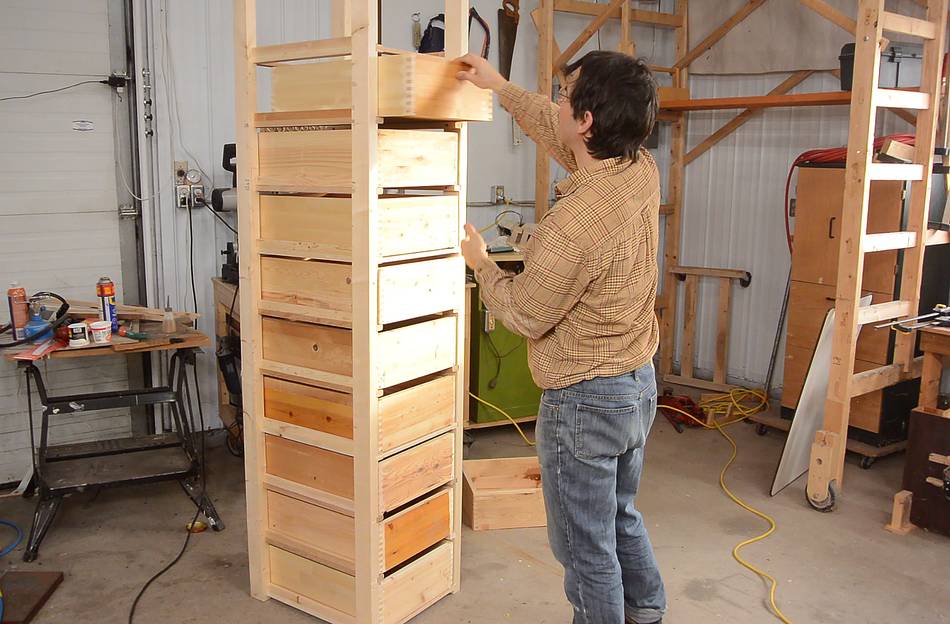 Test fitting the boxes in the rack for the first time.
I have enough room between the drawers that I can just grab them by the top edge, except for the ones where I have the cross-piece of a frame above the box.
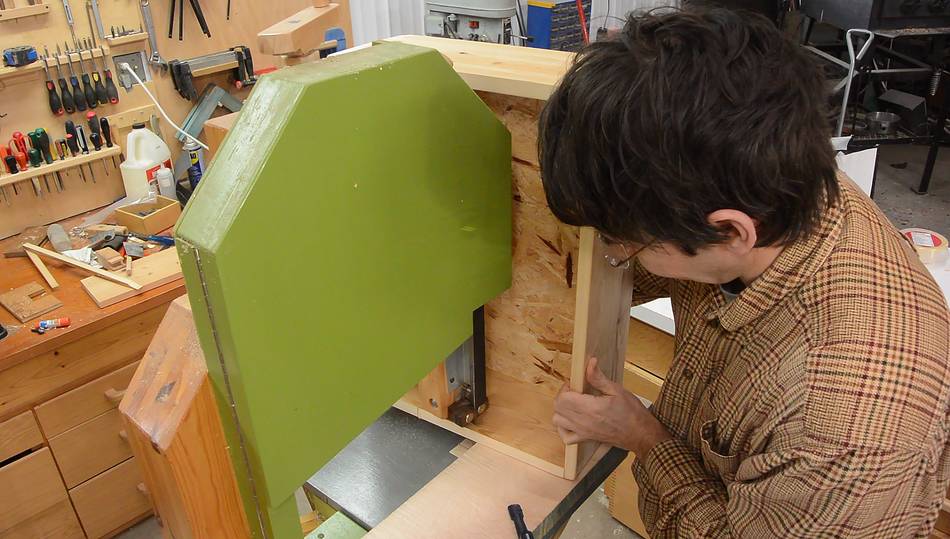
 So I marked an arc to cut out of each drawer, then cut these out using
my 14" bandsaw, because it's small
enough that the box fits around the upper wheel.
So I marked an arc to cut out of each drawer, then cut these out using
my 14" bandsaw, because it's small
enough that the box fits around the upper wheel.
 After that, I sanded and varnished the boxes some more. Total overkill
for something that goes in the basement, but I hate how raw wood can become
dirty looking after years of use. The older rack next to it, which I built
in 2001 is also varnished, and after all these years, it doesn't look
dirty. So I think varnishing was worth it.
After that, I sanded and varnished the boxes some more. Total overkill
for something that goes in the basement, but I hate how raw wood can become
dirty looking after years of use. The older rack next to it, which I built
in 2001 is also varnished, and after all these years, it doesn't look
dirty. So I think varnishing was worth it.
To my Woodworking website
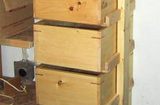 Earlier version of this rack built in 2001
 Basement shelving
 Under stairs storage on wheels
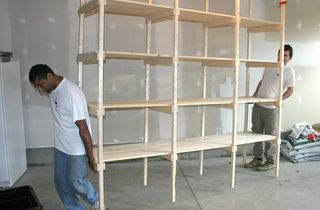 Building storage shelves
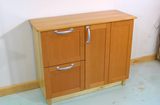 Building a storage cabinet
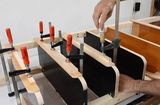 Pantry closet shelves
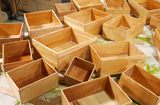 Small box joined boxes
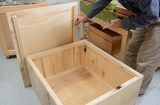 Building a Shipping crate
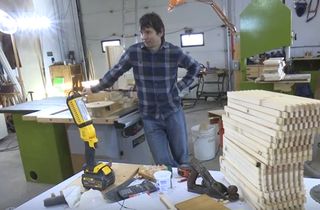 "Behind the scenes...
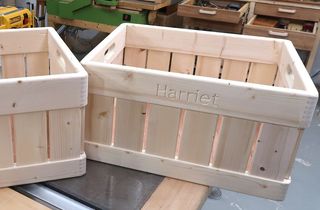 Building some overly complicated boxes
 Sturdy boxes for propping things up
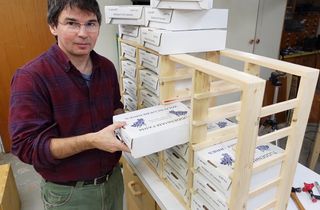 Blueberry boxes rack