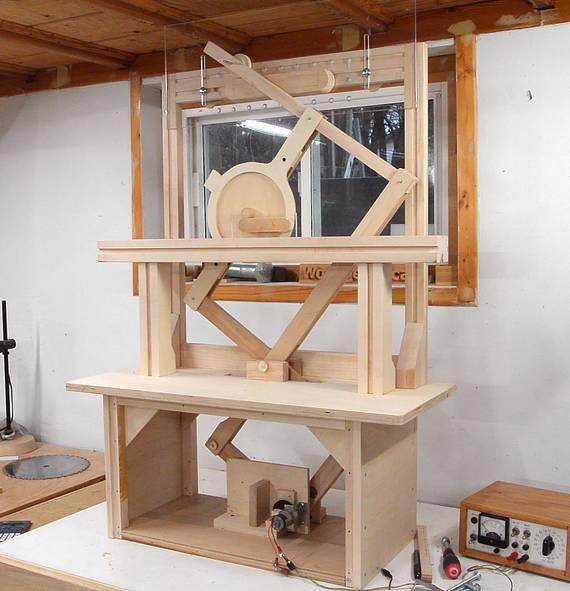
 Having built this crazy pantorouter
tradeshow display, I had to get it shipped. And for that, I made a
shipping crate.
Having built this crazy pantorouter
tradeshow display, I had to get it shipped. And for that, I made a
shipping crate.
Having built this crazy pantorouter
tradeshow display, I had to get it shipped. And for that, I made a
shipping crate.
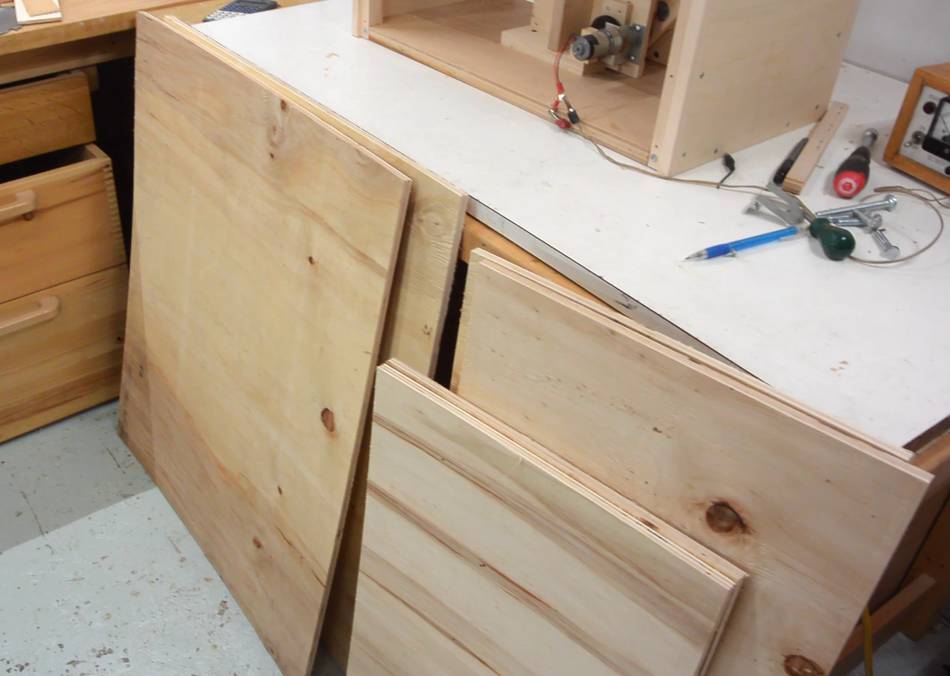
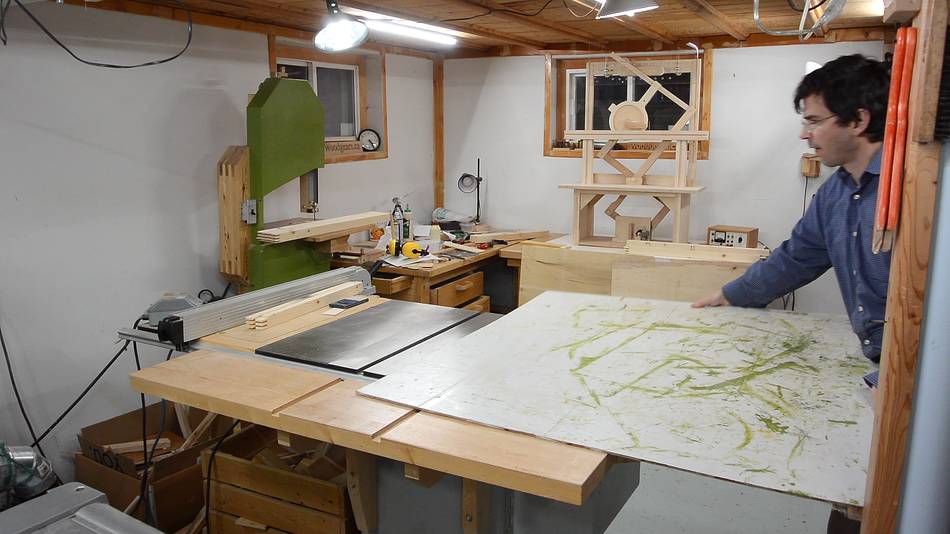
At left, I already have the pieces for the box cut out. I found the plywood by a dumpster a year ago. No doubt it was part of a shipping crate originally. It wasn't very good plywood, though I turned the nicest of the pieces into the backer for the tool holders.
 The plywood was only 1 cm thick and not of high enough quality to reliably
hold screws in the edges, so I cut some wooden strips to reinforce the
edges on the inside.
The plywood was only 1 cm thick and not of high enough quality to reliably
hold screws in the edges, so I cut some wooden strips to reinforce the
edges on the inside.
There are metal strips that can be nailed to the outside for reinforcement, but I couldn't be bothered to figure out where one could obtain such strips. Easier to just use what I have at hand. (I'm only mentioning this to avoid people emailing me to tell me about it.)
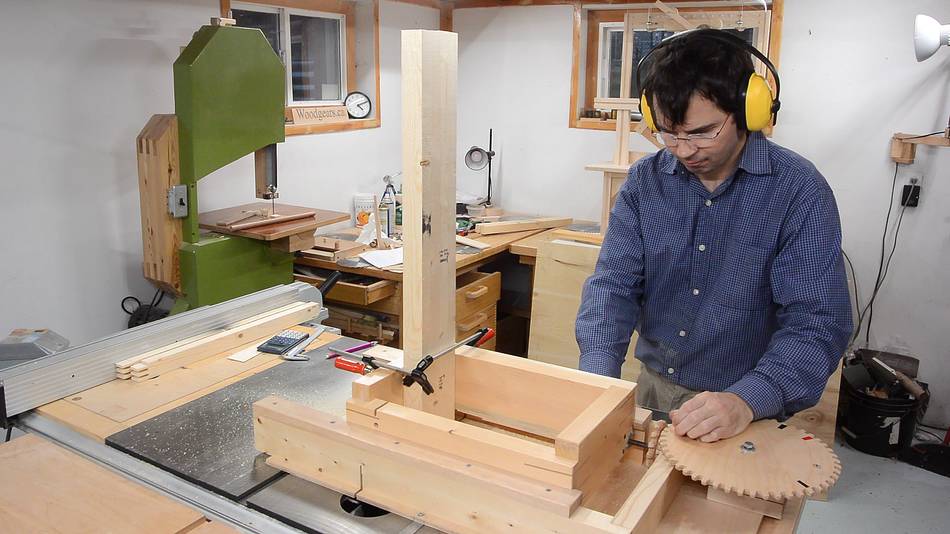
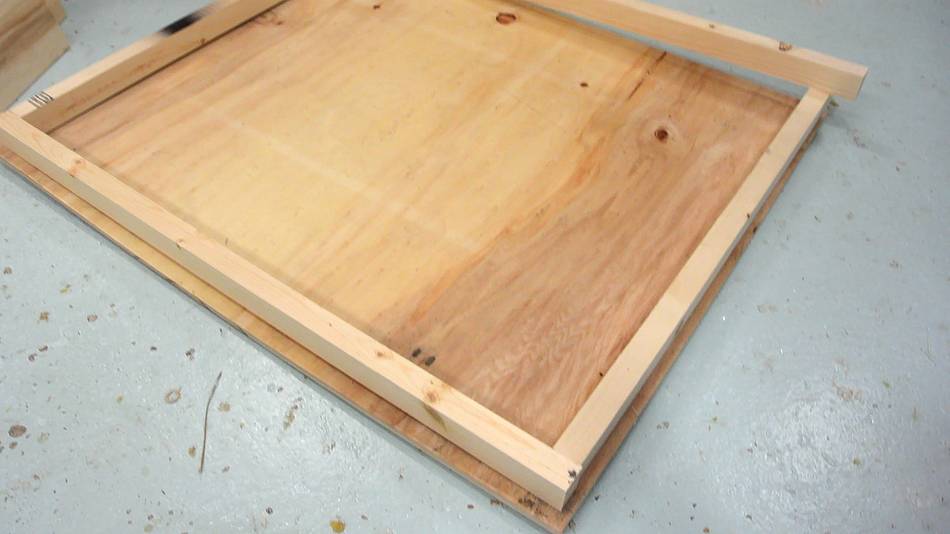
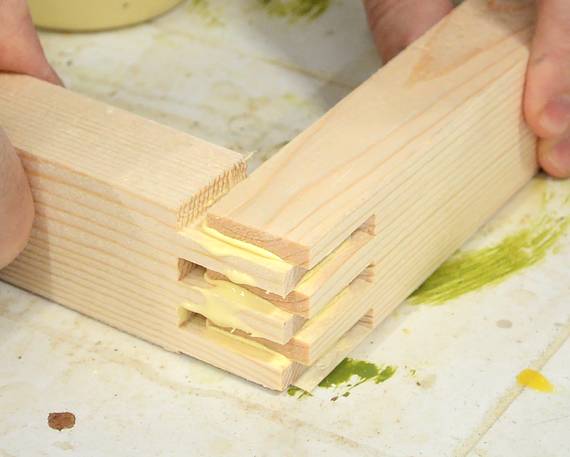
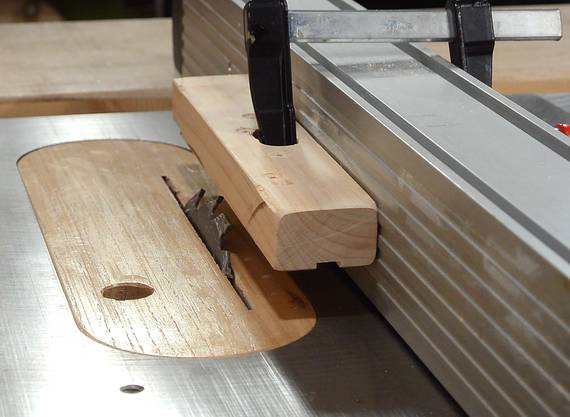
 The strips will form squares along the large sides of the box. For
extra sturdiness, I joined the corners with box joints using my trusty
old box joint jig.
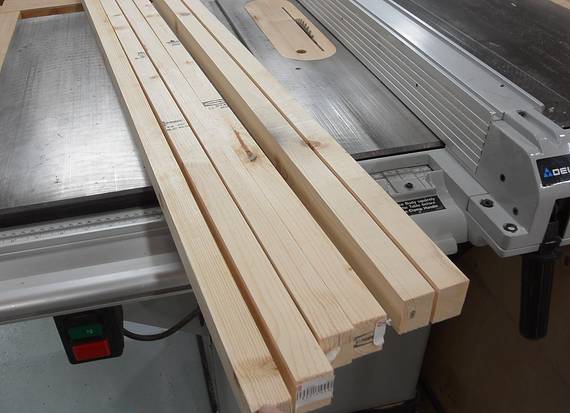
I stacked two 7 1/4" blades for a wider
kerf, so I could hog out the 1/4" in just two passes. With four
workpieces in the jig at once, It took 20 seconds
to cut the joints in all four.
The strips will form squares along the large sides of the box. For
extra sturdiness, I joined the corners with box joints using my trusty
old box joint jig.
I stacked two 7 1/4" blades for a wider
kerf, so I could hog out the 1/4" in just two passes. With four
workpieces in the jig at once, It took 20 seconds
to cut the joints in all four.
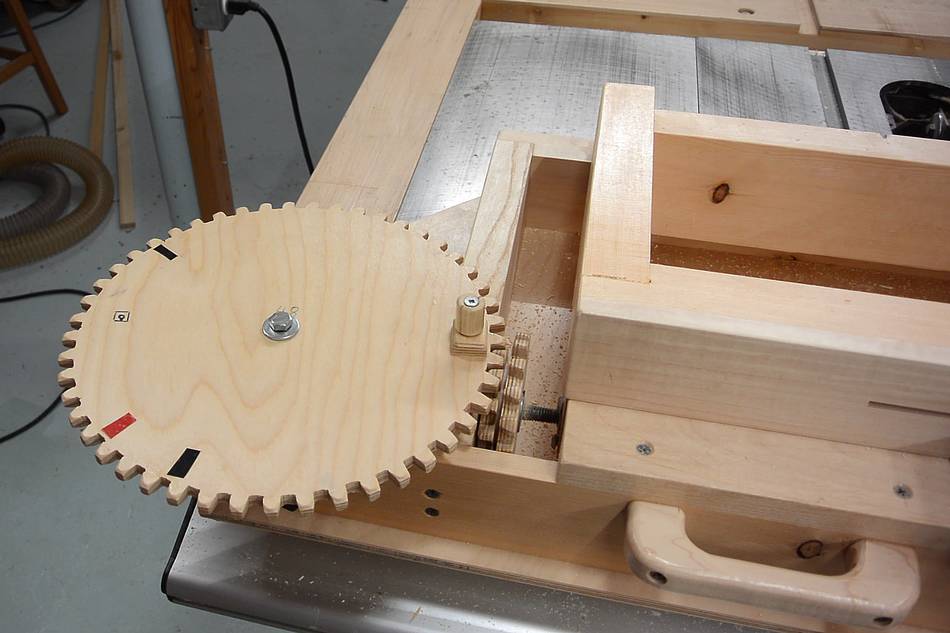 To make it go faster, I stacked two saw blades in the saw to make a
wider kerf. Then, to hog out the 1/4" slot, I made two cuts, with the
second cut made backwards as I pulled the sled back towards me. The red piece of
tape on the 48 tooth gear marks the crank position for the second cut.
More on cutting
box joints without a dado blade
To make it go faster, I stacked two saw blades in the saw to make a
wider kerf. Then, to hog out the 1/4" slot, I made two cuts, with the
second cut made backwards as I pulled the sled back towards me. The red piece of
tape on the 48 tooth gear marks the crank position for the second cut.
More on cutting
box joints without a dado blade
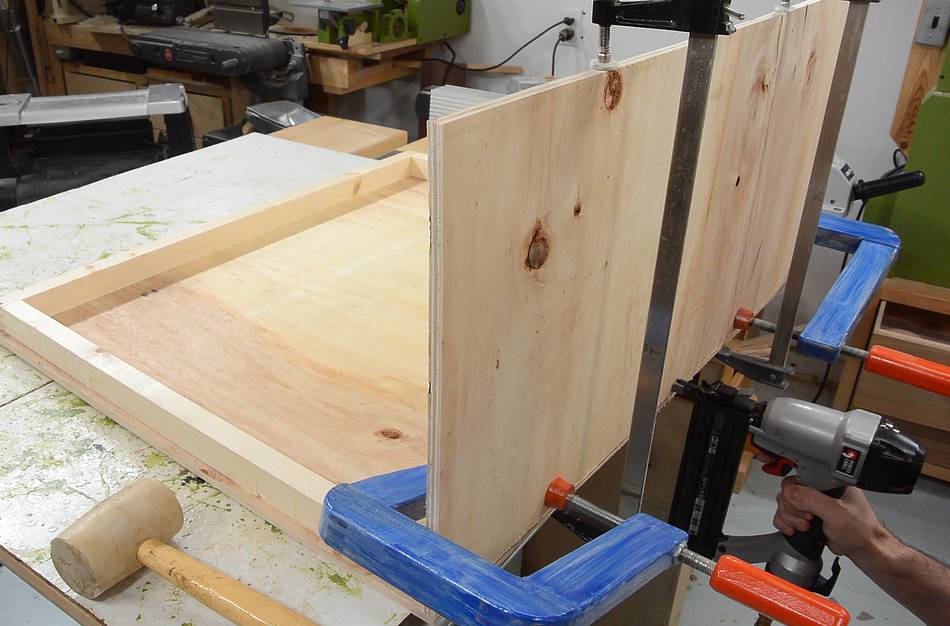
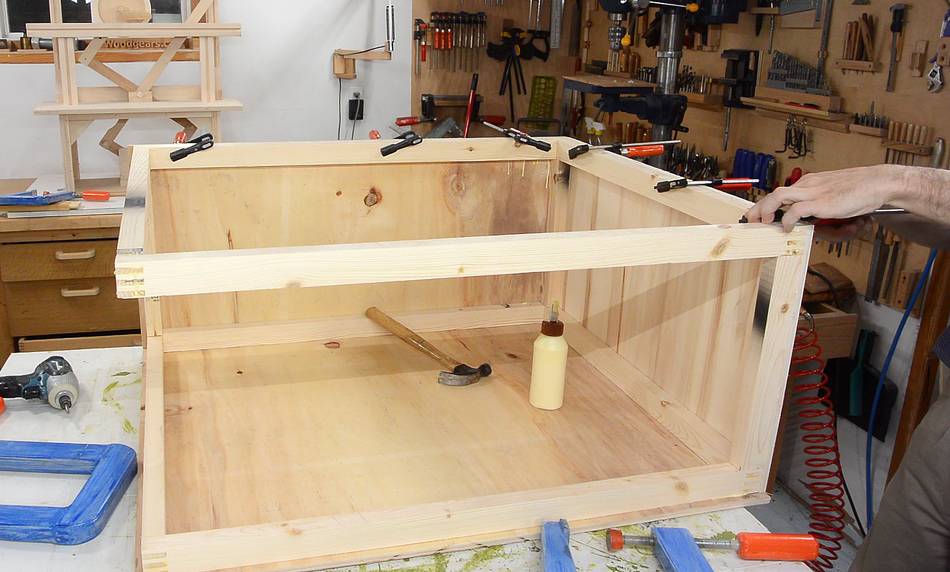
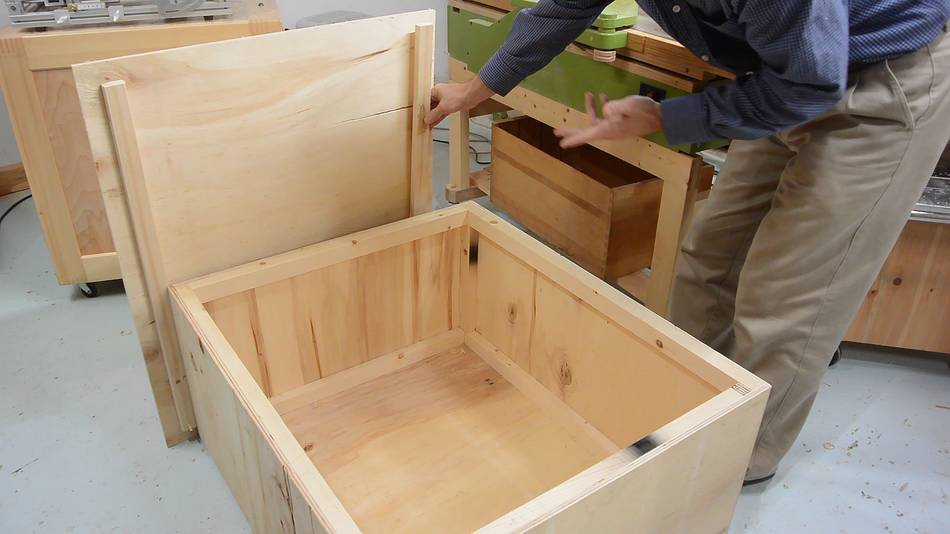
 With the tradeshow display still on my main workbench, I glued
this box up on my table saw. Here putting the cover in place.
With the tradeshow display still on my main workbench, I glued
this box up on my table saw. Here putting the cover in place.
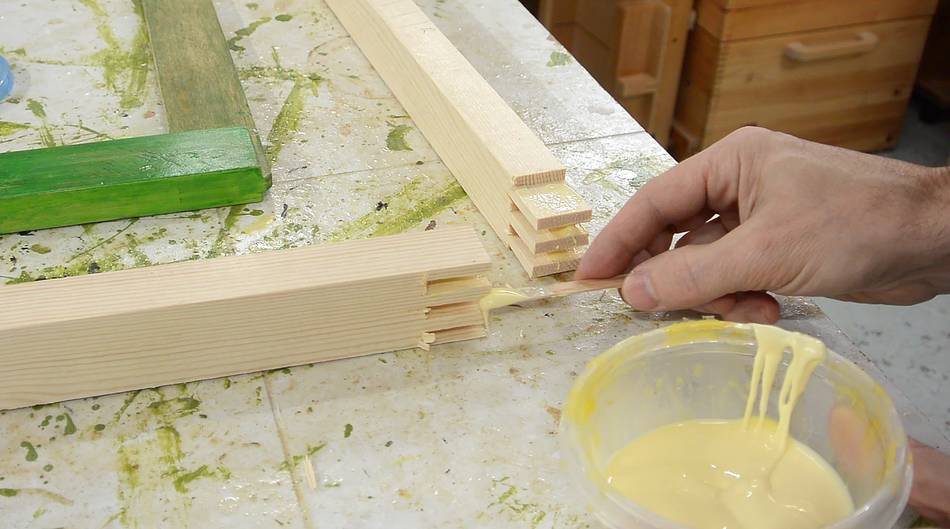
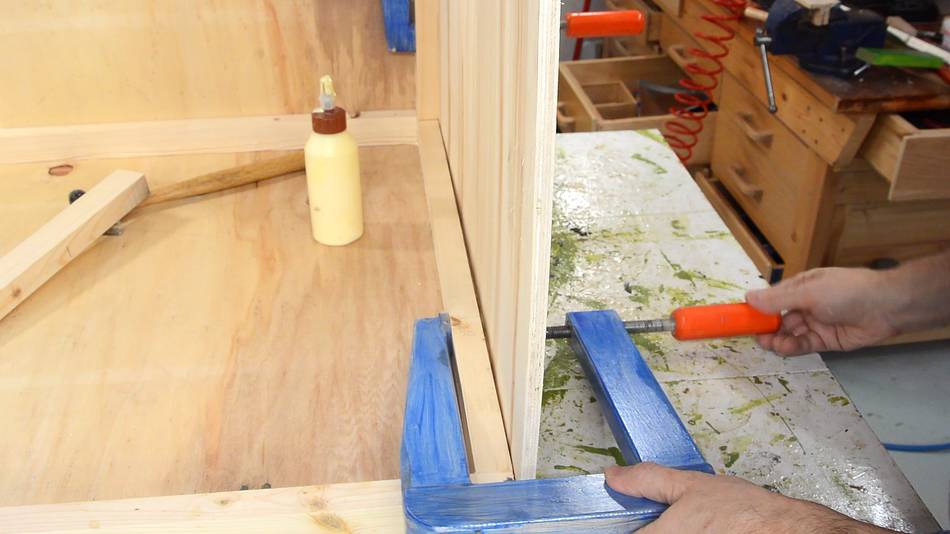
 I'm using a thin strip of wood to get the glue in place. If I make a lot
of joints, it's worth making a comb to apply the glue to all the fingers
at once, but for this it wasn't worth the trouble.
I'm using a thin strip of wood to get the glue in place. If I make a lot
of joints, it's worth making a comb to apply the glue to all the fingers
at once, but for this it wasn't worth the trouble.
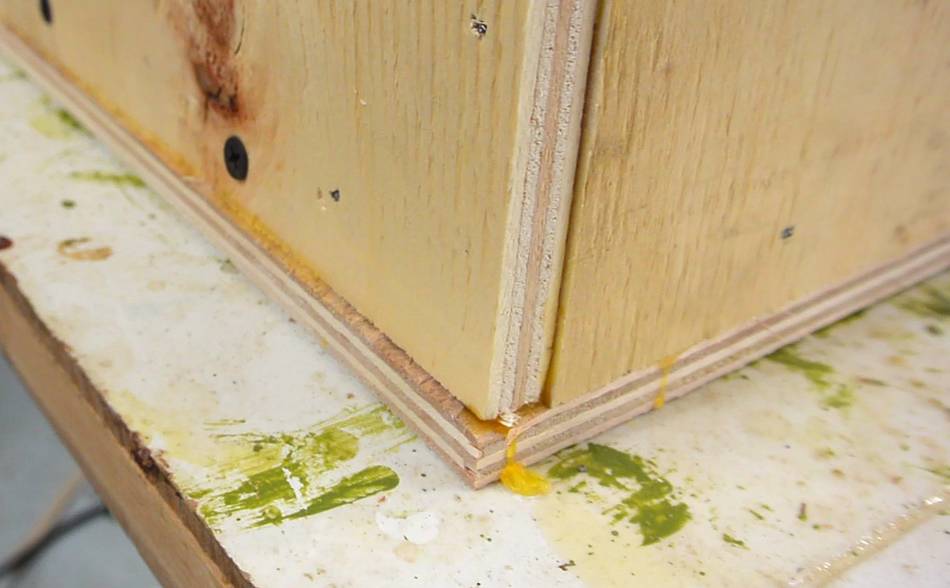
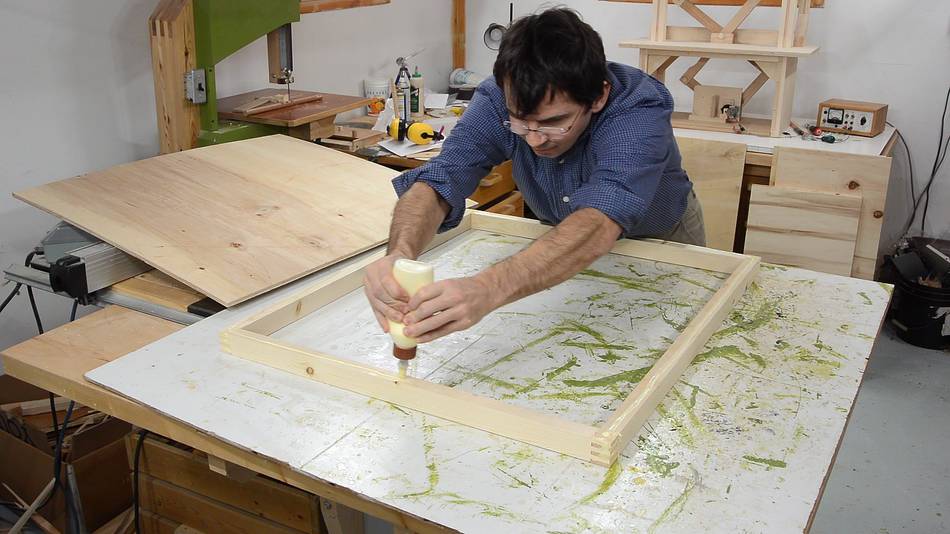 Then applying a bead of glue along all the edges...
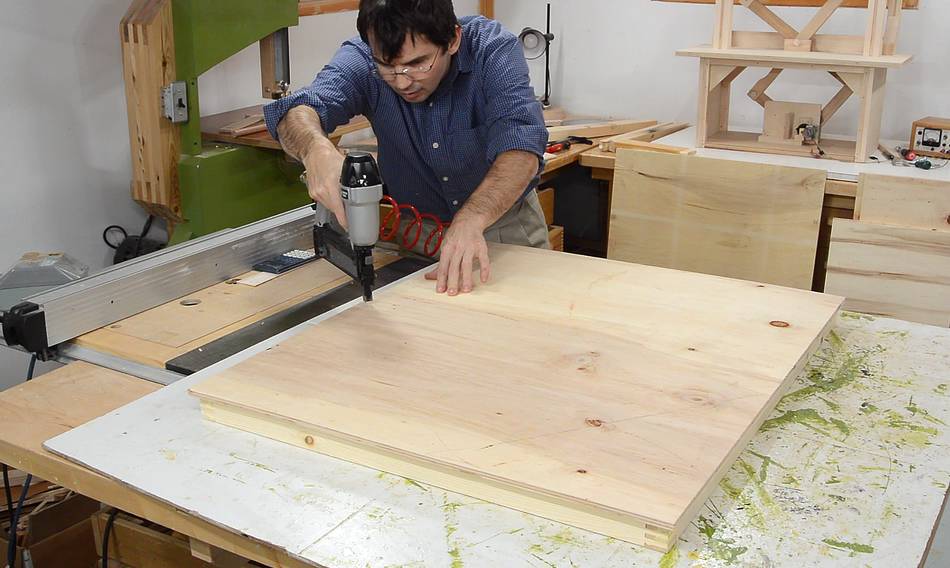 ...and nailing the side onto the frame with lots of brad nails. Brad
nails, with their small heads are not ideal, but I figured with enough
of them, plus the glue, I should be just fine.
...and nailing the side onto the frame with lots of brad nails. Brad
nails, with their small heads are not ideal, but I figured with enough
of them, plus the glue, I should be just fine.
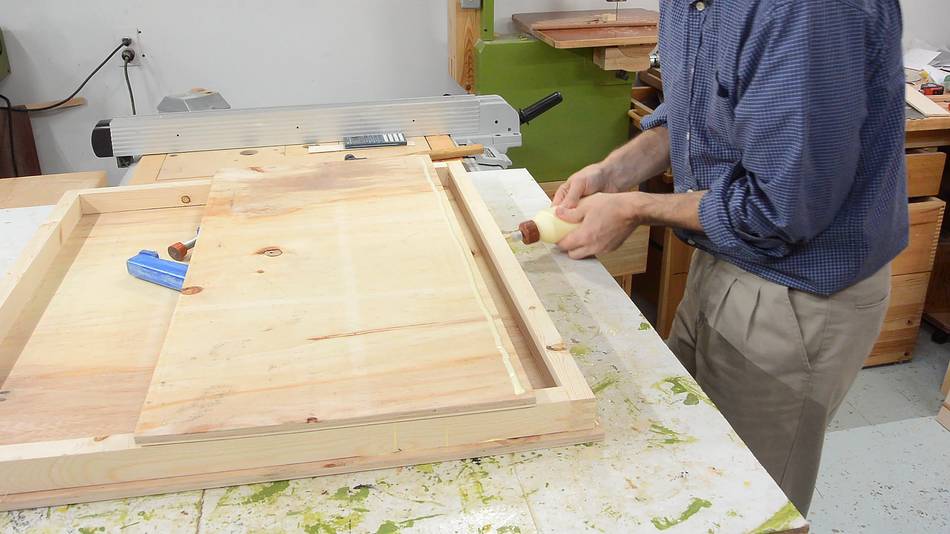 Then applying glue to the edge and the piece of wood to go on the side.
 Putting the piece on. I figured I might as well clamp it on to
make sure I had good contact. When driving nails with a hammer, the
nails really pull the pieces together. But air nailing doesn't help
in this regard.
Putting the piece on. I figured I might as well clamp it on to
make sure I had good contact. When driving nails with a hammer, the
nails really pull the pieces together. But air nailing doesn't help
in this regard.
 Lots of nails, of course.
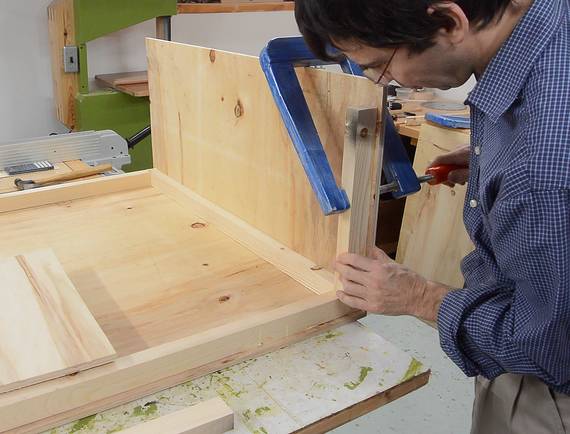 My long reach clamps really come
in handy to push the joints together before nailing.
My long reach clamps really come
in handy to push the joints together before nailing.
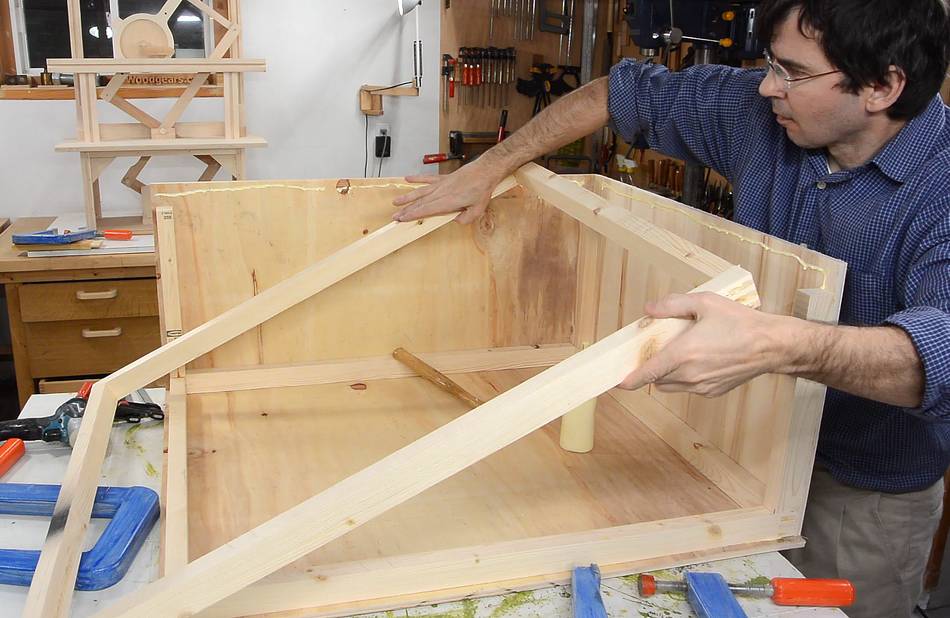 Then comes the upper frame. It was tempting to make that frame part of
the lid, but I think it's better if it's part of the box. Lots of glue
to stick it on.
Then comes the upper frame. It was tempting to make that frame part of
the lid, but I think it's better if it's part of the box. Lots of glue
to stick it on.
 Then clamping it all around before nailing.
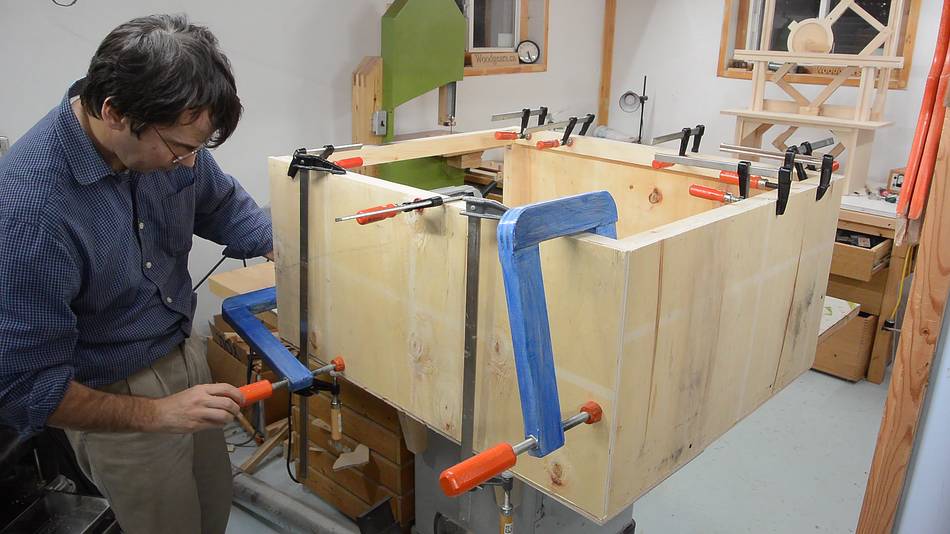 Second last side going on. Again, lots of clamps. The long reach clamps
help reach difficult spots.
Second last side going on. Again, lots of clamps. The long reach clamps
help reach difficult spots.
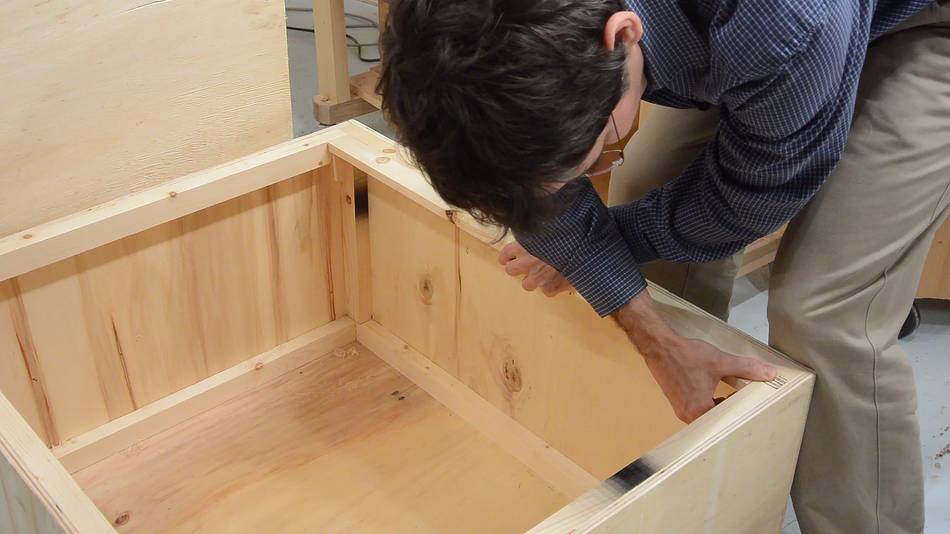
 With the sides all glued on, I saw that the bottom had a bit of overhang.
This could cause the box to snag on something, or, worse yet, cause
the bottom to get pried off.
With the sides all glued on, I saw that the bottom had a bit of overhang.
This could cause the box to snag on something, or, worse yet, cause
the bottom to get pried off.
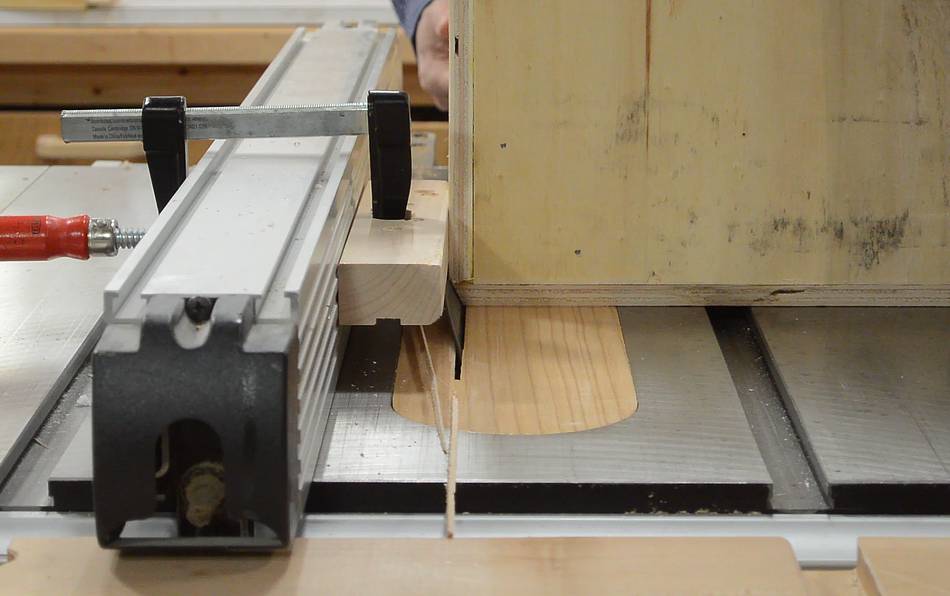
 So I flush trimmed it at a 20 degree angle on the table saw
using a really cheap 7 1/4" circular saw blade. That
way, if I cut into a nail, I wouldn't be damaging an expensive blade.
So I flush trimmed it at a 20 degree angle on the table saw
using a really cheap 7 1/4" circular saw blade. That
way, if I cut into a nail, I wouldn't be damaging an expensive blade.
But the nails were all further from the edge than the cut. The bevel makes the edges of the box nice to handle.
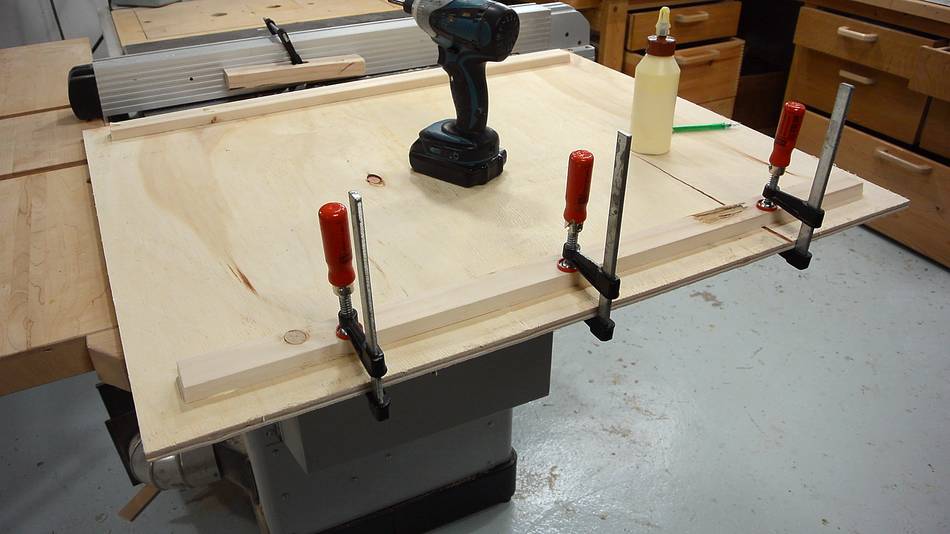
 I put some cleats on the lid to keep it aligned. The first cleat was
easy to put on, but how to get the position of the second cleat just
right?
I put some cleats on the lid to keep it aligned. The first cleat was
easy to put on, but how to get the position of the second cleat just
right?
 So I had the idea of using wedges to jam the cleat into the
opening of the box...
So I had the idea of using wedges to jam the cleat into the
opening of the box...
 ... then I put the lid on and screwed through it into the cleat.
 After that, I took the screws out again, applied glue, and used the
screws to position the cleat just right.
After that, I took the screws out again, applied glue, and used the
screws to position the cleat just right.
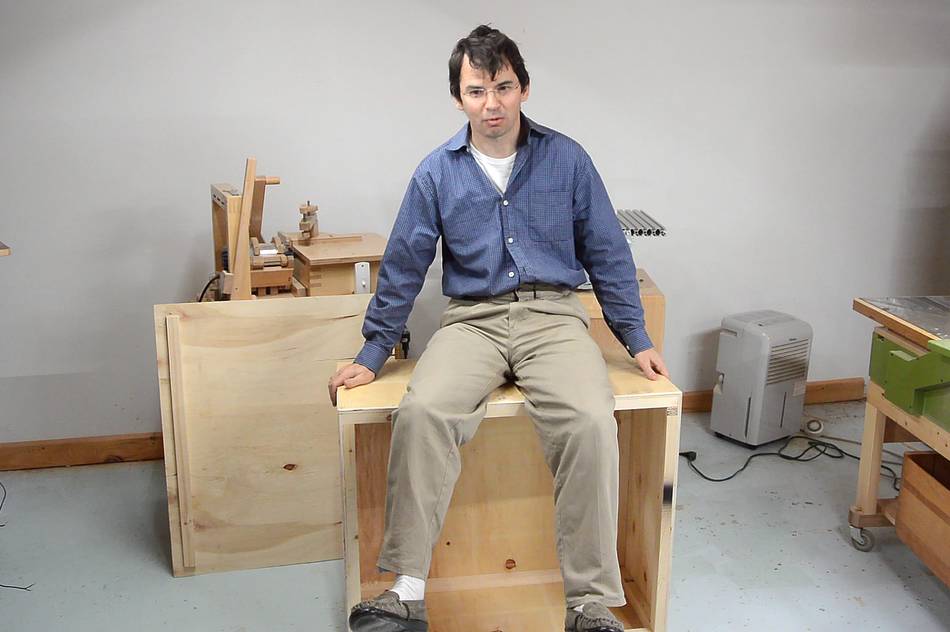 Thanks to the box jointed frame it ended up quite ridgid even without
the lid on. I'm thinking, a box like this could make a good
frame for a dresser
if made using better plywood. And just 1/4" plywood
would be sufficient.
Thanks to the box jointed frame it ended up quite ridgid even without
the lid on. I'm thinking, a box like this could make a good
frame for a dresser
if made using better plywood. And just 1/4" plywood
would be sufficient.
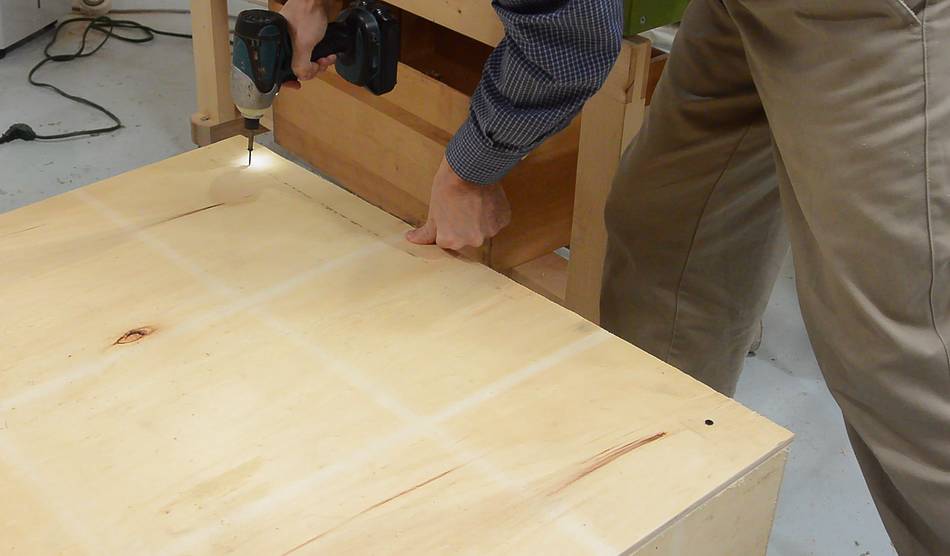
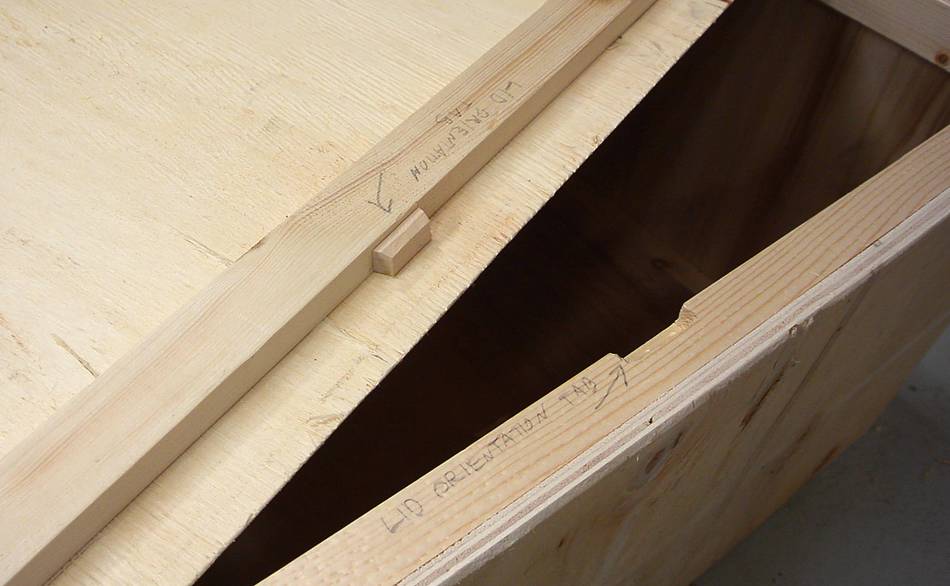 I figured it would be good to make sure the
lid goes on the same way each time, so that the screws go in the same
holes. I added a tab to one of the cleats and a notch to the frame.
Now the lid only fits on one way!
I figured it would be good to make sure the
lid goes on the same way each time, so that the screws go in the same
holes. I added a tab to one of the cleats and a notch to the frame.
Now the lid only fits on one way!
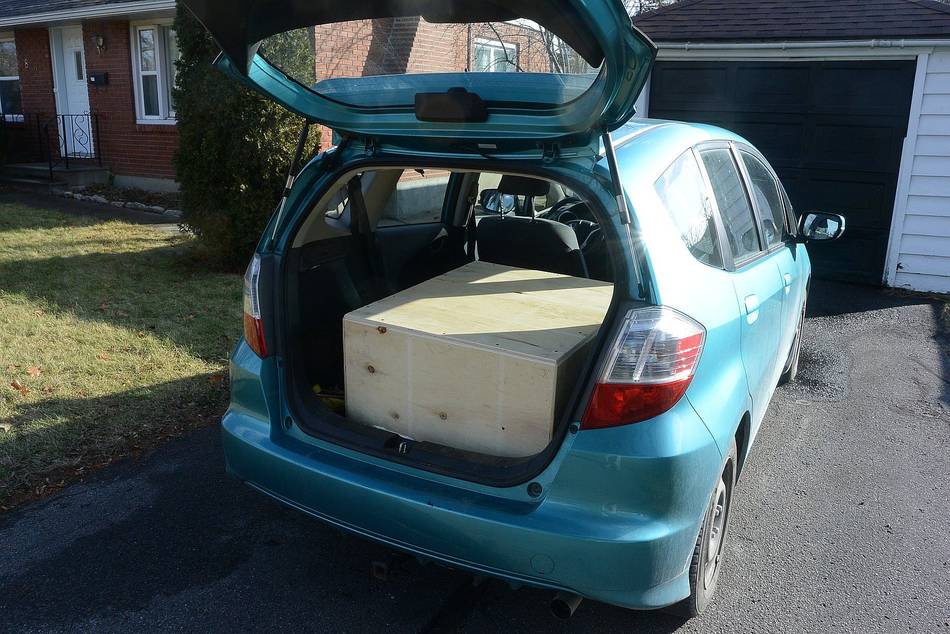
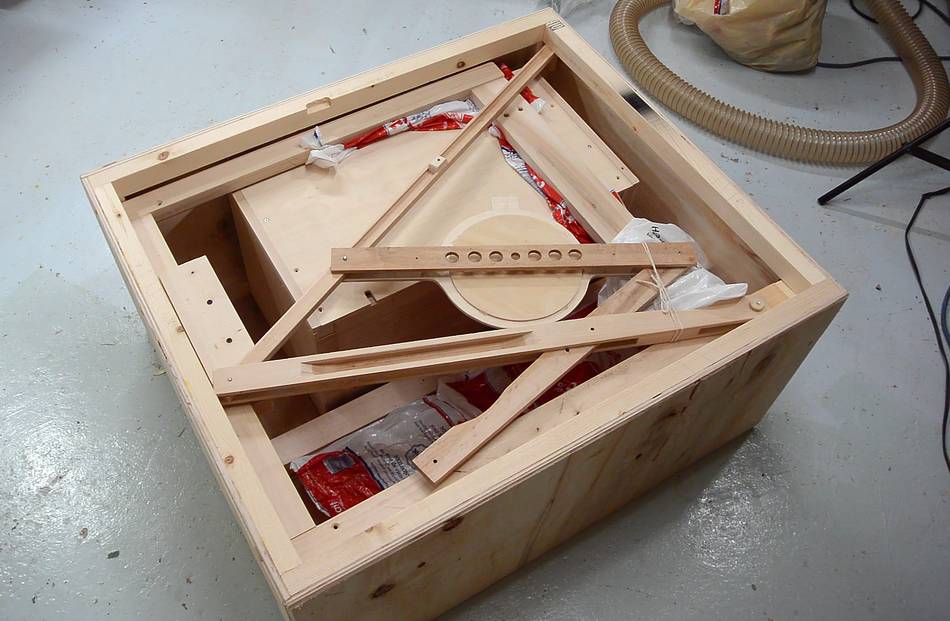 Getting the pantorouter machine into the box was a challenge. In retrospect,
I should have made the box slightly bigger.
Getting the pantorouter machine into the box was a challenge. In retrospect,
I should have made the box slightly bigger.
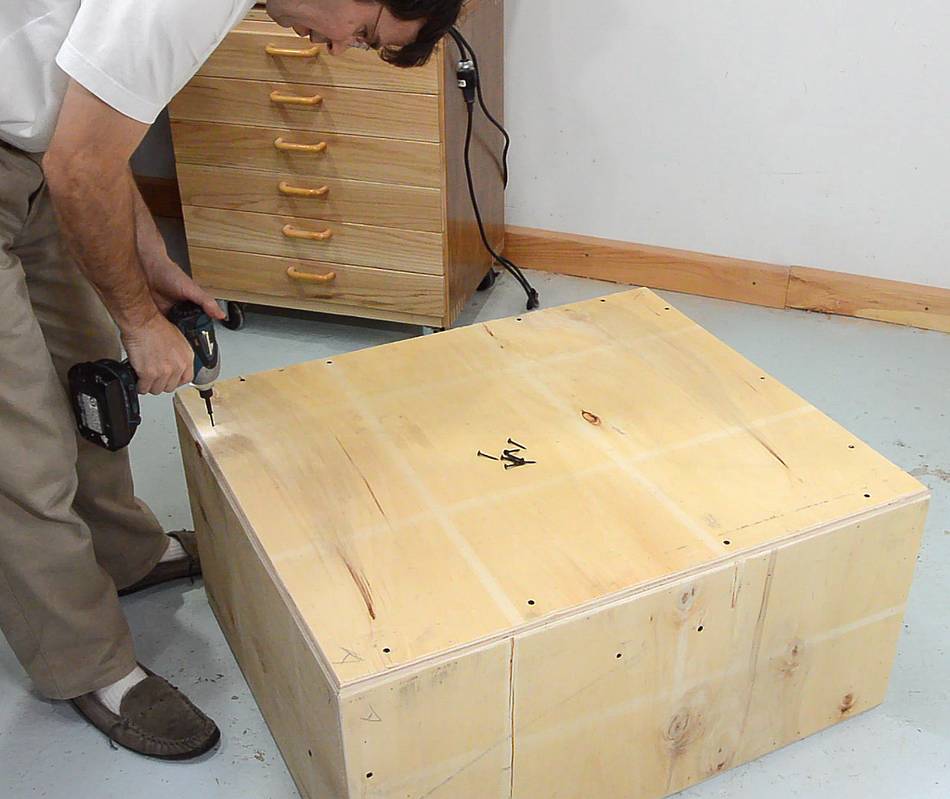 Closing it off with screws.
On receiving it, Mac made a short video about it, click play button at right to play it.
 Sturdy boxes for propping things up
 Milk crate inspired box
 Making small boxes
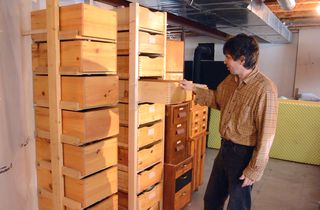 Rack of storage boxes
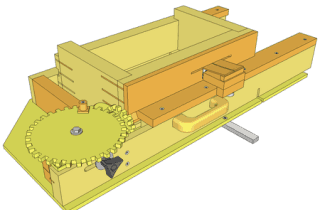 Plans for the screw advance box joint jig
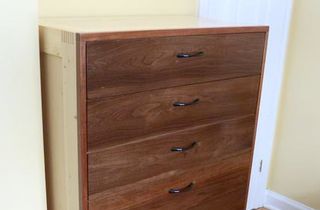 Seven drawer dresser
 Pantorouter tradeshow display
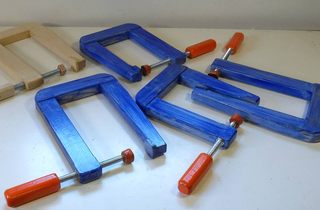 Long reach C clamps
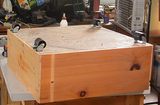 Storage box on wheels for under shelves