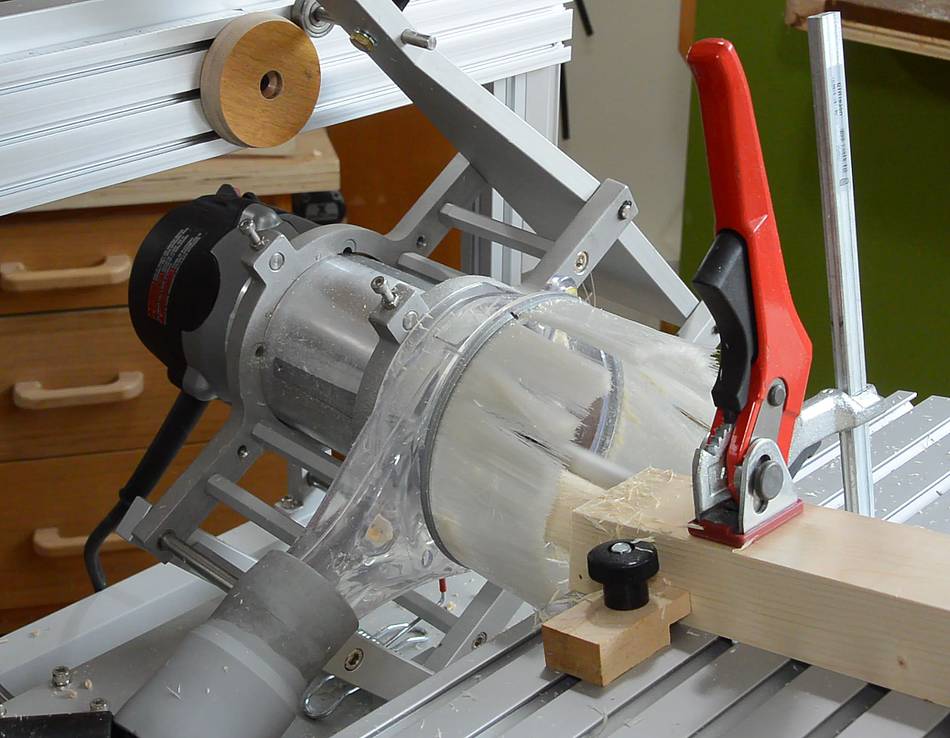
 This is the first time I'm using the dust shroud on the pantorouter for a project.
The dust shroud clips onto the transparent dust collection hood. I found myself
taking it off for some of the set-up procedures because it obstructs the view.
This is the first time I'm using the dust shroud on the pantorouter for a project.
The dust shroud clips onto the transparent dust collection hood. I found myself
taking it off for some of the set-up procedures because it obstructs the view.
A 3-legged stool is an interesting project because it's a bit of a joinery challenge, usually done with hand tools.
I'm using the pantorouter to make the stool, which makes cutting the joints much quicker, but there is still the challenge of the geometry and tool set-up.
This is the first time I'm using the dust shroud on the pantorouter for a project.
The dust shroud clips onto the transparent dust collection hood. I found myself
taking it off for some of the set-up procedures because it obstructs the view.
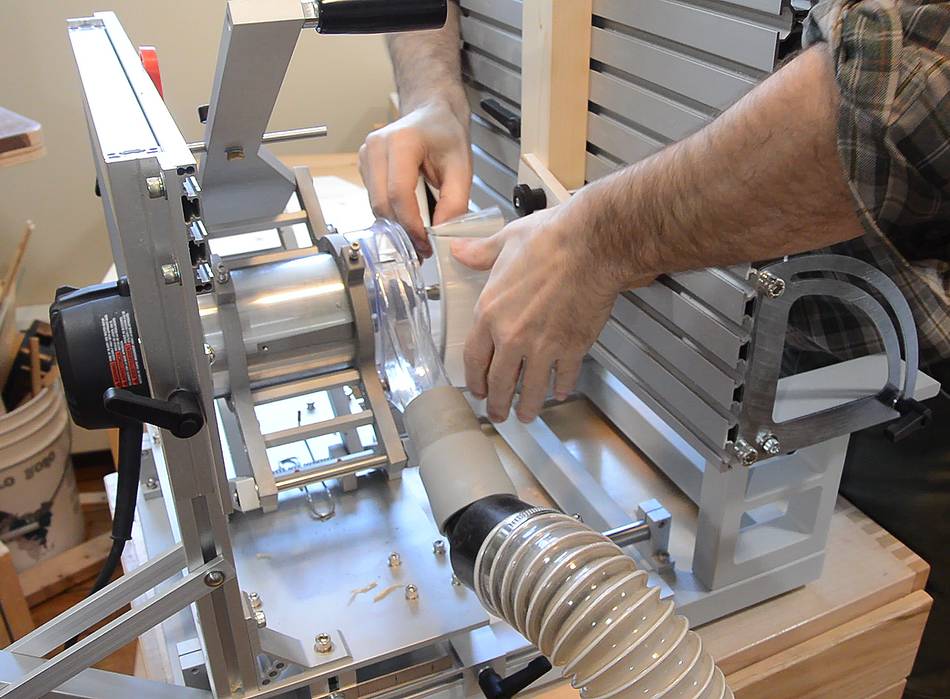
 Here I'm cutting the mortises for the cross-pieces between the legs.
To get the geometry right, one of the tenons needs to be cut with a vertical
template. I figured I might as well cut all the mortise and tenons with the same template,
so I'm cutting the mortise vertically here.
Here I'm cutting the mortises for the cross-pieces between the legs.
To get the geometry right, one of the tenons needs to be cut with a vertical
template. I figured I might as well cut all the mortise and tenons with the same template,
so I'm cutting the mortise vertically here.
That said, cutting vertically like that means having to mount the piece vertically and not being able to use nice clamps on the table (they'd get in the way), and the set-up is more difficult, So if you have a horizontal template for your pantorouter (which you should already have if you have the metal pantorouter), just use the horizontal template for most of the joinery.
 Routing out the tenon. With the workpiece at an angle, the router isn't strictly
cutting side-grain, so the cutting was slower going than it would be for straight
tenons.
Routing out the tenon. With the workpiece at an angle, the router isn't strictly
cutting side-grain, so the cutting was slower going than it would be for straight
tenons.
 Checking the fit. Too tight.
I always set it up with the bearing all the way back on the template for the largest
tenon, then check the fit with the workpiece still in place, adjust, and make another
pass around the tenon until I get the right fit.
Checking the fit. Too tight.
I always set it up with the bearing all the way back on the template for the largest
tenon, then check the fit with the workpiece still in place, adjust, and make another
pass around the tenon until I get the right fit.
 I hadn't cut the end of the tenon to a bevel before routing, and it was a bit
too long, so I had to trim the corner off for it to fit depth-wise into
the mortise.
I hadn't cut the end of the tenon to a bevel before routing, and it was a bit
too long, so I had to trim the corner off for it to fit depth-wise into
the mortise.
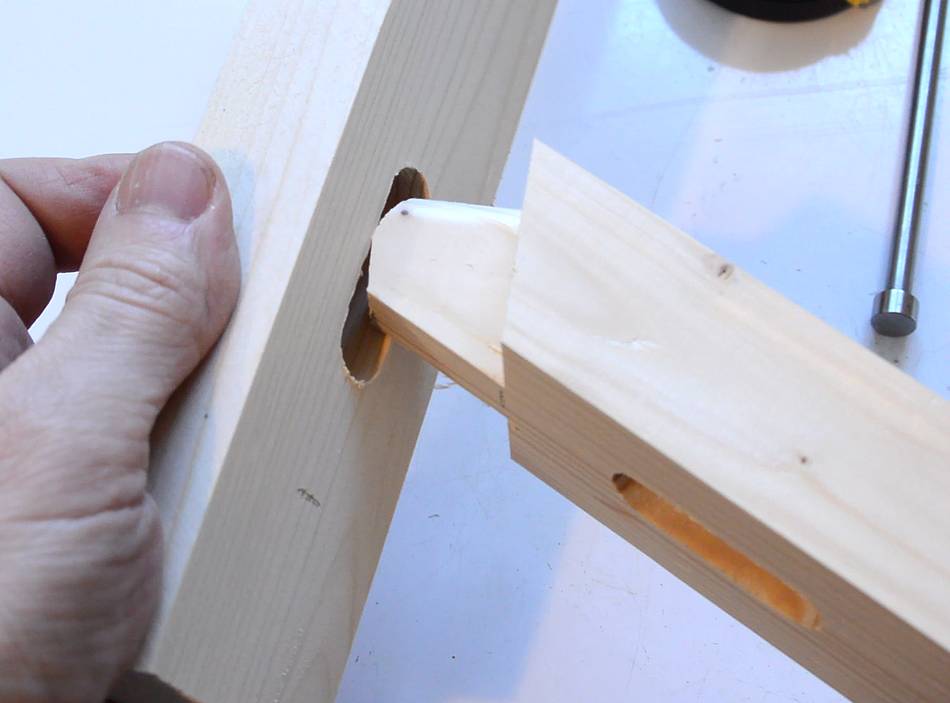
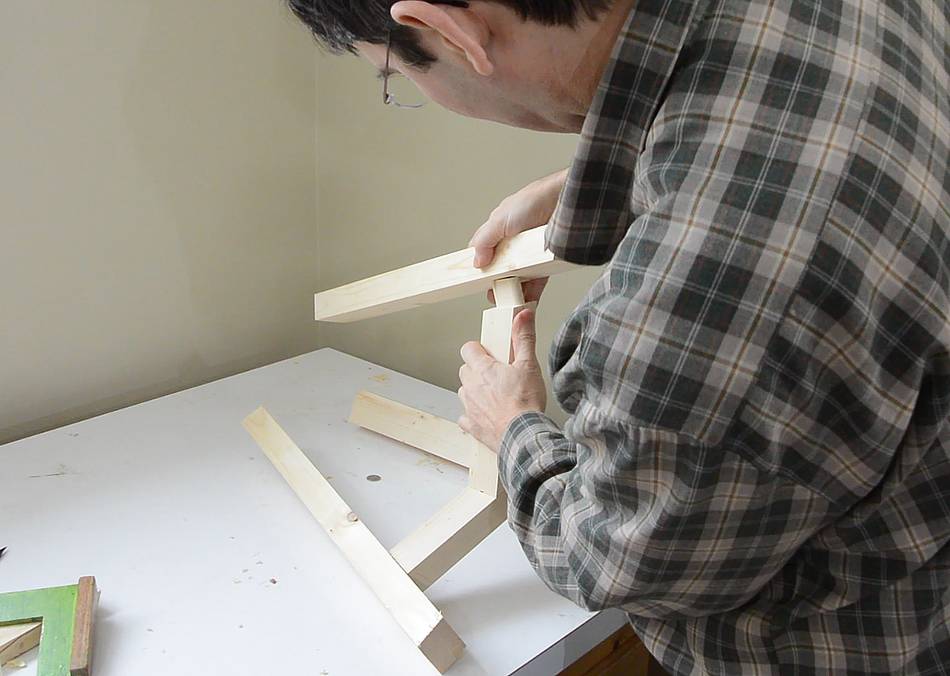
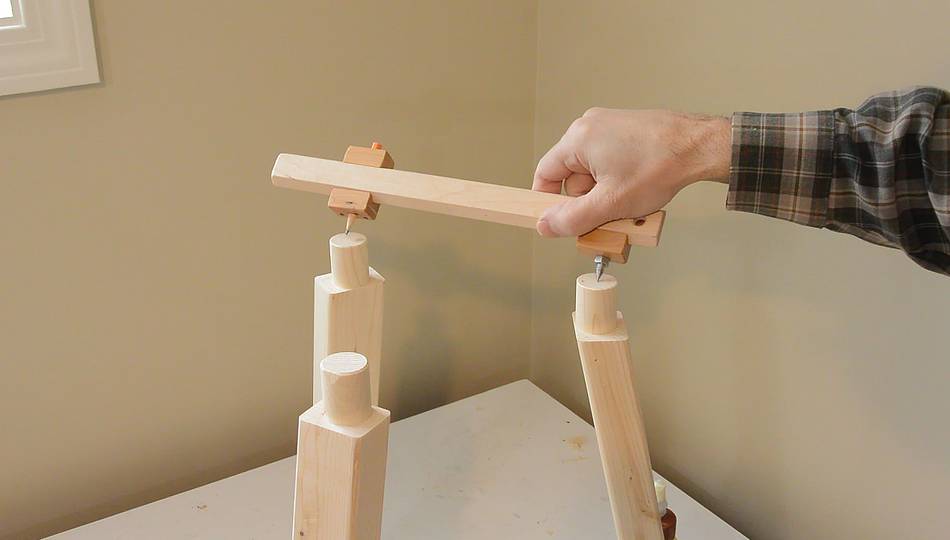
 fitting the three pieces together. With the tenons not filling all of the mortise,
this assembly is relatively easy to put together. If I was using angled
through-mortises (which aren't practical with the pantorouter), all three mortise
and tenons would have to be slid together at the same time.
fitting the three pieces together. With the tenons not filling all of the mortise,
this assembly is relatively easy to put together. If I was using angled
through-mortises (which aren't practical with the pantorouter), all three mortise
and tenons would have to be slid together at the same time.
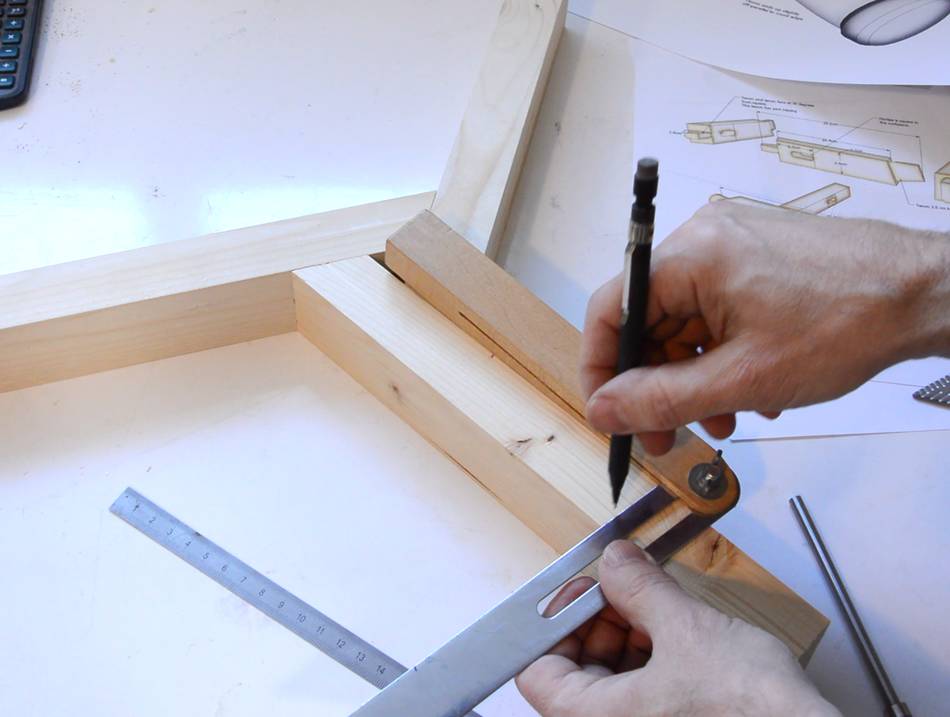
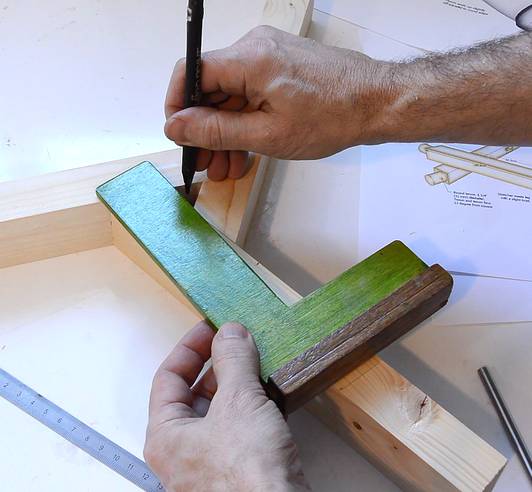 Marking the angle for the mortise at the end of these pieces. The angle needs
to be such that the cut face is perpendicular to a line drawn to the center of
the assembly. I checked it with a square after marking.
Marking the angle for the mortise at the end of these pieces. The angle needs
to be such that the cut face is perpendicular to a line drawn to the center of
the assembly. I checked it with a square after marking.
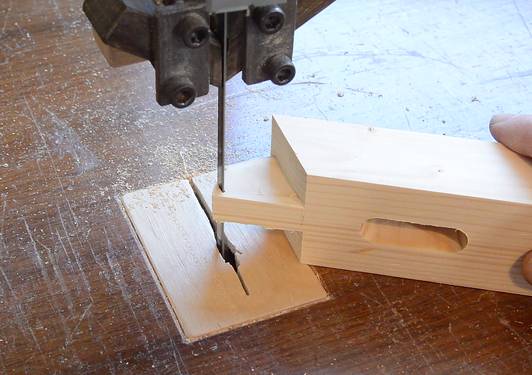
 I then cut the end off on the bandsaw, also tilting the bandsaw table to get the
compound bevel for the leg joints.
I then cut the end off on the bandsaw, also tilting the bandsaw table to get the
compound bevel for the leg joints.
Except I cut that bevel in the wrong direction, so I have a mirror image of what I have in the plans. Rather than cut new pieces, I decided to just make the stretcher assembly go counter-clockwise instead of clockwise.
Afterwards I changed the plans to reflect what I actually built, so if you are using my plans (without making a similar mistake), the steps in the pictures and video will be correct.
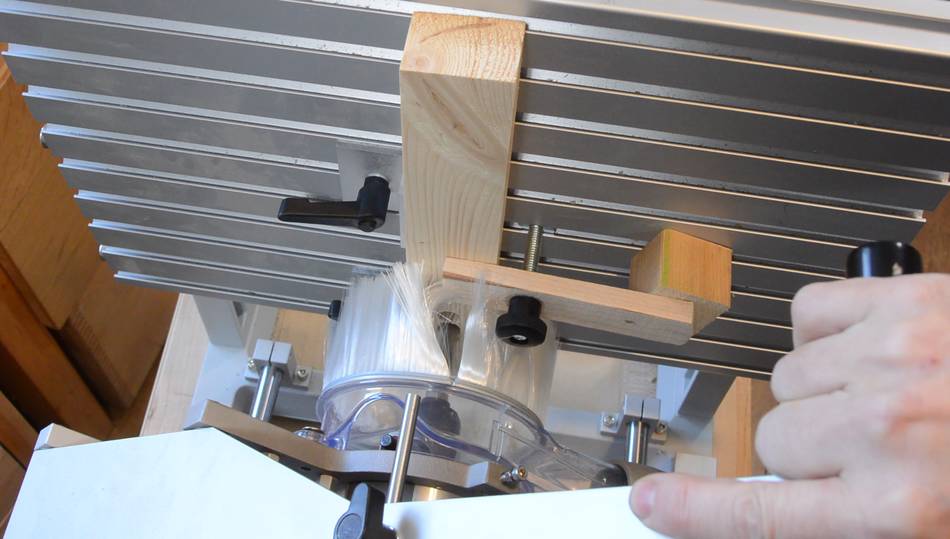
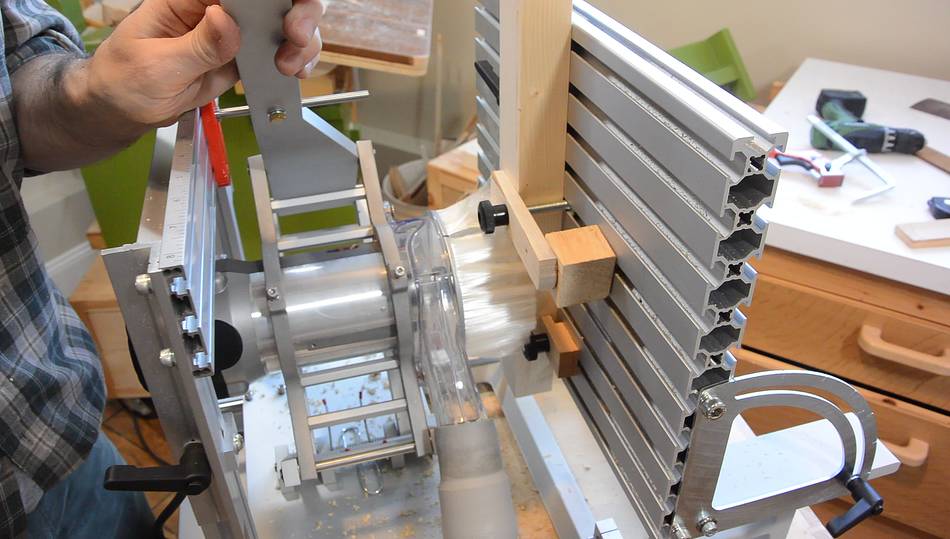
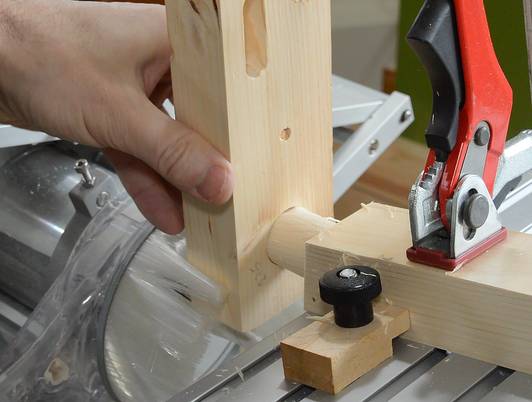
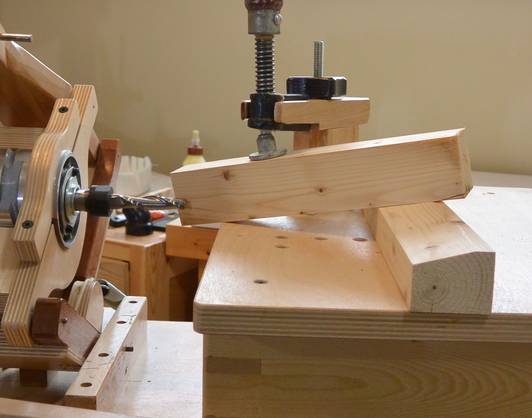
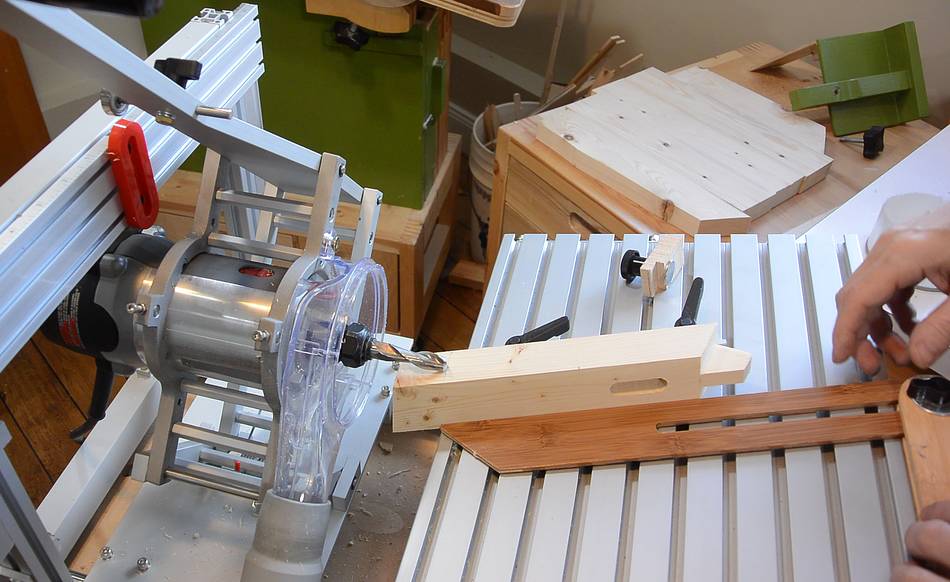 Setting up for cutting the tenon at the end of the stretcher pieces.
This tenon needs to be cut with the tenon oriented vertically on the table. The table is tilted by the angle that the legs are tilted, and the workpiece is placed on the table at the angle of the bevel on the ends. I had to switch to a bigger bevel gauge to be able to set it from the far edge.

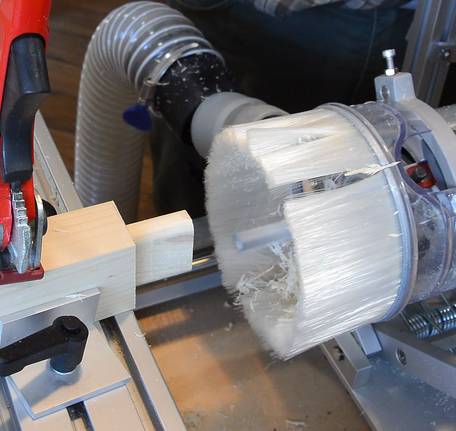 Then cutting the tenon.
Note that I added an extra "stop" on the near side of the workpiece. Cutting tenons can make for large sideways forces, which can cause the workpiece to slip on the smooth pantorouter table.
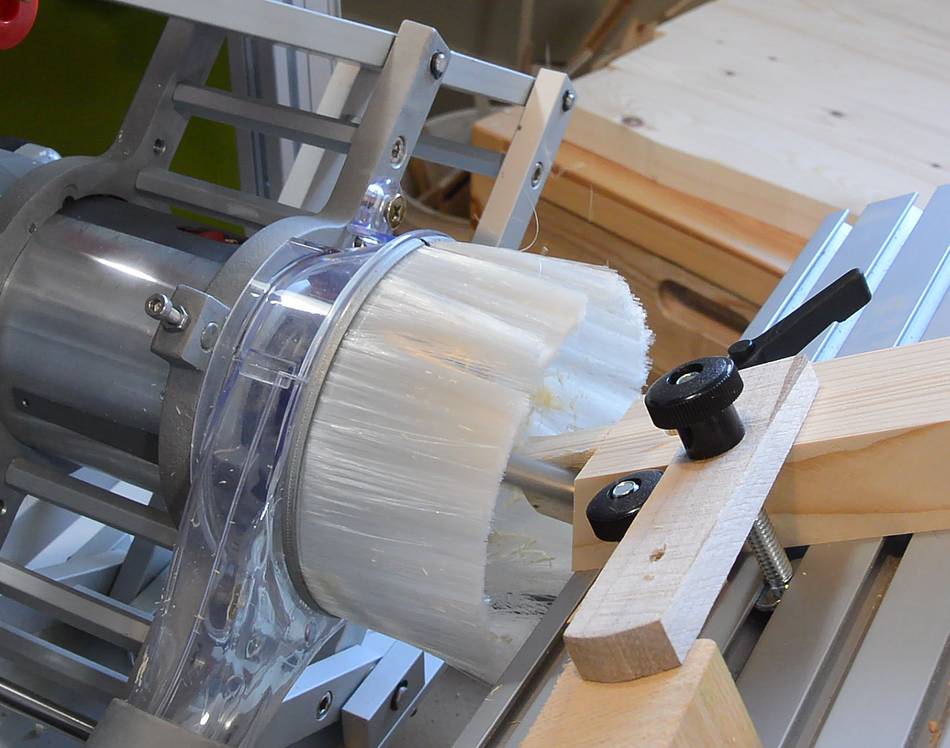
The dust hood brush, in combination with a vacuum hooked up to the dust hood, is surprisingly effective at gathering the chips, with only a few escaping. It makes it harder to see the work though, so I end up looking at the template to make sure I make a final pass making full contact all the way around.
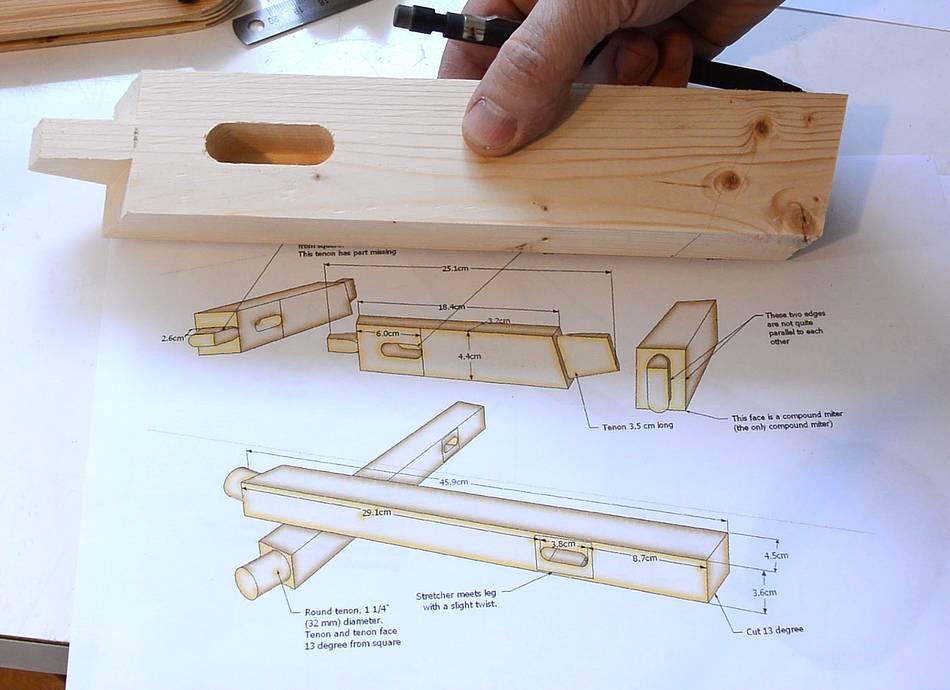
 With the workpiece on the table for the compound miter, the tenon ends up
not quite parallel to the sides. This is intentional.
With the workpiece on the table for the compound miter, the tenon ends up
not quite parallel to the sides. This is intentional.
The tenon is in fact square to the top and bottom, but the end-face of the wood is not quite rectangular (it's a parallelogram) due to the compound miter, which is why the tenon isn't parallel to the side.
 Next cutting the mortise in the legs. I wanted to do it all with the same template,
and this template only mounts vertically. But routing tenons vertically like
this is awkward, and if you set the depth stop wrong, you end up routing into the
table. I don't recommend cutting the mortises vertically if you have a choice.
Next cutting the mortise in the legs. I wanted to do it all with the same template,
and this template only mounts vertically. But routing tenons vertically like
this is awkward, and if you set the depth stop wrong, you end up routing into the
table. I don't recommend cutting the mortises vertically if you have a choice.
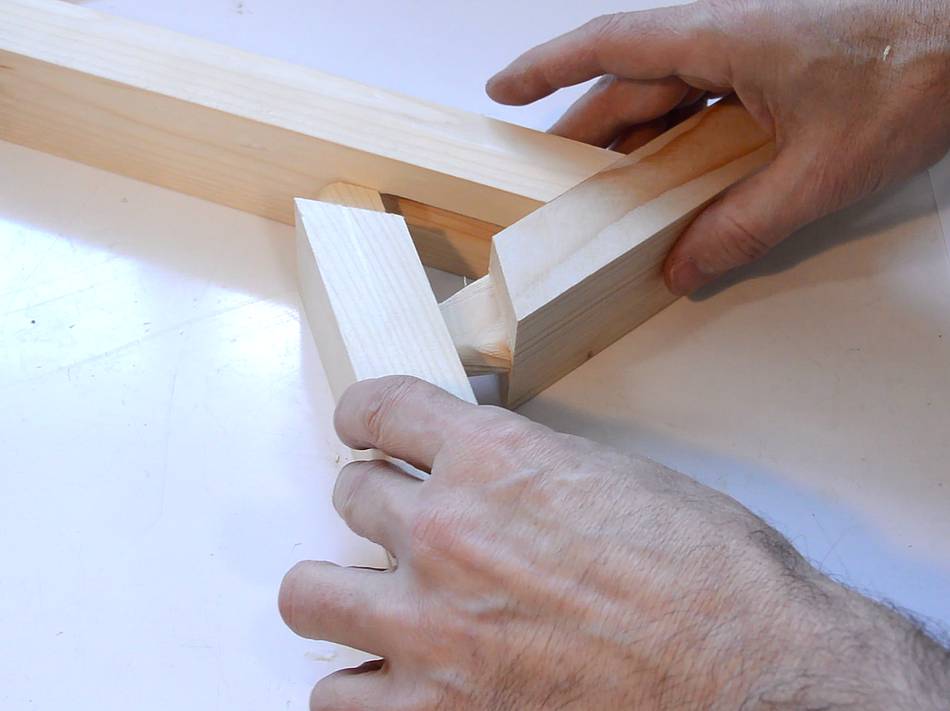
 Test fitting the whole leg assembly together.
I still needed to cut some round tenons in the ends of the legs. Given the thickness of the legs and the angle, the largest I could make these tenons was 1 1/8" (27.5 mm)
 There are round tenon templates available for the pantorouter, but none that
allow cutting a tenon of 1 1/8" in diameter. So I made my own.
There are round tenon templates available for the pantorouter, but none that
allow cutting a tenon of 1 1/8" in diameter. So I made my own.
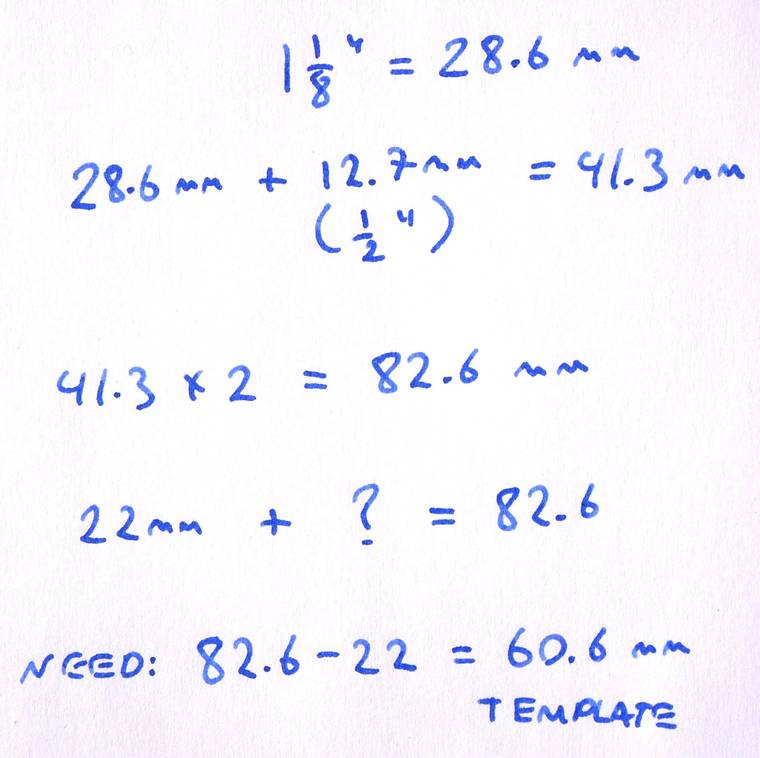
With a 1/2" (12.7 mm) router bit, I need to sweep a circle of 41.3 mm in diameter to leave a 28.58 mm tenon.
I need to sweep a circle twice that diameter with the follower because the pantograph reduces to one half, so that's 82.6 mm at the follower.
With a 22 mm bearing on the follower, I need a 60.6 mm diameter template to get that circle of 82.6 mm.
In the video, I erroneusly converted 1 1/8" to 27.5 mm, so my template was a bit too small. But I made the initial cut with the bearing on the largest part of the conical template, and it fit perfectly, so left it that that without re-checking at the time.
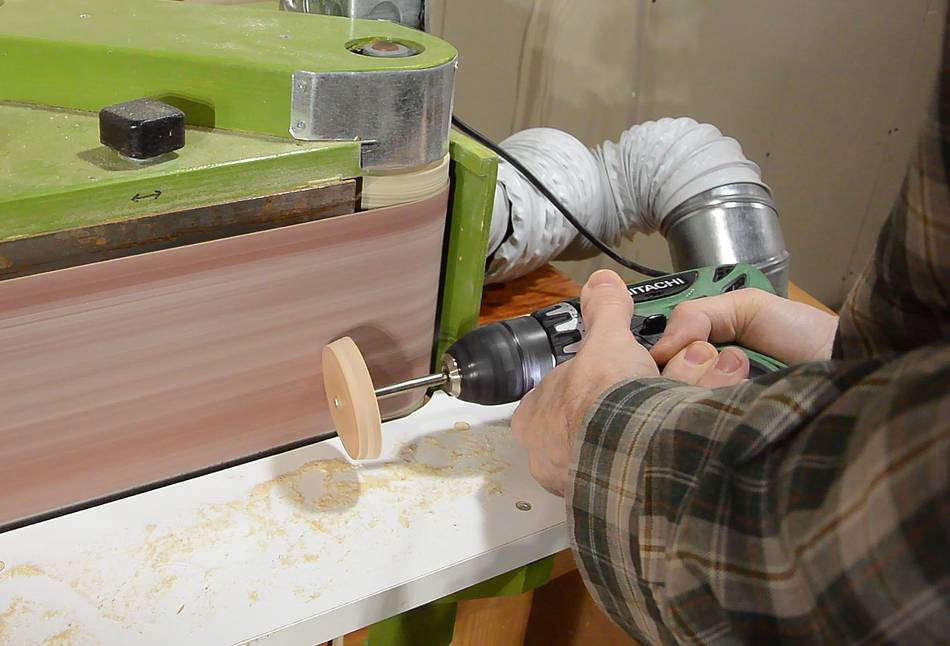
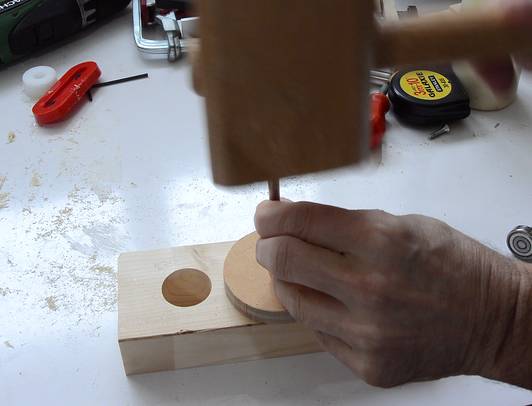 I cut a round disk out of plywood, slightly larger than what I needed, drilled
a hole in it and hammered a 6 mm shaft into the hole, than spun that against
the belt sander using a drill until it was the right diameter.
I cut a round disk out of plywood, slightly larger than what I needed, drilled
a hole in it and hammered a 6 mm shaft into the hole, than spun that against
the belt sander using a drill until it was the right diameter.
I made it slightly conical so that I could fine-adjust the size of the tenon by how far back I ran the follower bearing against it.
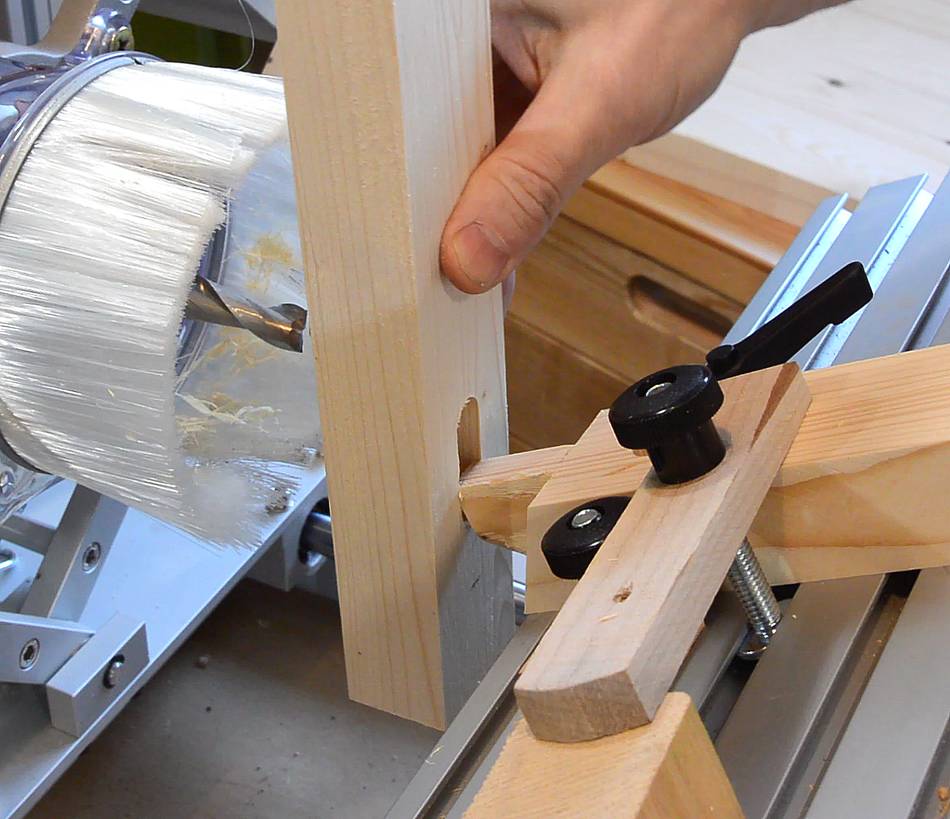
 Then routing the tenon. I set it up so that the bottom edge of the tenon is
nearly flush with the table, so as to leave more wood on the top. With the
tenon at a slight angle, if it's too far up, there won't be enough wood for
the top of the tenon near the end.
Then routing the tenon. I set it up so that the bottom edge of the tenon is
nearly flush with the table, so as to leave more wood on the top. With the
tenon at a slight angle, if it's too far up, there won't be enough wood for
the top of the tenon near the end.
Then checking the fit against a 1 1/8" hole while it's still clamped in place, so I could re-trim it slightly smaller if needed.
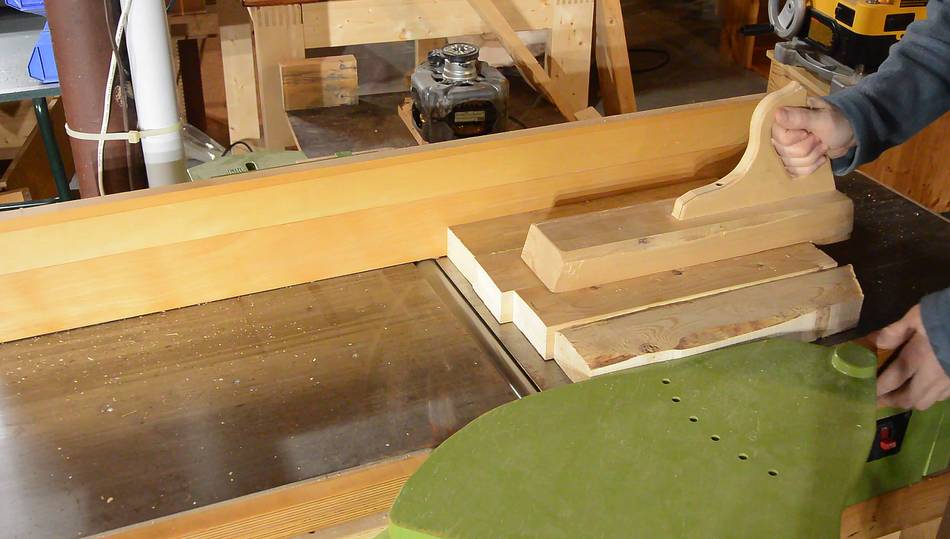 The top of the stool is made out of short piece of 2x4s that were too twisted
to use for much else, but cutting short pieces, the twist isn't so bad.
The top of the stool is made out of short piece of 2x4s that were too twisted
to use for much else, but cutting short pieces, the twist isn't so bad.
After gluing most of them together, I face jointed them on my 12" jointer, then ran it through the thickness planer.
 But the stool top is wider than what fits on my jointer or planer, so
after planing what I had, I joined another planed piece to the edge.
But the stool top is wider than what fits on my jointer or planer, so
after planing what I had, I joined another planed piece to the edge.
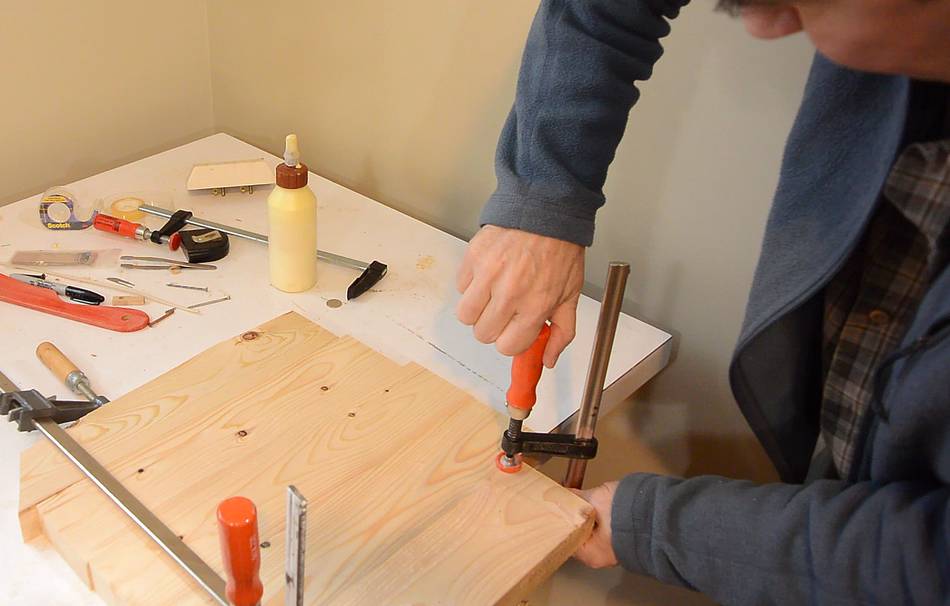
I put some clamps on the ends to ensure that the joint lined up as I glued and clamped it.
It ended up close enough that sanding was sufficient to make the joint perfectly smooth.
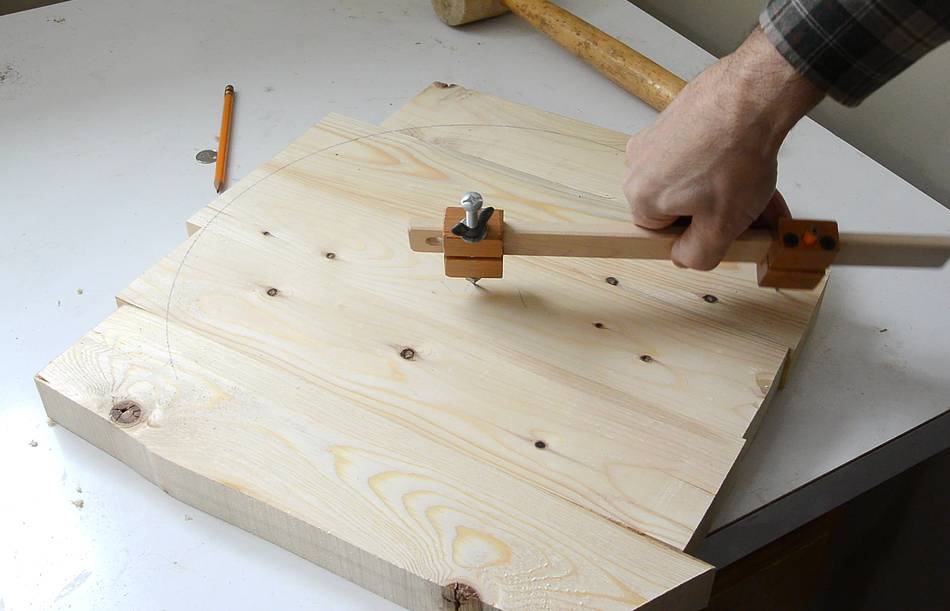 Marking the circle for the top of the stool using my
beam compass
I then cut it out on
the bandsaw and sanded the edges smooth.
Marking the circle for the top of the stool using my
beam compass
I then cut it out on
the bandsaw and sanded the edges smooth.
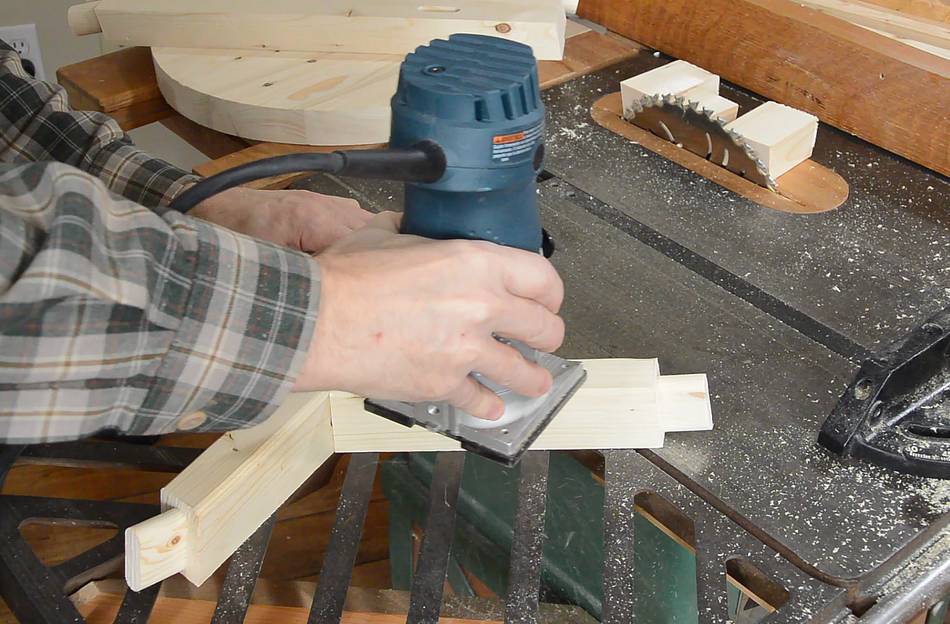 I put a 1/4" round over on all the exposed edges of the stool
using a palm router.
I put a 1/4" round over on all the exposed edges of the stool
using a palm router.
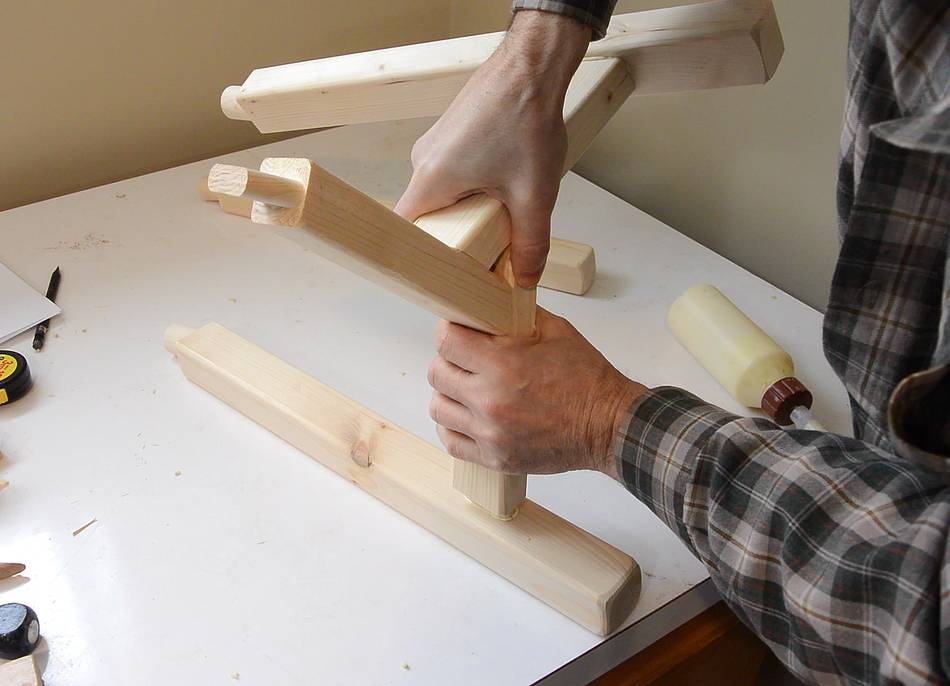 Final assembly of the legs, with glue.
I didn't use any clamps because the shape is rather awkward to work with, though a band clamp around the legs could have been handy. I have a band clamp, but it wasn't worth digging it out for this.
 Then checking that the ends of the legs tenons on the legs
form an equilateral triangle (they did)
Then checking that the ends of the legs tenons on the legs
form an equilateral triangle (they did)
 I marked three lines from the center, 120 degrees apart (forming big Y),
then placed the legs against the top to mark where that is.
I marked three lines from the center, 120 degrees apart (forming big Y),
then placed the legs against the top to mark where that is.
I marked it on the top and drilled from the top, then inserted from the bottom. Had the legs not been an equilateral triangle, I would have had to mark it on the bottom to make sure the triangle matches.
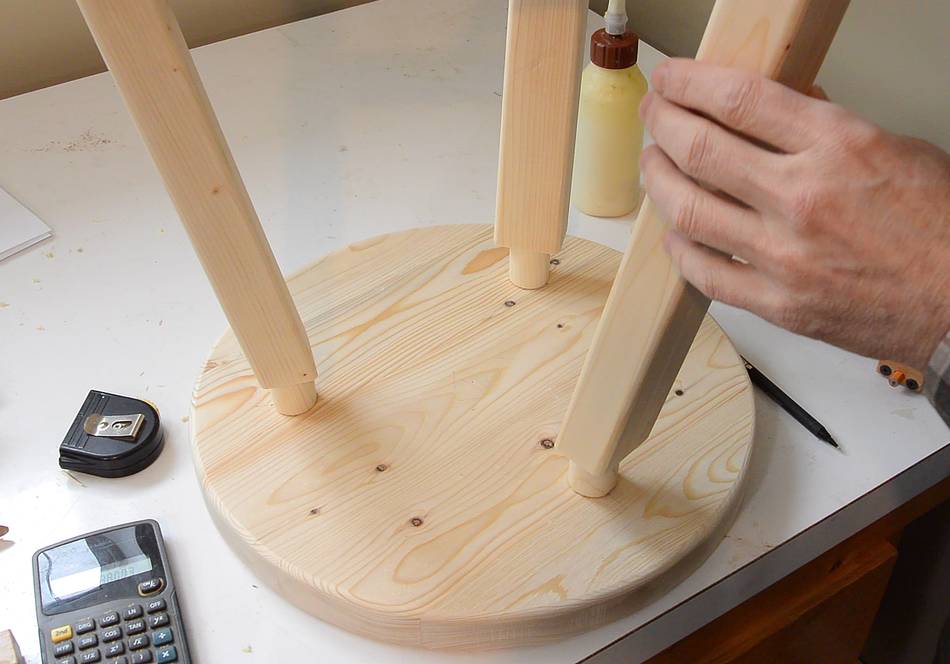
 Here dry fitting the top. I then took it off again and assembled it with glue.
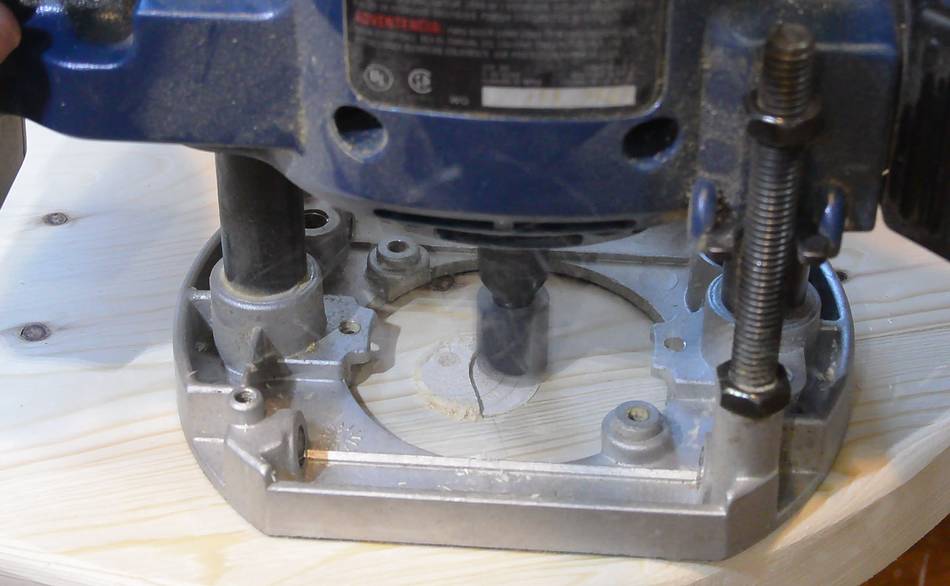
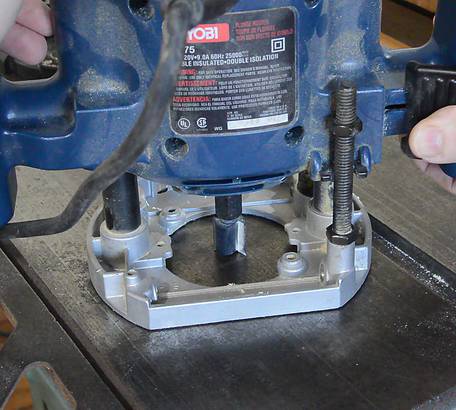 I cut the tenons about 2 mm too long so I could trim them perfectly flush
afterwards. I could have used a flush trim saw, or
chiseled them flat, but there is always the risk of gouging the surrounding
wood. So I used a router instead. I set the bit flush with the base by plunging
it down on the cast iron table of my table saw. I first used my workbench top
to set it flush, but it cut too deep because the bit slightly dug into the
workbench top, so I used the iron table of my saw instead. The bit is harder than
the cast iron, so as long as it's plunged gently, it won't damage the bit.
more on that.
I cut the tenons about 2 mm too long so I could trim them perfectly flush
afterwards. I could have used a flush trim saw, or
chiseled them flat, but there is always the risk of gouging the surrounding
wood. So I used a router instead. I set the bit flush with the base by plunging
it down on the cast iron table of my table saw. I first used my workbench top
to set it flush, but it cut too deep because the bit slightly dug into the
workbench top, so I used the iron table of my saw instead. The bit is harder than
the cast iron, so as long as it's plunged gently, it won't damage the bit.
more on that.

 I used a metal pantorouter, but the whole project
can also be built with a homemade wooden pantorouter.
The wooden pantorouter doesn't have a tilting table, but if you mount the template horizontal,
you don't need to set the table vertical for the mortises. The only tricky part is the
compound miter. You will need to make a wedge to raise the workpiece by 13 degrees above
the table for cutting the tenon at a compound miter. Make sure the stock is well clamped before
cutting.
I used a metal pantorouter, but the whole project
can also be built with a homemade wooden pantorouter.
The wooden pantorouter doesn't have a tilting table, but if you mount the template horizontal,
you don't need to set the table vertical for the mortises. The only tricky part is the
compound miter. You will need to make a wedge to raise the workpiece by 13 degrees above
the table for cutting the tenon at a compound miter. Make sure the stock is well clamped before
cutting.
But one thing you can't get on a homemade pantorouter has is the dust hood, which is surprisingly effective at catching the chips. The metal pantorouter is not cheap, but if you want to get $100 off one you can go to:
Some months after I published this video, Yiyong Leng wrote to me:
After watching the video of you making a three-legged stool with PantoRouter, I decided to make a similar one using the traditional Chinese construction method, because this three-legged joint is the most traditional type of Chinese stool. I've noticed that no one on youtube has ever uploaded a video of this kind of three-legged stool being made by the traditional way, so I'm sending you my video of making it.
Building a traditional Chinese three-legged stool
This is a video in Chinese, but I think it's easy to understand. I hope you like it!
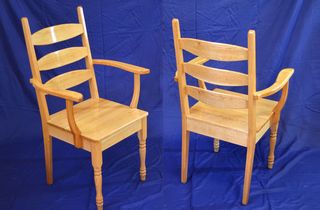 Building wooden chairs (2020)
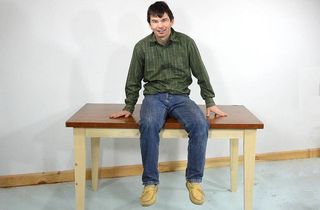 Building a simple table (2013)
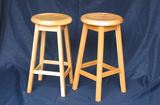 Building square stools (2007)
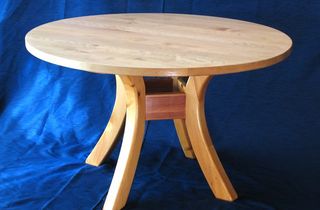 Round dining table (2007)
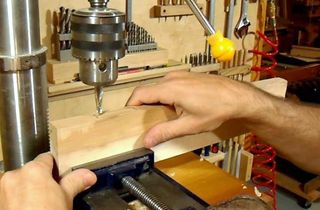 More on Mortise and
 Buy plans for this stool
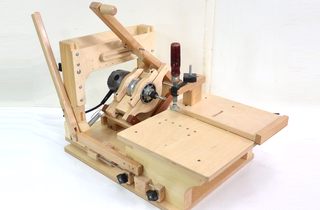 More about the pantorouter
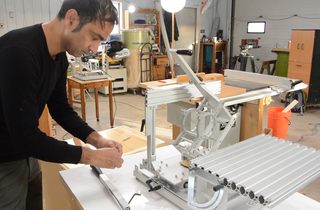 Kuldeep assembles the metal pantorouter
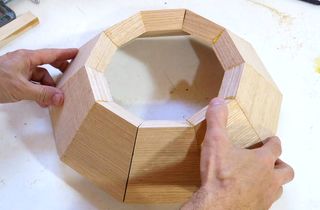 Making splayed miter joints
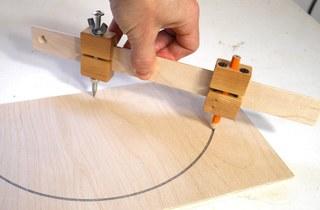 Trammel points compass
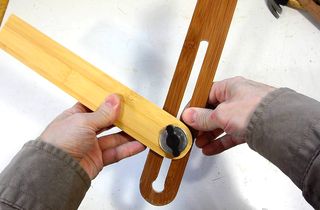 Making a bevel gague
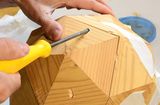 60-sided geodesic ball