I wanted to build a sandbox for the kids to play with on the patio. Kurt quite liked
playing with a "sandbox" that just consisted of a plastic tub at Rachel's parents,
so I figured anything bigger than that would be ok. I settled on 60x90 cm, because all
four sides for that could be cut from a single 10' (3m) piece of 2x6.
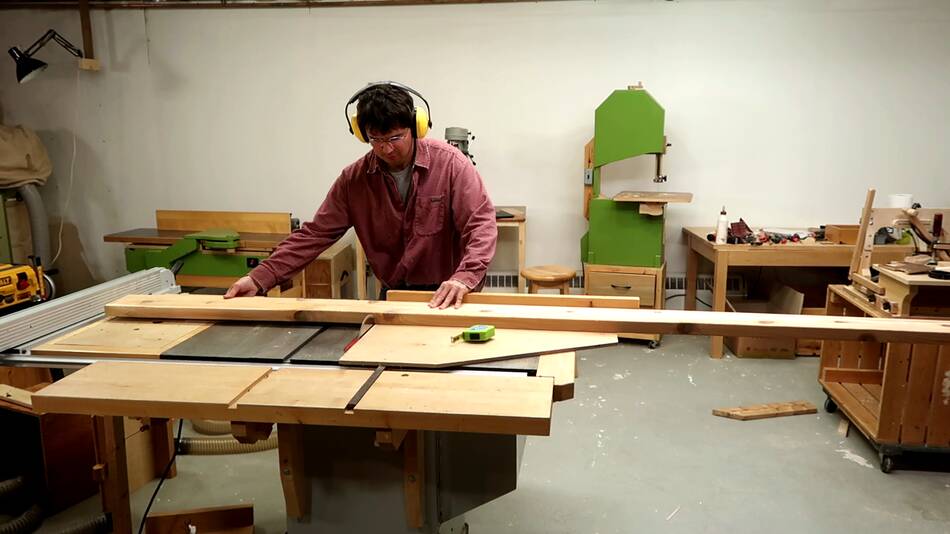
I cut the pieces to length on the table saw, as always. I don't have a miter saw.
You pretty much need to dedicate a whole wall to such a saw to use it effectively,
and I would rather not.
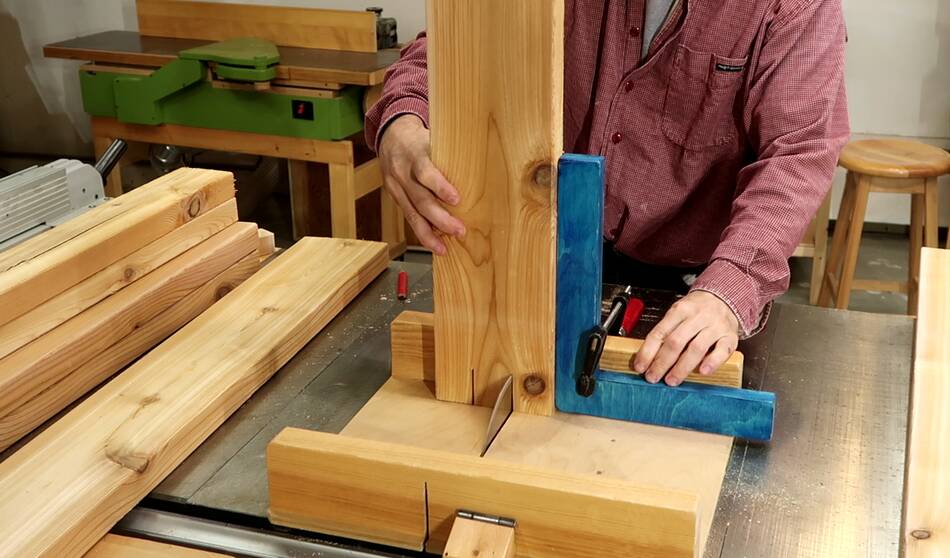
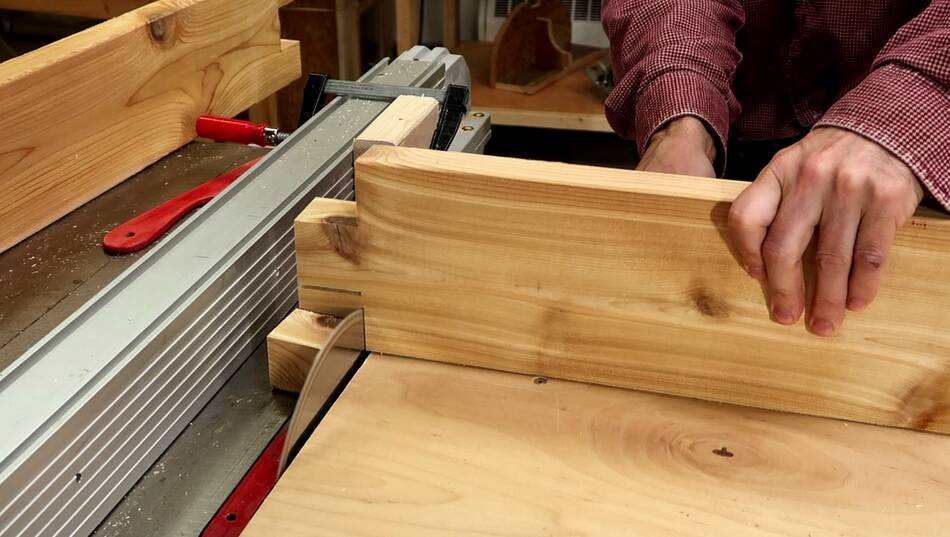
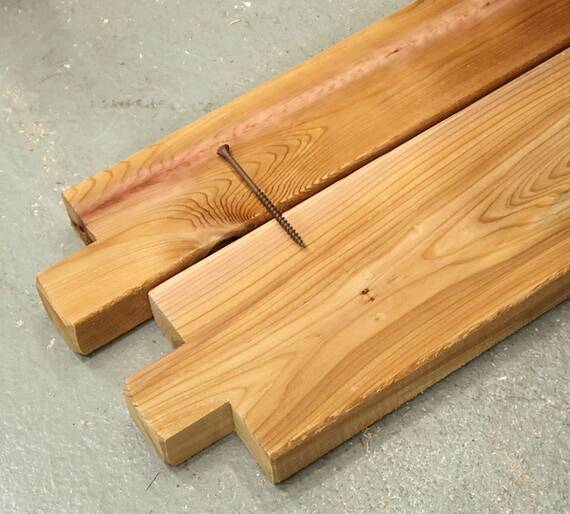
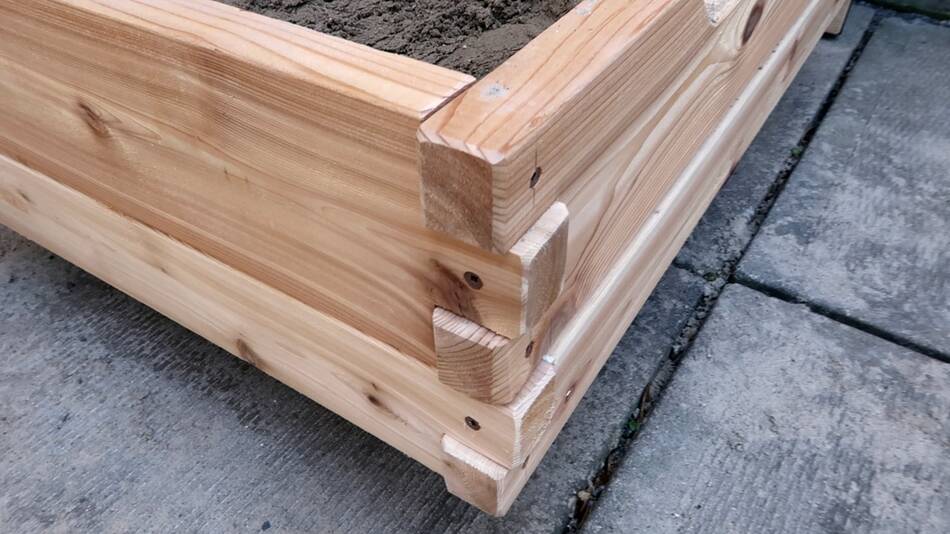
The corners are joined with very coarse sort of "box joints", which I cut
using a small table saw sled
and a sturdy wooden shop square
that is meant for jigging things up with and clamping to.
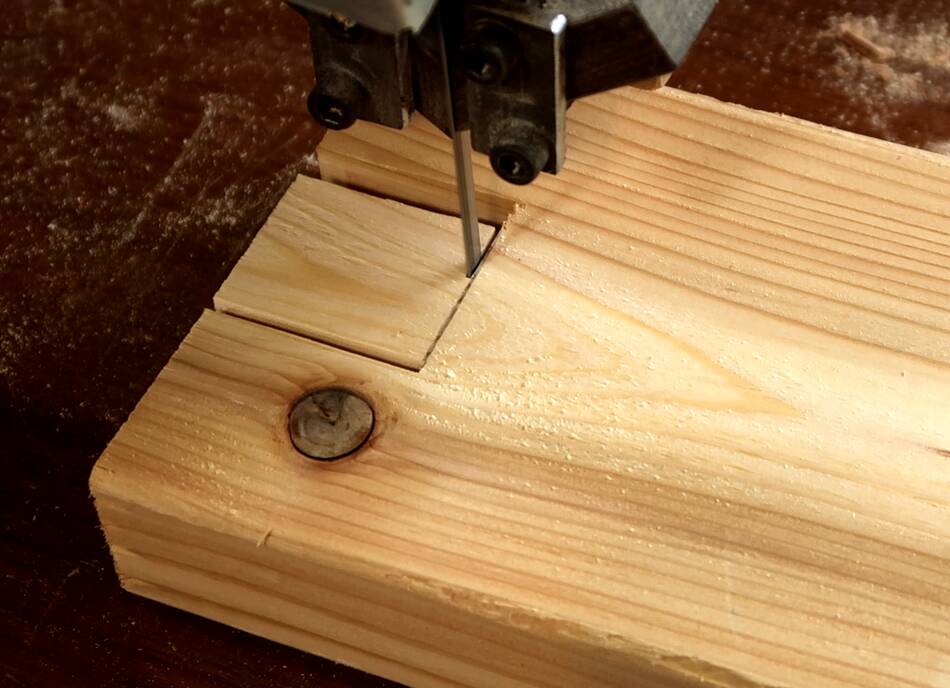
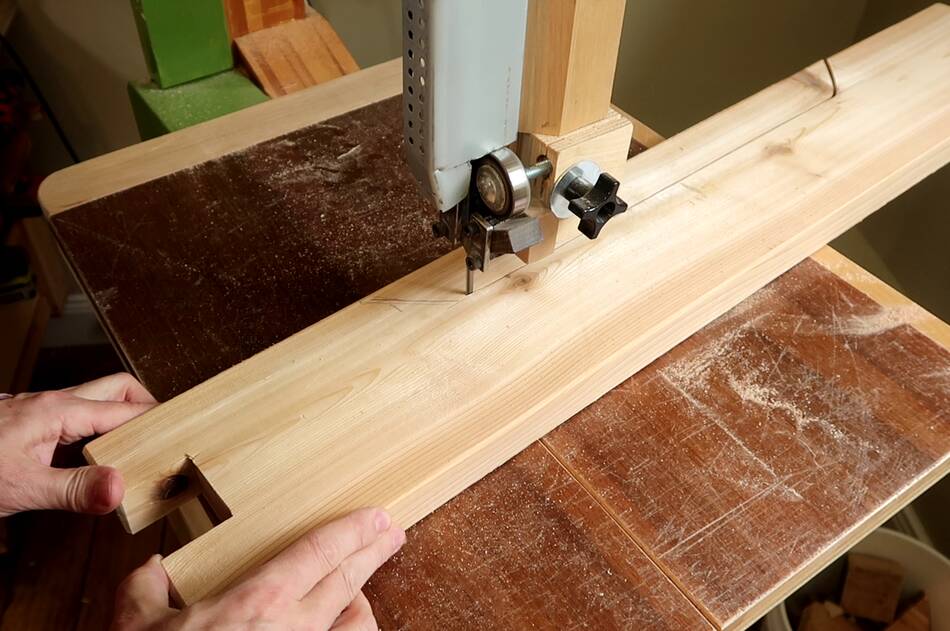
For the joints shown here, I cut the slot wider on one side so I could
easily get in there with the bandsaw
to cut out the bottom.
for the other parts I was able to cut the shoulders won the tables saw.
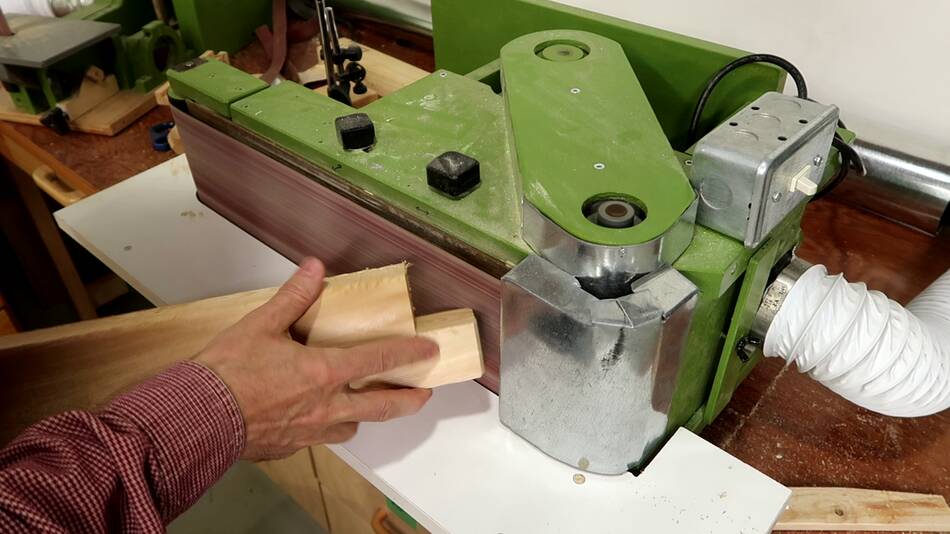
The ends of the joints will protrude a bit (that's easier than getting it exactly
flush), and I bevelled all the ends on the
belt sander...
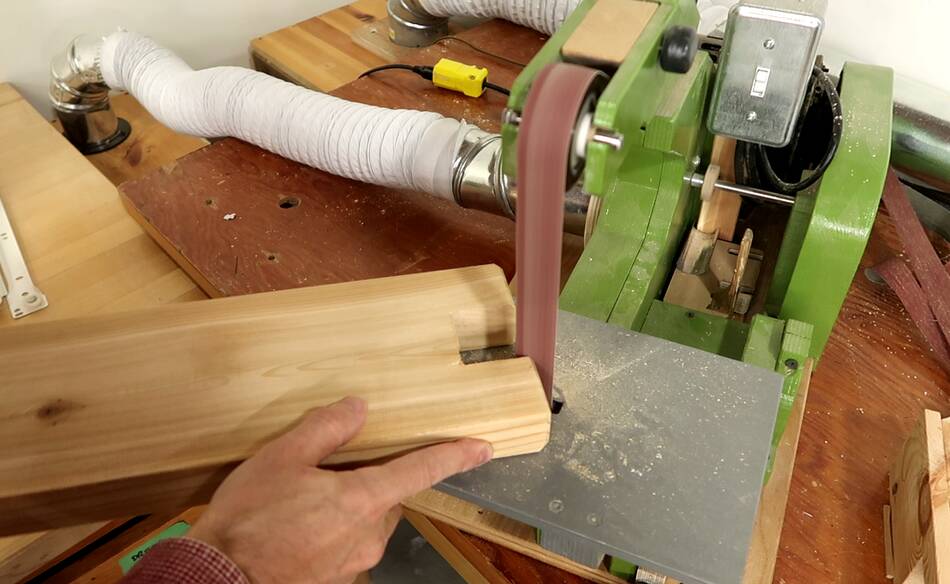
... except for the inside corners, which I sanded on the
strip sander.
I could have used a knife for these too, but with the strip sander next to the
belt sander, it was easiest to just move over to that one.
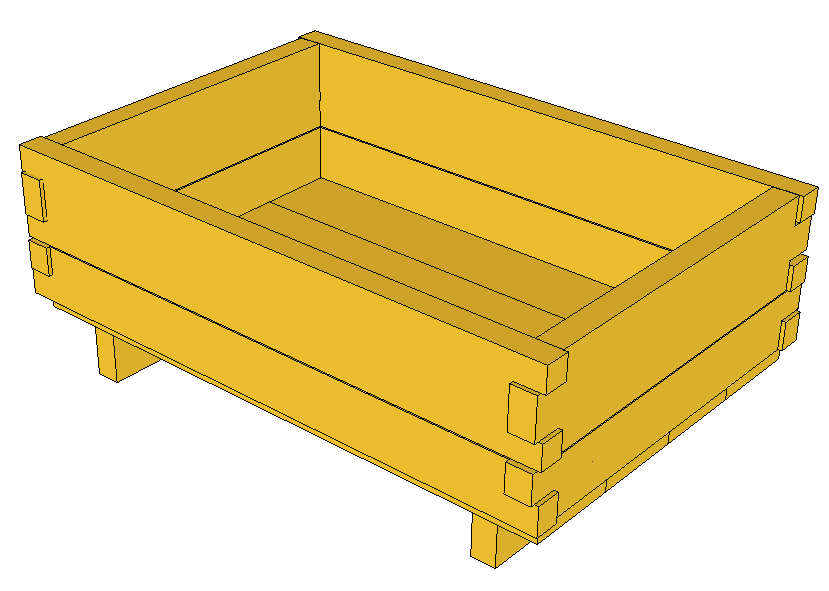
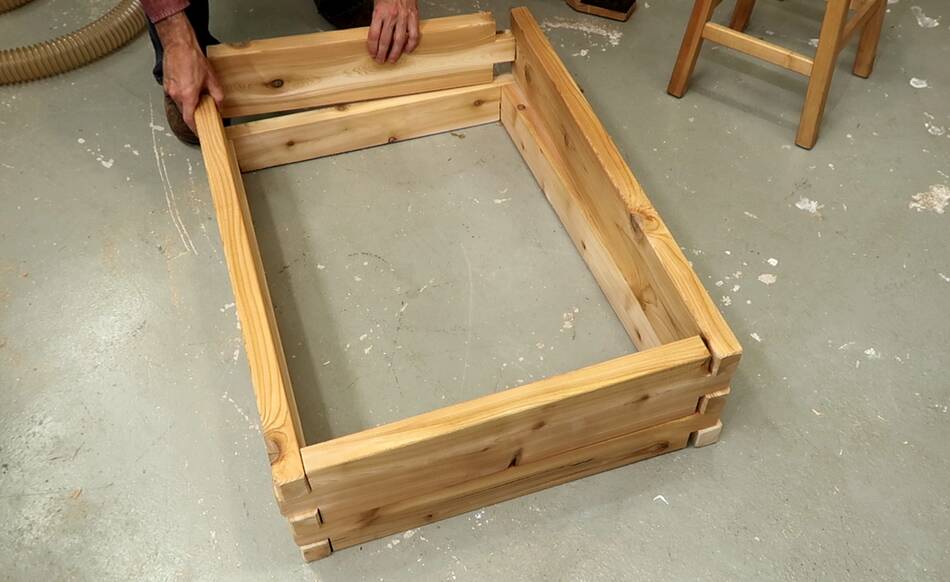
Test fitting the box together. My initial thought had been to just make
the sides of the box out of one 2x6, so it would be 5.5" or 14 cm deep, but
then I decided to add another 2x4 below that to bring the depth up to 9"
or 23 cm.
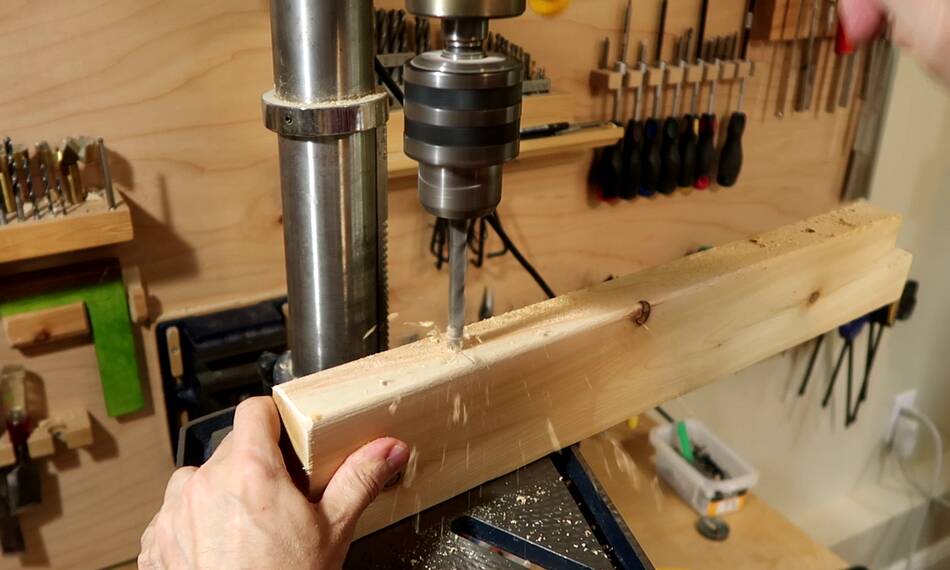
I wanted to use screws to join the side pieces next to each other.
Glue is usually a bad idea for things that get wet periodically.
But the longest deck screws I find were 3.5" long.
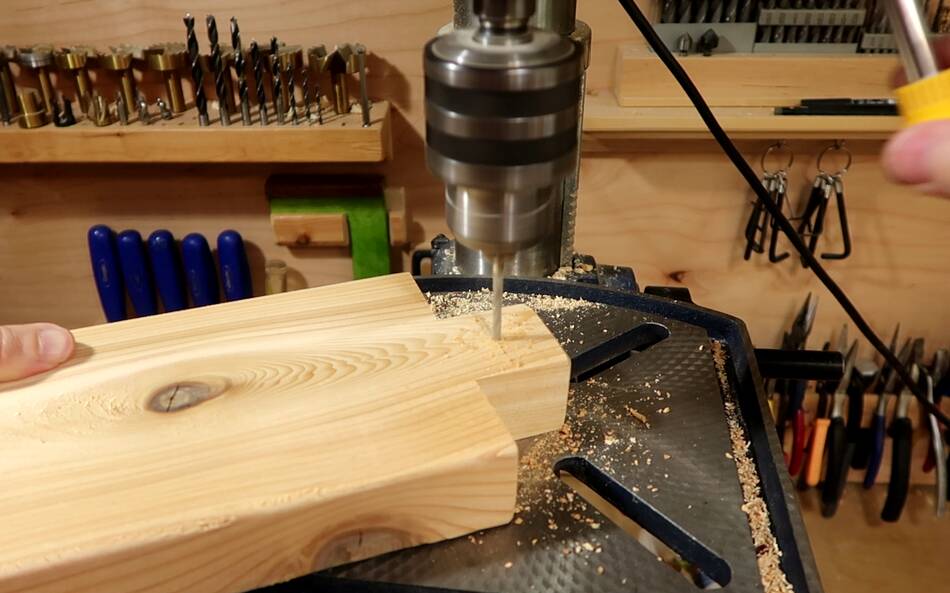
So I drilled holes in the 2x4 pieces so I could sink the head way into them
without risking cracking the 2x4.
Plus a pilot hole all the way trough. If the thread on these deck screws
engages both pieces, then the thread prevents the head from being able to pull
the pieces together effectively.
I also cut out a 4 cm deep notch on one of the long sides to make it easier
to reach into the sand box.
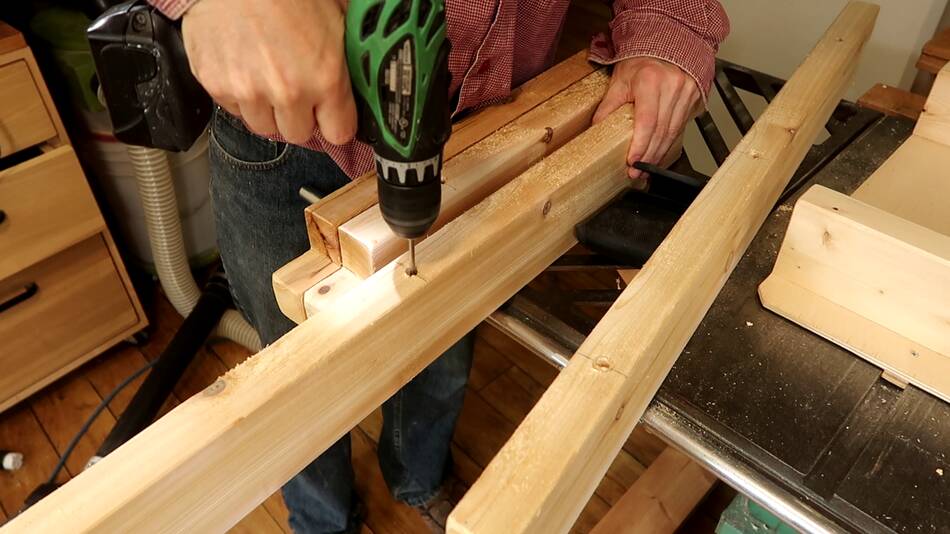
And pilot holes in the box joint shaped ends. With the screws so close to
the ends, I didn't want to risk splitting the wood.
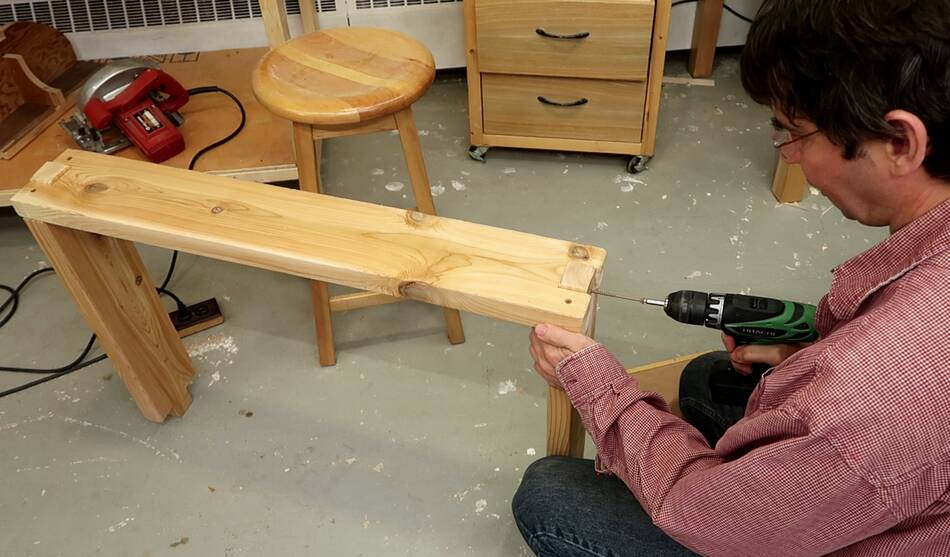
Then screwing the 2x6 frame together. The box joint ends make for two
screws from above and one screw from the end.
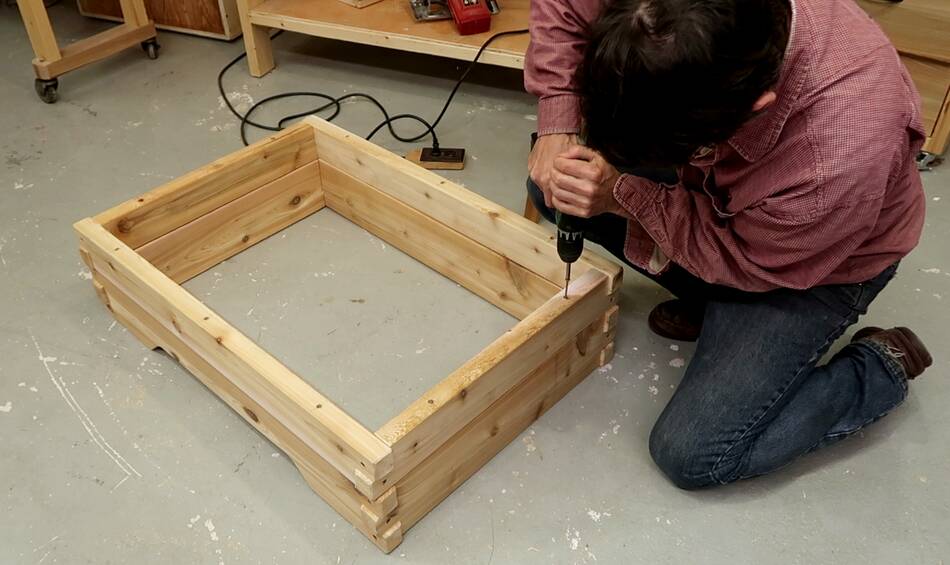
I then screwed the 2x4 frame together and screwed it to the bottom of the
2x6 frame (the box frame is upside down in this picture).
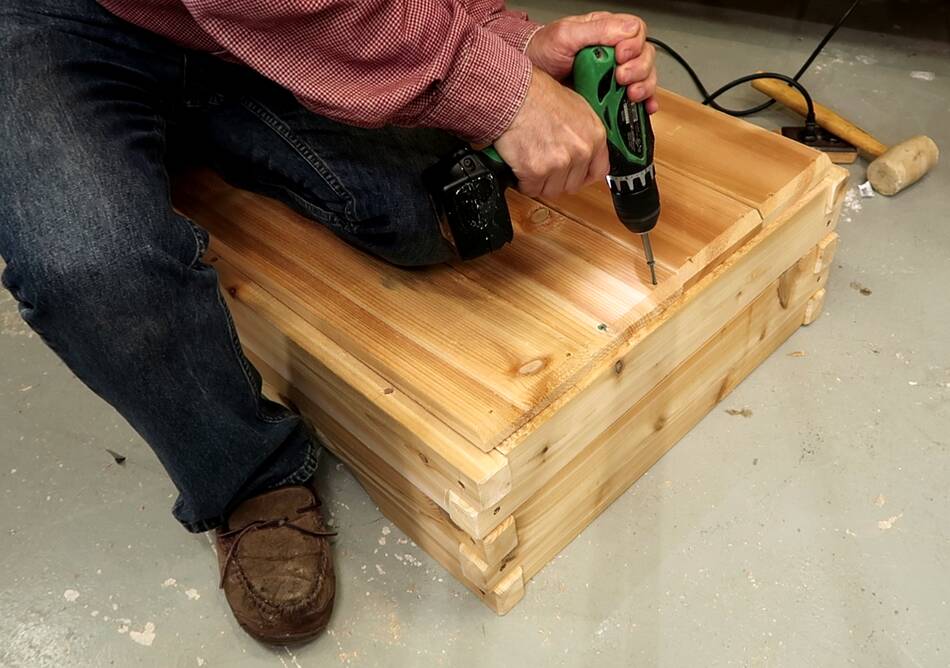
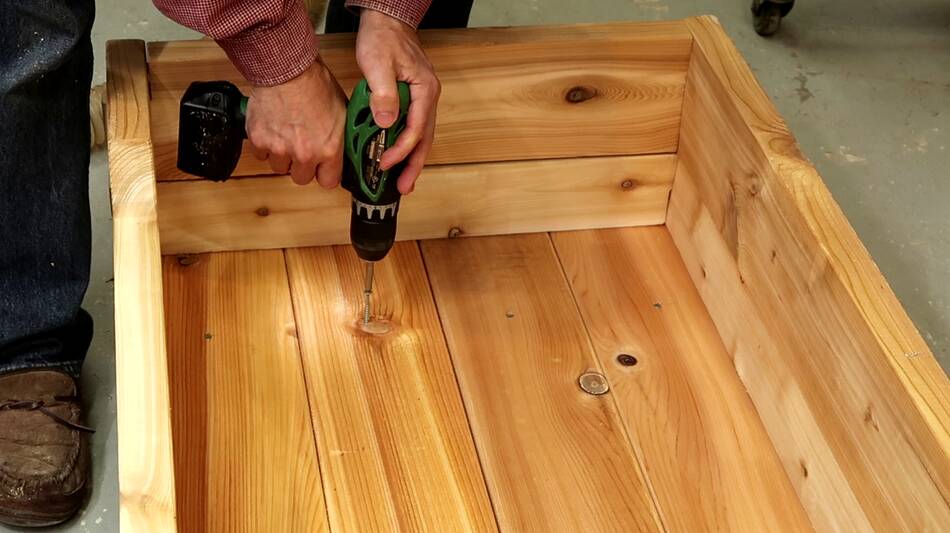
Then screwing 1" thick cedar boards onto the bottom. These are inset from the
edges to to hide them a little. I also bevelled the ends.
These two pieces will form legs to raise the box up a bit.
These legs are screwed on from the inside, so I flipped the box over again,
carefully positioned the legs under it and measured where they should be
and screwed down into them.
I wasn't originally planning to make a lid for this box, but everybody
warned me about stray cats pooping into sandboxes. I haven't seen any cats
wandering in our yard so far, but I figured I'd make a lid just to be safe.
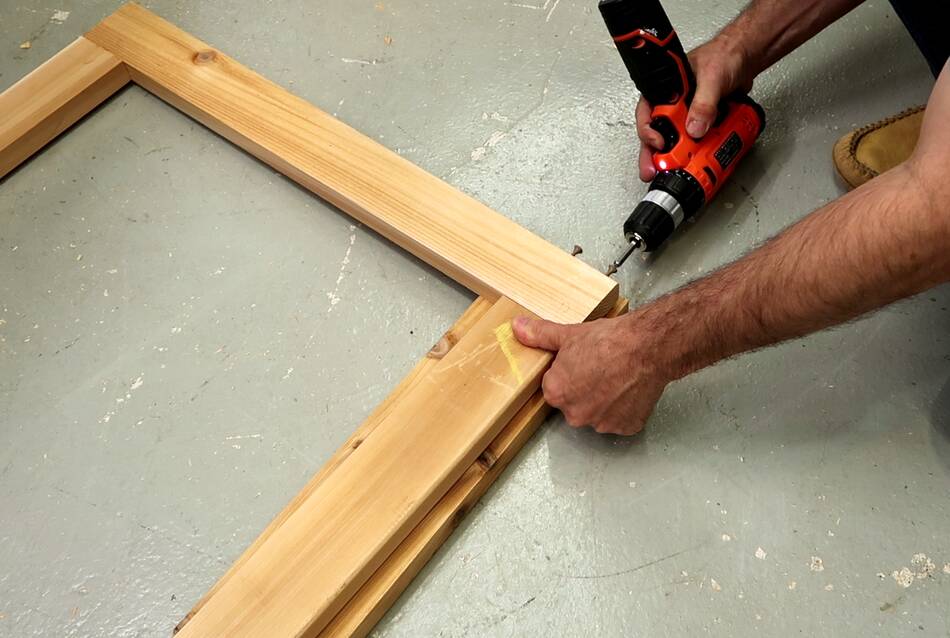
I started by making a frame out of 1" thick cedar.
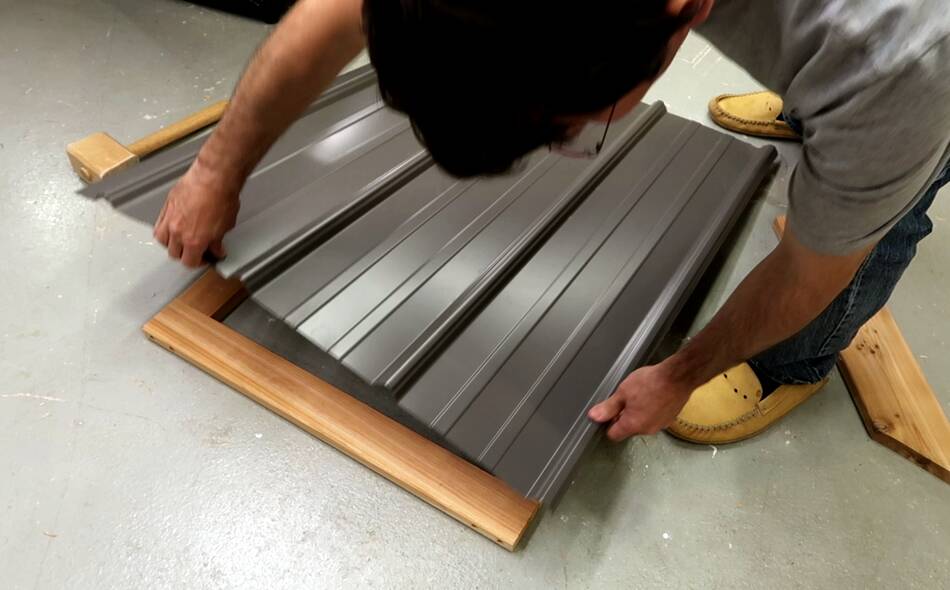
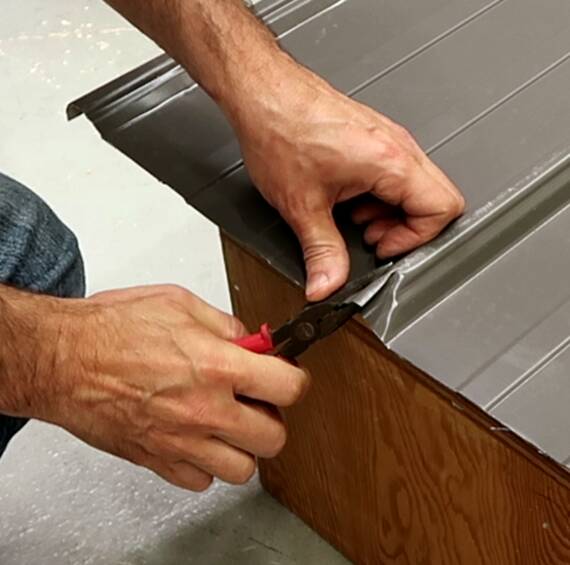
I got a scrap of roofing sheet metal just large enough from a friend.
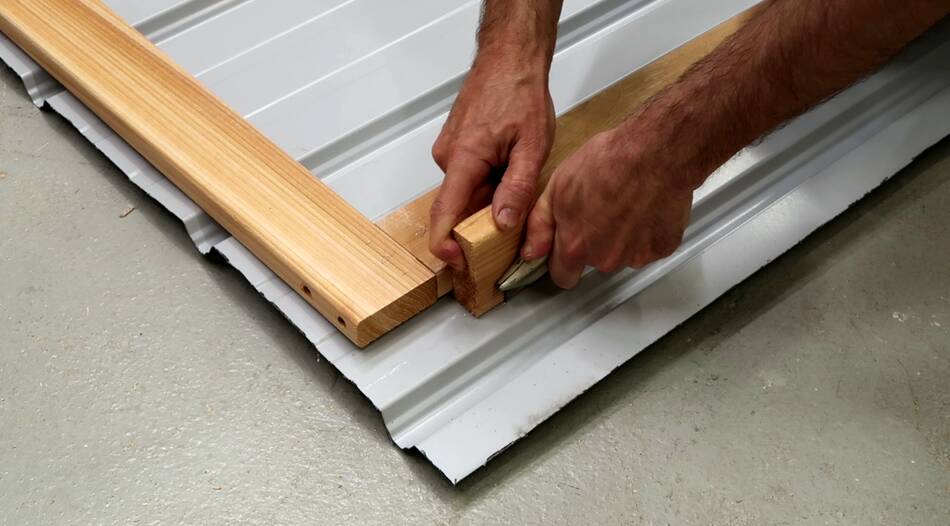
I cut it to size by making a deep score with a utility knife where it
needed to be cut.
Then bending it across the score line. At first, it's hard to see how this
will break it because it only bends slightly more on the score line than
everywhere else, but enough so that it yields more on the score line, and by the
second back and forth, the score line forms a sharp corner. a few more bends
and it breaks on the line.
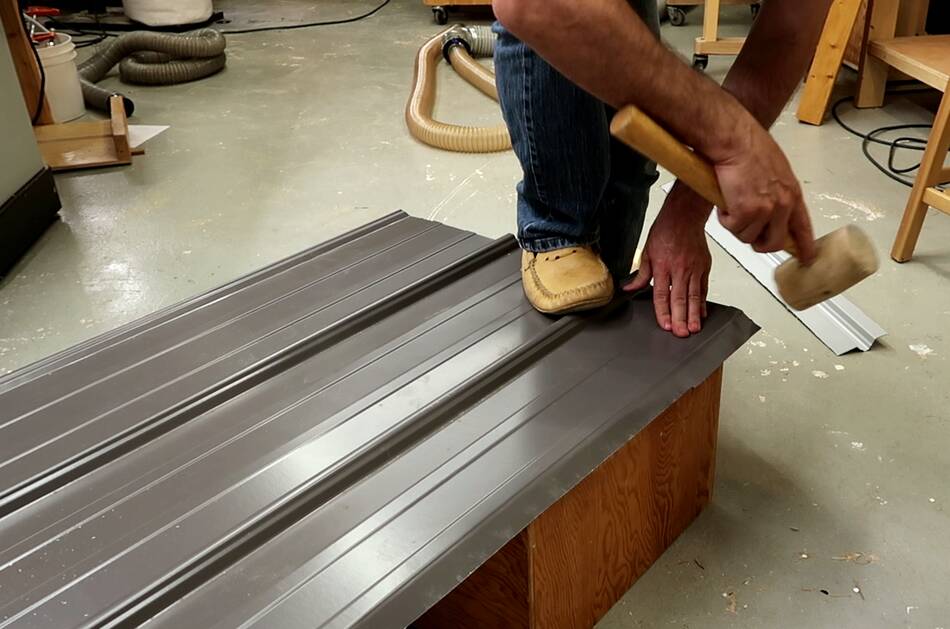
I then bent it down over the edges of the frame. I was able to bend
down the ribs quite nicely by making a short cut down the middle and then
folding down either half.
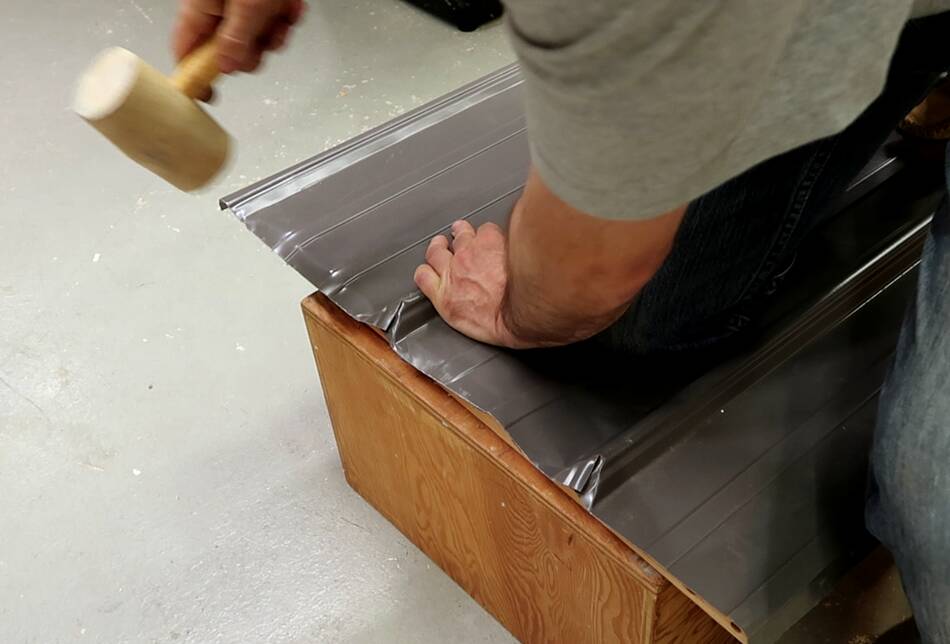
But folding the ends down over the frame got real inelegant and the result
didn't come out as nice as I had imagined. A proper metal brake
would be nice, though with the corrugated metal, even a brake
might make a mess of it.
But I decided that it was "good enough". There are still some exposed edges,
but I sanded them all so they don't cut, and realistically, this thing doesn't
have any sharper edges than other things the kids already play with.
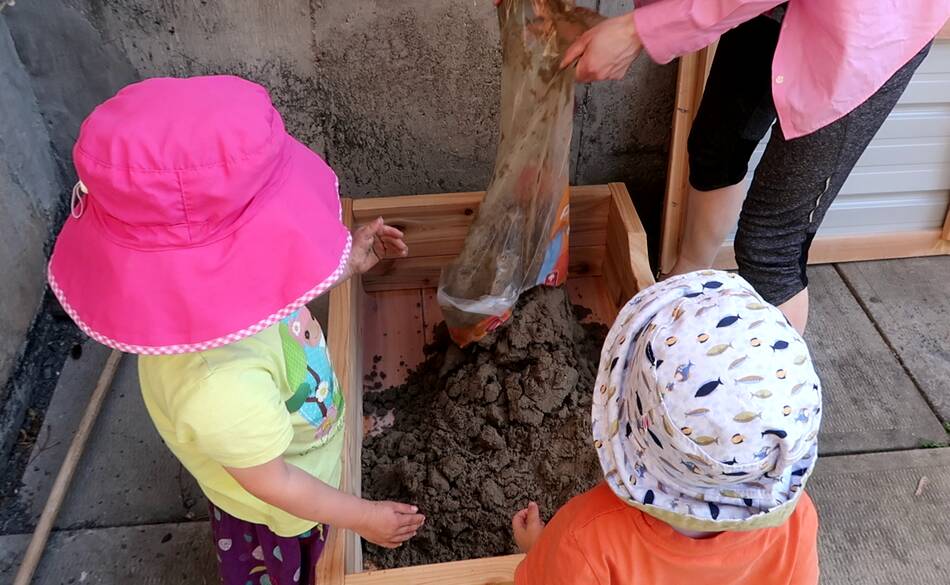
Rachel dumped five 20 lb bags of "play sand" into it. I think four bags
for a box that size would have been enough, but we already bought the five.
In time I'm sure the level will go down!
I put a piece of polyethylene foil in the bottom before we dumped the sand in.
This will keep the sand from going through gaps between the boards and will also
help to keep the floor of the box dry.
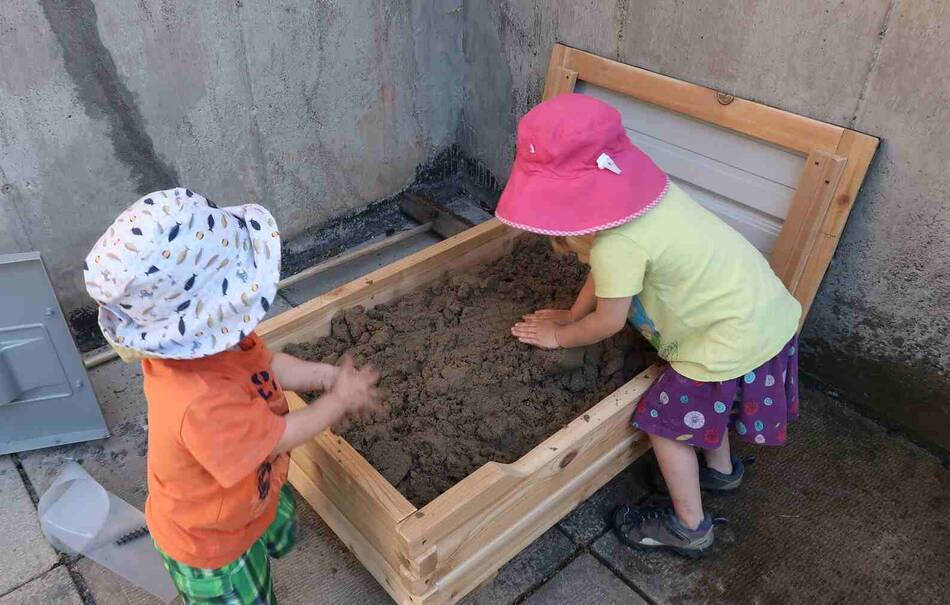
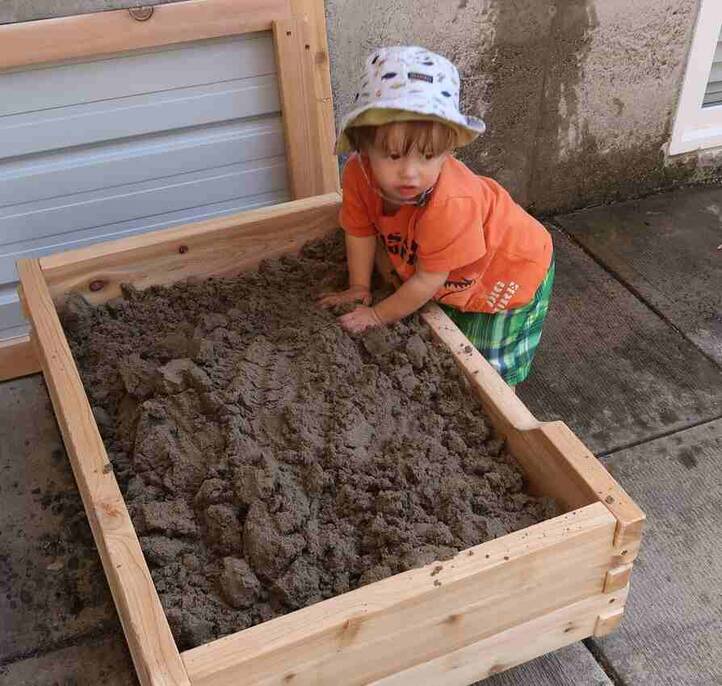
The kids were very enthusiastic about playing with this sand box. And the way
it's sized and off the ground, its easiest to play with while standing next
to it as opposed to sitting in it. I'm hoping that this will make for
less sand getting into the house.
The whole box is designed so there aren't a lot of places where moisture gets
trapped in the wood, so hopefully, it will last a long time without anything
rotting out.
 I wanted to build a sandbox for the kids to play with on the patio. Kurt quite liked
playing with a "sandbox" that just consisted of a plastic tub at Rachel's parents,
so I figured anything bigger than that would be ok. I settled on 60x90 cm, because all
four sides for that could be cut from a single 10' (3m) piece of 2x6.
I wanted to build a sandbox for the kids to play with on the patio. Kurt quite liked
playing with a "sandbox" that just consisted of a plastic tub at Rachel's parents,
so I figured anything bigger than that would be ok. I settled on 60x90 cm, because all
four sides for that could be cut from a single 10' (3m) piece of 2x6.


 Lawn chair build
 Curvy board
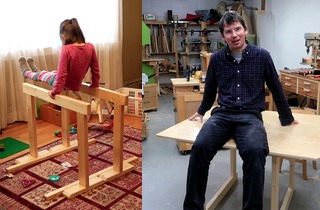 Sawhorses, barre, or table legs?
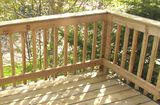 Building a small deck
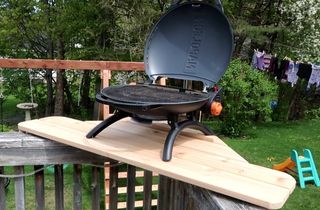 Corner shelf for a barbecue
 Parallelogram baby gate
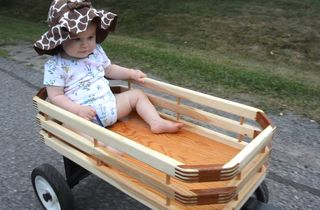 Kid's wagon
 Wood geared baby soothing machine
 Tippe top