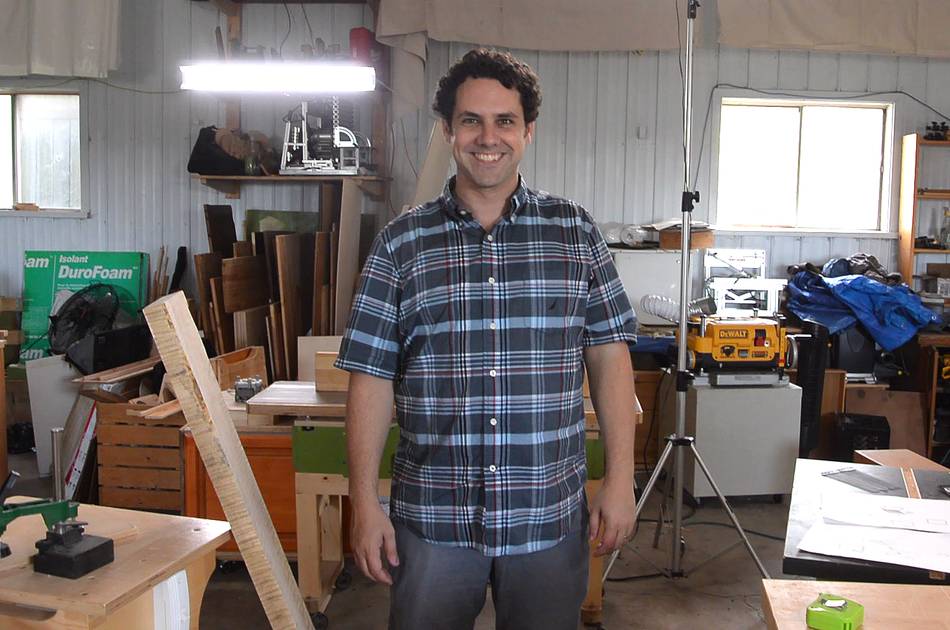
 My friend Paul, wanted to build a cajon box drum for his dad's 61st birthday
in my shop.
My friend Paul, wanted to build a cajon box drum for his dad's 61st birthday
in my shop.
My friend Paul, wanted to build a cajon box drum for his dad's 61st birthday
in my shop.
I figured, sure, but I'll be around to help if things go wrong.
 This gave me a bit of an appreciation of woodworking knowledge that I take so much
for granted that I'm not even aware of it. The wood he had had a slight twist
to it, so I advised cutting it to lengths before resawing.
This gave me a bit of an appreciation of woodworking knowledge that I take so much
for granted that I'm not even aware of it. The wood he had had a slight twist
to it, so I advised cutting it to lengths before resawing.
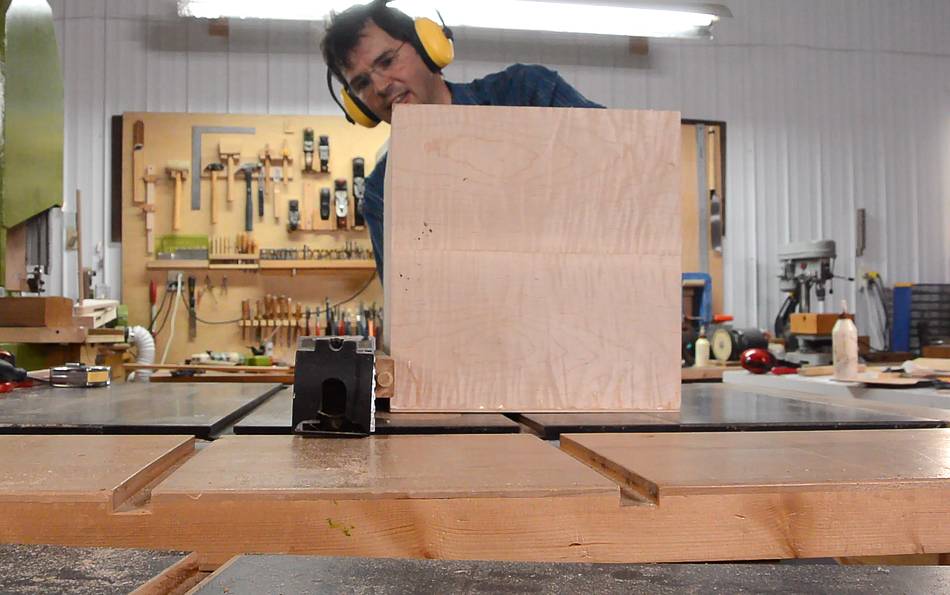
Paul managed to pinch the blade when the unsupported wood dropped on either side, stalling the saw. I ran for the off switch!
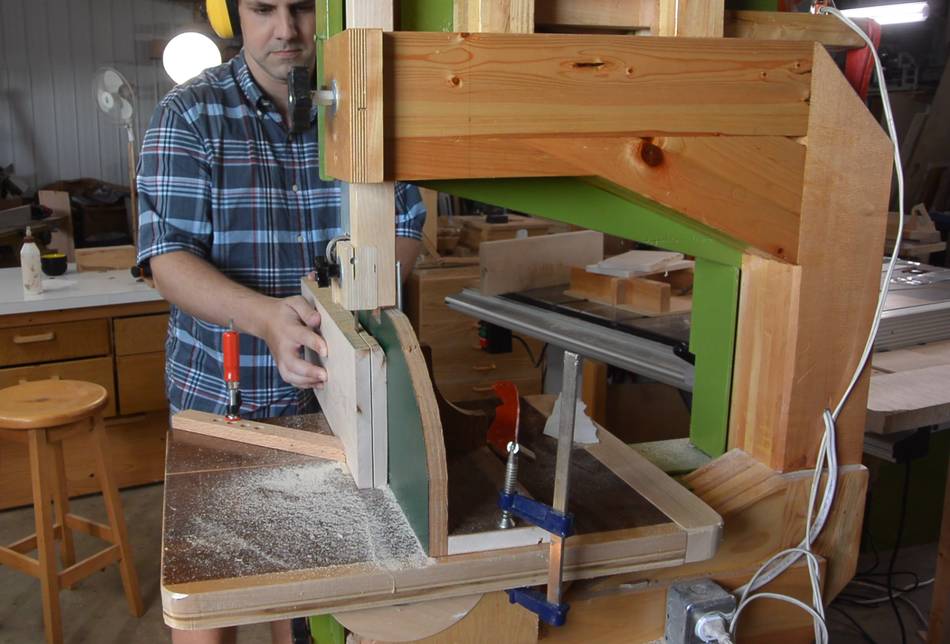
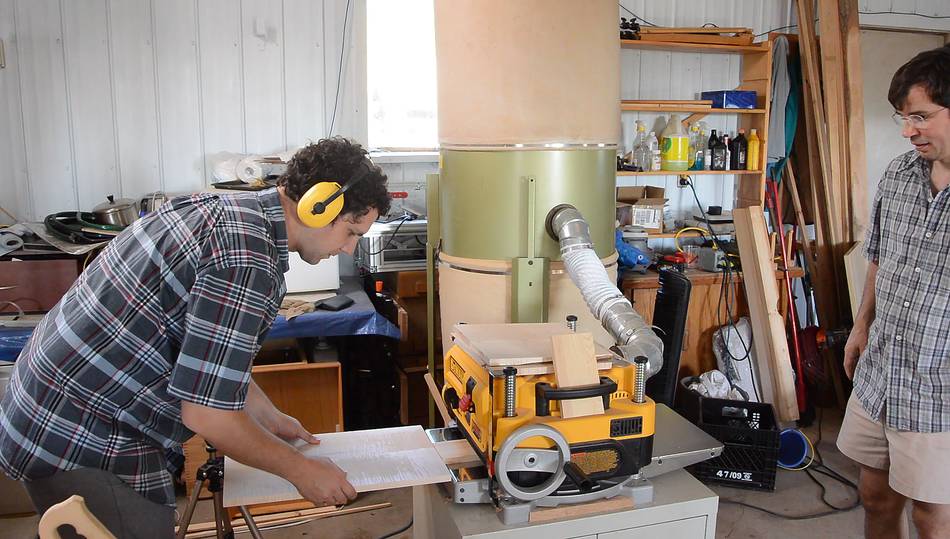
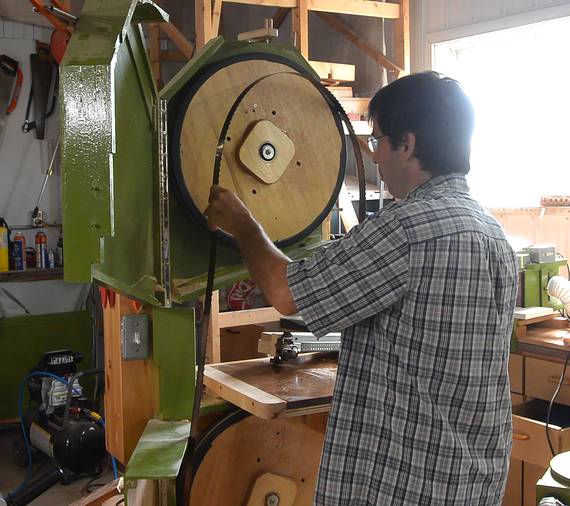 Next resawing the wood to the right thickness, on my
bandsaw. I had to change the blade
first because at that point I only had the one bandsaw in the shop, with a 1/4"
blade on it. The other bandsaw was still in the house's garage because
I was using it to install baseboards.
Next resawing the wood to the right thickness, on my
bandsaw. I had to change the blade
first because at that point I only had the one bandsaw in the shop, with a 1/4"
blade on it. The other bandsaw was still in the house's garage because
I was using it to install baseboards.
I checked the timestamps on the video files afterwards. Without hurry and while chatting with Paul, it took 8 minutes from start to finish, including adjustments.
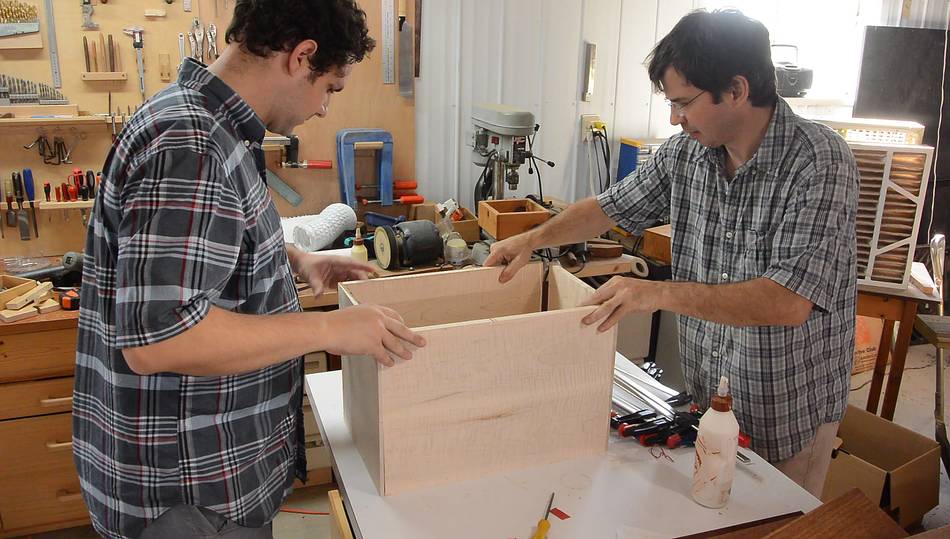
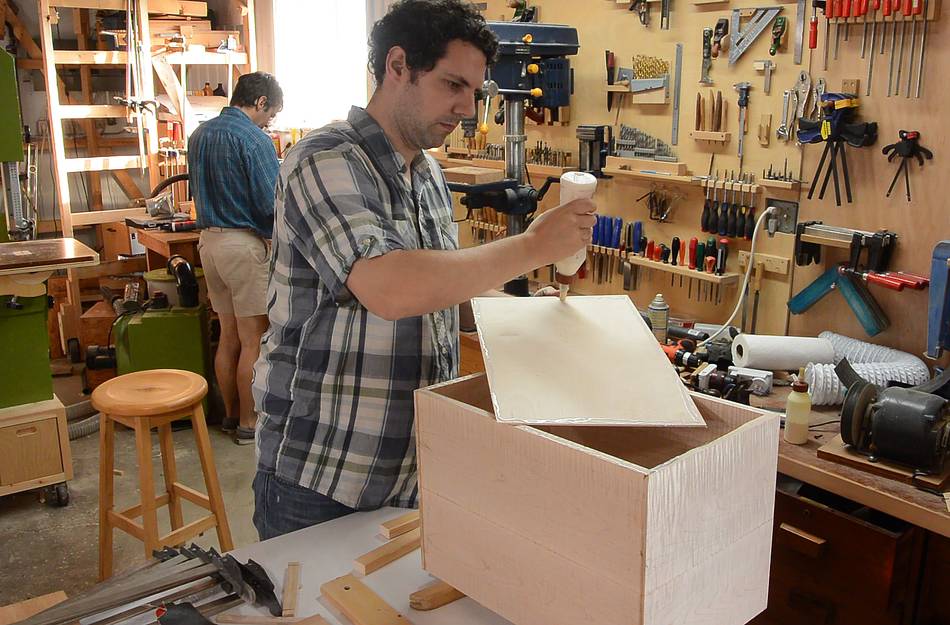
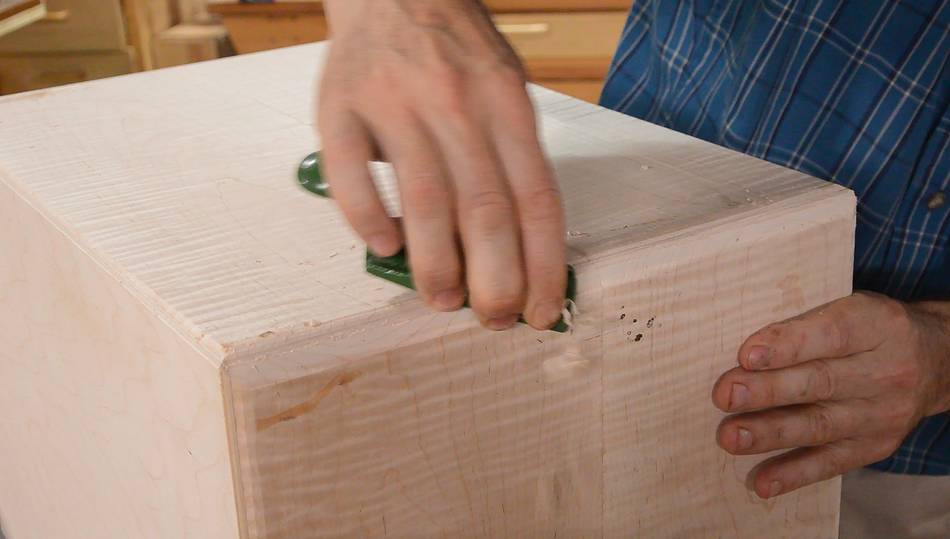
 Paul gluing up the panels side-by-side to get sufficient width.
Paul spread the glue with his index finger, but then he had glue on his finger, which was awkward until I handed him a piece of paper towel to wipe it with. I imagine at some point long ago I did the same thing, but it hasn't occurred to me to spread the glue with my fingers recently, probably for that very reason.
 Then planing the pieces. This would have been slightly easier if we hadn't cut
the pieces to length first, but with the slight twist, it made more sense to
cut them short first.
Then planing the pieces. This would have been slightly easier if we hadn't cut
the pieces to length first, but with the slight twist, it made more sense to
cut them short first.
To avoid planer snipe we fed a sacrificial piece ahead of the pieces, then fed the pieces back-to-back, then followed by another sacrificial piece. That way, the planer snipe was all on the sacrificial pieces.
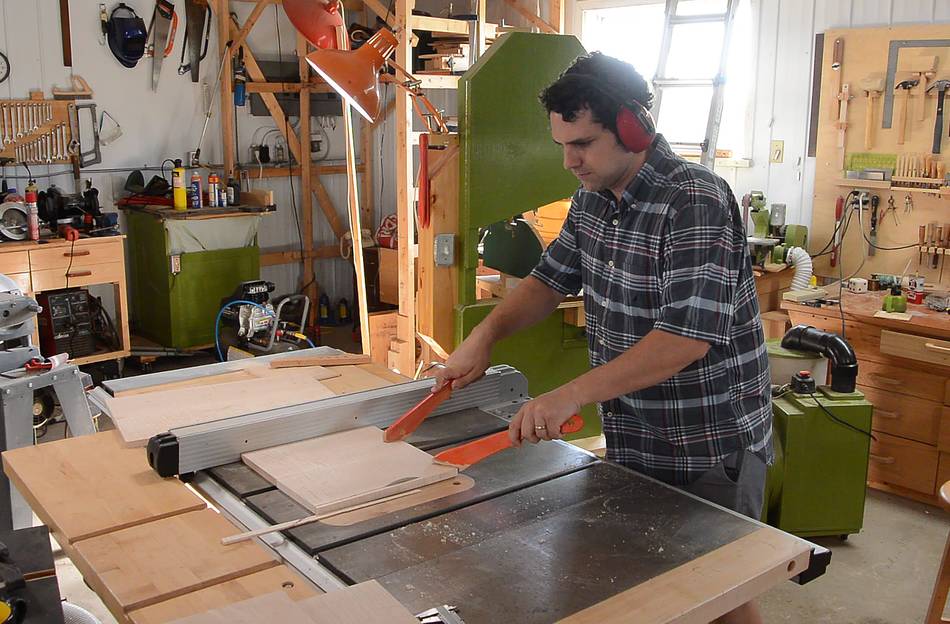 Cutting the pieces to final width. Paul encountered some burning because of
the way he pushed the pieces through. Pushing on the workpiece near the fence
instead of near the blade will make it want to rotate into the blade.
Cutting the pieces to final width. Paul encountered some burning because of
the way he pushed the pieces through. Pushing on the workpiece near the fence
instead of near the blade will make it want to rotate into the blade.
Without a riving knife, this could result in some nasty kickback. Luckily the only harm was a discolored edge of the wood from friction with the blade.
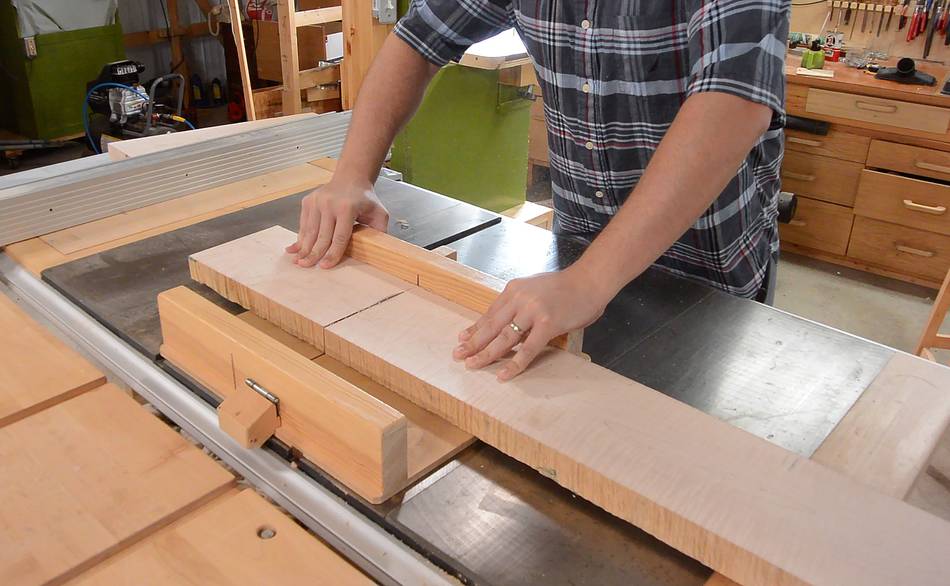
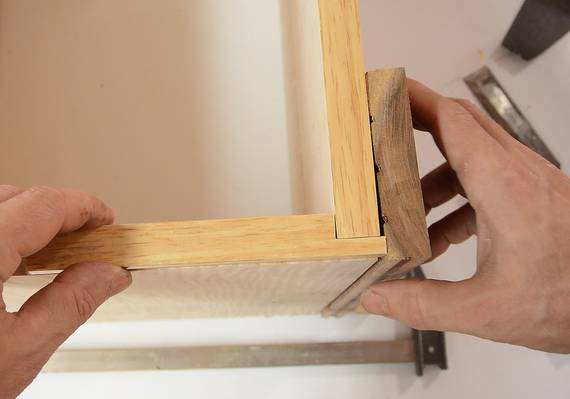
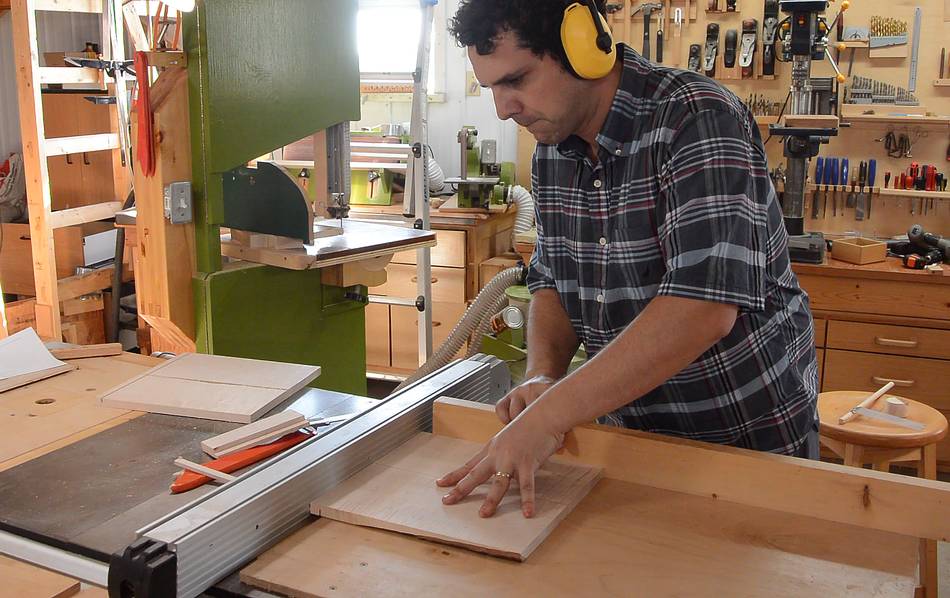 Paul then cut the pieces to length, then cut rabbets into the ends of the top
and bottom pieces using a table saw sled. The table saw sled makes this sort
of operation quite low risk.
Paul then cut the pieces to length, then cut rabbets into the ends of the top
and bottom pieces using a table saw sled. The table saw sled makes this sort
of operation quite low risk.
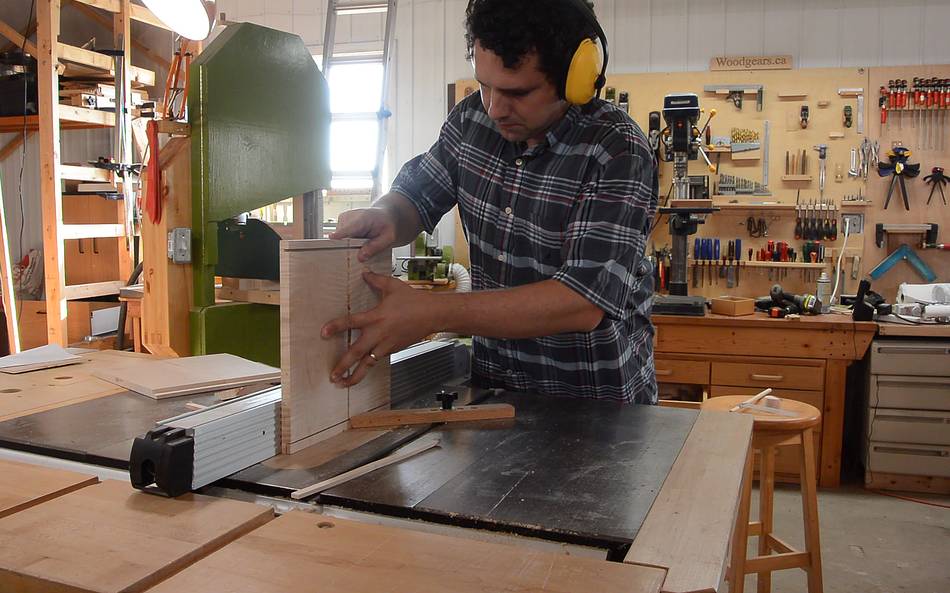 A vertical cut to finish the rabbet.
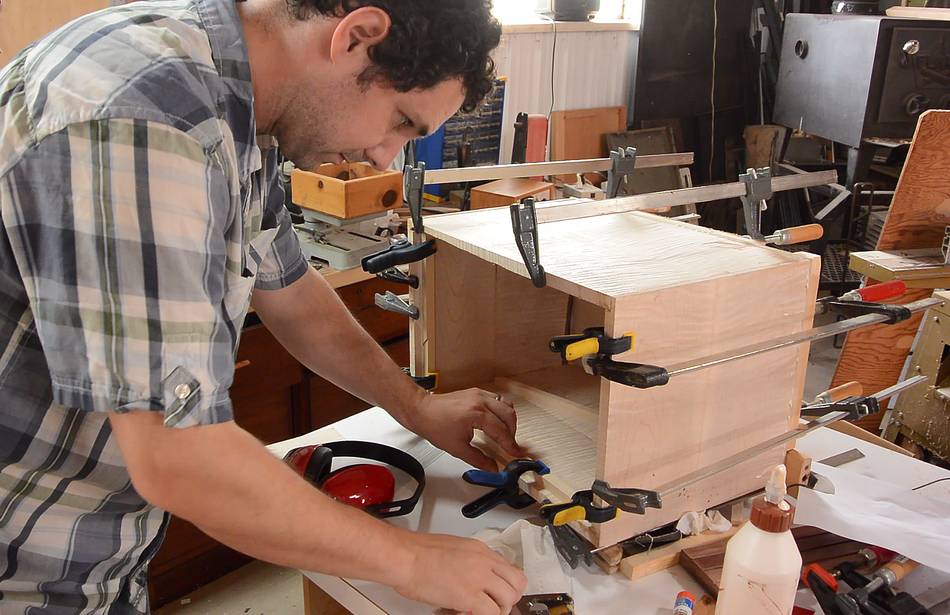
 By now we realized we were running short of time, so rather than me filming him
clamping it, I put the camera on a tripod and got more hands on with helping.
Clamping up is something where more than two hands help, even with experience.
By now we realized we were running short of time, so rather than me filming him
clamping it, I put the camera on a tripod and got more hands on with helping.
Clamping up is something where more than two hands help, even with experience.
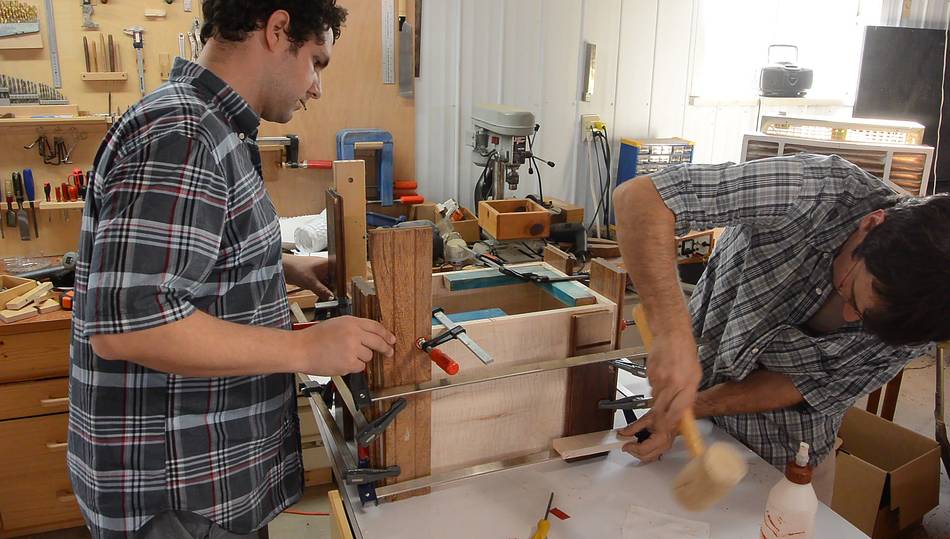
 The rabbet joints didn't quite slide together. Turns out I placed the clamping cauls
so they were right on the corner, which not only made them ineffective at squeezing
the rabbets together side-to-side, it would also have resulted in the cauls getting
glued to the box. Paul caught that one with asking "is this a problem...?"
The rabbet joints didn't quite slide together. Turns out I placed the clamping cauls
so they were right on the corner, which not only made them ineffective at squeezing
the rabbets together side-to-side, it would also have resulted in the cauls getting
glued to the box. Paul caught that one with asking "is this a problem...?"
After that we needed to wait for the glue to dry. Paul, having come with family had to go home to get the kids to bed, so we called it a day.
 Paul wanted an adjustable snare with a knob with click stops.
Experimenting with the snare. I realized the snare only needed to move by a
small angle (maybe 15 degrees) from not touching the drum to pressed
so hard against it that it wouldn't rattle.
Paul wanted an adjustable snare with a knob with click stops.
Experimenting with the snare. I realized the snare only needed to move by a
small angle (maybe 15 degrees) from not touching the drum to pressed
so hard against it that it wouldn't rattle.
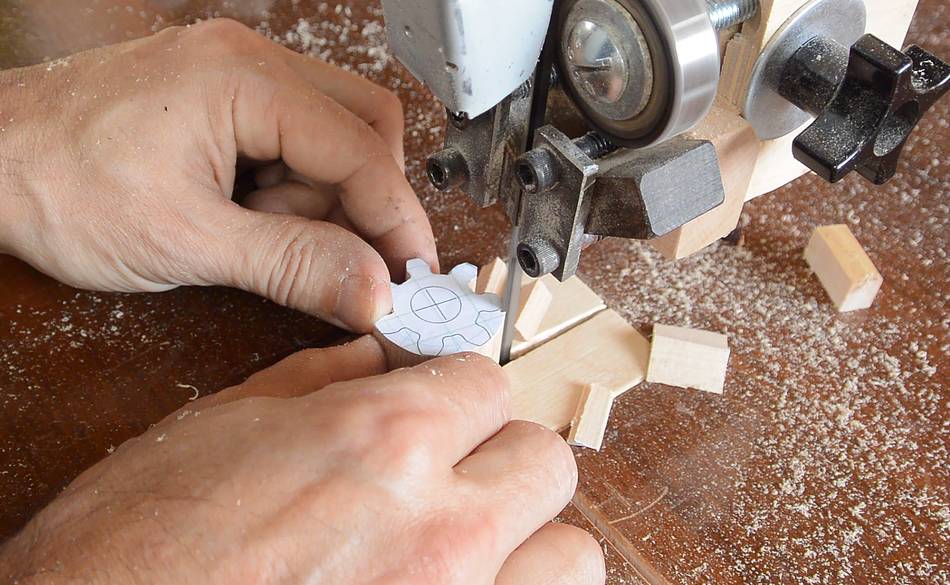
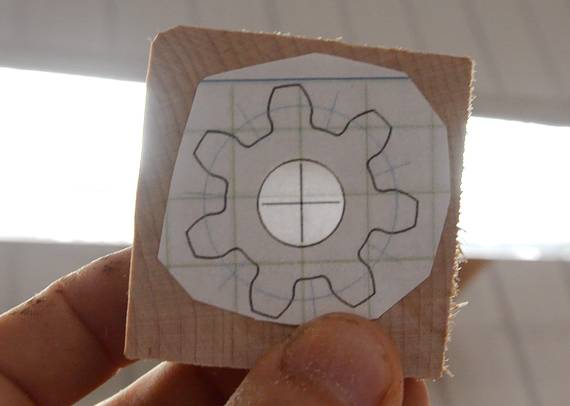
I thought about it and figured some mechanism to turn a larger rotation in the adjustment knob to a smaller rotation of the snare would be cool. And gears would be ideal for that! So I made those (using my gear program) before Paul came back two days later.
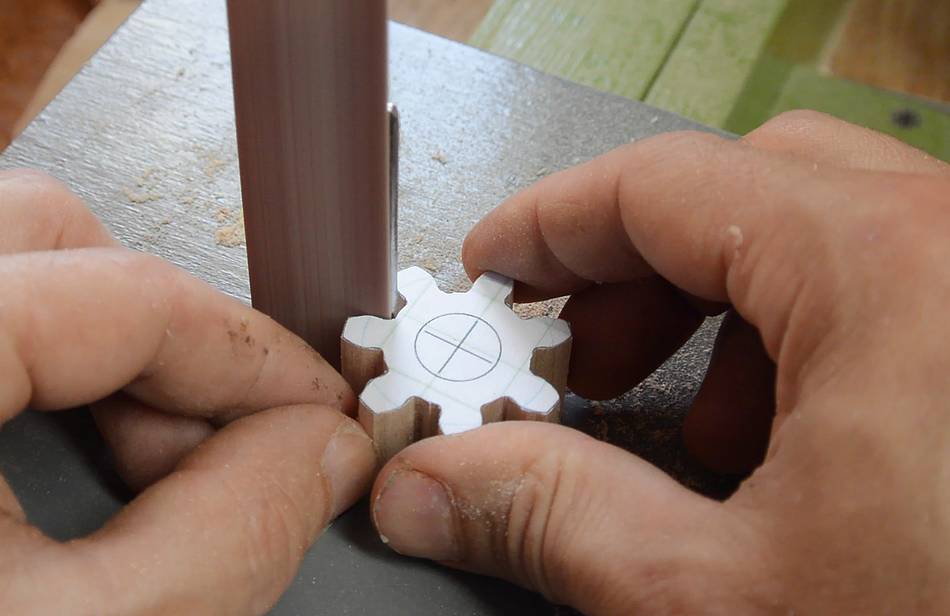 As usual, finessing the gears with the
strip sander. A strip sander can't be beat for tweaking gears!
As usual, finessing the gears with the
strip sander. A strip sander can't be beat for tweaking gears!
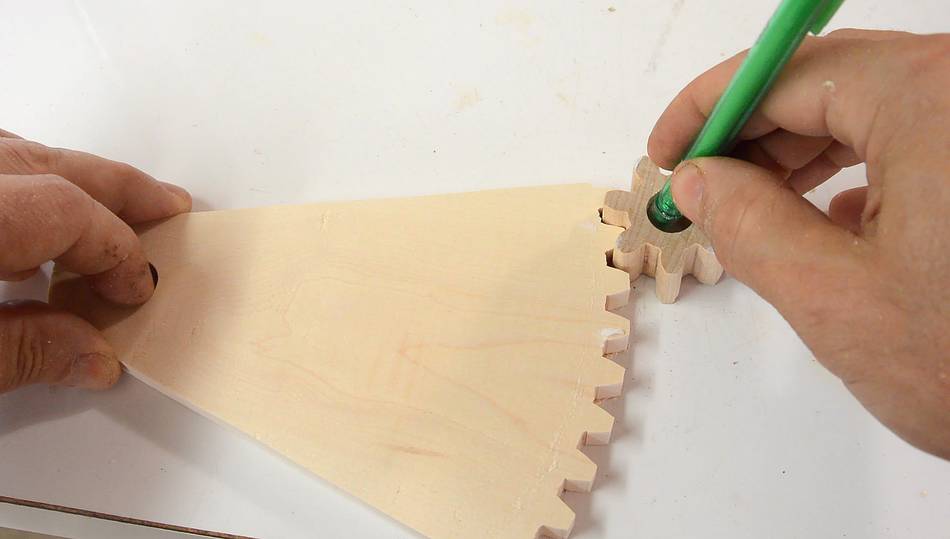 The big gear for the snare angle is only a partial gear because the adjustment
range is only a fraction of a full turn.
The big gear for the snare angle is only a partial gear because the adjustment
range is only a fraction of a full turn.
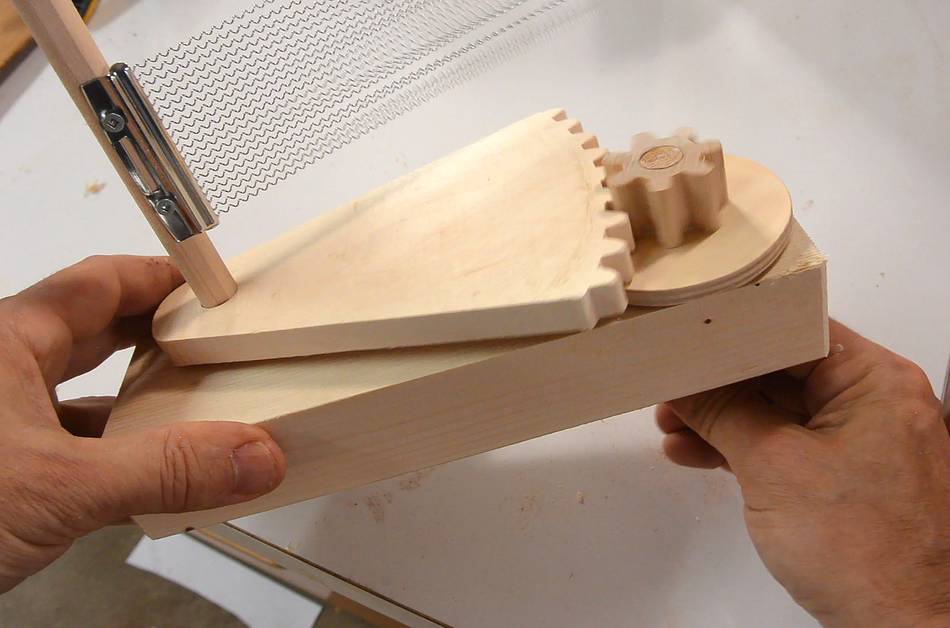
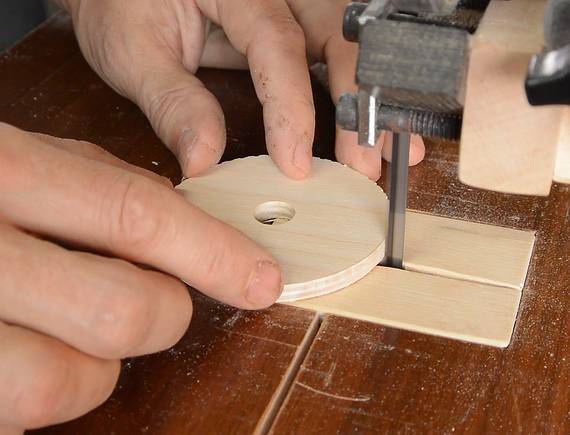 Heres how they mount, with the snare. I made a wheel with a lot of notches
for click stops.
Heres how they mount, with the snare. I made a wheel with a lot of notches
for click stops.
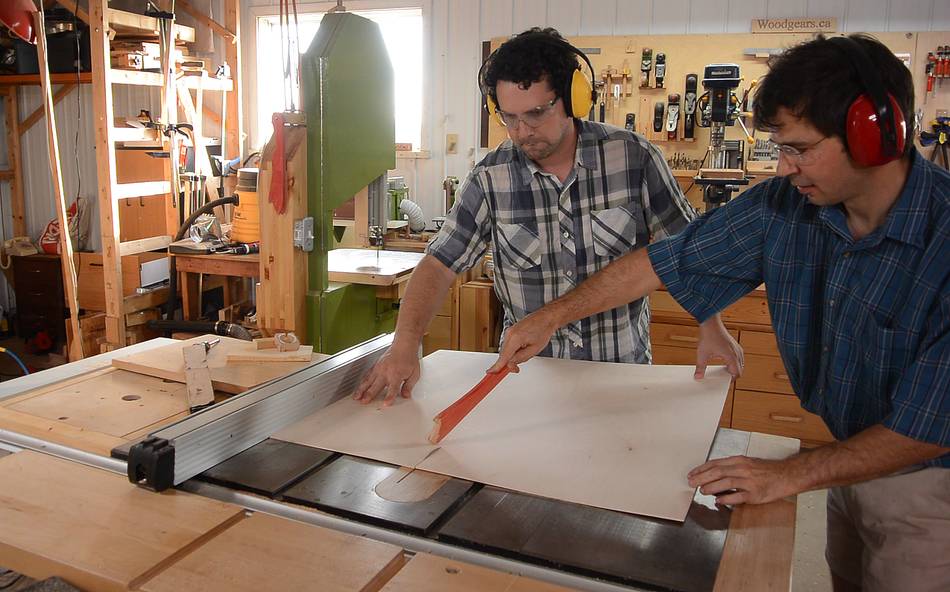 Cutting the 1/8" birch plywood that will be the front. That plywood isn't
completely flat, so I'm pressing it down near the blade with a push
stick while Paul pushes it through.
Cutting the 1/8" birch plywood that will be the front. That plywood isn't
completely flat, so I'm pressing it down near the blade with a push
stick while Paul pushes it through.
 While Paul glued on the front, I worked on the snare adjustment mechanism.
 Gluing on some strips to form a ledge to screw the back onto.
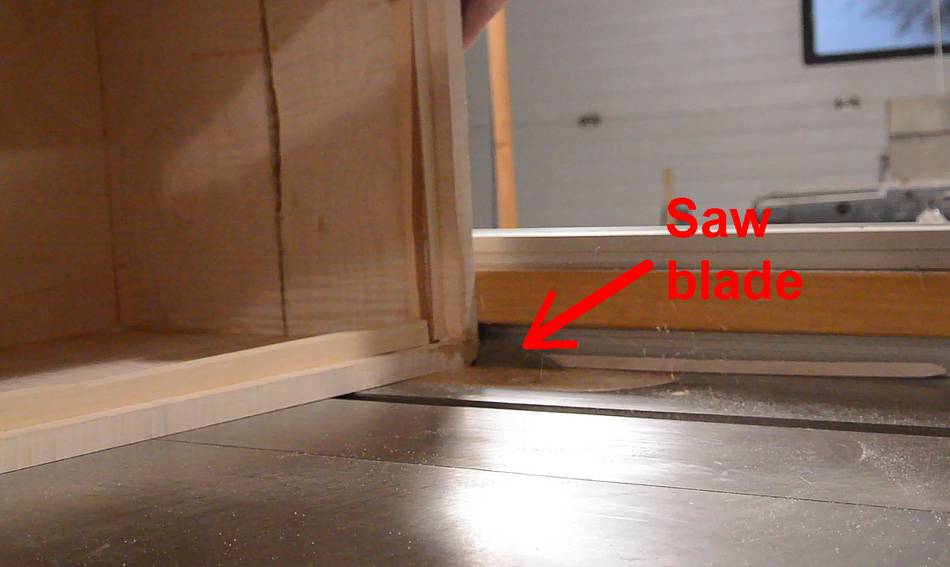
 Here I'm flush cutting the front. I tilted the saw to about 20 degrees,
then cut backward, so the blade is cutting "up" to avoid chip-out
on the front.
Here I'm flush cutting the front. I tilted the saw to about 20 degrees,
then cut backward, so the blade is cutting "up" to avoid chip-out
on the front.
 Next I set the saw blade at 30 degrees and cut each corner from both directions.
This approximates a roundover, but with 30 degree segments (if I did this with
a small square piece of wood, this would make a 12-sided "dowel"). Again
cutting backward on the saw to avoid chip-out.
Next I set the saw blade at 30 degrees and cut each corner from both directions.
This approximates a roundover, but with 30 degree segments (if I did this with
a small square piece of wood, this would make a 12-sided "dowel"). Again
cutting backward on the saw to avoid chip-out.
This could have been done with a router, but at greater risk of chip-out and burning. And this was faster to set up.
 Rounding the edges with a small hand plane.
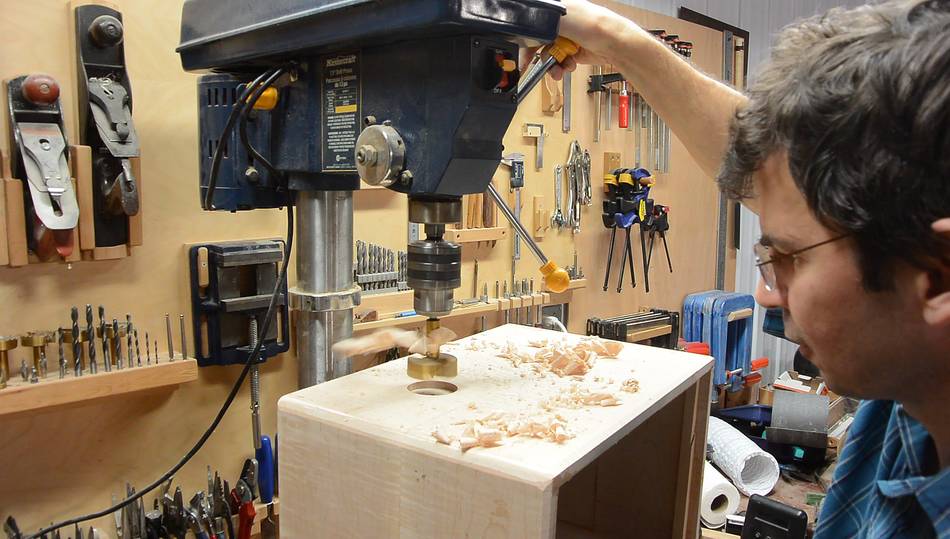 Drilling a hole to recess the adjustment knob. Paul had come for the evening,
and again we were running late, so I kind of took over.
Drilling a hole to recess the adjustment knob. Paul had come for the evening,
and again we were running late, so I kind of took over.
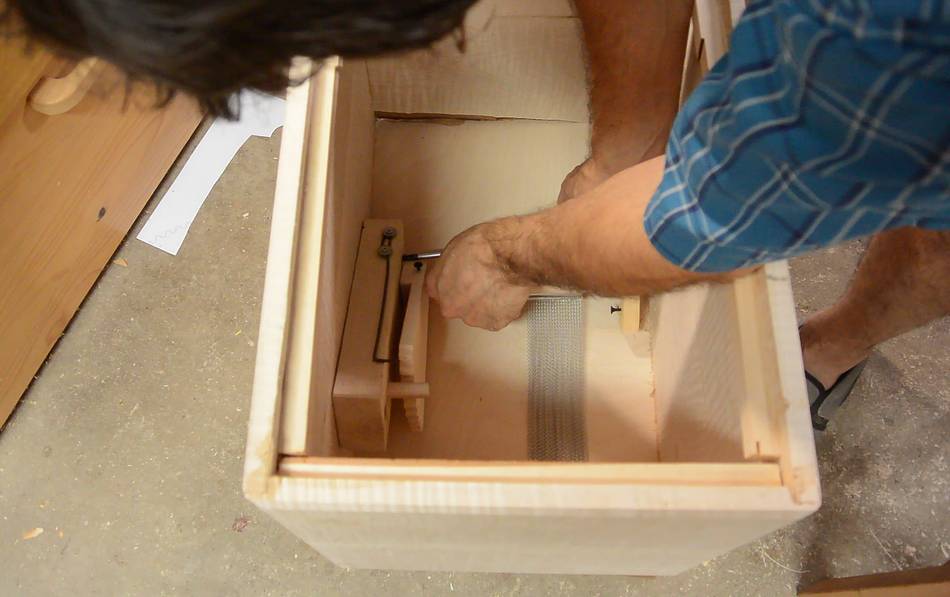 Mounting the adjustment mechanism.
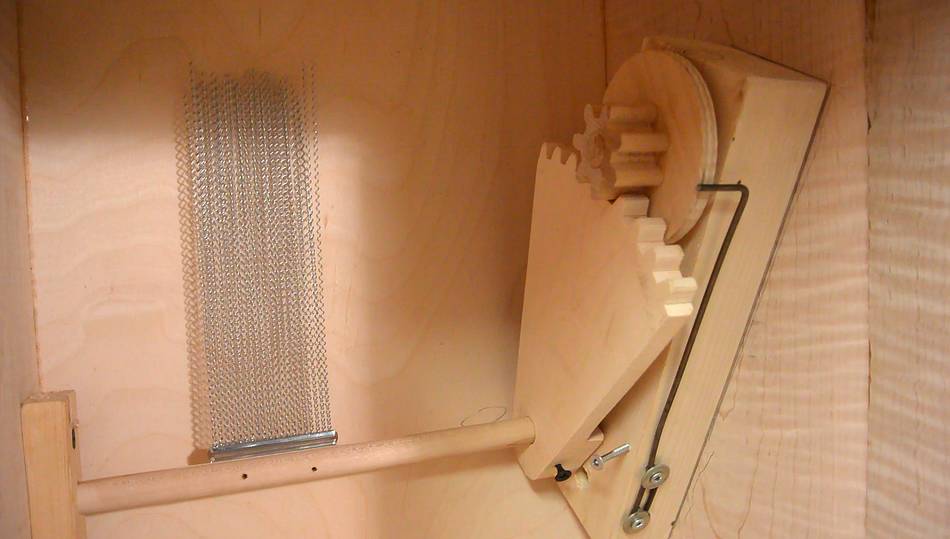 Mechanism in the cajon. The piece of coat hanger wire that pushes against the circle
behind the small gear provides the click stops. With the 7:1 gear ratio, and many
click stops on the wheel, there are at least 20 click-stops for the range of adjustment
of the snare — way more than needed. The adjustment itself makes a neat
noise when you adjust it, a bit like a tone block.
Mechanism in the cajon. The piece of coat hanger wire that pushes against the circle
behind the small gear provides the click stops. With the 7:1 gear ratio, and many
click stops on the wheel, there are at least 20 click-stops for the range of adjustment
of the snare — way more than needed. The adjustment itself makes a neat
noise when you adjust it, a bit like a tone block.
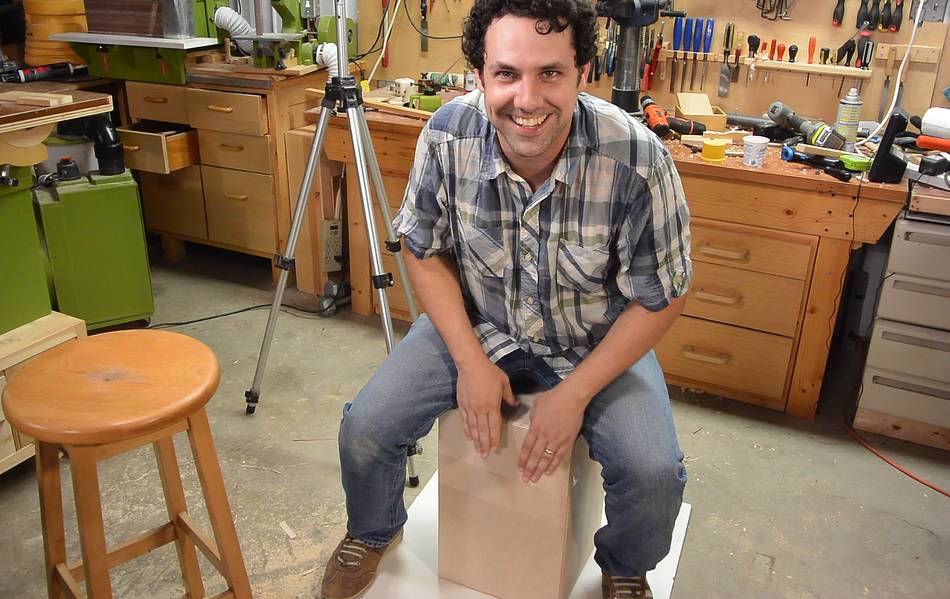 Paul testing it out. It had a really nice sound to it.
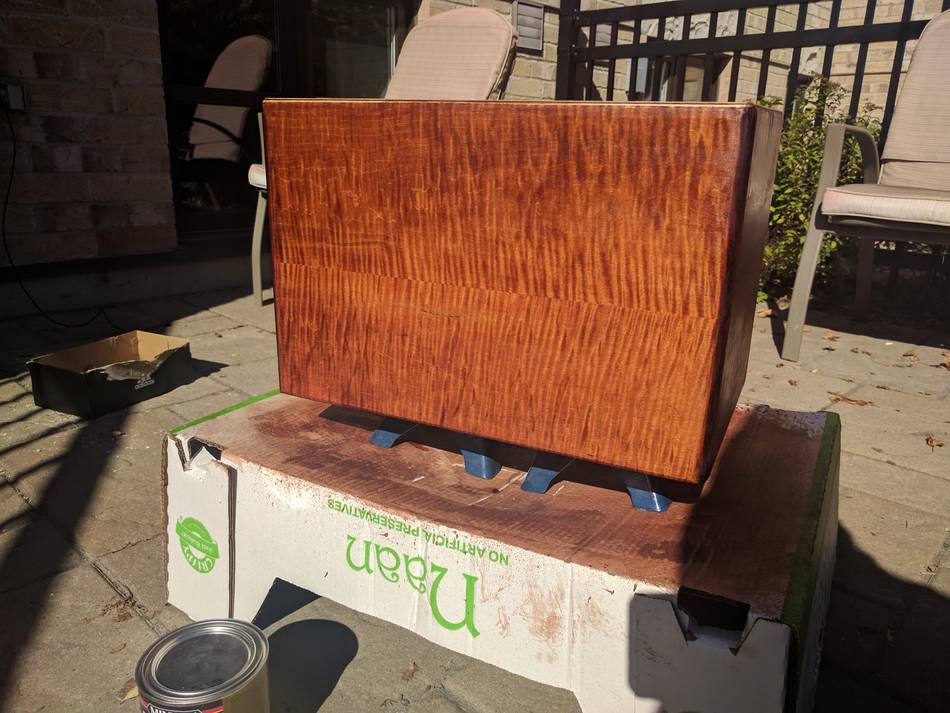
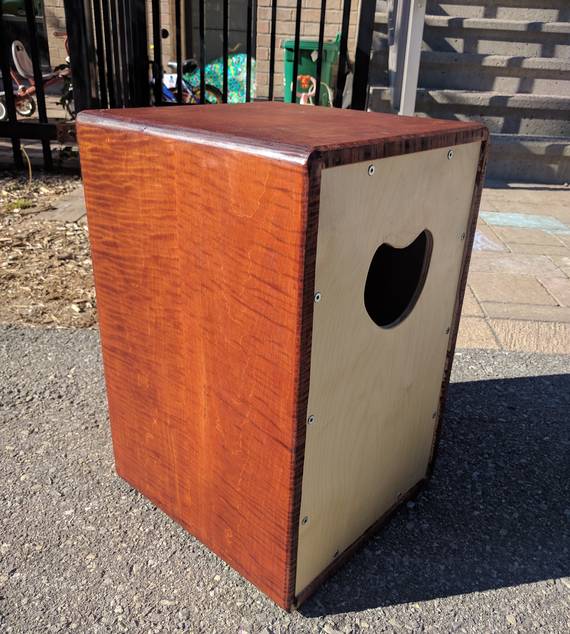 Paul stained and varnished the cajon before giving it to his dad.
The odd shaped sound hole in the back also serves as a carrying handle.
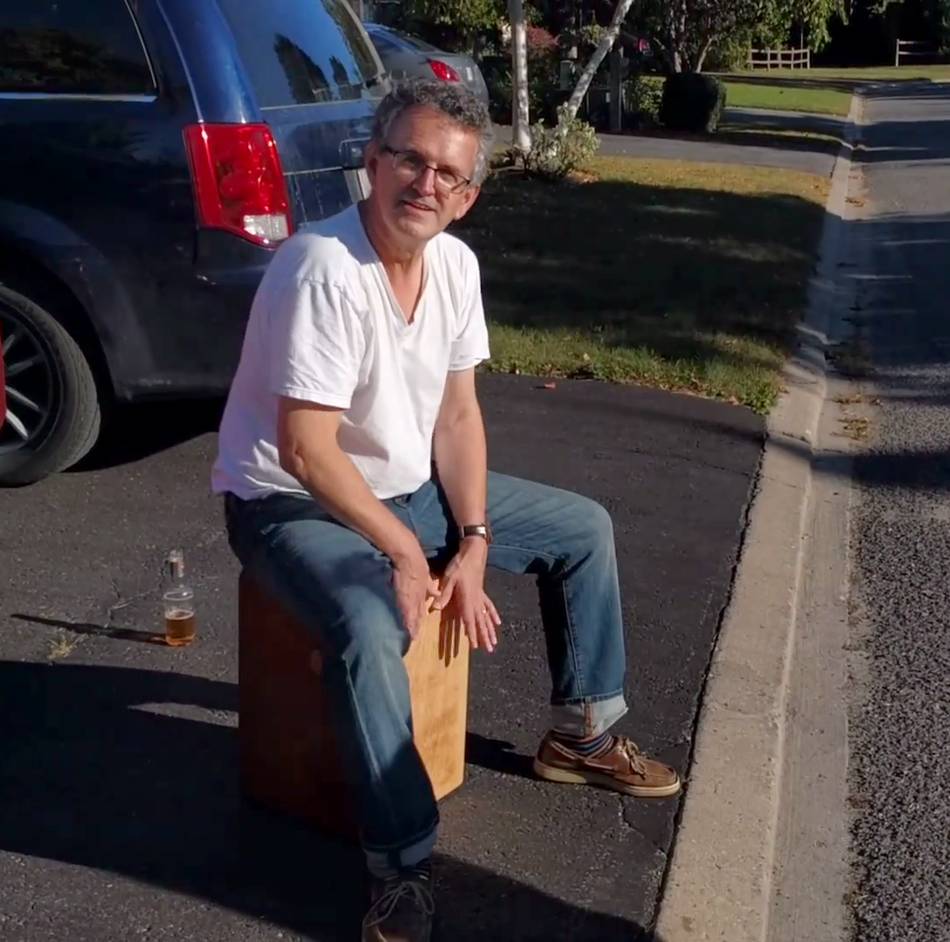 And here's Paul's dad playing the cajon.
Thanks Paul for being a good sport about it. Some of the scenes were not very flattering :)
Here's Paul's photo album of the build on imgur.
 Two beginner table saw mistakes to avoid
 Building a bookcase with Rachel
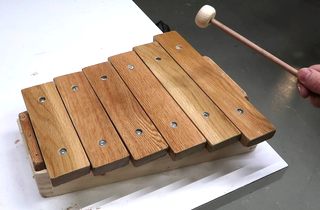 Xylophone toy build
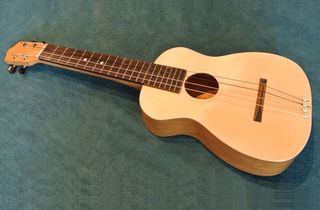 Ukulele build
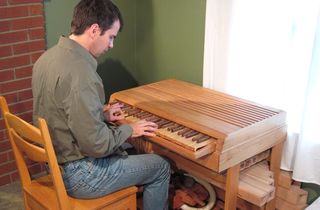 Homemade pipe organ
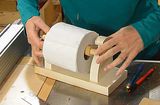 Rachel makes a
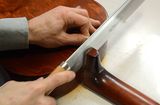 Junk guitar neck reset
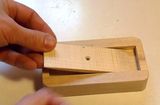 Marble machine 2.1 percussion elements
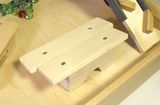 Marble machine 2.1
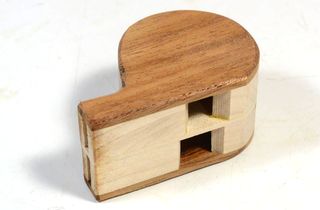 Making a loony whistle